| Build Thread, Page :
[ 1 ] 2 3 4 (72 posts, 20 posts per page, 4 pages in total)
|
[ Next > ] |
| heywooood, Comment for image # 40485 | 16 Aug 18 01:10 |
| Hey thanks for the steer !
I’m getting closer to that step every day |
| Skyediamonds1985, Image # 40485 | 15 Aug 18 22:40 |
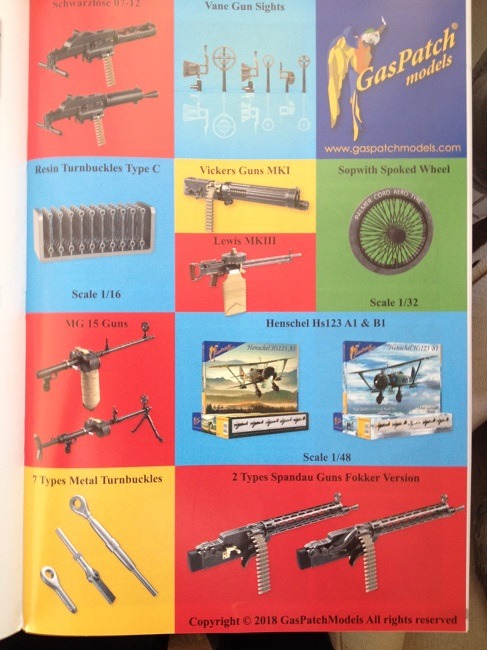
Heywooodm, just thought you might be interested in knowing that GasPatch has come out with turnbuckles and clevis ends for your rigging. They're 1/16th scale but pretty close to your model. If you can't read the ad clearly enough to obtain the website address it's: www.gaspatchmodels.com |
| LASTWOODSMAN, Comment for image # 34339 | 02 Jan 17 21:11 |
| Skye - and your Stearman PT 17 - what a radial engine - Holy Moly! And your first model after 30 years... |
| biplane guy, Comment for image # 34379 | 15 Apr 16 20:23 |
| Great idea, beats the sliced tubing look. |
| biplane guy, Comment for image # 34360 | 15 Apr 16 11:07 |
| Love the cockpit detail. |
| David Duckett, Comment for image # 34382 | 13 Jul 15 10:15 |
| May I direct your attention to the builds of John Oshust. Elastic thread is just one of the many treasures he's discovered in craft stores. Works fairly well for him.:-) |
| johnhuck, Comment for image # 34382 | 13 Jul 15 09:46 |
| Well, that is unusual, to say the least! I am currently working sporadically on a Sopwith Camel, and I am thinking of different ways to make the rigging look good, but still be within the scope of what I can competently do. I really liked the way yours looked. I have been thinking of using elastic thread on parts of it. Anyone have good/bad experience with this? |
| Skyediamonds, Comment for image # 34323 | 11 Jul 15 18:03 |
| Thank you for your input MM & JohnO, amazing how "Nessesity becomes the mother of invention." In my case, I just couldn't see myself spending hour after mind-numbing hour slicing wafer thin cooling fun pieces for nine cylinders. I've seen thread out to good use & it has its merits. But my radial on the PT-17 was left in the open with no cowl, no face plate, nothing even to partially conceal the engine. It's about in-your-face as possible. I have seen others (especially the British for some reason) resort to using alternating large & small thin discs piled on top of each other, with the smaller discs forming the core cylinder & the larger discs acting as cooling fins. But it's still the mind-numbing repetitive task. You should've seen the looks on the female clerk's face when told I am using those rings to make a radial engine! -Sky
|
| MMitch2782, Comment for image # 34323 | 11 Jul 15 15:54 |
| That's the great part of scratch building. You look at the part you need to make begin thinking what can I use to make it. Once painted, could be anything underneath. |
| Skyediamonds, Comment for image # 34382 | 11 Jul 15 14:45 |
| Johnhuck, I am searching for any photos I can find on my rigging so I can show you my so-called "technique." Really want to share with you & everyone else on the VA forum. If I can't find the pictures: in a nutshell, Guillow's designed the PT-17 in a way that the rigging is NOT functional should you decide to fly it. It's more for show or display. Having said that, I could not find any suitable flat cable wire in 1/20th scale. The closest to real flat wire is in 1/4th or 1/5th scale. Way too big. In the plastic modeling world, most biplanes are offered in 1/32nd scale by WingNutWings. Way too small. Even then, most, if not all, plastic model biplanes are rigged with fishing line, thin wire, or thread. I even checked out the flat braiding made out of leather or flexible plastic often used to braid key chains. At least that's what I did when my parents shipped me off to summer camp. It was close, but still a bit too wide & way too thick for 1/20nd scale. So, I cut up very thin strips of glossy paper from magazine covers! Painted the thin strips with high polished metallic paint, attached some end points obtained at a local arts & crafts store & installed on the model. I tried cutting up thin strips from disposable aluminum baking pans you can get at the grocery store. Despite all efforts by razor, scissors, & even paper guillotine cutting blade, the aluminum strips curled up & stayed curled & sometimes kinked up. It wasn't until after the model was complete that there are very thin plastic styrene strips available at hobby stores
-Learn something new all the time. -Sky |
| johnhuck, Comment for image # 34382 | 10 Jul 15 14:54 |
| Actually, it is because your rigging is different that I asked the question. I had been looking at how others do it, but yours particularly interested me. I look forward to seeing more on your rigging when you get around to it. Thanks! |
| Skyediamonds1985, Comment for image # 34382 | 10 Jul 15 10:59 |
| johnhuck, will start providing "instruction photos" on my rigging soon. However, I tried to imitate the actual rigging of the real thing. So, my rigging might be unusual. Thank you very much for asking. It seems all modelers have their own way of rigging. My approach is, to say the least, unusual. -Sky |
| johnhuck, Comment for image # 34382 | 07 Jul 15 14:52 |
| This is incredibly helpful. Do you have "instructional" photos of how you did your rigging? |
| Skyediamonds1985, Comment for image # 34382 | 07 Jul 15 01:17 |
| Finally, for bragging rights, you could say that your cockpit coaming is a Luis Vuitton, or a Prada.! |
| Skyediamonds1985, Comment for image # 34378 | 06 Jul 15 21:43 |
| I might add that this hand bag only cost about five bucks. |
| Skyediamonds1985, Image # 34382 | 06 Jul 15 21:40 |
After you have used the scissors to cut both the desired thickness and length of the hand bag.......er, I mean coaming.. (ahem), to the length to surround the cockpit opening, simply remove the "stuffing" to reveal the groove to slip over and around. In this case, I used white glue to account of the time needed for adjusting the coaming to fit snugly around the cockpit. The handle from the hand bag will have enough to produce at least a half dozen open cockpit aircraft. |
| Skyediamonds1985, Image # 34381 | 06 Jul 15 21:17 |
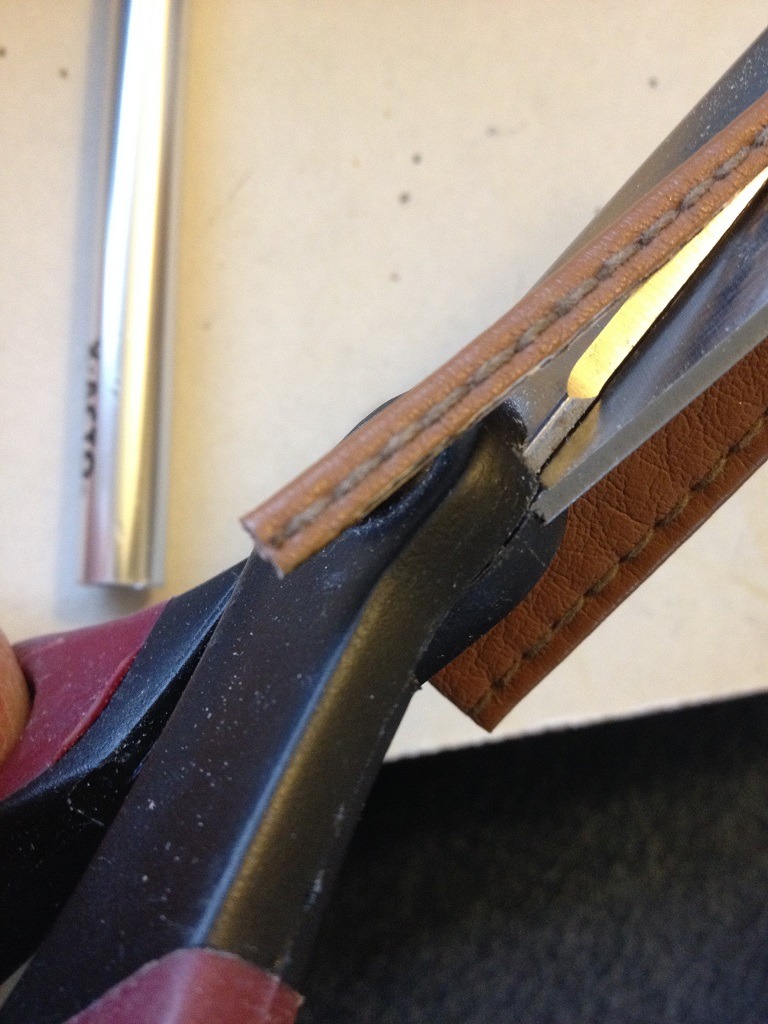
A pair of scissors works great. Tried the knife route, and its not worth the effort. |
| Skyediamonds1985, Image # 34380 | 06 Jul 15 21:15 |
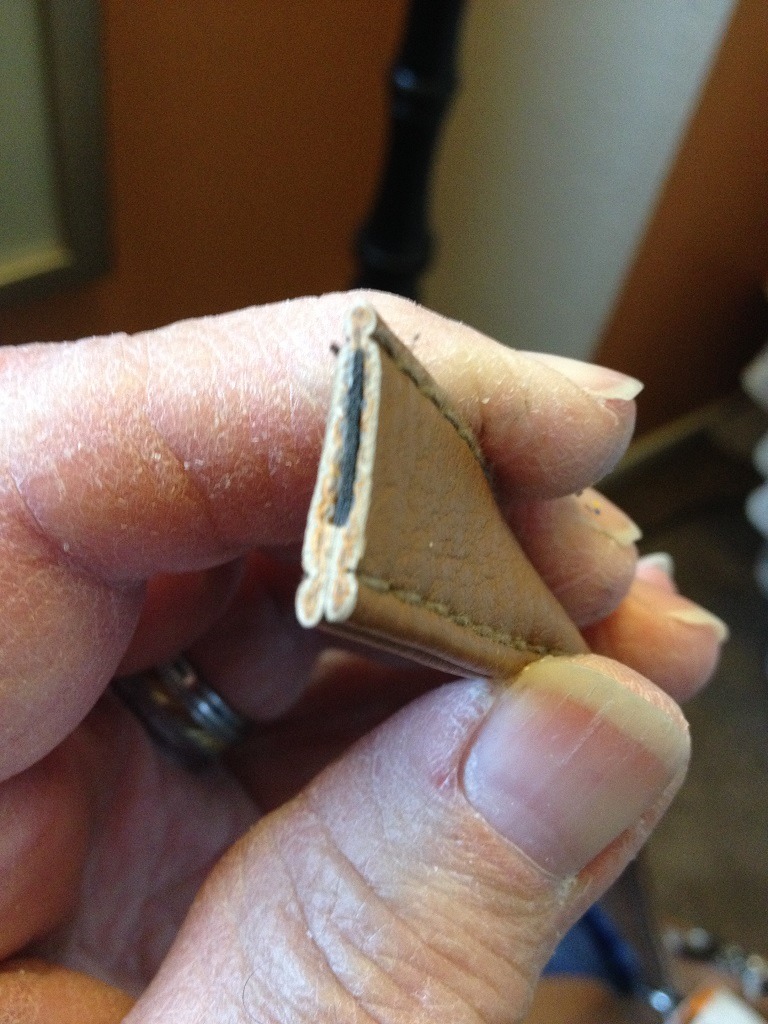
After slicing off a section of the handle. This particular length had some "stuffing" inside that needed to be removed. If you'll note, the upper half will actually provide a nice groove to slip the coaming around the cockpit edges. |
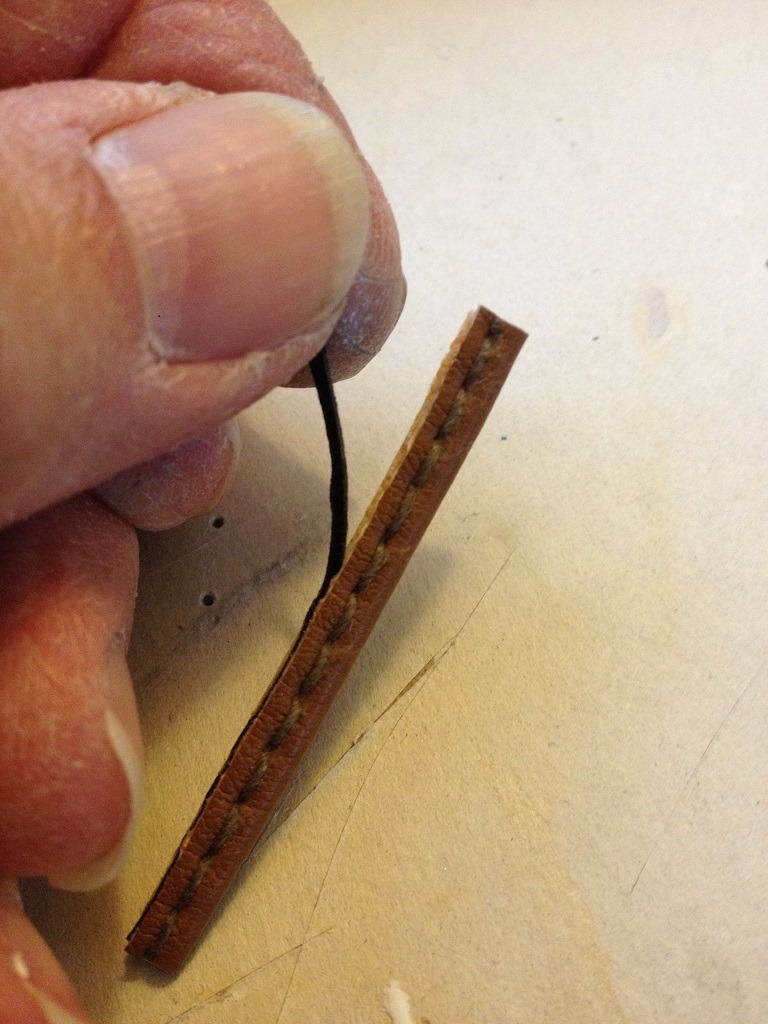
| Skyediamonds1985, Image # 34379 | 06 Jul 15 21:12 |
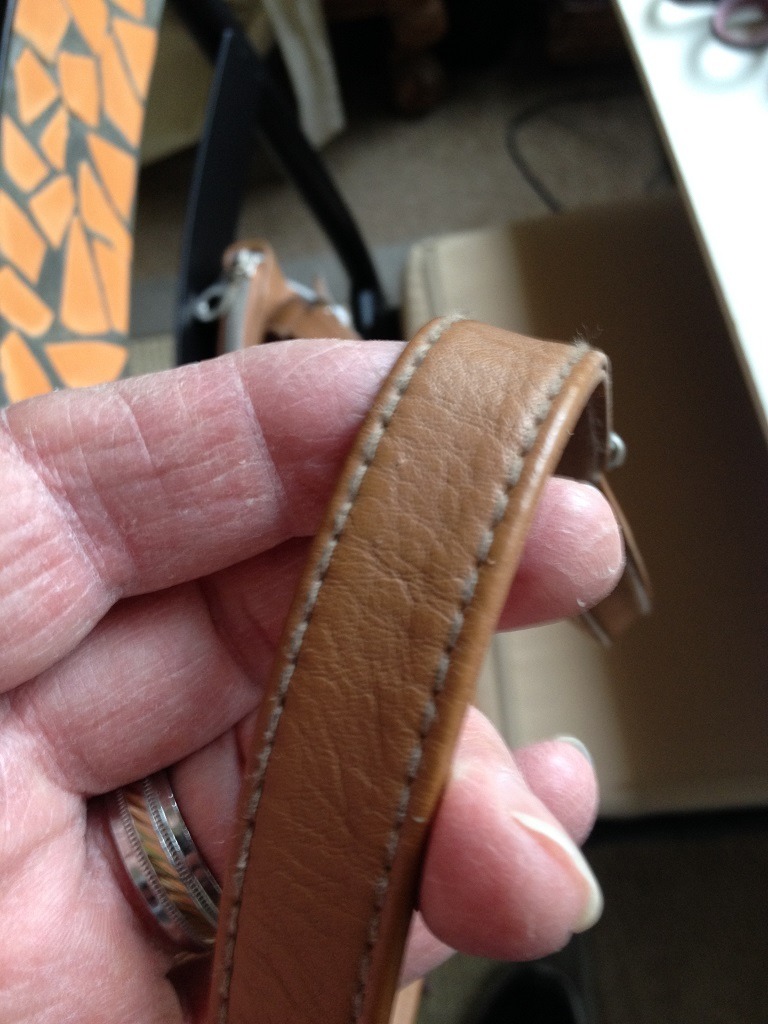
Observe the nice, fine, oh so wonderful stitching on the handle. Ahhh, I can imagine you're already getting the idea. Perhaps I've elicited a smile? |
| Skyediamonds1985, Image # 34378 | 06 Jul 15 21:10 |
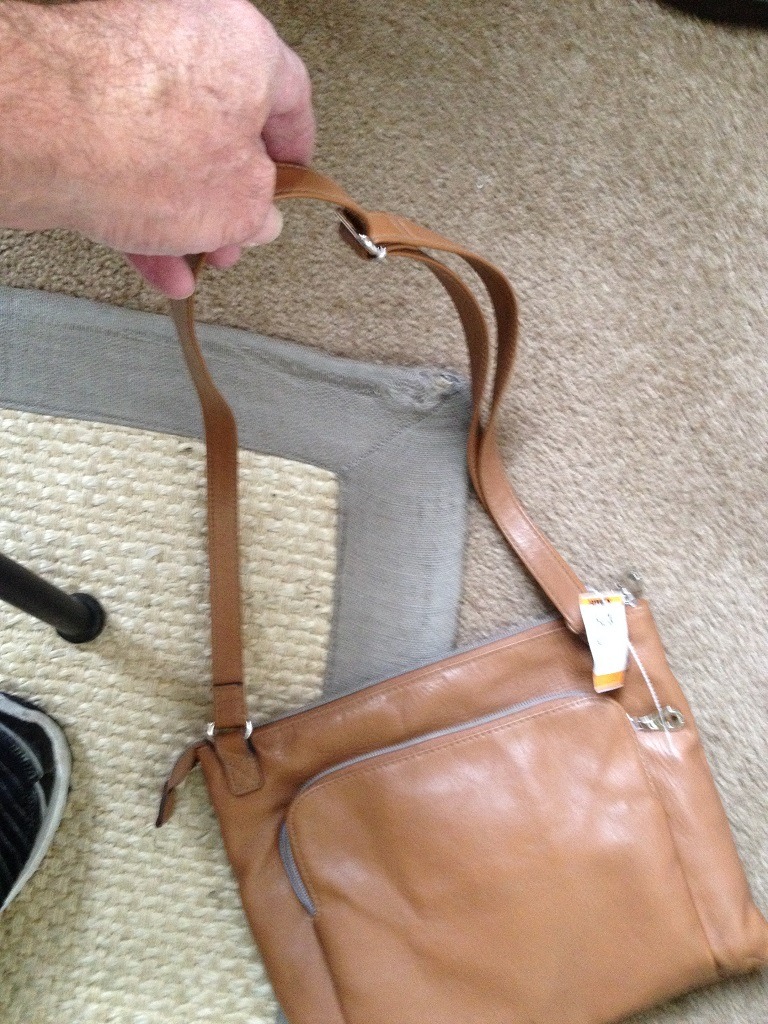
First, go to the nearest thrift shop and purchase an old hand bag of your choice. Trust me on this. |
| Build Thread, Page :
[ 1 ] 2 3 4 (72 posts, 20 posts per page, 4 pages in total)
|
[ Next > ] |
