| Build Thread, Page :
1 2 3 4 5 [ 6 ] 7 8 9 10 (186 posts, 20 posts per page, 10 pages in total)
|
[ < Prev ] [ Next > ] |
| heywooood, Comment for image # 40430 | 23 Jul 18 22:42 |
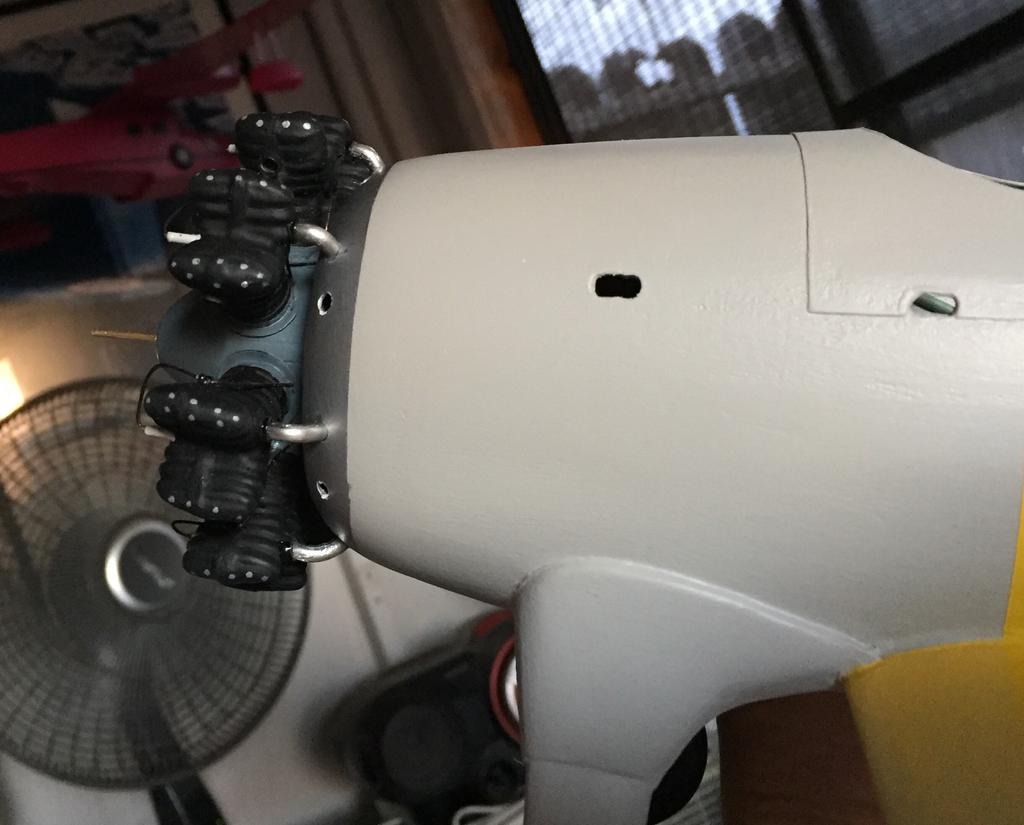
| that Gesso really gets a nice, smooth surface - this is an extreme close-up and it's kind of impressive. Mind you I'm not taking credit for anything - it's the frickin' GESSO and the Sherwin Williams shrink free spackle paste. Thanks again for that steer, Dave Duckett. |
| heywooood, Comment for image # 40429 | 23 Jul 18 22:37 |
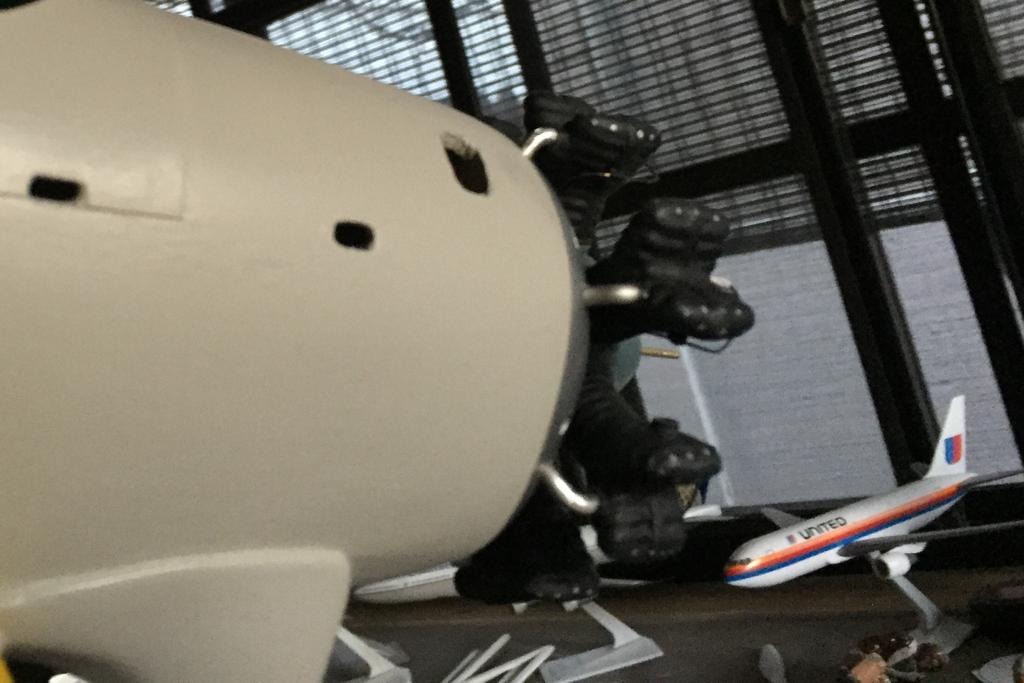
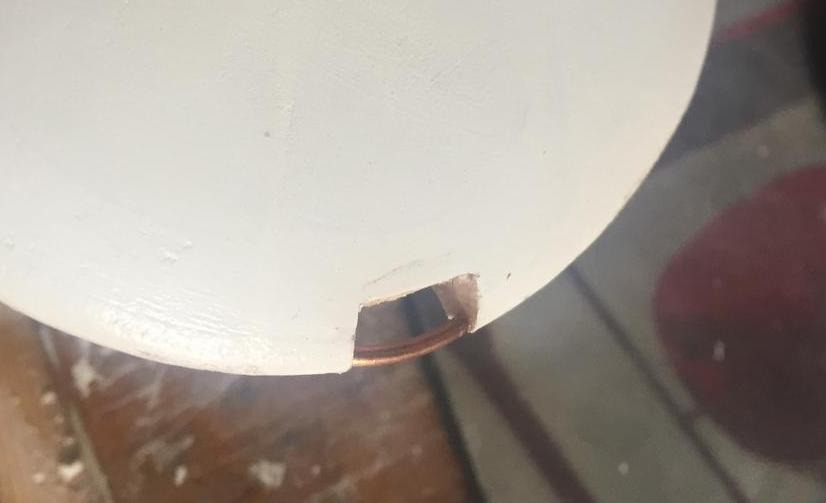
| I dropped two into the fuselage...fortunately there is an oil line of large diameter at the bottom that feeds the oil pump. Once I bored that hole the pieces just fell out. I used heavy gauge soldering wire - its flexible and wont corrode and it's just the right shade of aluminium |
| heywooood, Comment for image # 40430 | 23 Jul 18 22:33 |
| half of the exhaust plumbing is done..the easy half. Tomorrow we take on the more complex bends |
| heywooood, Image # 40430 | 23 Jul 18 22:32 |
|
| heywooood, Image # 40429 | 23 Jul 18 22:32 |
|
| David Duckett, Comment for image # 40414 | 21 Jul 18 04:57 |
| My Dad always said we were built for comfort, not for speed. Course, he may have been talking just about the Ducketts. |
| heywooood, Comment for image # 40414 | 20 Jul 18 23:21 |
| no worries - low and slow is how it's going to go.
The upper wing is going to be built as a model unto itself as there is so much detail to it. Working on these planes has been so therapeutic I can't even quantify it. |
| rayl, Comment for image # 40414 | 20 Jul 18 22:24 |
| Yep, take your time, savor the labor and enjoy the fruits of your talents. |
| Don C, Comment for image # 40414 | 20 Jul 18 15:12 |
| No need to rush. It's looking great. |
| heywooood, Comment for image # 40414 | 20 Jul 18 13:36 |
| thinking of step progression now. I can attach the motor and exhaust plumbing before the upper wing goes on..wind screens too and probably the panel lines. I still have to infill the top wing and get it all the way to paint prep - that's a week or two depending on 'stuff'..the tail control surfaces are built and are halfway to paint. Still so much to do - End of August probably before she is done |
| heywooood, Comment for image # 40414 | 20 Jul 18 13:31 |
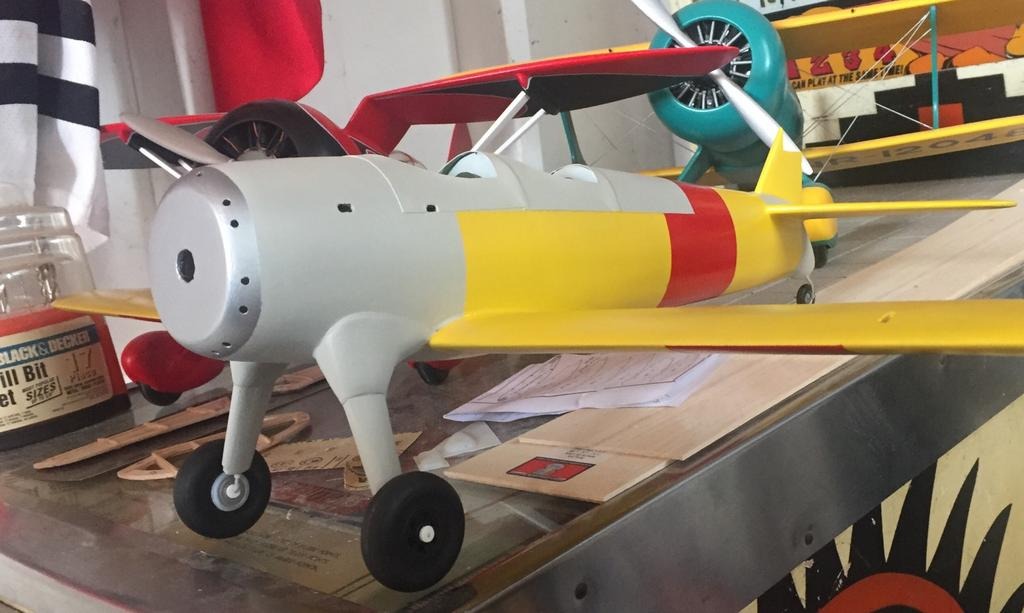
| coming together slowly...
I like Frogtape a bunch - there are only one or two places I need to clean up and they were purely my fault. So minor though compared to what I have had to repair in the past. |
| heywooood, Image # 40414 | 20 Jul 18 13:29 |
|
| heywooood, Image # 40413 | 20 Jul 18 13:29 |
|
| heywooood, Comment for image # 40400 | 19 Jul 18 11:25 |
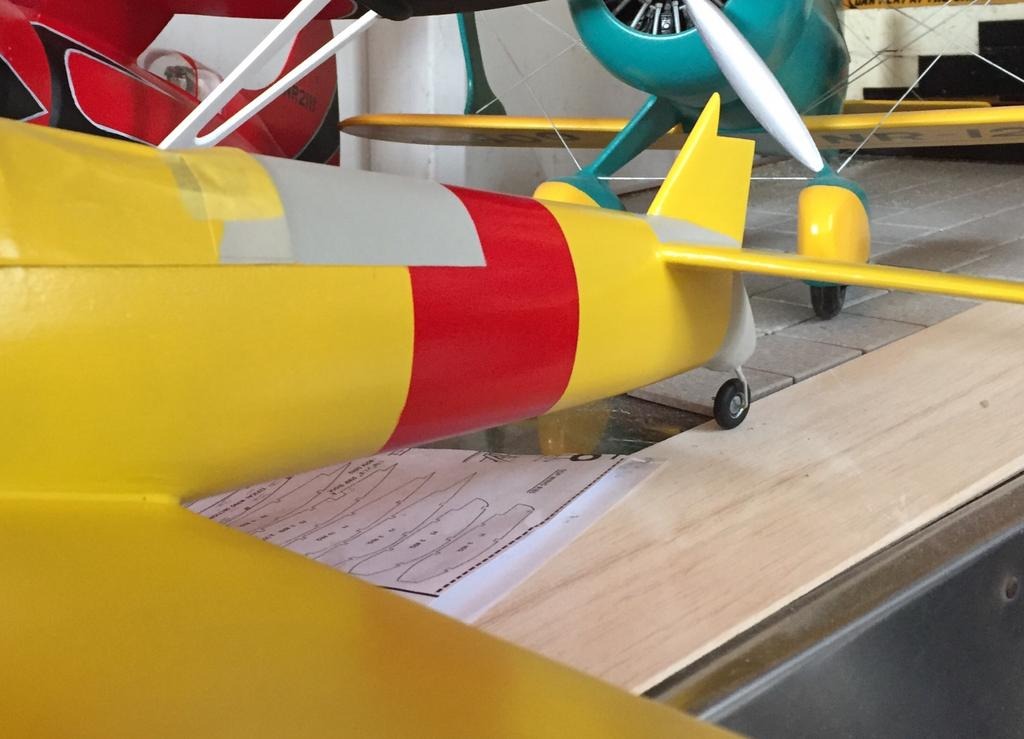
| wingtip hand holds - the copper wire I had left over from installing the new ceiling fan is just the right diameter. |
| heywooood, Image # 40400 | 19 Jul 18 11:24 |
|
| heywooood, Comment for image # 40399 | 19 Jul 18 11:21 |
| decals are being produced by Bedlam Creations
Speaking of paint I am headed to the store today to get more of the Light Gull Grey. I seem to have run short.
I still need to infill the upper wing and then detail it. So much yet to do really..
I have cut the axles and attached the wheels - the retainers are made by cutting circles from the kit provided firewall with a hole punch, then drilling them out in the center with an appropriate bit and pin vise. It just fits under the wheel cover. Also cut out the lower wingtip hand holds with a razor saw. |
| rgood, Comment for image # 40399 | 19 Jul 18 10:39 |
| Excellent! Super job..... |
| Don C, Comment for image # 40399 | 19 Jul 18 10:22 |
| Paint looks good.From where are you ordering your decals? |
| heywooood, Comment for image # 40399 | 19 Jul 18 09:15 |
| yes - the image I'm using for the hangar is the target. I have ordered custom decals and hopefully should see proofs this week |
| biplane guy, Comment for image # 40399 | 19 Jul 18 07:24 |
| That is looking really nice. Decided on a paint scheme? |
| Build Thread, Page :
1 2 3 4 5 [ 6 ] 7 8 9 10 (186 posts, 20 posts per page, 10 pages in total)
|
[ < Prev ] [ Next > ] |
