| Build Thread, Page :
1 2 3 4 5 [ 6 ] 7 8 (144 posts, 20 posts per page, 8 pages in total)
|
[ < Prev ] [ Next > ] |
| poppy, Comment for image # 4992 | 11 Nov 07 12:13 |
| All your models look fantastic. Keep on building 'em. |
| moostang51, Comment for image # 4992 | 11 Nov 07 11:13 |
| Thanks poppy for the sanding sealer tip. I think that even though it was really true to the fuselage curve at installation, the sanding over the stringers caused the elasticity in the fibers to relax and return to straight or sag. Next time I'll know and maybe even set more stringers in those tight curved areas. Second sheeted plane and still learning. |
| poppy, Comment for image # 4992 | 10 Nov 07 22:40 |
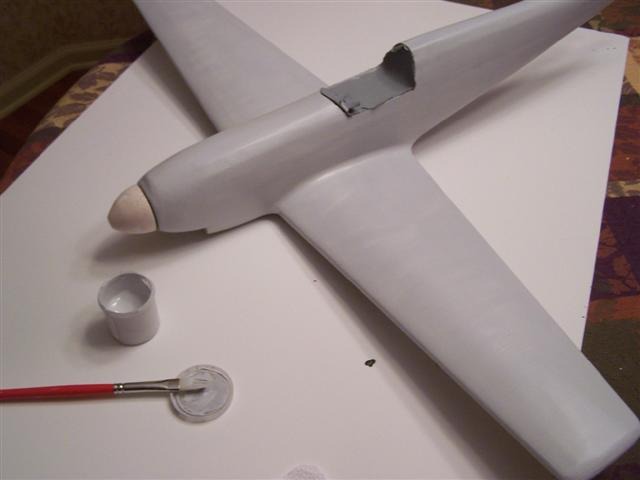
| Moos, this looks great. I have learned when using 1/32 balsa that after covering, and before filling and sanding, spray a couple of coats of sanding sealer first. The sealer gives the balsa a hard surface so that when you start filling and sanding, you won't be removing balsa which usually eliminates any sag between stringers or ribs. When dry a light sanding and then use micro-fill, sanding between applications. Sometimes takes 3 or 4 apps. to get it right. Then another couple of coats of sealer. It also helps to lightly sand stringers before covering to eliminate some sharp edges. But this one looks fine. The cowl blended perfectly to balsa edge. |
| John M Oshust, Comment for image # 4992 | 10 Nov 07 19:35 |
| Moos...Like you said when I was finishing my Mig...looks great to me! |
| Barnstormer, Comment for image # 4992 | 10 Nov 07 19:15 |
| I still think it looks pretty good, maybe just alittle more elbow grease. |
| moostang51, Comment for image # 4992 | 10 Nov 07 18:57 |
| Take it from me, learn from Poppy. My tears are swelling the balsa on this one. |
| Barnstormer, Comment for image # 4992 | 10 Nov 07 18:34 |
| This looks Sweeet!! I've got to learn this tecnique. |
| moostang51, Comment for image # 4992 | 10 Nov 07 18:33 |
| Not a happy camper right now. Fuselage shows way too many stringers. I realize the curve was tight. Next time will sacrifice a kit to planking and shaping. Maybe the 1/32" sheets were too light, but tend to think Moostang was a little heavy on the 320 grit sanding. Am happy though with the turned spinner. Let's see if camo painting really means "camo". Ouch. |
| John M Oshust, Comment for image # 4992 | 10 Nov 07 18:30 |
| Moos...the ultimate compliment looks like a DD piece of work! |
| moostang51, Image # 4992 | 10 Nov 07 18:18 |
|
| poppy, Comment for image # 4917 | 03 Nov 07 22:21 |
| This is looking veery good!! |
| John M Oshust, Comment for image # 4917 | 03 Nov 07 19:20 |
| Looks like a map in the map box to me...nice job! |
| Barnstormer, Comment for image # 4917 | 03 Nov 07 19:10 |
| Looking very nice Moos, Is that a map I see folded up in the storage pocket? |
| David Duckett, Comment for image # 4917 | 03 Nov 07 19:08 |
| Tiny maps? Check with Gulliver.com. Will the dash be lettered in German? And rudder pedals? I'm glad I'm not competing in the "cockpit details" category. You and poppy are a tough act to follow. Course, you're younger and can actually see this stuff without it being blown up on the computer screen. |
| moostang51, Image # 4917 | 03 Nov 07 17:36 |
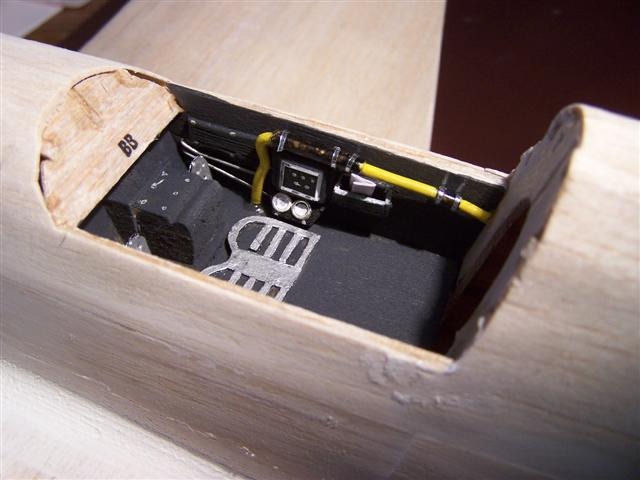
Right side. After seat and armorplate will install balance. Searching ebay for tiny maps for map box. |
| moostang51, Image # 4916 | 03 Nov 07 17:32 |
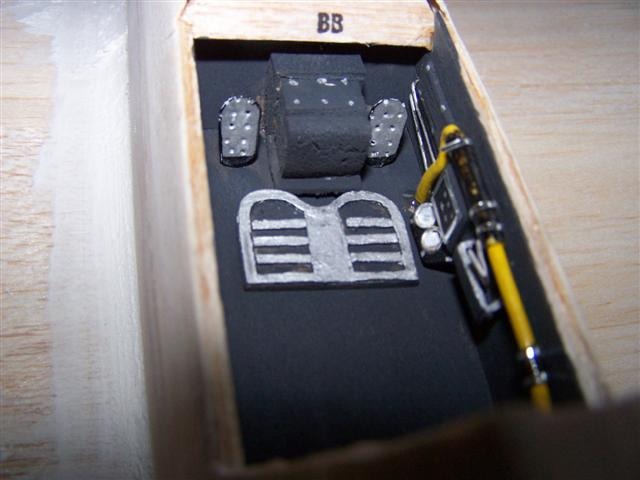
Cockpit started. Some touch up and brown wash for mud should soften the aluminum after completion. |
| poppy, Comment for image # 4840 | 28 Oct 07 18:44 |
| This looks great!! |
| moostang51, Image # 4842 | 28 Oct 07 15:39 |
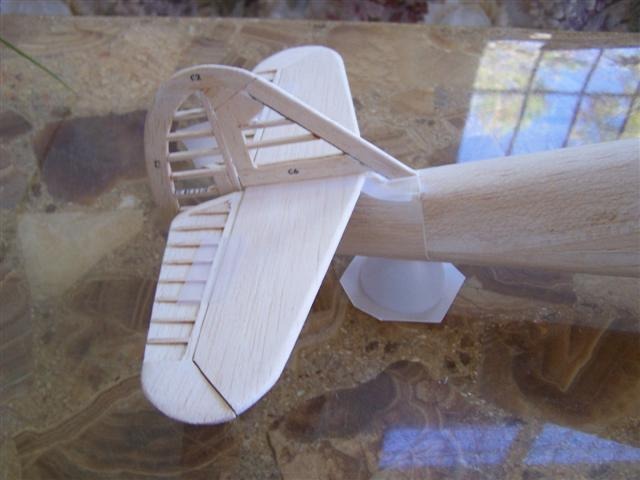
Moveables ready for tissue. |
| moostang51, Image # 4841 | 28 Oct 07 15:37 |
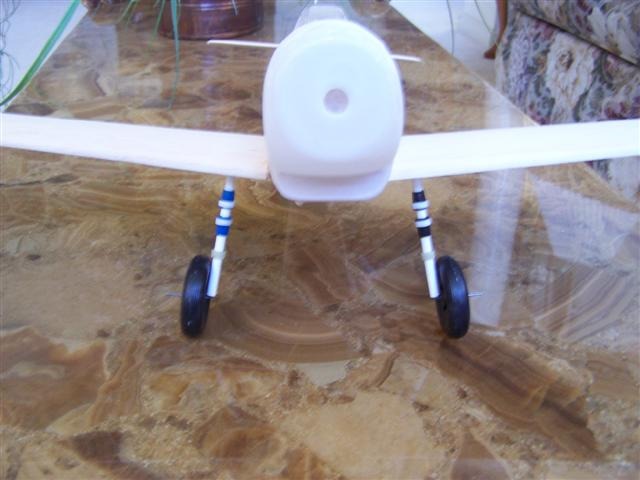
Bottom of landing gear needs to be shortened a touch. A piece of 3/16" od. pvc tubing and the cut off tops of Bic ball point pens. |
| moostang51, Image # 4840 | 28 Oct 07 15:34 |

Testing for fit. |
| Build Thread, Page :
1 2 3 4 5 [ 6 ] 7 8 (144 posts, 20 posts per page, 8 pages in total)
|
[ < Prev ] [ Next > ] |
