| Build Thread, Page :
<< 5 6 7 8 9 [ 10 ] 11 12 (222 posts, 20 posts per page, 12 pages in total)
|
[ < Prev ] [ Next > ] |
| SteveM, Comment for image # 8875 | 09 Jul 08 15:10 |
| That's what I figured, I'll just call it "stand off scale". The fun with the rudder and elevator will be trying to model the counterbalance weight. I know, probably overboard, but that is all part of what separates kits from ARFs. |
| John M Oshust, Comment for image # 8875 | 09 Jul 08 14:41 |
| Close enough, no one will notice. You could cut and make an extension on the aileron but I seriously do not think it is worth the work. |
| SteveM, Comment for image # 8875 | 09 Jul 08 11:56 |
| Scale size and location, but I decided that since this was my first conversion I would take the easy route and make the aileron sides parallel to the ribs rather than orthogonal to the TE. You can faintly see my pencil mark to show the the left edge should come out by the "I" in "TIP" and the right side comes out in the right spot but it should be cutting through the middle of the rib next to it. |
| poppy, Comment for image # 8875 | 09 Jul 08 10:54 |
| Those ailerons look close to scale to me. |
| SteveM, Image # 8875 | 09 Jul 08 02:26 |
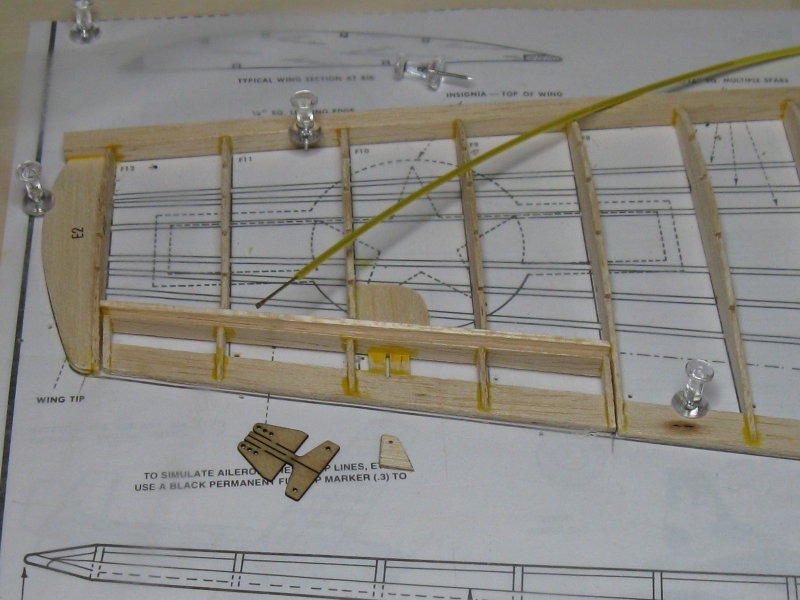
Progress is slow but I enjoy the engineering challenges, though on this build I am copying the aileron setup of the Molt Hellcat. I think I will try to use the small Dubro hinges shown in the previous photo, now to do the right side. |
| SteveM, Comment for image # 8844 | 03 Jul 08 12:56 |
| Not a bad idea, and I've seen it done before. But my stash of 3.5" floppies just isn't what it used to be and AOL stopped sending me floppies every week some years ago when they switched to CDs. Another option is to use the CA type cloth hinges (but use epoxy since CA does not like me). The kit has some cloth hinge material in it that I could try out. |
| danrc, Comment for image # 8844 | 03 Jul 08 10:30 |
| You could also try some floppy disk sections for the hinges. I've had great success with those. |
| SteveM, Image # 8844 | 03 Jul 08 04:42 |
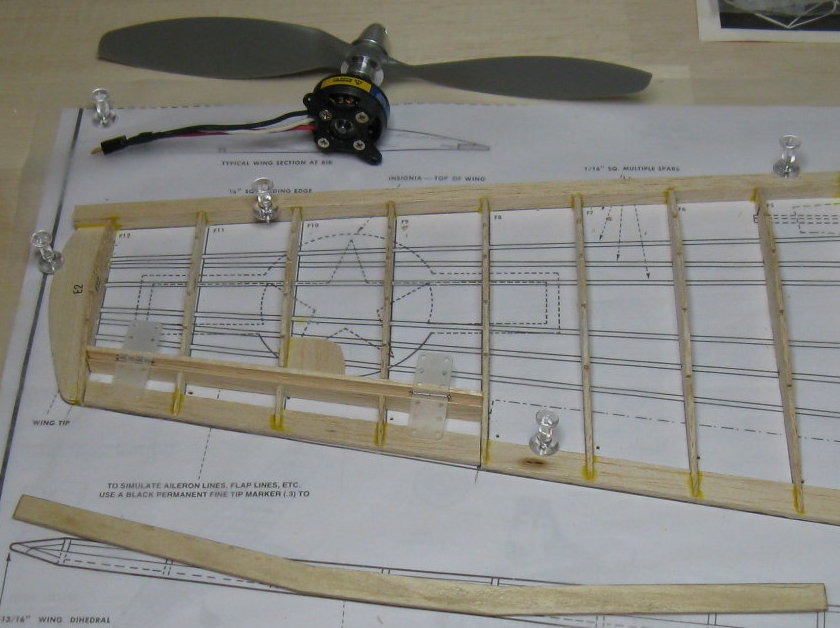
The left aileron is almost done. I didn't have any triangular stock for the front edge of the ailerons so I carved down some of the extra square stock from the wing LE. These small hinges just might work if I shorten them a bit. The motor arrived today. |
| SteveM, Comment for image # 8843 | 02 Jul 08 12:54 |
| Before starting construction on the wing I was reading another build log from about 5 years ago where Mike Molt wrote "Boy, the ppl at Guillows sure like to have a lot of ribs in the wing". I didn't think much about it till I was half done with the wing and found myself echoing his words. |
| jgood, Comment for image # 8843 | 02 Jul 08 10:12 |
| Replied to you on RCG! That sure is a lot of ribs - looks good! |
| SteveM, Comment for image # 8843 | 02 Jul 08 03:24 |
| I have started a build log for this plane over at RCGroups as I feel it is a better venue for discussing aspects of the R/C conversion. It will also be in a better location to help those who attempt this conversion at a later date. Not to worry, I will still post lots of pictures of it here too. |
| SteveM, Image # 8843 | 02 Jul 08 01:05 |

The wing has a lot of ribs, 1.25" between centers. There is no spar like with the Aero Star or my Molt Models kits so I guess lots of ribs and stringers is how they get strength. I want the ailerons exactly to scale but the ribs are at the wrong angle. |
| SteveM, Image # 8825 | 30 Jun 08 19:36 |
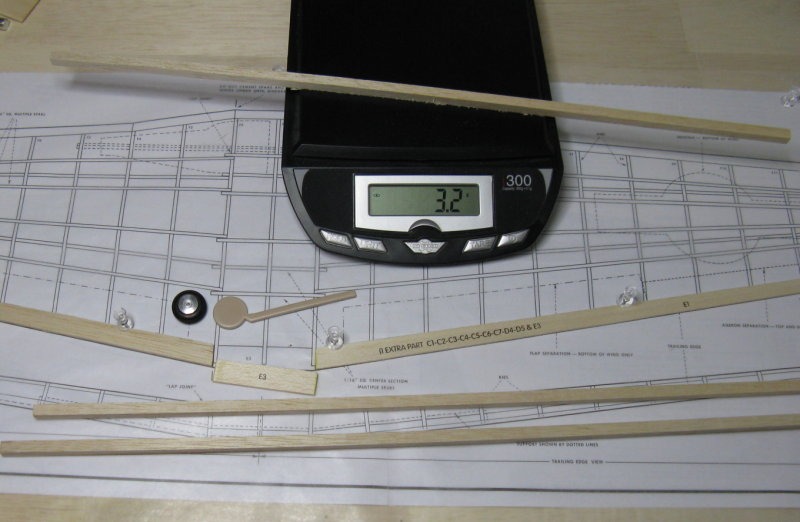
The kit supplied leading edges weighed 4.3 grams and 8 grams each. The high weight was not the issue so much as the imbalance it would have created. The LHS came to the rescue with some good wood. Also, my tailwheel versus the kit's vinyl wheel. |
| SteveM, Image # 8822 | 30 Jun 08 02:08 |

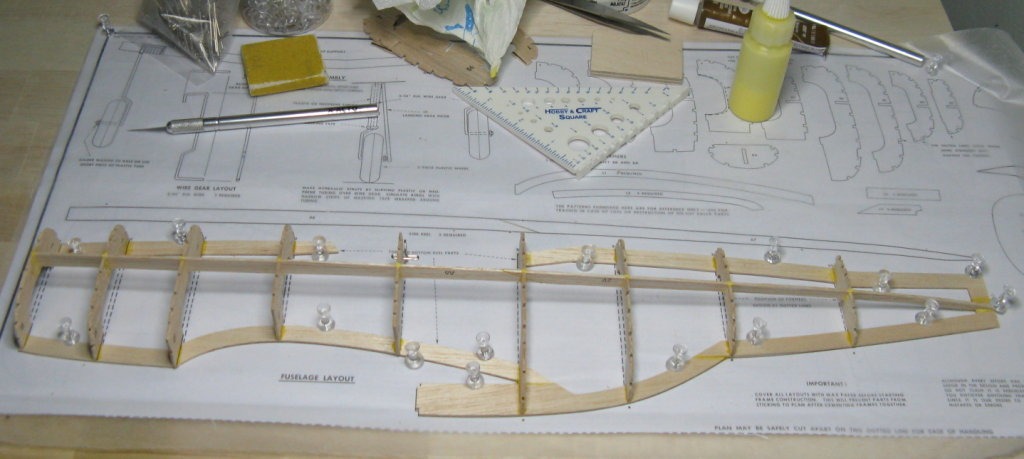
Fuse as shown weights nearly 0.6 oz, I am going to delay putting on stringers till I have more of the details sorted out. The LPS motor and small battery may not be enough so I either need the EPS-300 shown or a brushless equivalent weighing much less. |
| SteveM, Image # 8804 | 29 Jun 08 12:30 |
Yesterday it hit 102F so I restricted myself to activities that did not generateheat (few people around here have A/C). This build is for the 2008 "G Ghallenge". |
| SteveM, Comment for image # 8647 | 11 Jun 08 14:16 |
| I've got an Aero-Star here that came to me from you by way of DD, so I think I still got the better end of the deal. I hope they fit well as that is one amazing model and I'd hate to be the one that messed it up. |
| poppy, Comment for image # 8647 | 11 Jun 08 07:16 |
| Absolutely beautiful!! I am much indebted to you for these. Can't wait to get them. |
| SteveM, Image # 8647 | 10 Jun 08 22:59 |
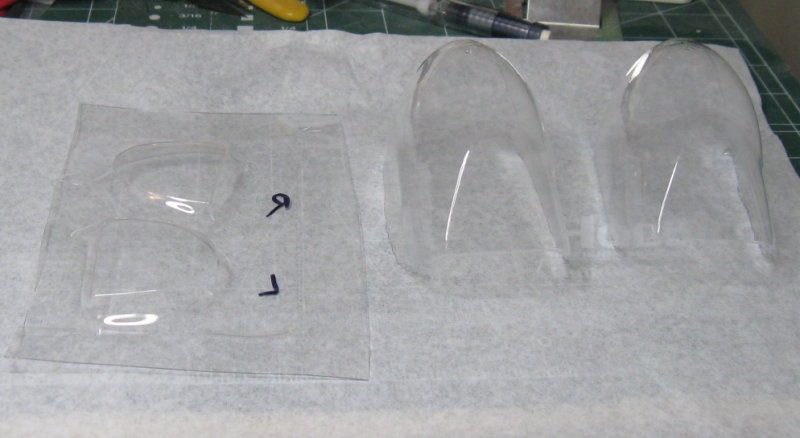
Poppy, I found these laying around and think maybe you can find a use for them. I'm going to mail them out tomorrow morning so you should get them Friday or maybe Saturday at the latest. |
| SteveM, Image # 8606 | 08 Jun 08 16:00 |
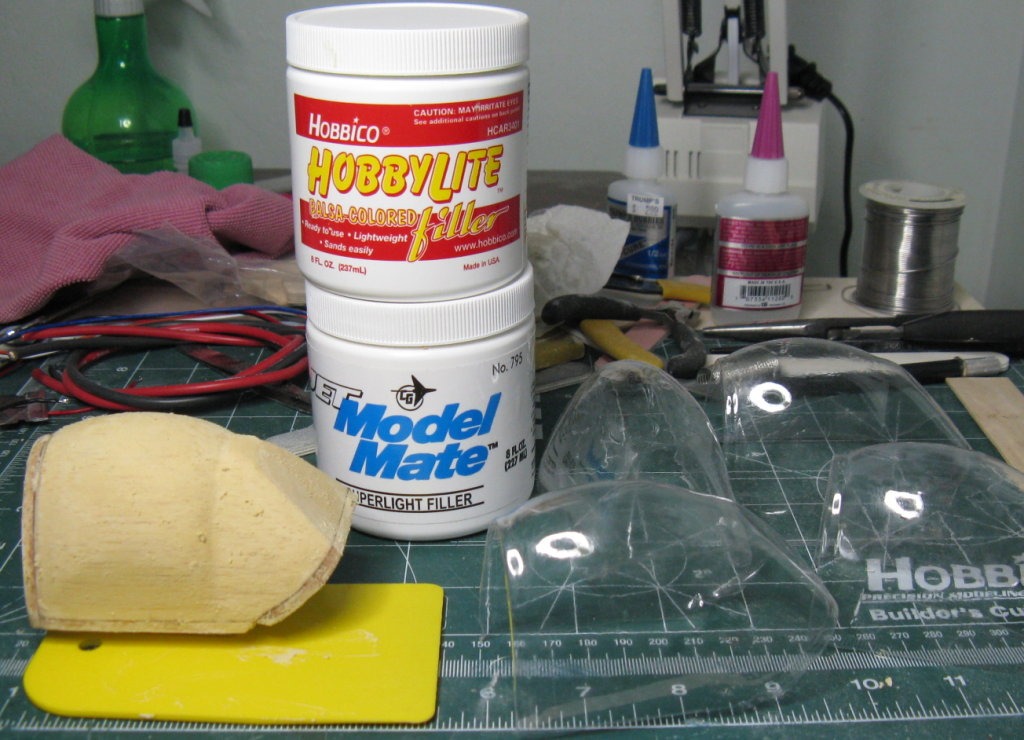
I have been getting my hiney kicked by Poppy's canopy despite all I learned from my first victim, DD. The plan is to fill the wood grain with Hobbylite then shrink down a thin layer of plastic to provide a smooth surface for the canopy. |
| poppy, Comment for image # 8429 | 29 May 08 20:03 |
| Sounds great!! |
| Build Thread, Page :
<< 5 6 7 8 9 [ 10 ] 11 12 (222 posts, 20 posts per page, 12 pages in total)
|
[ < Prev ] [ Next > ] |
