| Build Thread, Page :
<< 4 5 6 7 8 [ 9 ] 10 11 12 (222 posts, 20 posts per page, 12 pages in total)
|
[ < Prev ] [ Next > ] |
| SteveM, Comment for image # 9293 | 07 Sep 08 14:31 |
| Ok, I found the info on why the wheel does not want to rest as shown here. The problem is that the rake has resulted in a negative trail which means it is unstable. I need to adjust the rake to get a positive trail. |
| SteveM, Comment for image # 9294 | 07 Sep 08 14:26 |
| John G, not sure what you mean by backwards and a view with it rotated 90 degrees, but if you look at the previous photo you'll see how the wheel should be resting. If I had a better mechanical theory background I could probably describe why the angle of the brass tube is causing the wheel to rotate 180 degrees from where I want it. All I can say for sure is that the brass tube that the wire passes through needs to be vertical or angled slightly towards the front of the plane in order for the wheel to want to rest where it should (I think it is called the rake). |
| Barnstormer, Comment for image # 9294 | 07 Sep 08 13:36 |
| I think you are right Steve, Nice looking work though. |
| JohnG., Comment for image # 9294 | 07 Sep 08 10:16 |
| Is this tailwheel on backwards...what would it look like if you rotated it 90 degrees??? |
| SteveM, Image # 9294 | 07 Sep 08 02:00 |

Here is where the wheel really wants to sit. I guess it is time to grind off all that epoxy and find a way to tilt the brass tubing forward so that the tail wheel will want to rest properly. |
| SteveM, Image # 9293 | 07 Sep 08 01:58 |
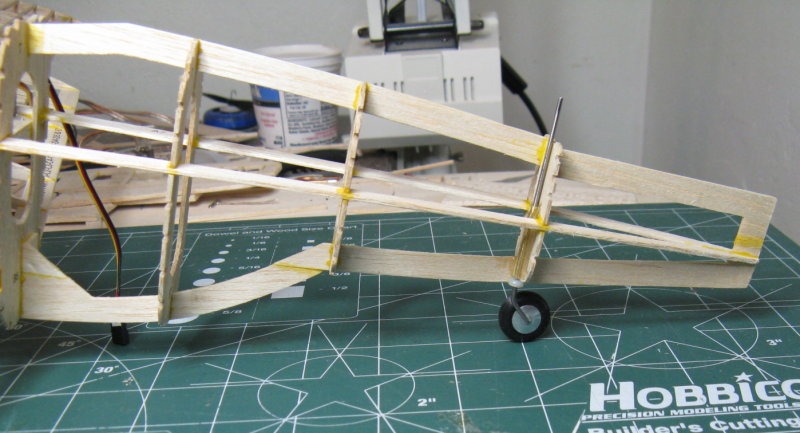
The tail wheel was working just fine till I put on the main wheels and gave it a test roll. This is also the first time I have used a wheel with a metal hub so I was actually able to solder on metal washers to hold it in place. |
| SteveM, Image # 9292 | 07 Sep 08 01:55 |
I was going to use small Du-Bro hinges on the tailfeathers till the unthinkable happened, someone set a "free" box outside their office door with a box of perfectly good 3.5" floppies in it. So now I have hinge material that it just the right size. |
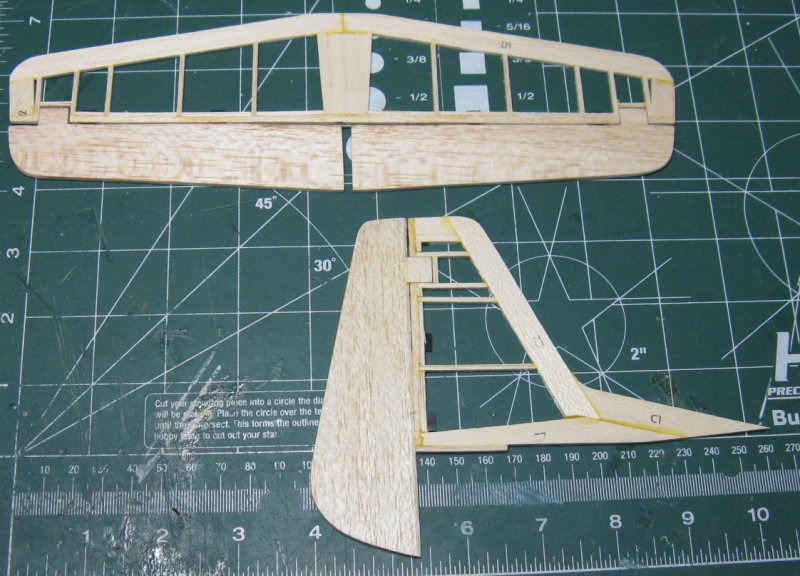
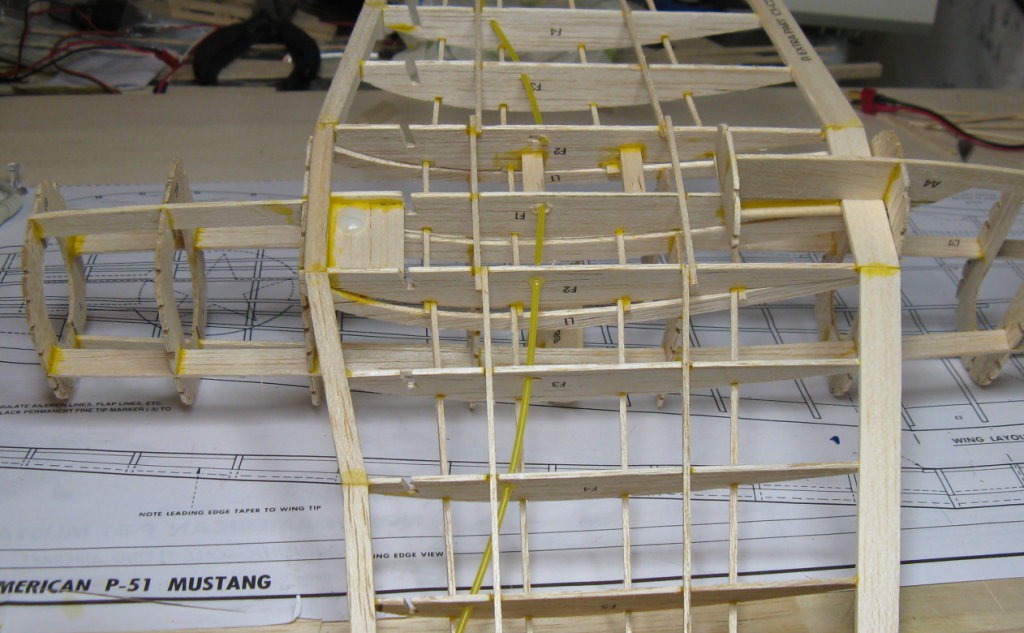
| SteveM, Image # 9225 | 30 Aug 08 23:48 |
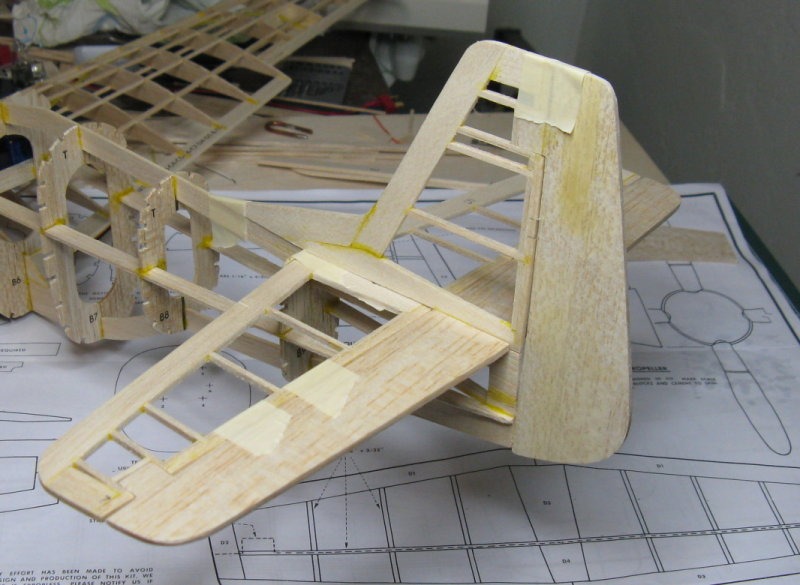
After doing some more work today I couldn't resist temporarily attaching the tailfeathers to see if it wouldn't look more like a P-51. The next step is to install the tailwheel in its scale location then figure out how to make all the linkages work. |
| poppy, Comment for image # 9144 | 20 Aug 08 08:26 |
| Puurfect!! |
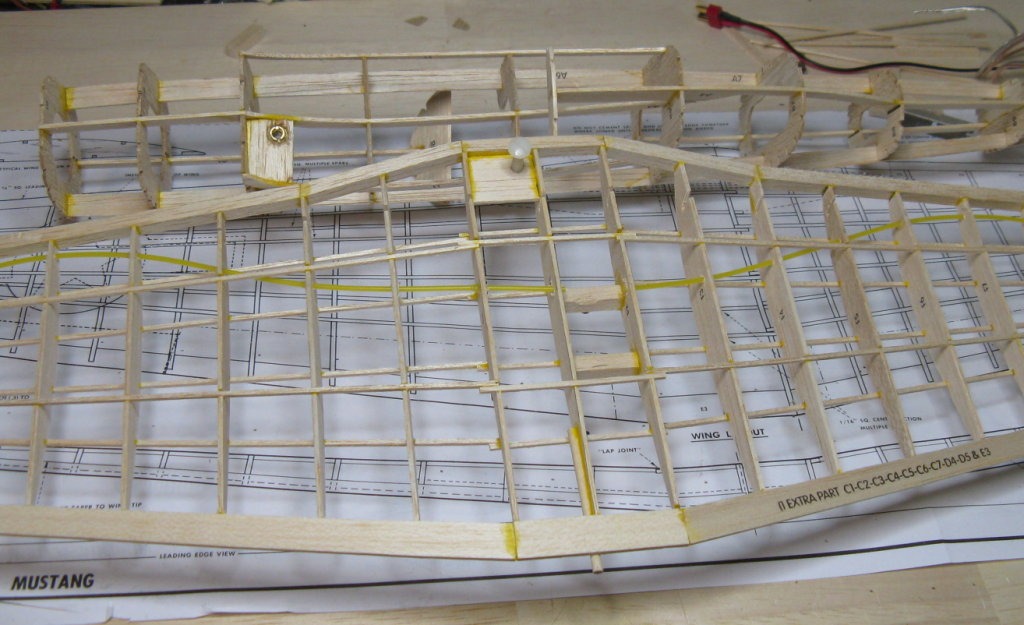
| SteveM, Image # 9144 | 20 Aug 08 02:41 |
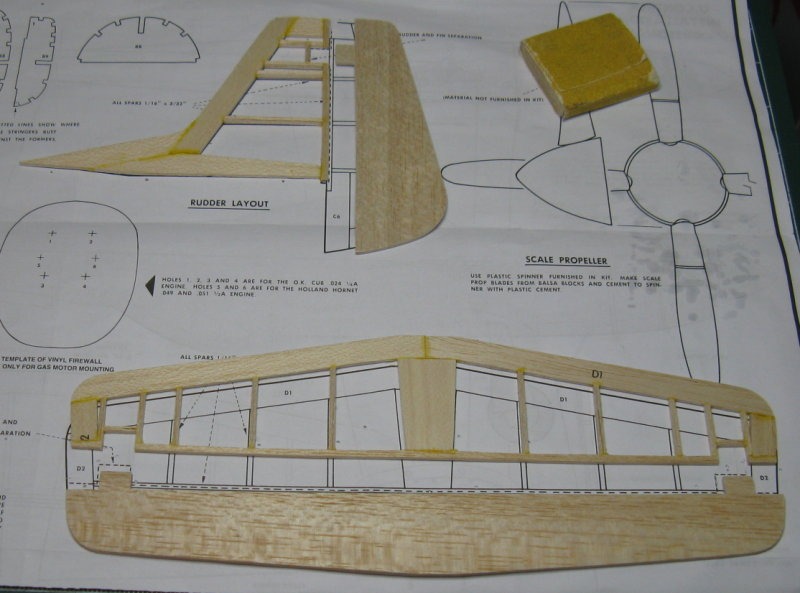
I went with the FF open frame on the non-movable parts and used some 10 lb. cu. ft. C grain for the movable parts (the aileron will have to be cut out to fit the rudder). The kit supplied wood for this was as heavy as plywood so I opted not to use it. |
| SteveM, Image # 9002 | 29 Jul 08 22:47 |
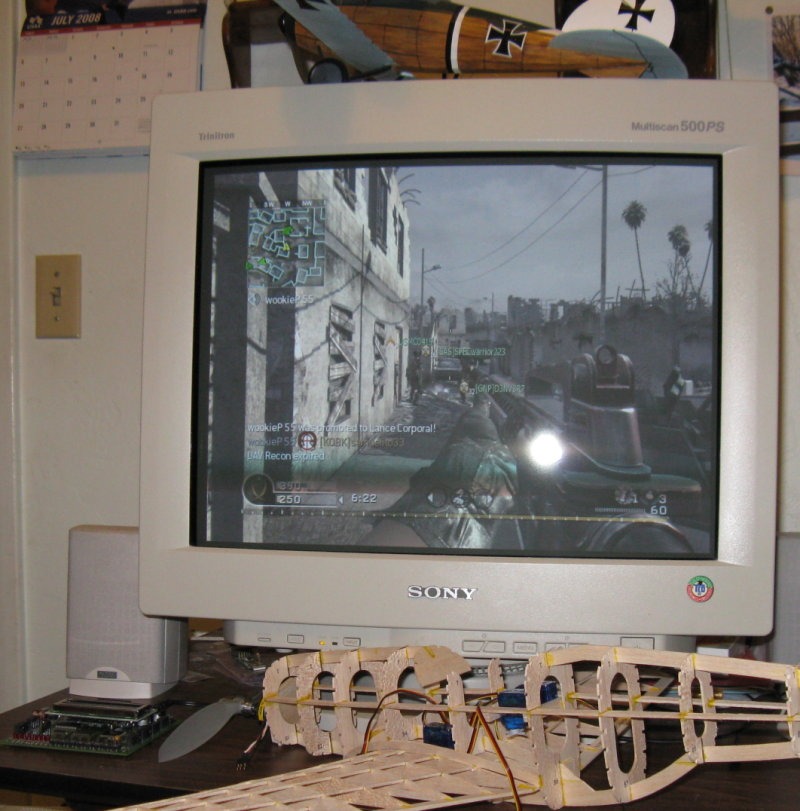
Some of us are young enough to enjoy video games and old enough to enjoy working with our hands too. Almost done fabricating the motor mount. |
| SteveM, Image # 8983 | 25 Jul 08 02:57 |
Here you can see the brass insert and the hole where the dowel goes. I used orderless thin CA on the brass insert so I will find out in a few hours if it effects me like normal CA. |
| SteveM, Image # 8982 | 25 Jul 08 02:54 |
As promised, nylon wing bolt in front and wood dowel in the rear. I just used the dowel that was supplied in the kit for the rubber motor. |
| SteveM, Image # 8904 | 14 Jul 08 13:16 |
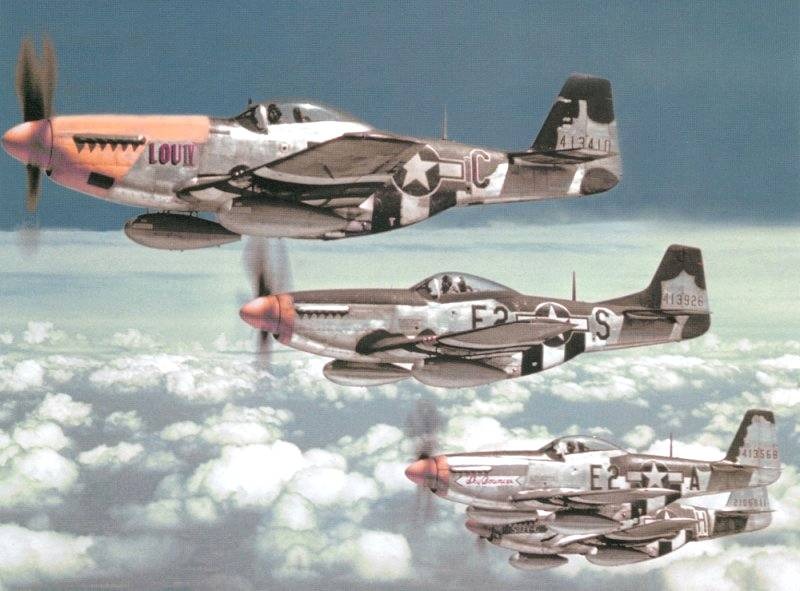
The famous flight-of-four lead by the Lou IV. |
| SteveM, Comment for image # 8891 | 14 Jul 08 12:05 |
| Shoot, not possible! I was considering the Luo IV/Athelene paint scheme (or any of the famous four) but I don't want to appear to be trying to put this in the same category as your Lou III. |
| poppy, Comment for image # 8891 | 14 Jul 08 11:19 |
| This puts my hanger queen to shame! |
| poppy, Comment for image # 8903 | 14 Jul 08 11:14 |
| Whatever works. Looks great. |
| John M Oshust, Comment for image # 8903 | 14 Jul 08 08:51 |
| Slick idea, its gets the job done, creative! |
| SteveM, Image # 8903 | 13 Jul 08 18:47 |
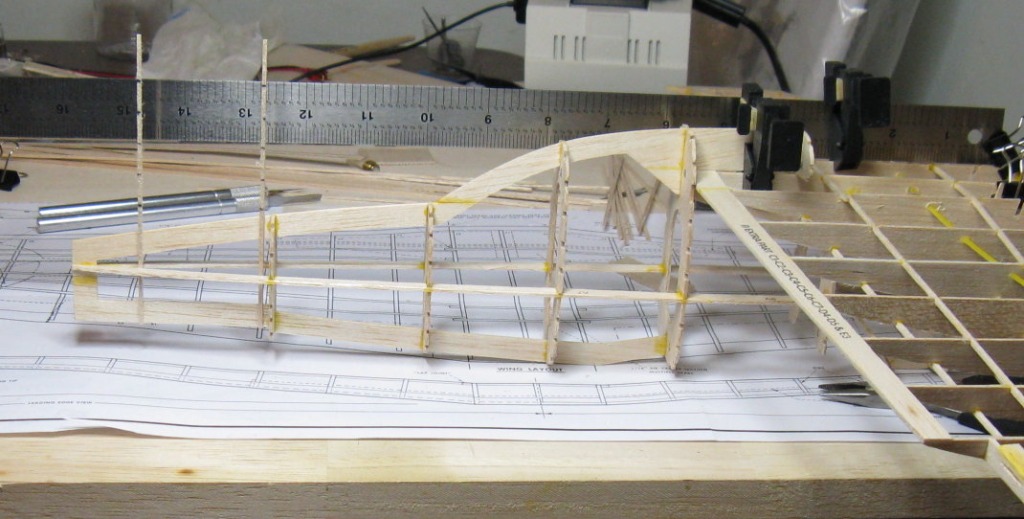
Poor man's wing incidence gage, looks like I am a few degrees positive. Stringers gave significant strength and stiffness to the wing, more so than the wing of my MM Hellcat which uses a main spar with webbing. |
| SteveM, Image # 8891 | 11 Jul 08 23:14 |
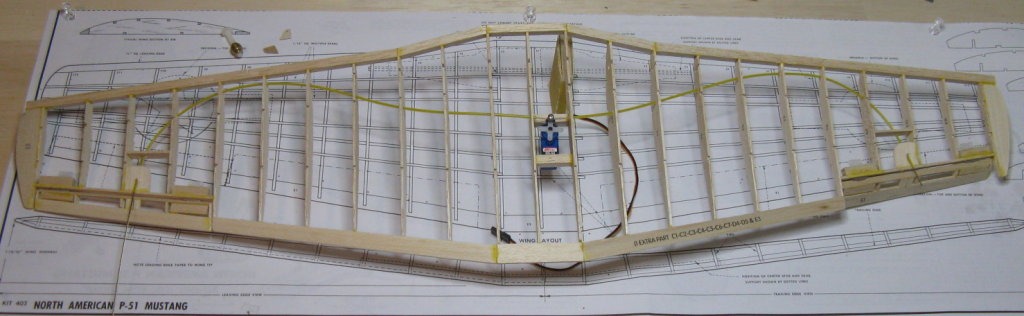
Cable moves 1/8" in each direction and ailerons are free to move up to 5/8" in each direction. That means I want to size the aileron horn to give me a 4:1 or 5:1 movement ratio. Nylon wing bolt and brass insert will attach the wing LE to the fuselage. |
| Build Thread, Page :
<< 4 5 6 7 8 [ 9 ] 10 11 12 (222 posts, 20 posts per page, 12 pages in total)
|
[ < Prev ] [ Next > ] |
