| Build Thread, Page :
<< 7 8 9 10 11 [ 12 ] 13 14 15 (284 posts, 20 posts per page, 15 pages in total)
|
[ < Prev ] [ Next > ] |
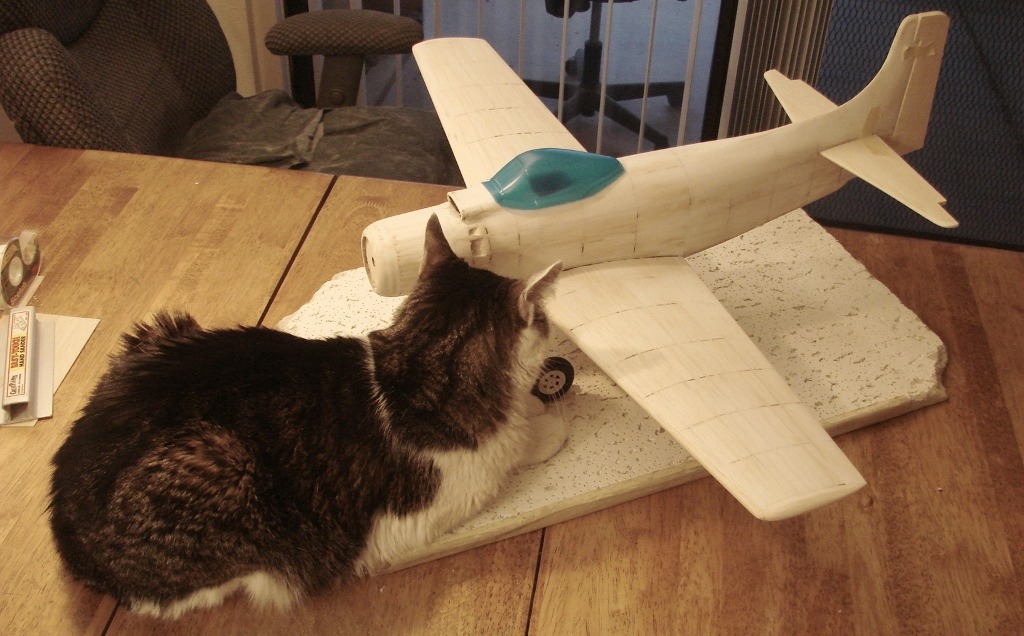
| TJH, Comment for image # 21926 | 30 Mar 11 11:37 |
| That's one kitty that should be happy to be inside. |
| David Duckett, Comment for image # 21929 | 30 Mar 11 08:25 |
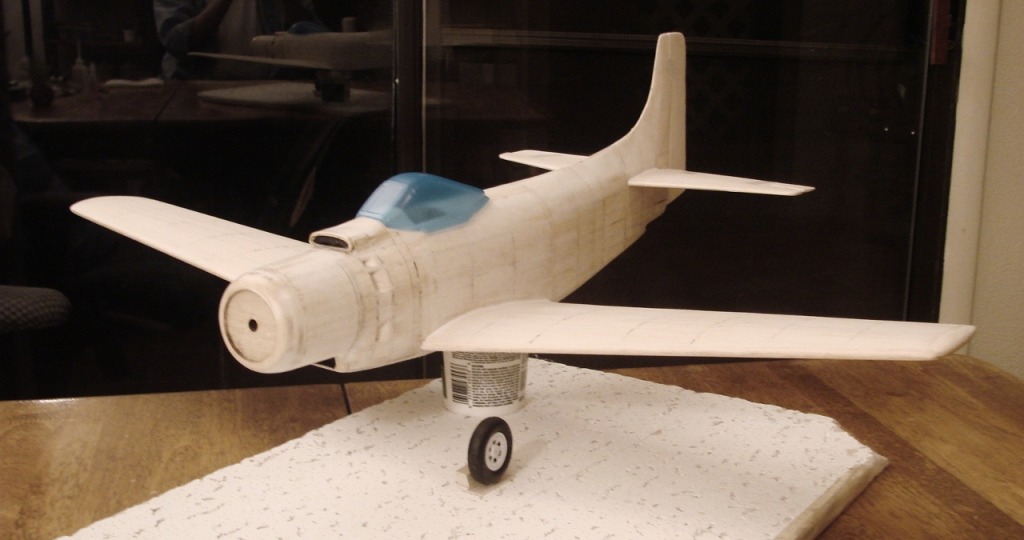
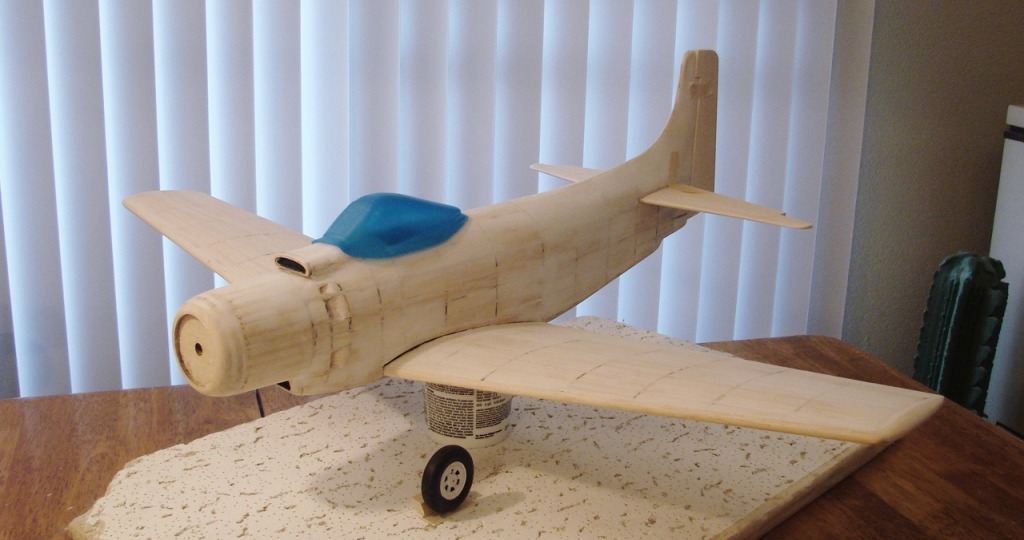
| The structure gets two coats of nitrate dope to seal the wood and make it smooth before covering with heavy grade silkspan. After covering, it will now get three or four coats, with light sanding between, to seal the silkspan and to make the surface smooth. Finally, when it starts to shine, it will be ready for paint. I've found that a smooth surface will cause the acrylic paint to have more of a sheen than if painted on a rough surface. I believe that all my models, except two, are covered with silkspan. |
| RTD89, Comment for image # 21929 | 30 Mar 11 08:11 |
| I thought you weren't using any tissue. Does the nitrate dope seal the wood before you prime it? |
| jgood, Comment for image # 21926 | 30 Mar 11 08:09 |
| Woah! |
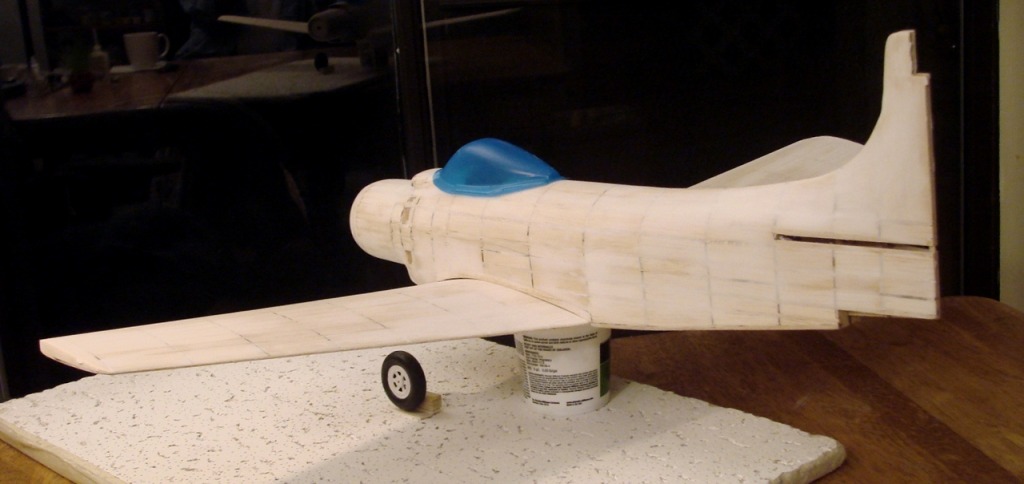
| David Duckett, Comment for image # 21929 | 30 Mar 11 07:04 |
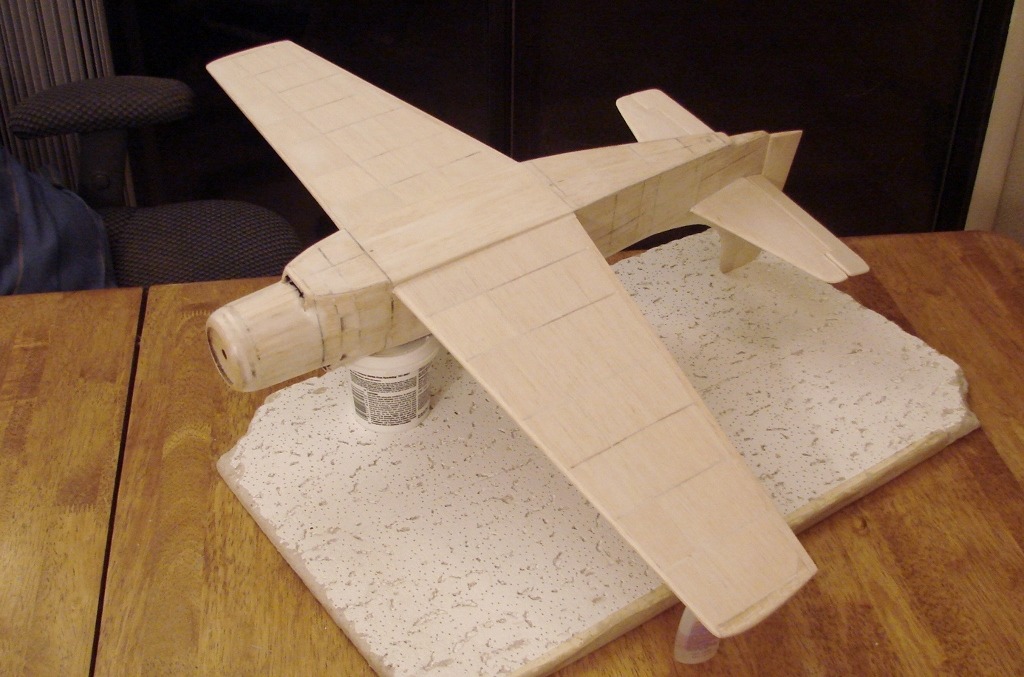
| After a few more coats of nitrate dope, it will be headed to the paint shop. |
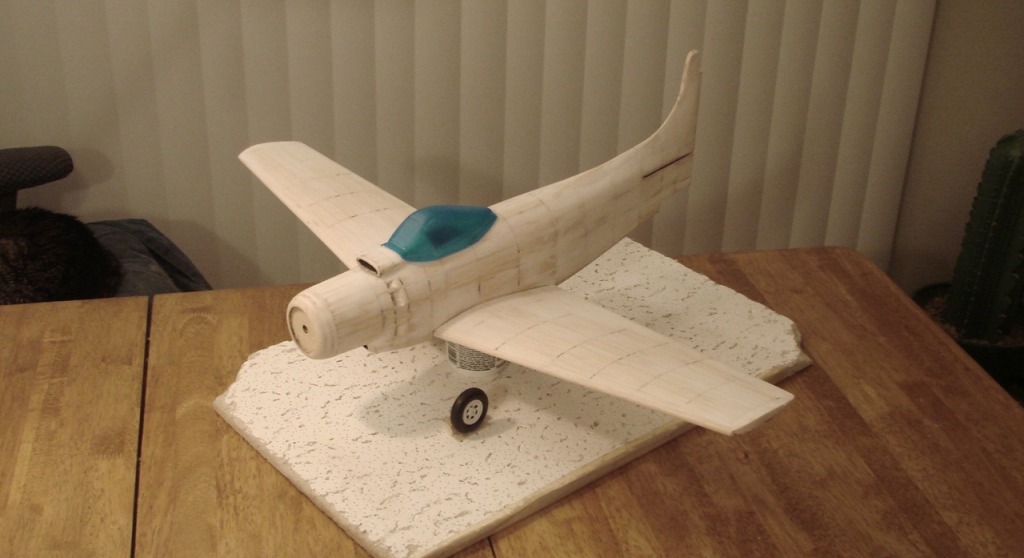
| David Duckett, Image # 21929 | 30 Mar 11 07:02 |
|
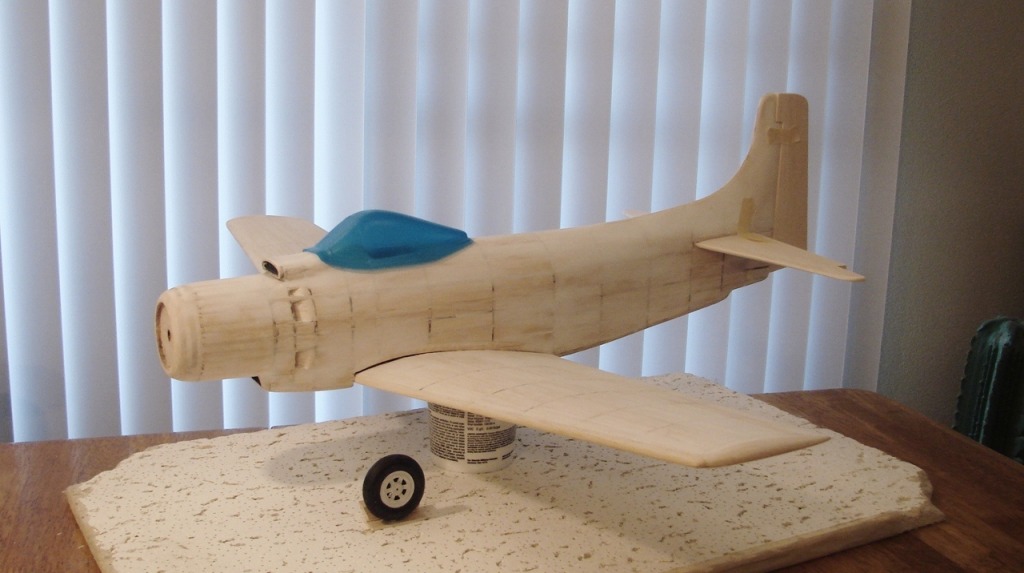
| David Duckett, Image # 21928 | 30 Mar 11 07:01 |
|
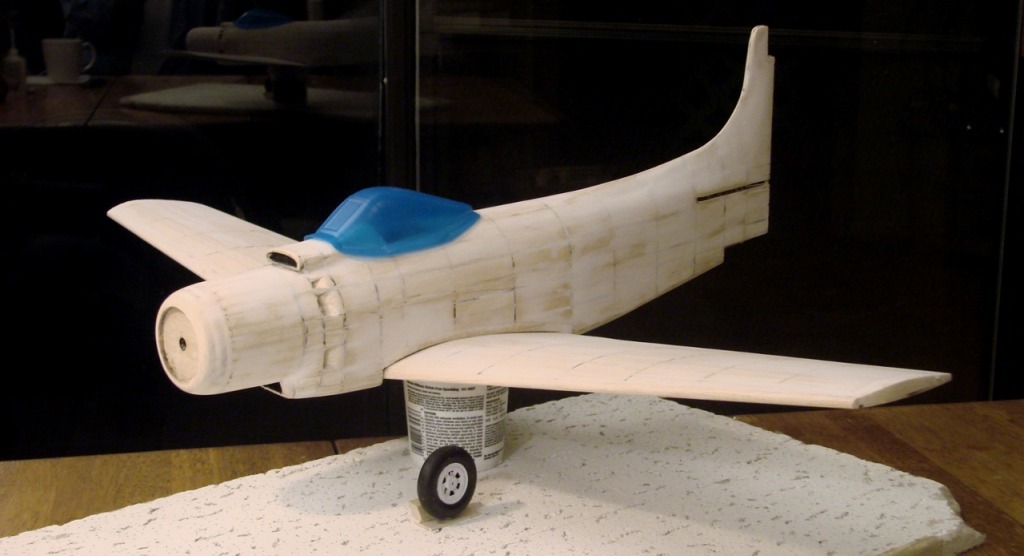
| David Duckett, Image # 21927 | 30 Mar 11 07:01 |
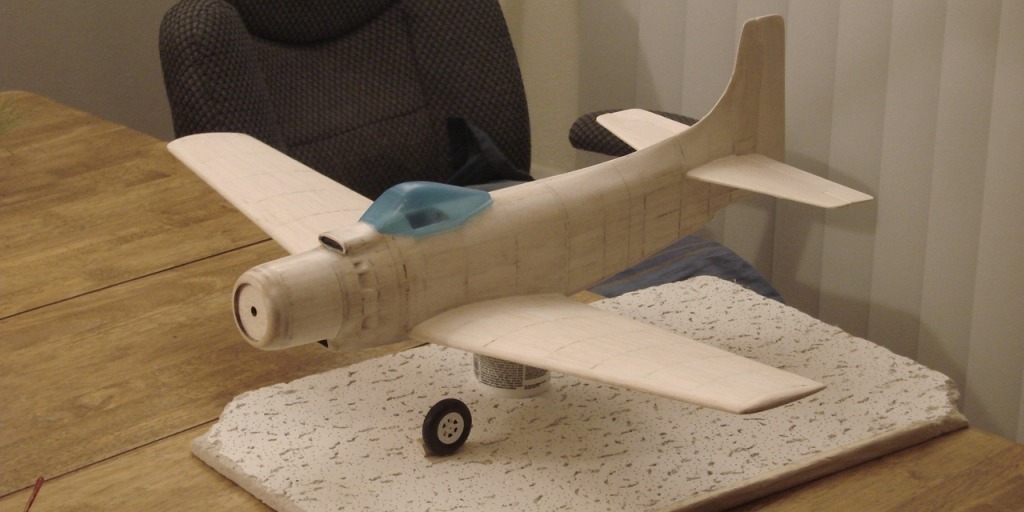
Covering is finished |
| David Duckett, Image # 21882 | 28 Mar 11 03:17 |
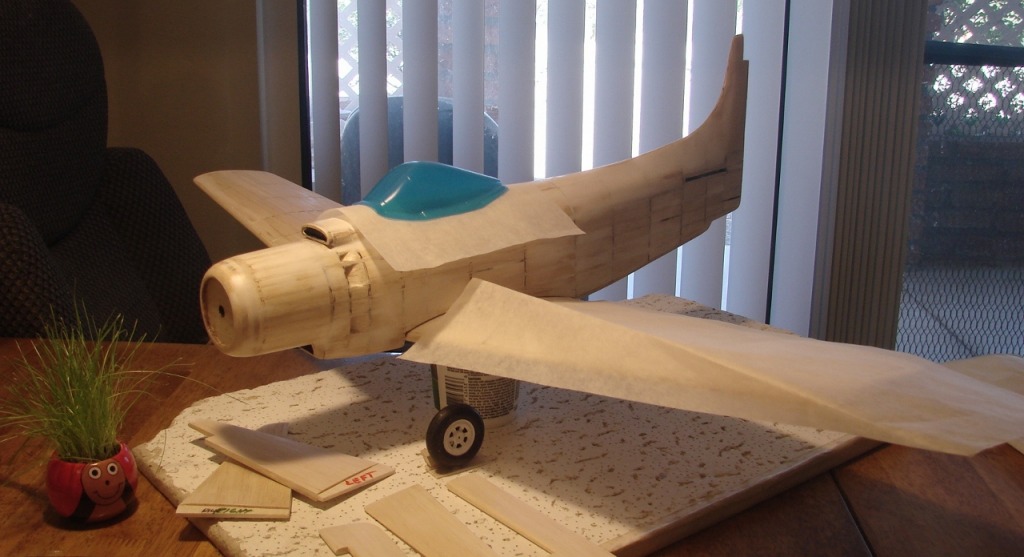
Starting covering |
| David Duckett, Image # 21808 | 23 Mar 11 21:38 |

As if the table didn't have enough cuts and gouges... |
| David Duckett, Comment for image # 21755 | 22 Mar 11 17:16 |
| It's mine. The plans call for the rudder to be built up and would be 1/16" thick. I'm using a piece of 1/4" stock and will for the elevators, as well, which are built up but 1/8" thick on the plans. |
| moostang51, Comment for image # 21755 | 22 Mar 11 16:42 |
| DD, is the solid rudder on the fin, kit supplied or your own creation? Just noticed this. Oh btw, dyslexia bout gone now. |
| David Duckett, Image # 21755 | 21 Mar 11 14:53 |
|
| David Duckett, Image # 21744 | 20 Mar 11 18:59 |
The shape is nearly complete. |
| David Duckett, Image # 21743 | 20 Mar 11 18:58 |
The plan stabilizer is 13" and looks a bit large so I scaled it and it's supposed to be 12" No mention is made as to whether the increased size is for flight. Normally scale outlines are given. |
| David Duckett, Image # 21711 | 19 Mar 11 07:32 |
|
| David Duckett, Image # 21710 | 19 Mar 11 07:32 |
|
| David Duckett, Image # 21709 | 19 Mar 11 07:32 |
I let the filler dry only 30 minutes but it was so hard I had to use the T-bar sander to sand it smooth. It worked. |
| lukebozek1, Comment for image # 21690 | 18 Mar 11 08:52 |
| I did something a little easier on my last build. I cut the ribs down by a 1/32 and ran a sheet from the root to the tip, from the leading edge to the first 3/32 stringer. It went much faster than the plug, seal and sand. Actually it reduced the seal and sand considerably. |
| moostang51, Comment for image # 21690 | 18 Mar 11 03:36 |
| Yes sir. The quickest way since often times the bevel from the previous cut requires just a flip and one more cut for the next piece. |
| Build Thread, Page :
<< 7 8 9 10 11 [ 12 ] 13 14 15 (284 posts, 20 posts per page, 15 pages in total)
|
[ < Prev ] [ Next > ] |
