| Build Thread, Page :
<< 9 10 11 12 13 [ 14 ] 15 (284 posts, 20 posts per page, 15 pages in total)
|
[ < Prev ] [ Next > ] |
| David Duckett, Comment for image # 21622 | 13 Mar 11 13:45 |
| That's why the technical terms, nose and tail, are used. |
| John M Oshust, Comment for image # 21622 | 13 Mar 11 13:39 |
| This , of course is true if looking from the posterior end of the plane. All is reversed if viewed from the anterior! |
| BriandKilby, Comment for image # 21622 | 13 Mar 11 13:08 |
| looks really promising, i'll have to get me one of those 30" skyraider's for a future build. |
| David Duckett, Comment for image # 21622 | 13 Mar 11 12:26 |
| By George, you've got it! |
| David Duckett, Image # 21623 | 13 Mar 11 12:20 |
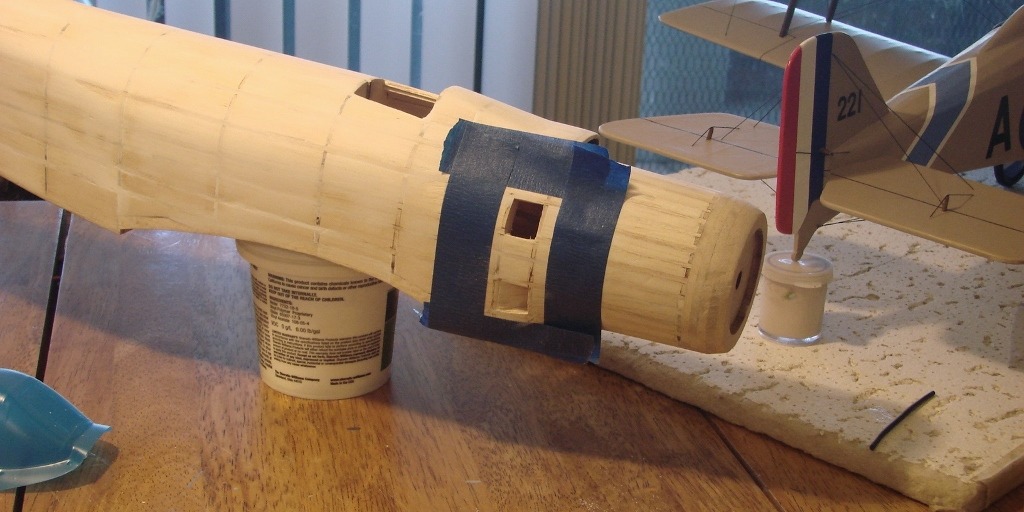
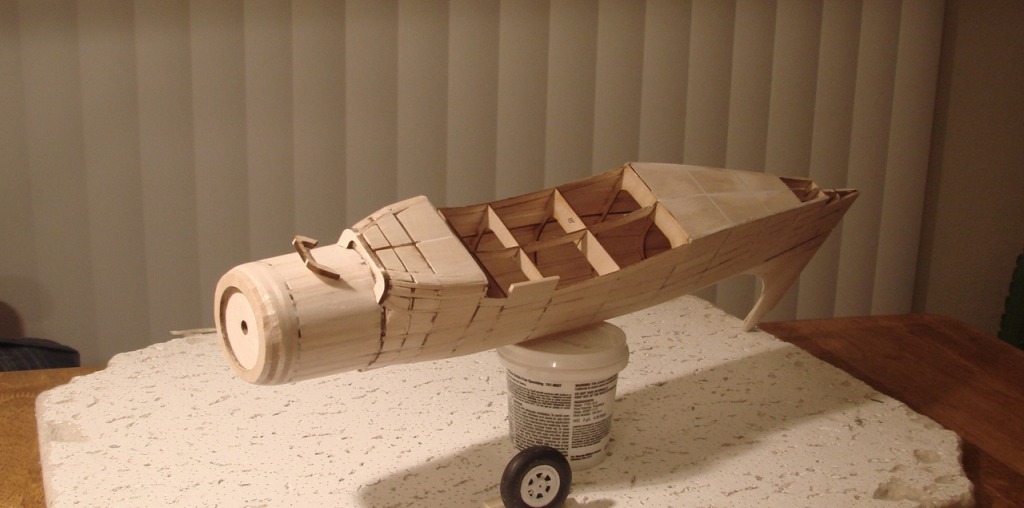
I used an x-acto knife to remove the wood panels between the stringers, (top). I then glued in another piece of balsa cut on a bevel to fit against the front former. I used sandpaper glued to a piece of wood the same size as the opening to sand the rear smooth with the back former. Finally I glued triangular pieces of 1/32" balsa at the top and bottom of the openings. Easy. |
| jerry campbell, Comment for image # 21622 | 13 Mar 11 09:24 |
| Would sure be nice if you showed how you carved these ports, showing the tool you used and how you used it. Great start to this project. |
| John M Oshust, Comment for image # 21622 | 13 Mar 11 09:09 |
| I get it...triple exhaust vents on the port side, just left of the air intake. |
| David Duckett, Comment for image # 21622 | 13 Mar 11 08:08 |
| No, they're ports, as well, and there are three, too. The cowl has been sanded to shape. |
| moostang51, Comment for image # 21622 | 13 Mar 11 06:34 |
| Would the right side be exhaust "starboards"? |
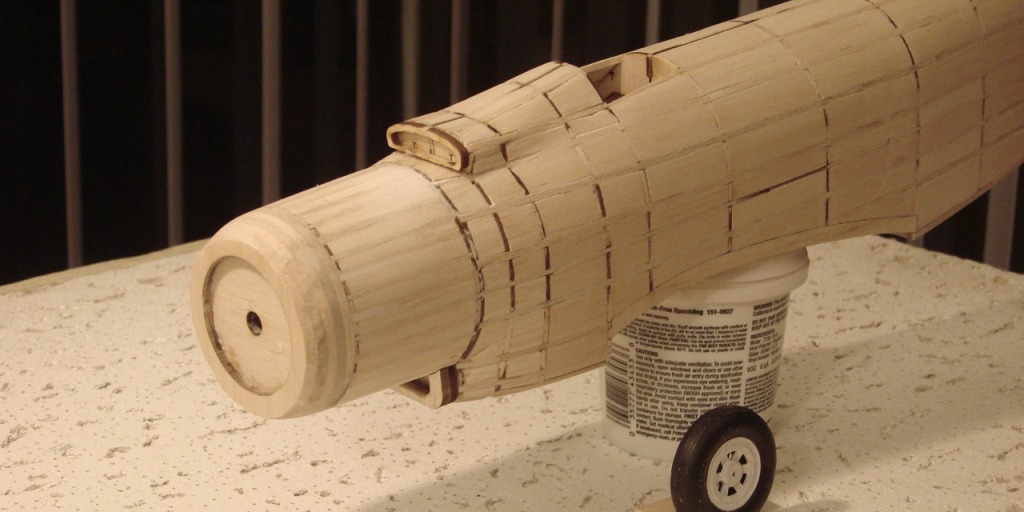
| David Duckett, Image # 21622 | 13 Mar 11 06:18 |
Exhaust "ports" added to the left side. The right side has them. also. |
| David Duckett, Comment for image # 21583 | 11 Mar 11 17:43 |
| You're correct. |
| moostang51, Comment for image # 21583 | 11 Mar 11 17:38 |
| Having never built a laser cut kit other than the "on hold" TF Spitty, it seems that the burned edges of the formers would provide a great reference gauge when sanding and shaping. I like how the rudder is already incorporated in the fuse construction. |
| JohnG., Comment for image # 21583 | 11 Mar 11 12:42 |
| Very very nice...well done...as usual. |
| David Duckett, Image # 21583 | 11 Mar 11 10:49 |
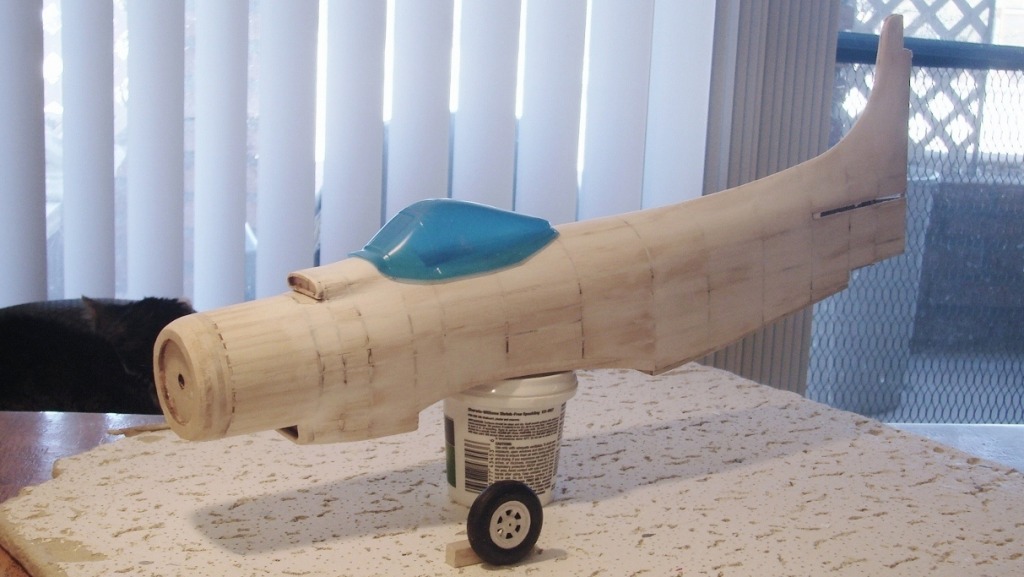
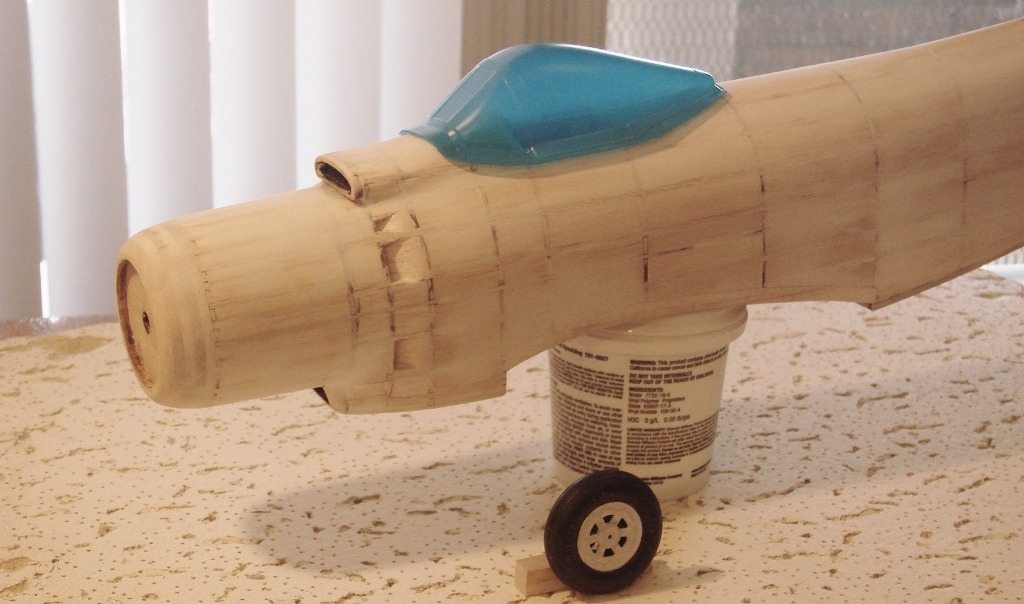
Sanded with 320 wet/dry sandpaper.Shaping of the cowling is next and then detail the two scoops before another coat of filler. |
| David Duckett, Image # 21582 | 11 Mar 11 10:47 |
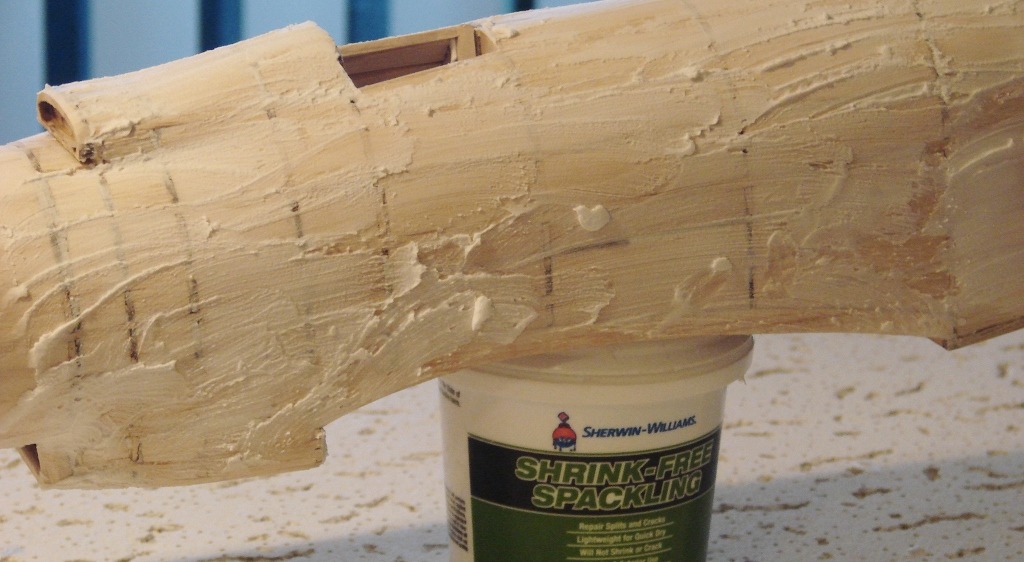
Filler by finger and let dry 45 minutes, about 10% humidity currently. |
| David Duckett, Image # 21581 | 11 Mar 11 10:45 |
Holes have been filled with glue and it's ready for some filler. |
| David Duckett, Image # 21580 | 11 Mar 11 10:43 |
Bottom air scoop is formed with two pieces. |
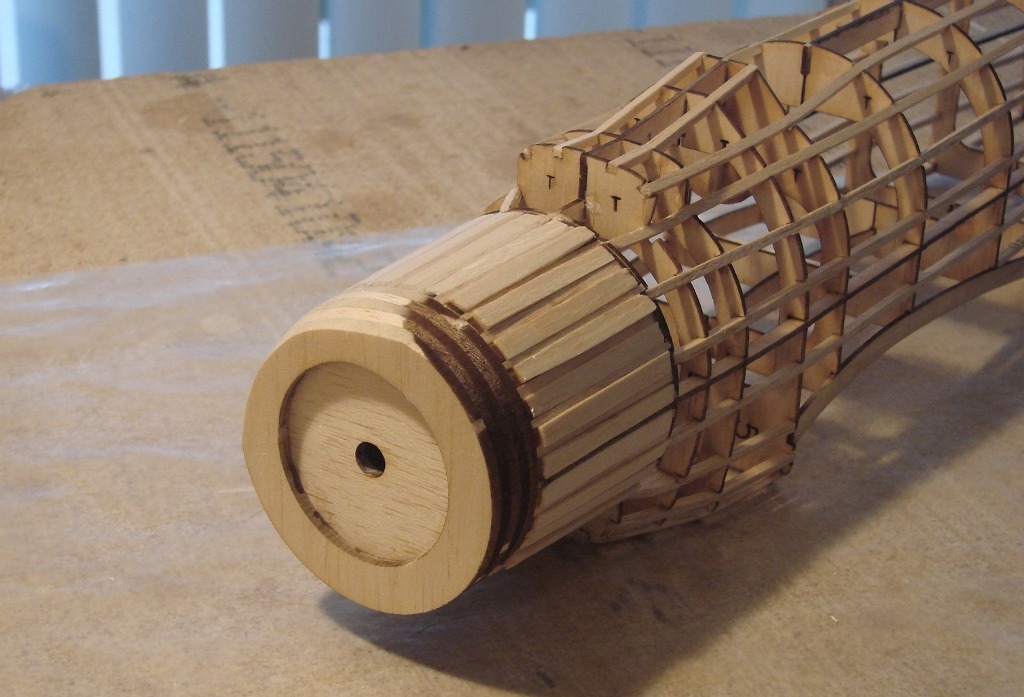
| David Duckett, Image # 21579 | 11 Mar 11 10:42 |

I used 3/32" and 3/16" good balsa for the fill. |
| Dfell, Comment for image # 21526 | 08 Mar 11 05:05 |
| This photo of yours and Nigel's (Roring40) one really shows the technique of filling in and answers a lot of my previous question to you. Obviously the sanding is critical, not to sand too much. |
| David Duckett, Image # 21526 | 08 Mar 11 00:00 |
Fill 'n sand |
| Build Thread, Page :
<< 9 10 11 12 13 [ 14 ] 15 (284 posts, 20 posts per page, 15 pages in total)
|
[ < Prev ] [ Next > ] |
