| Build Thread, Page :
<< 3 4 5 6 7 [ 8 ] 9 10 11 12 13 >> (368 posts, 20 posts per page, 19 pages in total)
|
[ < Prev ] [ Next > ] |
| Barnstormer, Comment for image # 7184 | 17 Mar 08 20:54 |
| Thanks Poppy, The decals came from an old 1/32 scale plastic kit. |
| poppy, Comment for image # 7184 | 17 Mar 08 20:46 |
| Perfect! And the prop decals are from? |
| John M Oshust, Comment for image # 7184 | 17 Mar 08 19:57 |
| I just spritzed the Rat for the first time with the same paint....works well. I guess the color of the primer tells a lot about the final color...their grey works equally as well! |
| Barnstormer, Comment for image # 7184 | 17 Mar 08 19:42 |
| Jedi. try a fresh single edge razor blade, I had my best luck with that. You can do it my friend. |
| Barnstormer, Comment for image # 7184 | 17 Mar 08 19:37 |
| Wingspanner I've been using Rust-oleum brand "Painter's Touch" white primer. It doesn't dry as fast as alot of automotive primers but it seems to fill irregularities well and build thickness fast, just have to let it dry overnite to sand or it will clog up the sandpaper.
Jedi just take it slow, I know you can do it. |
| Jedi, Comment for image # 7184 | 17 Mar 08 19:14 |
| your right except I made the mistake of putting the final paint job on that part already and man it would suck to have to re-do it all again........I'm scared :-) |
| wingspanner, Comment for image # 7184 | 17 Mar 08 18:56 |
| What do you use for primer? |
| Barnstormer, Comment for image # 7184 | 17 Mar 08 17:55 |
| Thanks guys for all the kind words, you are all very encouraging, Honest it really is balsa. Hey Jedi, I was pretty nervous to cut the first slot for the exhaust then I realized this thing is balsa, if I goof up I can just fill in with more balsa and prime and sand a little more, then try again. Not so bad after that. |
| sweetwillie, Comment for image # 7184 | 17 Mar 08 09:56 |
| It's got to be plastic! Balsa and tissue surely can't look that good. Or can it? What a beauty!! |
| wingspanner, Comment for image # 7184 | 17 Mar 08 06:19 |
| This is beautiful. You would think it was moulded from plastic. |
| Jedi, Comment for image # 7184 | 16 Mar 08 23:20 |
| Im such a big fan ..... this is awesome!! I to am going to be scared when i cut in to it to put the exhaust. |
| David Duckett, Comment for image # 7184 | 16 Mar 08 21:30 |
| The point at which building models becomes art. |
| Barnstormer, Image # 7184 | 16 Mar 08 21:25 |
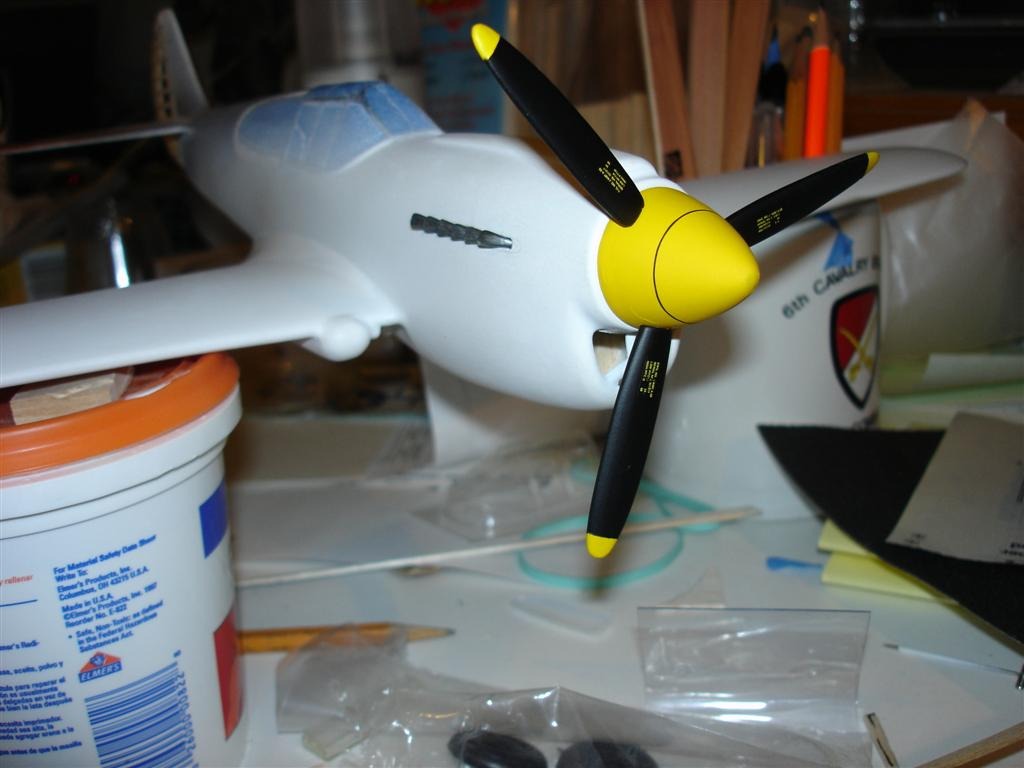
Another test fit. |
| Barnstormer, Image # 7183 | 16 Mar 08 21:24 |
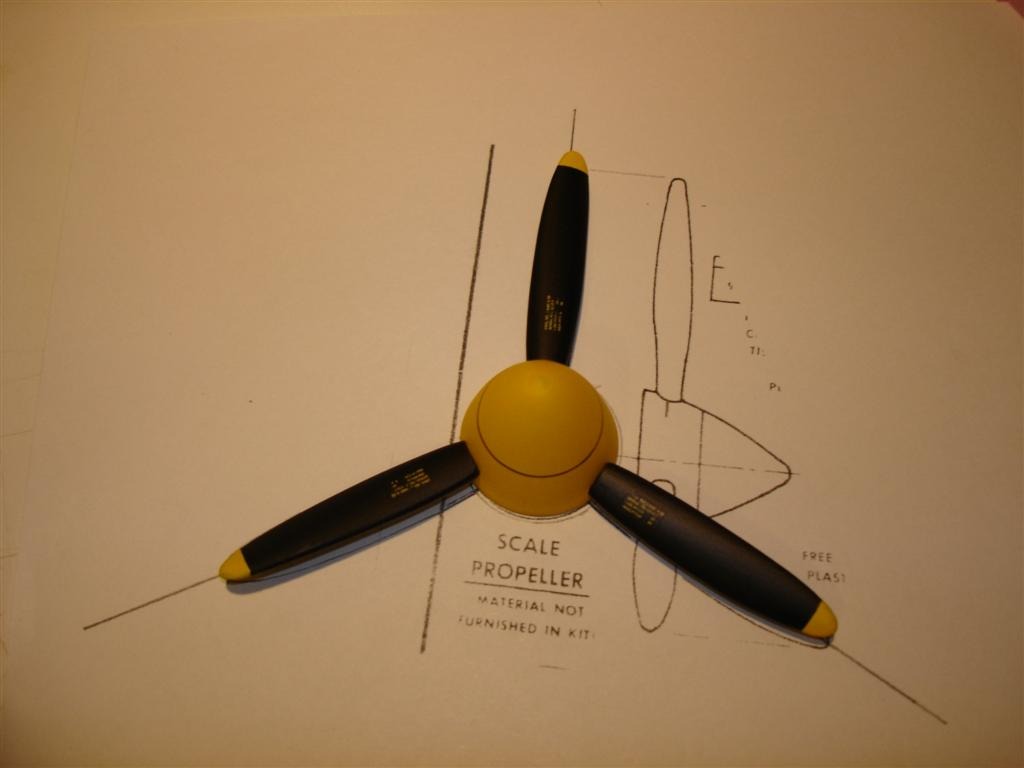
Prop and spinner painted and detailed |
| moostang51, Comment for image # 7159 | 16 Mar 08 18:29 |
| If I didn't see earlier pics, I would have thought the prop and spinner were cast as one piece. Believe me, they get easier the more your carve them. Perfecto. |
| Barnstormer, Comment for image # 7159 | 16 Mar 08 15:33 |
| John O. and Moos are right on, mount the cowl to balsa then mount the balsa and cowl combo to the fuse, then sand flush and micro fill. |
| moostang51, Comment for image # 7159 | 16 Mar 08 14:42 |
| Agree with Johnny O, but fit the cowl on a 1/16" piece of balsa and mount the piece to the front of the fuse. Sand fuse down to that size and then mount the cowl. BINGO. Hey, there's always Micro-Fill if it's not perfect. |
| John M Oshust, Comment for image # 7159 | 16 Mar 08 14:15 |
| SW Sand the nose until the cowl slides over the fuse. |
| sweetwillie, Comment for image # 7159 | 16 Mar 08 13:58 |
| That's a beautiful job. Mine is sitting on my work area, with a fuselage that's too big in circumferance because I used 1/16" balsa to cover it with, now, the cowling won't fit it. I don't know how to correct it. |
| poppy, Comment for image # 7159 | 16 Mar 08 07:29 |
| Looks like it's been molded. Beautiful work!! |
| Build Thread, Page :
<< 3 4 5 6 7 [ 8 ] 9 10 11 12 13 >> (368 posts, 20 posts per page, 19 pages in total)
|
[ < Prev ] [ Next > ] |
