|
Main Menu
User Login
View By Aircraft
Users Aircraft
|
| Build Thread, Page :
<< 3 4 5 6 7 [ 8 ] 9 (162 posts, 20 posts per page, 9 pages in total)
|
[ < Prev ] [ Next > ] |
| heywooood, Comment for image # 42403 | 29 Jun 20 11:08 | | I apply initial two rounds of filler without water..just as it comes from the tub.
Then I brush on the Deluxe Sand and Seal. After two hours minimum drying time I can apply the spackle wet and it wont swell the woodgrain beyond the desired amount. You want it to rise a little so you can effectively sand it off. I sand the subsequent rounds of spackle with a swirling motion to ‘round’ the surface - ie: to get the infill to match the radius of the fuselage or wing section and remove flat spots if any. After the filler sessions I apply one last topcoat of Sand N Seal then polish the surface with 320 down to 400 grit - not to sand through the sealer but to flatten and polish it. Then the surfacing primer goes on and is sanded away. Then pigment. |
| heywooood, Comment for image # 42404 | 29 Jun 20 10:58 | |
| David Duckett, Comment for image # 42404 | 29 Jun 20 03:50 | | I have not used Ezedope so I don't know how it would work. At this point I paint on three coats of thinned nitrate dope, sanding after the first and third coat. I apply silkspan wet, anchor on the sides with dope, smooth it out and dope it in place. I put on three coats and then sand with 320 wet/dry sandpaper. Ready to paint. About filler: I put it on with my fingers straight from the tub. Diluting it would add moisture and that will affect the balsa. |
| Striamed1, Image # 42404 | 28 Jun 20 21:32 | 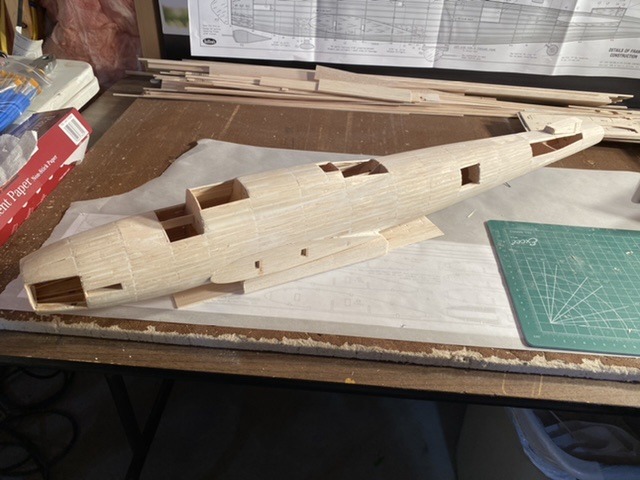
Sanded out nice. Could use suggestions on how to cover with silk sceen and eze dope 50:50. I am a ways away but would appreciate tricks to make it go on smooth on a planked/filled surface |
| Striamed1, Image # 42403 | 28 Jun 20 21:28 | 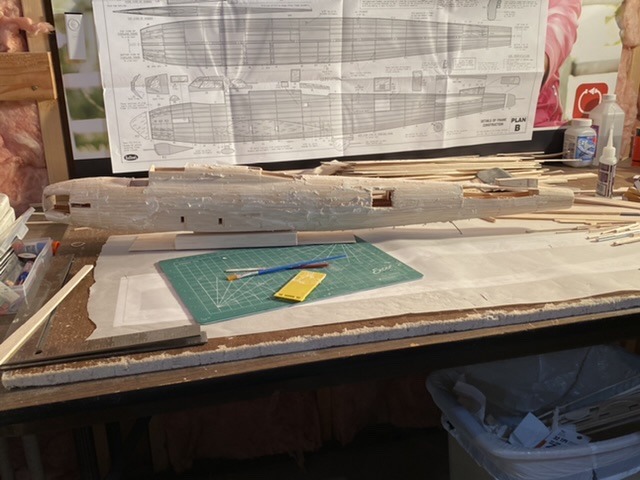
Applied filler with plastic tool.question: how watery should the filler be when applying? |
| Striamed1, Image # 42402 | 28 Jun 20 21:25 | 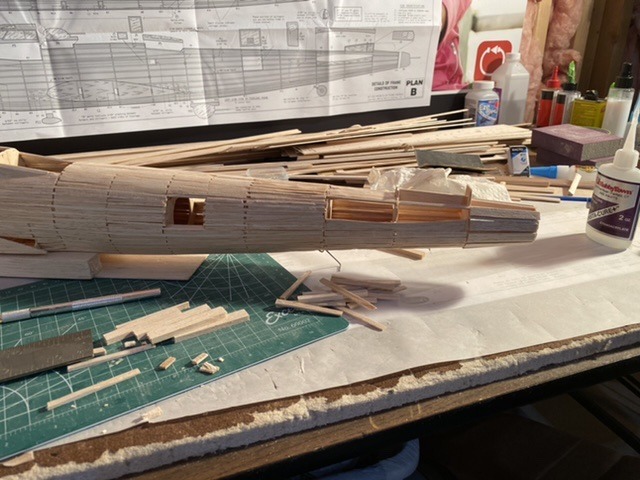
|
| Striamed1, Image # 42401 | 28 Jun 20 21:24 | 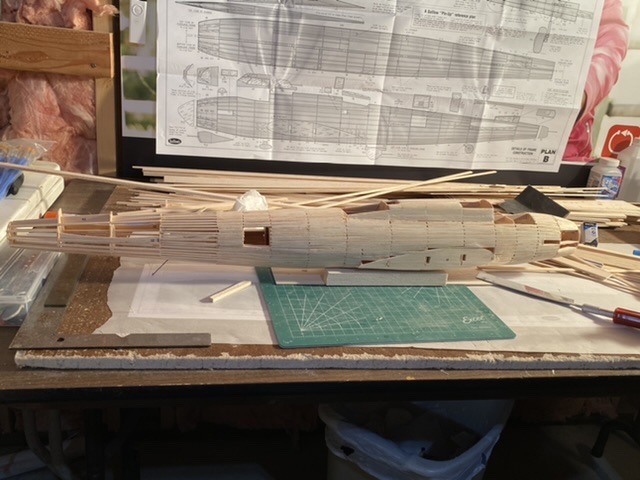
|
| Striamed1, Image # 42400 | 28 Jun 20 21:23 | 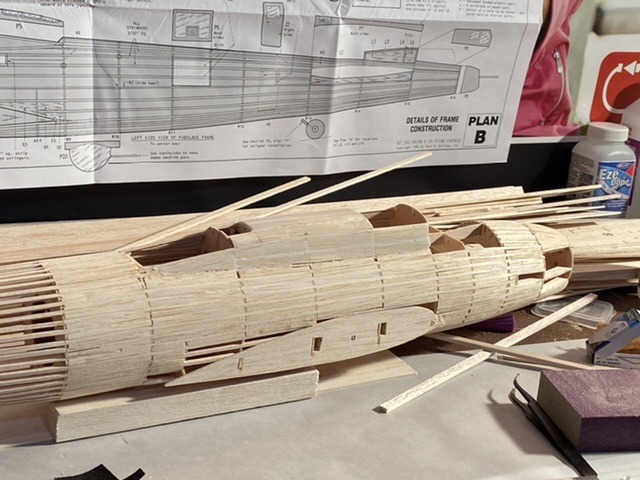
Sands nicely. Careful not to buy basswood filler or stringers. Suboptimal. |
| Striamed1, Image # 42399 | 28 Jun 20 21:21 | 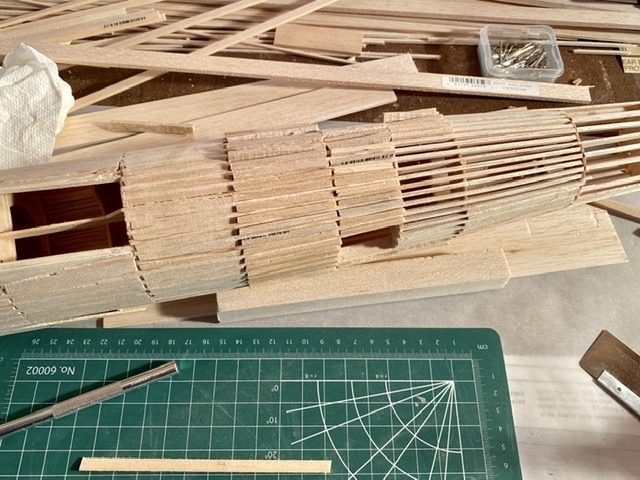
|
| Striamed1, Image # 42398 | 28 Jun 20 21:20 | 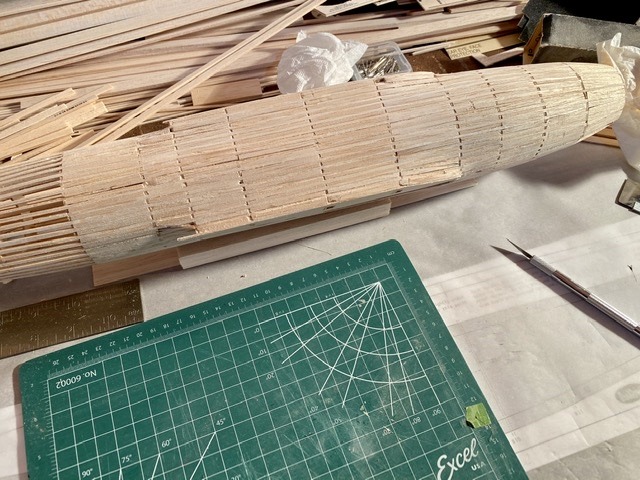
|
| Striamed1, Image # 42397 | 28 Jun 20 21:19 | 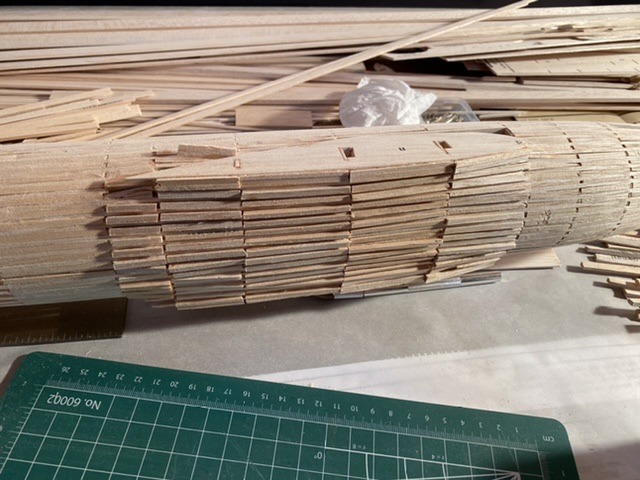
Gluing the planking in with CA, whittling it down and sanding the rest. Anyone else have any better suggestions? |
| Striamed1, Image # 42387 | 27 Jun 20 21:52 | 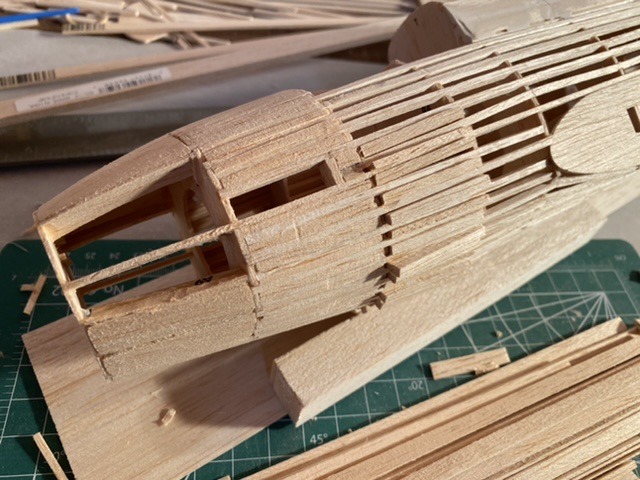
Filling in the spaces. 1/8” by 1/4” strip tapered across the 1/4” surface |
| Striamed1, Image # 42386 | 27 Jun 20 21:45 | 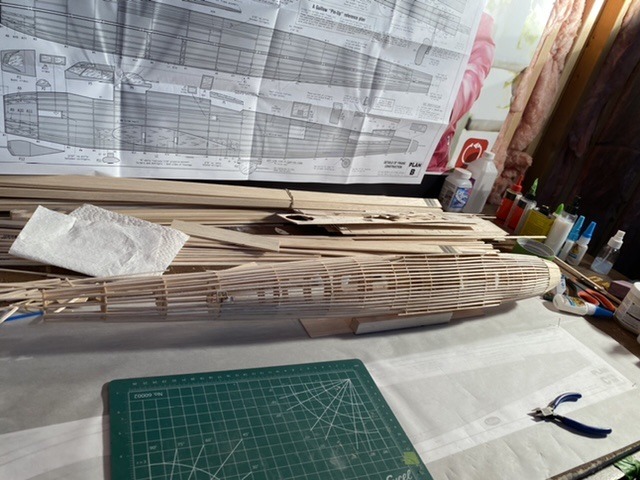
|
| Striamed1, Image # 42385 | 27 Jun 20 21:44 | 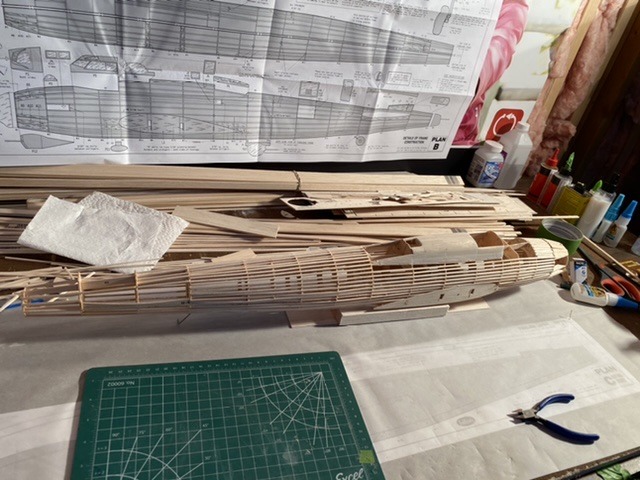
|
| Striamed1, Image # 42384 | 27 Jun 20 21:42 | 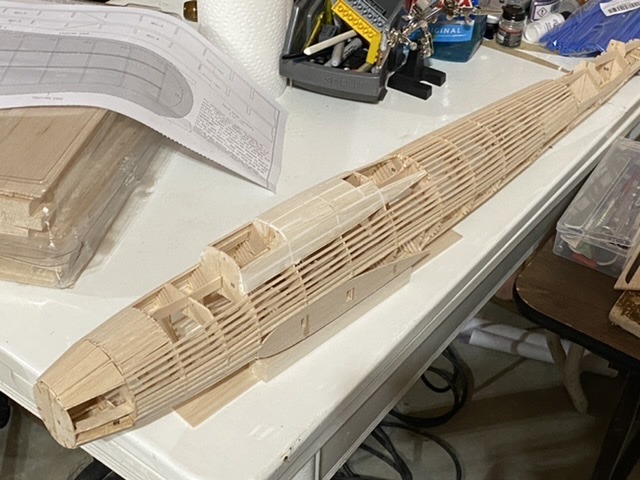
...and more balsa |
| Striamed1, Image # 42383 | 27 Jun 20 21:35 | 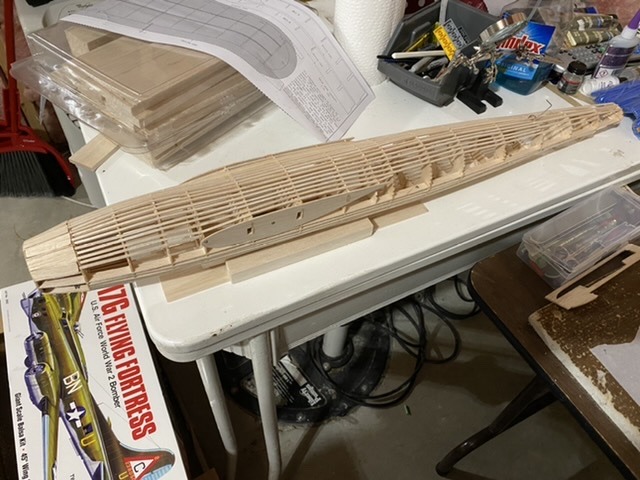
|
| Striamed1, Image # 42382 | 27 Jun 20 21:34 | 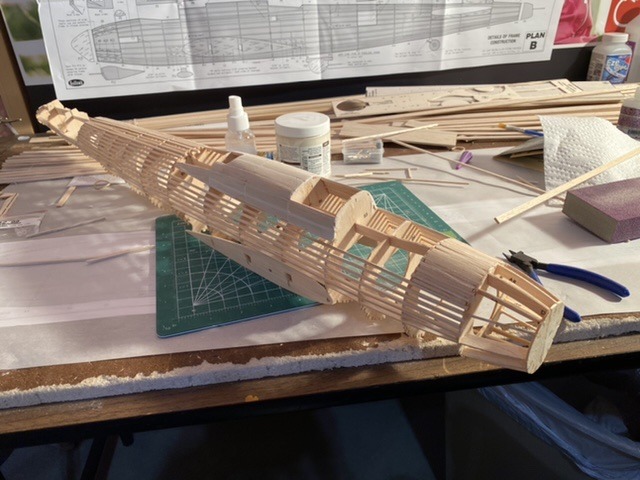
Sanded nice. More 3/32” balsa. |
| Striamed1, Image # 42381 | 27 Jun 20 21:26 | 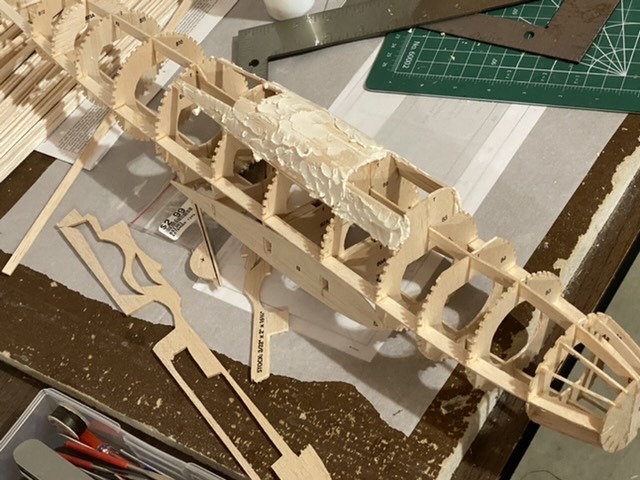
First attept at planking and adding balsa filler. |
| Striamed1, Image # 42380 | 27 Jun 20 21:24 | 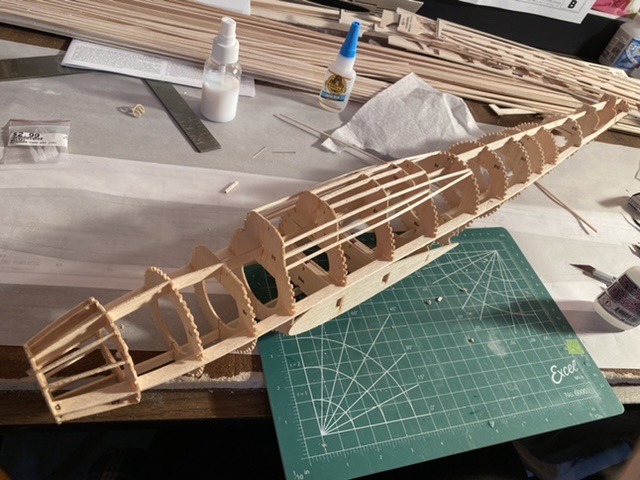
|
| Striamed1, Image # 42379 | 27 Jun 20 21:23 | 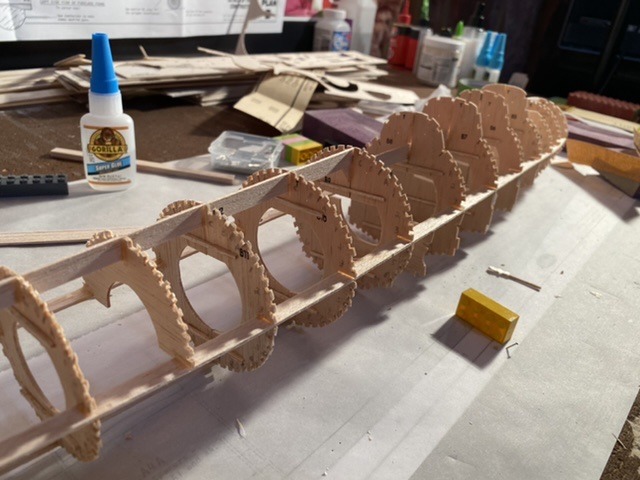
Applying CA to the side of the Balsa prior to cutting the notches reduced inter-stringer wood breaks. |
| Build Thread, Page :
<< 3 4 5 6 7 [ 8 ] 9 (162 posts, 20 posts per page, 9 pages in total)
|
[ < Prev ] [ Next > ] |
|
