| Build Thread, Page :
1 2 3 4 5 [ 6 ] 7 8 9 (166 posts, 20 posts per page, 9 pages in total)
|
[ < Prev ] [ Next > ] |
| poppy, Comment for image # 3600 | 15 Jul 07 19:15 |
| Very nice. |
| moostang51, Comment for image # 3601 | 15 Jul 07 18:12 |
| Sorry for poor photo and typos, Unfortunately mutiple "silver bullets" proved to be my demise. |
| moostang51, Image # 3601 | 15 Jul 07 18:09 |
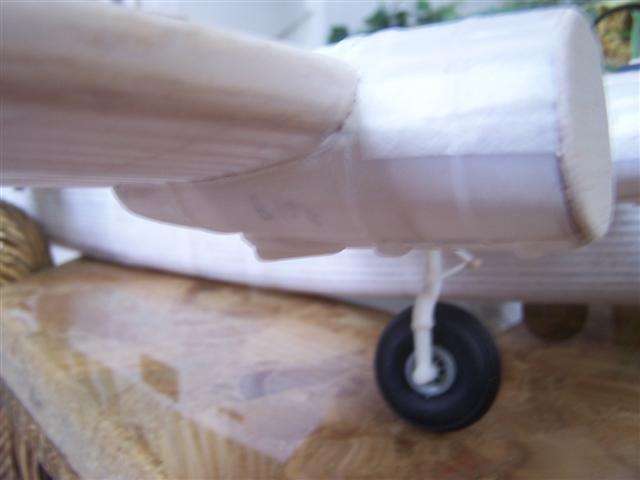
Landing gear needs one more strut. As with David, nacelles didn't fit, so had tyo pqde out with 1/16 stock tapered down. Additinal silkspan will help. Hope to sneak in one night this week for nacelle maounting. So close to painting....Ughhhhhh.. |
| moostang51, Image # 3600 | 15 Jul 07 18:02 |
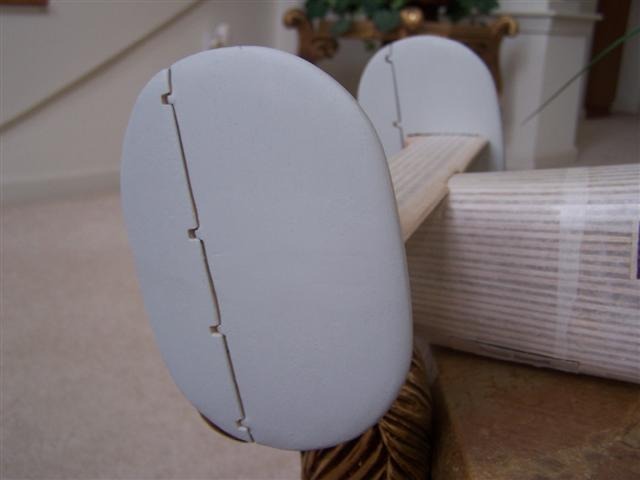
Two coats of Pactra Primer/Sealer on hand carved rudders. They are hinged but right now very rigid to show seperation for static display. |
| moostang51, Image # 3540 | 08 Jul 07 19:09 |
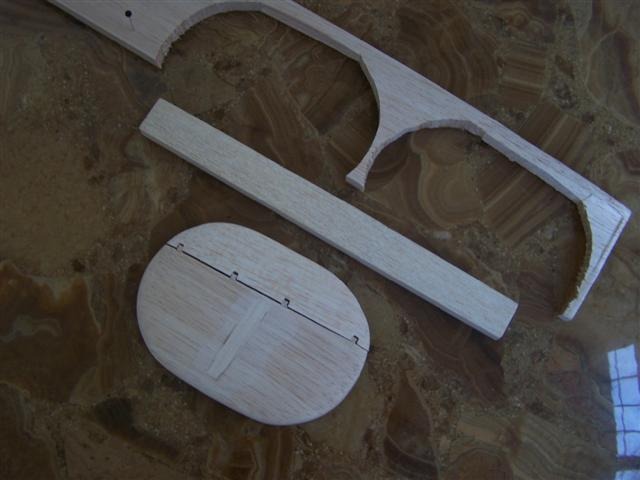
Rudder near completion. The stabilizer patch installed and sanded and the four hinge pivot points installed. |
| moostang51, Image # 3537 | 08 Jul 07 19:07 |
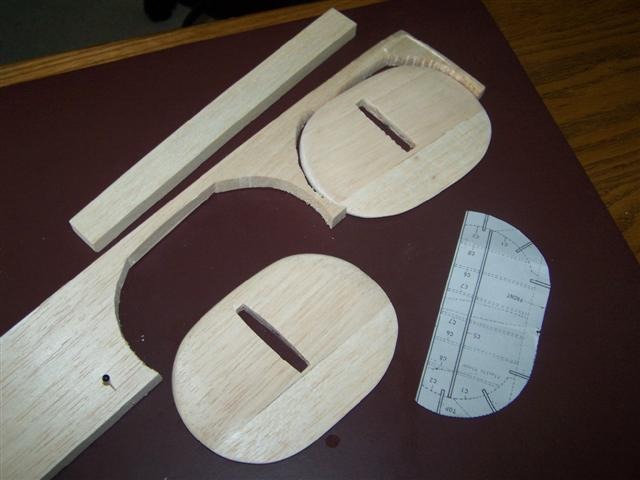
Twin rudders. This is the stock material and stencil for carving. For some reason the Guillow's way just didn't work for me. Lots of fit and shape problems. |
| moostang51, Comment for image # 3530 | 08 Jul 07 18:57 |
| Thank you David, I cheated. Those rudders were carved from 1/2" stock, two pieces held are together with a tiny drop of CA. The patch where the stabilizer ties in is patched now and I re-seperated them again to form the four pivot points. It will not be moveable. Picture to follow. |
| David Duckett, Comment for image # 3530 | 08 Jul 07 18:27 |
| I think he added about what I would have but he did it a lot cleaner. Those rudders are so smooth... |
| poppy, Comment for image # 3530 | 08 Jul 07 13:48 |
| Lookin good! Did you add the stringers as DD does or is that per kit? |
| moostang51, Image # 3530 | 08 Jul 07 13:01 |
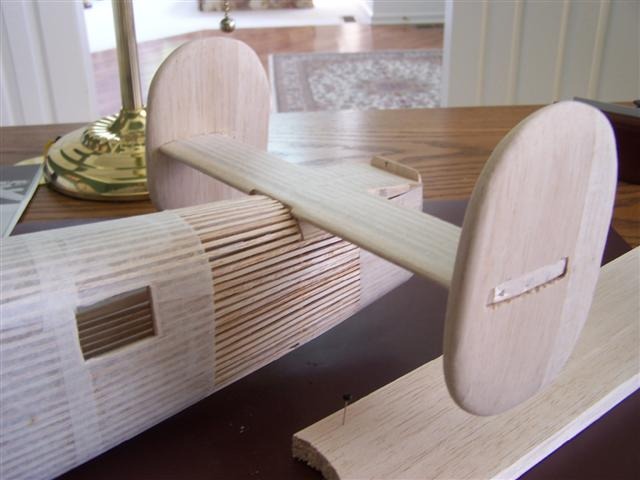
|
| poppy, Comment for image # 3482 | 05 Jul 07 07:16 |
| Really nice detail work. |
| moostang51, Comment for image # 3483 | 04 Jul 07 17:06 |
| Trying your landing gear assembly method with the balsa filler installed. Still not sure if wheels will be used though. Will eventually get around to trying the "mattolson" resin casting, but not on this one. |
| moostang51, Comment for image # 3482 | 04 Jul 07 16:58 |
| Thanks. Between implementing your extra detailing and David's build techniques, and figuring my available time to build; this B-24D model would have been updated to a "J" model. |
| David Duckett, Comment for image # 3483 | 04 Jul 07 16:42 |
| This is looking really super! |
| John M Oshust, Comment for image # 3482 | 04 Jul 07 16:01 |
| Nice details in the cockpit, I can relate to that! |
| moostang51, Image # 3483 | 04 Jul 07 15:36 |
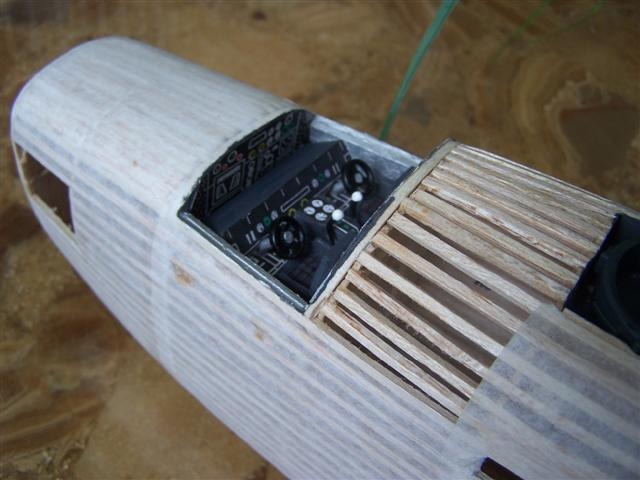
Still need seat harnesses and misc. levers, throttle throws, etc. Will install right before canopy installation. |
| moostang51, Image # 3482 | 04 Jul 07 15:32 |
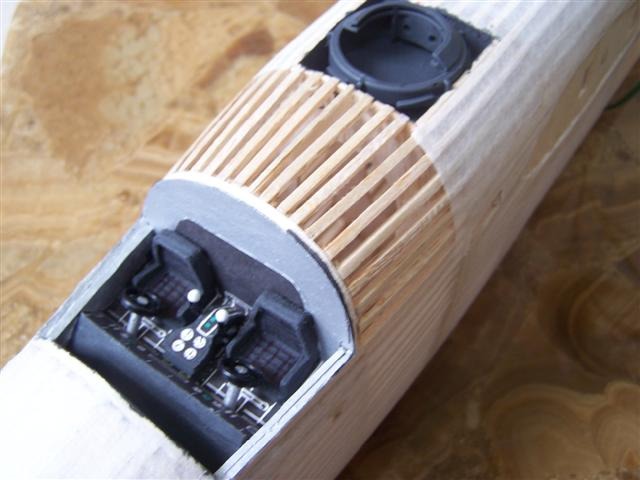
Scratch built cockpit. Much better in 3-D. Early stages of top turret detailing. Raided my son's Legos for parts. Thanks Buddy. |
| John M Oshust, Comment for image # 3419 | 01 Jul 07 21:15 |
| My humble opinion...Green Dragon also. If silver is the background add some powdered Al dust to the paint it fills the tissue and gives a great silver surface. |
| David Duckett, Comment for image # 3419 | 01 Jul 07 19:18 |
| Mine too! Paint the entire section where it's yellow AND green with yellow first. The green will be easy after that. |
| Xanadu, Comment for image # 3419 | 01 Jul 07 19:10 |
| Green Dragon..........thats my vote! |
| Build Thread, Page :
1 2 3 4 5 [ 6 ] 7 8 9 (166 posts, 20 posts per page, 9 pages in total)
|
[ < Prev ] [ Next > ] |

