| Build Thread, Page :
1 2 3 [ 4 ] 5 6 7 (130 posts, 20 posts per page, 7 pages in total)
|
[ < Prev ] [ Next > ] |
| Creosotewind, Comment for image # 7398 | 27 Mar 08 13:18 |
| Or tyre for all our English friends. |
| Creosotewind, Comment for image # 7400 | 27 Mar 08 13:08 |
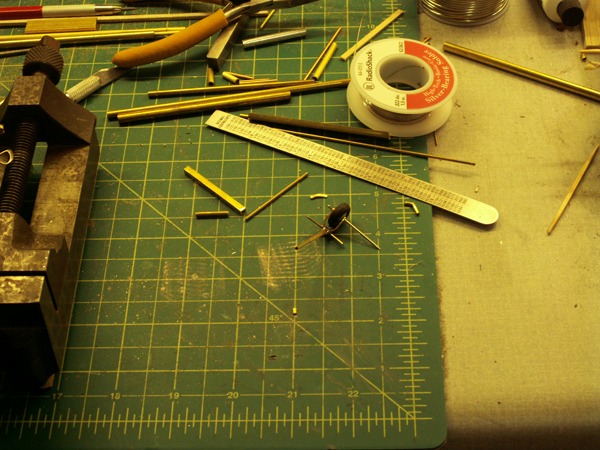
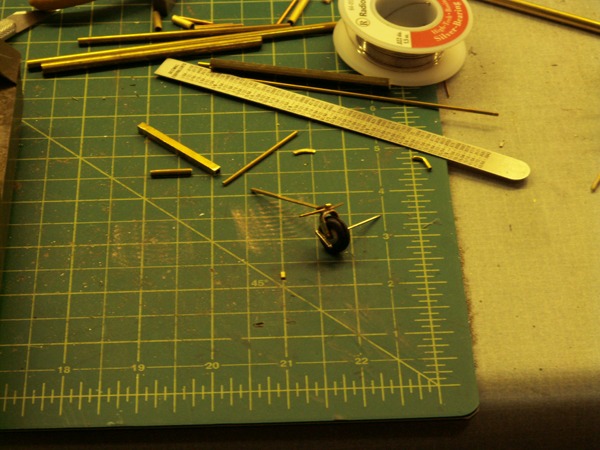
| A good set of files really helps to cut through the excess solder, and cleans up the joints. The ruler is both English and metric. I like using metric measurements for these projects. The Exacto is used from cutting and for scoring the brass tubing. A few rolls with the blade (usually a #11 instead of the #16 shown) and the tubing snaps clean. |
| Creosotewind, Comment for image # 7401 | 27 Mar 08 13:05 |
| The booth was my Christmas present from my wife.
|
| Creosotewind, Comment for image # 7402 | 27 Mar 08 13:04 |
| It helps me from handling the pieces. I can just rotate them around and spray from all sides. |
| Creosotewind, Comment for image # 7403 | 27 Mar 08 13:04 |
| I think I now have a permanent brand. So much for becoming a career criminal. |
| Creosotewind, Image # 7403 | 27 Mar 08 13:03 |
Oh yeah. Don't grab the heatsinks while hot. |
| Creosotewind, Image # 7402 | 27 Mar 08 13:02 |
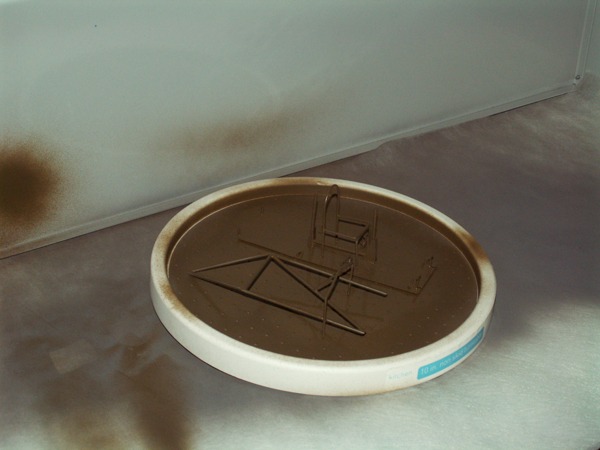
The lazy susan is from IKEA. |
| Creosotewind, Image # 7401 | 27 Mar 08 13:01 |
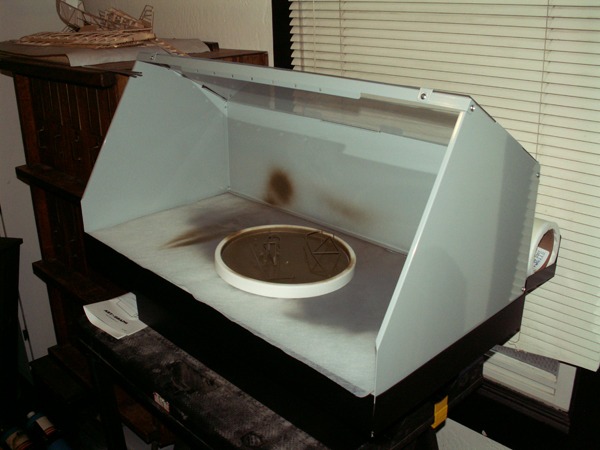
Finally, some painting |
| Creosotewind, Image # 7400 | 27 Mar 08 13:01 |
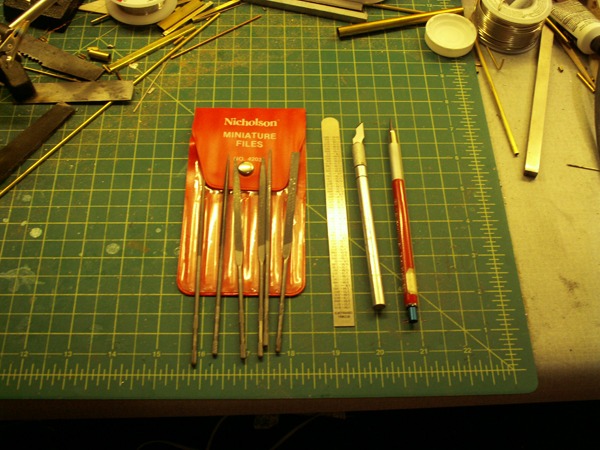
Tools to make it happen |
| Creosotewind, Image # 7399 | 27 Mar 08 13:00 |
Another shot of the tail wheel |
| Creosotewind, Image # 7398 | 27 Mar 08 12:59 |
tail wheel. Brass with a rubber RC tire. |
| Creosotewind, Image # 7397 | 27 Mar 08 12:58 |
More landing gear shots. |
| John M Oshust, Comment for image # 7037 | 10 Mar 08 21:17 |
| I purchased one of those torches a while bacl for just this purpose...thanks for the tutorial! |
| Creosotewind, Comment for image # 7035 | 10 Mar 08 21:11 |
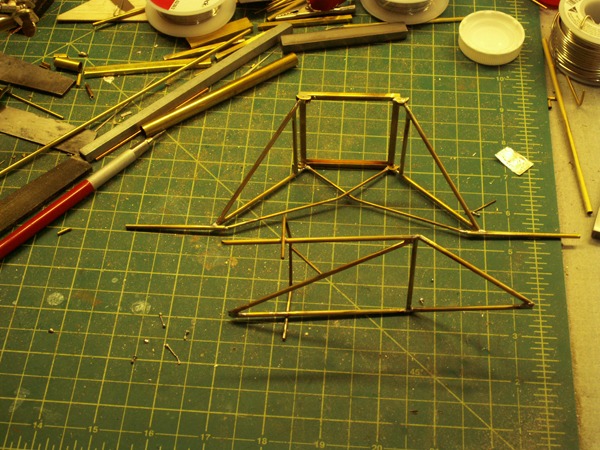
| The kit is a stock Piper. I'm turning into an L-4 Grasshopper which has the extended rear deck for map reading and radio placement. The brass framework was an interesting challenge, but I'm real happy with how it is turning out. I'm adding a cockpit. The first couple of go-rounds were previously posted. I'm redoing most of the brass pieces now that I've discovered silver soldering. Much more structural. I shouldn't have to worry about pieces breaking over time. |
| John M Oshust, Comment for image # 7033 | 10 Mar 08 21:08 |
| I have had success with filling the rings with clear nail polish....when it dries it looks like a lens. May take two coats. |
| Creosotewind, Comment for image # 7033 | 10 Mar 08 21:07 |
| I drew these on my computer. I'm a graphic designer and it is exciting for me when I can apply some of that knowledge to this hobby. I printed the dash in olive drab, the instruments have solder bezels. I need to add some clear over the instruments to simulate glass. |
| Creosotewind, Comment for image # 7037 | 10 Mar 08 21:04 |
| I used a mini torch (I posted a picture) that could be used as an iron, but I couldn't get it to melt the solder. Maybe I wasn't patient enough, but using it as a torch was more satisfying. The joints are very strong. Much better than the epoxy I was using. |
| Creosotewind, Comment for image # 7038 | 10 Mar 08 21:02 |
| This still needs to be cleaned up a bit. It's my second and a half attempt for this structure. The first attempt was too big. I cut it down and then it was too small. I started from scratch (measure 4-5 times and cut once) and then it was just right. Hey, that sounds like a story from my past. |
| Creosotewind, Comment for image # 7039 | 10 Mar 08 21:01 |
| The helping hands are pretty cheap and hard to fit with any precision. I'm looking for a better set. The vise came from an estate sale from a former machinist. It is real heavy and works as a clamp and heat sink. The torch came from Home Depot. Silver solder is from Radio Shack. I was pretty excited once I had all the right tools to solder. It took a while to realize I don't need to make everything red hot, and how to hold the solder to get a clean attachment. Jigging up everything is the key. |
| John M Oshust, Comment for image # 7037 | 10 Mar 08 20:58 |
| Mini torch or electic iron? |
| Build Thread, Page :
1 2 3 [ 4 ] 5 6 7 (130 posts, 20 posts per page, 7 pages in total)
|
[ < Prev ] [ Next > ] |
