| Build Thread, Page :
1 2 [ 3 ] 4 5 6 7 (136 posts, 20 posts per page, 7 pages in total)
|
[ < Prev ] [ Next > ] |
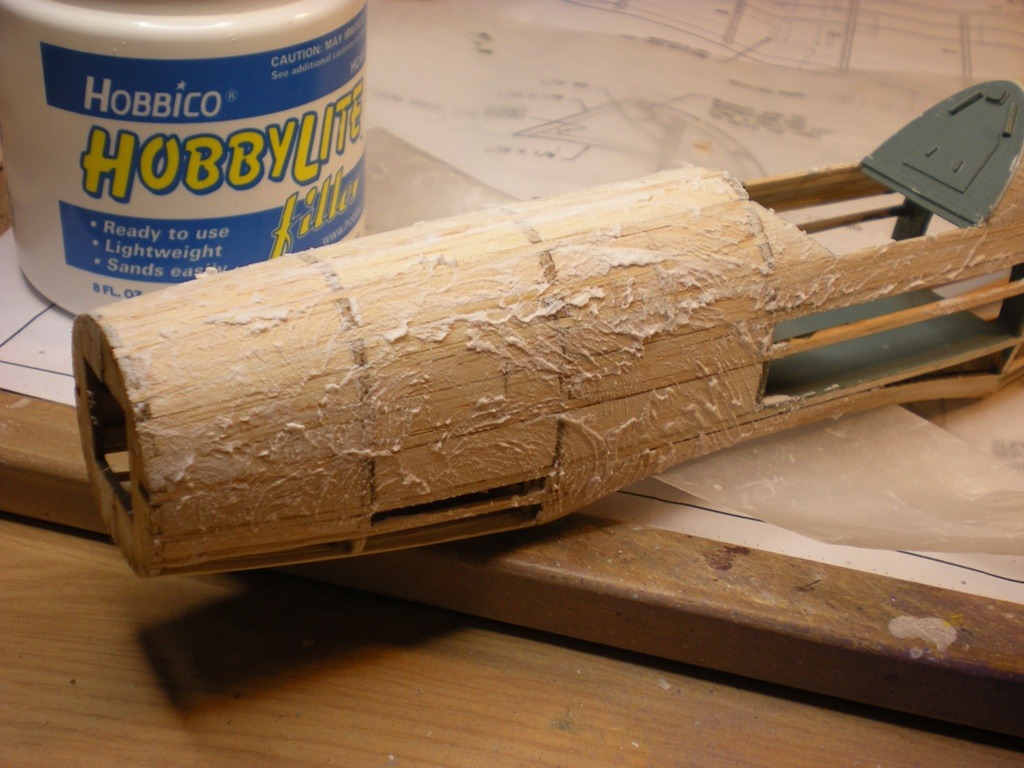
| jerry campbell, Image # 22255 | 18 Apr 11 17:19 |
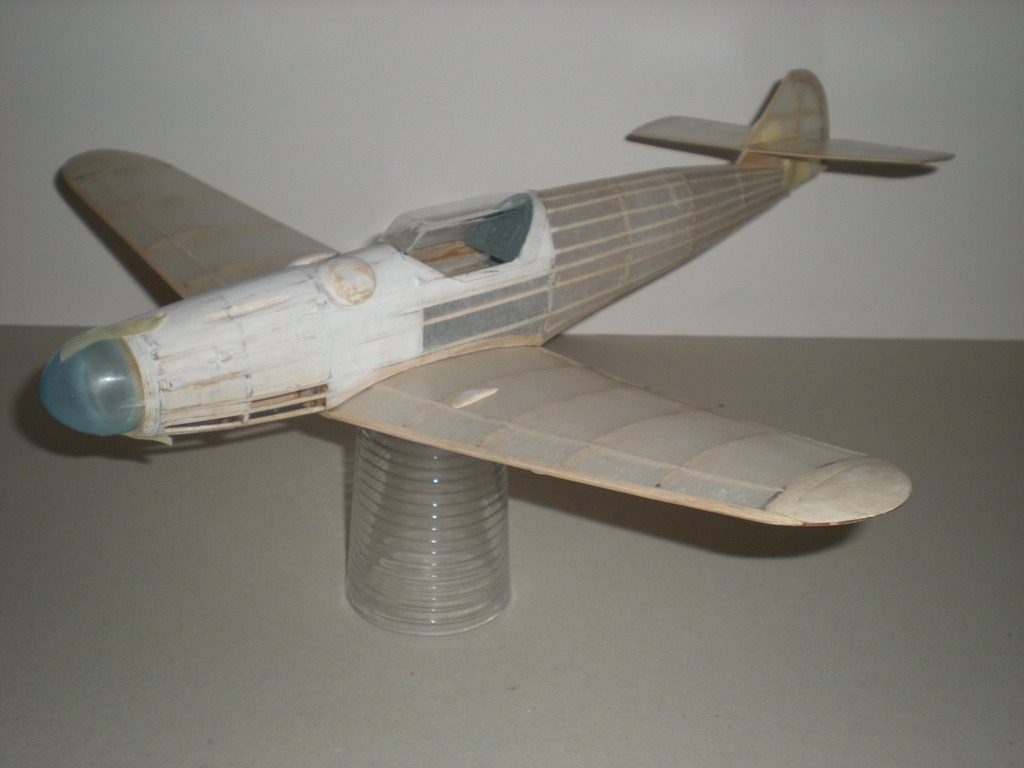
Trial fitting the componets to see if it is starting to look like a Bf 109G-6. |
| David Duckett, Comment for image # 22224 | 17 Apr 11 07:53 |
| "Spock, our work is finished here." |
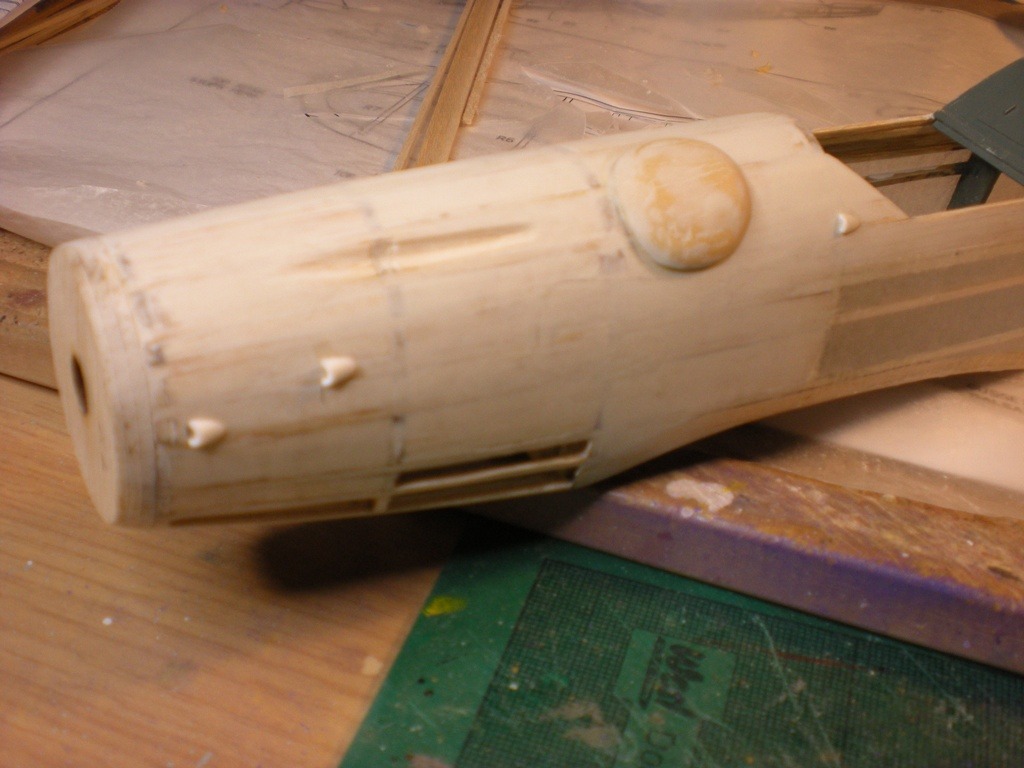
| jerry campbell, Image # 22227 | 17 Apr 11 06:59 |
Begining with the Bf 109G-5 and continued thereafter, the fuselage mounted 7.9mm MG 17 machine guns were replaced with the heavier 13mm MG 131 machine guns which required a bulged housing for the cocking mechanisms. These were quickly labeled "Buele" by the pilots. |
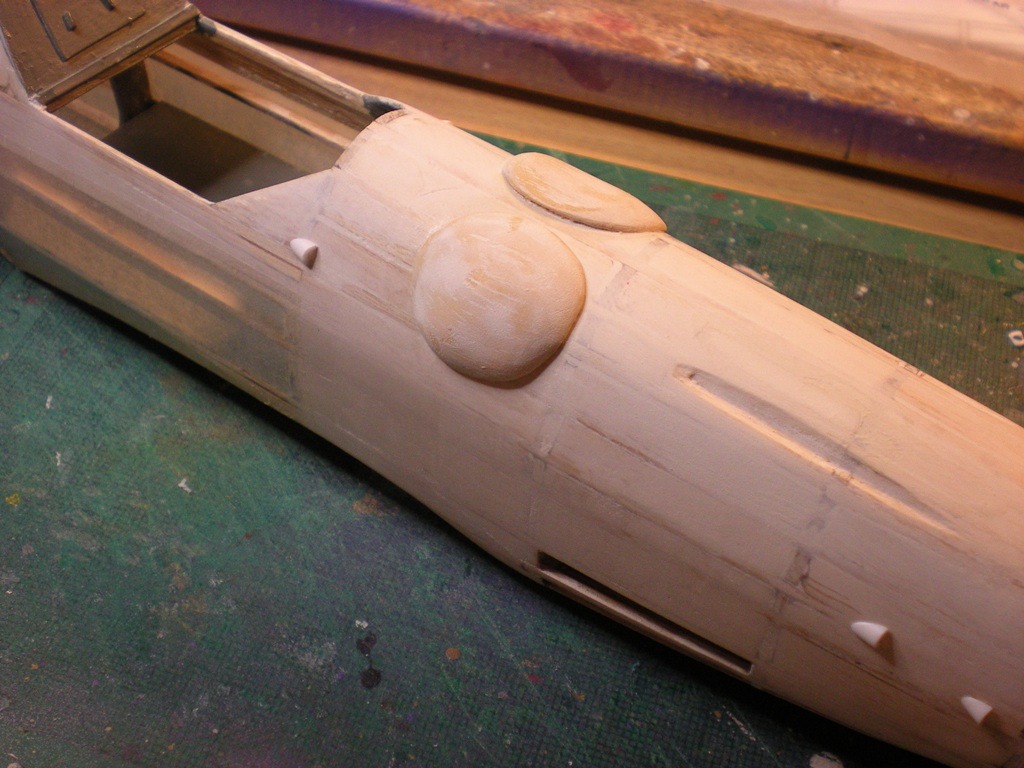
| jerry campbell, Image # 22226 | 17 Apr 11 06:40 |
The 109G required two small scoops on each side of the nose and the G-6, since it was unpressurized, required a small air ventilation scoop on each side just below the windscreen. |
| jerry campbell, Image # 22225 | 17 Apr 11 06:34 |
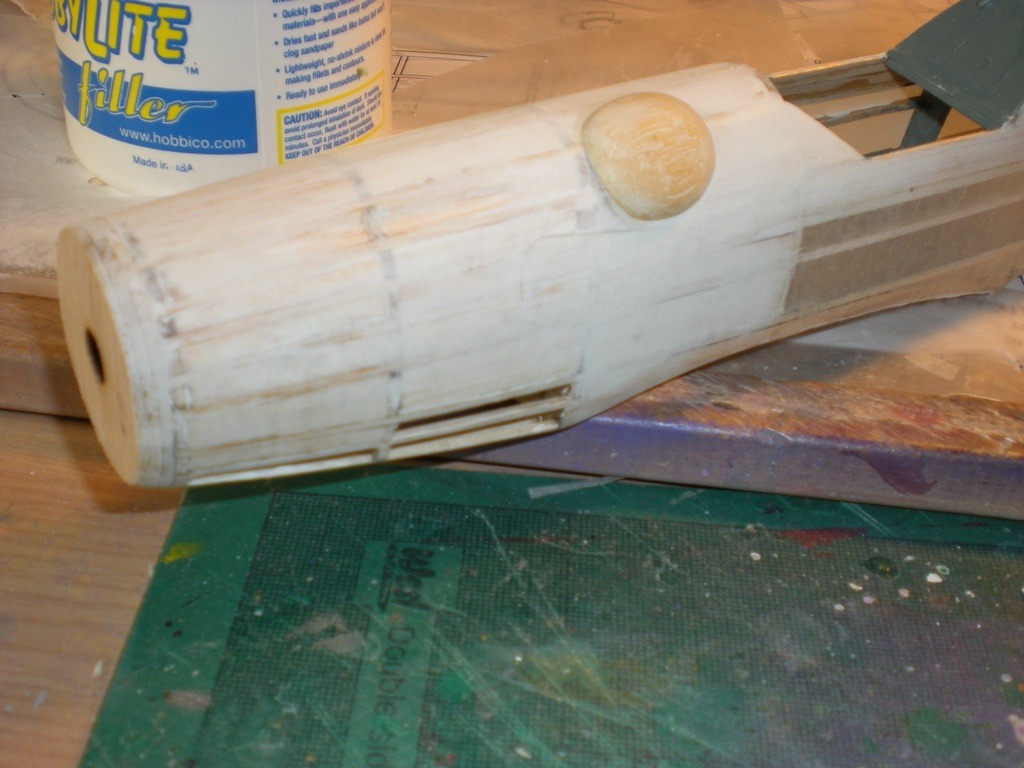
After the HobbyLite is dry the surface is sanded smooth and another coat of HobbyLite is applied and again sanded, after which coats aof Aero Gloss Balsa Filler were added and sanded. |
| jerry campbell, Image # 22224 | 17 Apr 11 06:28 |
The fuselage section forward of the cockpit was filled with balsa plugs and after sanding a layer of HobbyLite filler was fingered on to fill any imperfections. |
| jerry campbell, Image # 22223 | 17 Apr 11 06:23 |
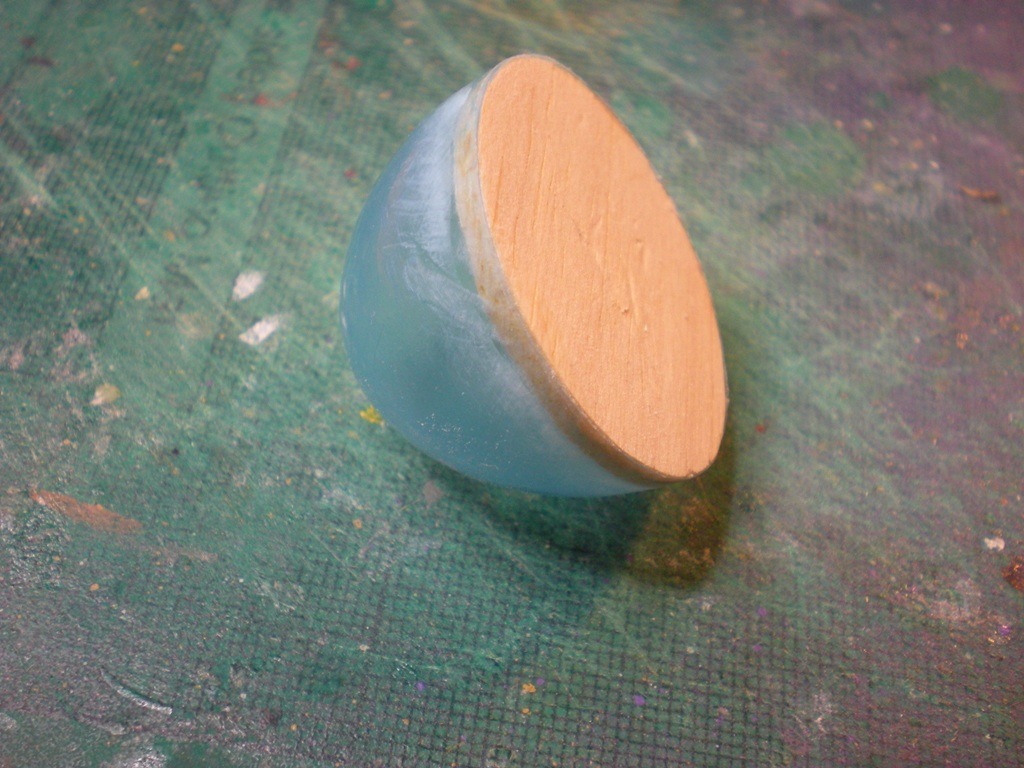
I added a circular piece ot 3/16 balsa to strengthen the vac spinner. |
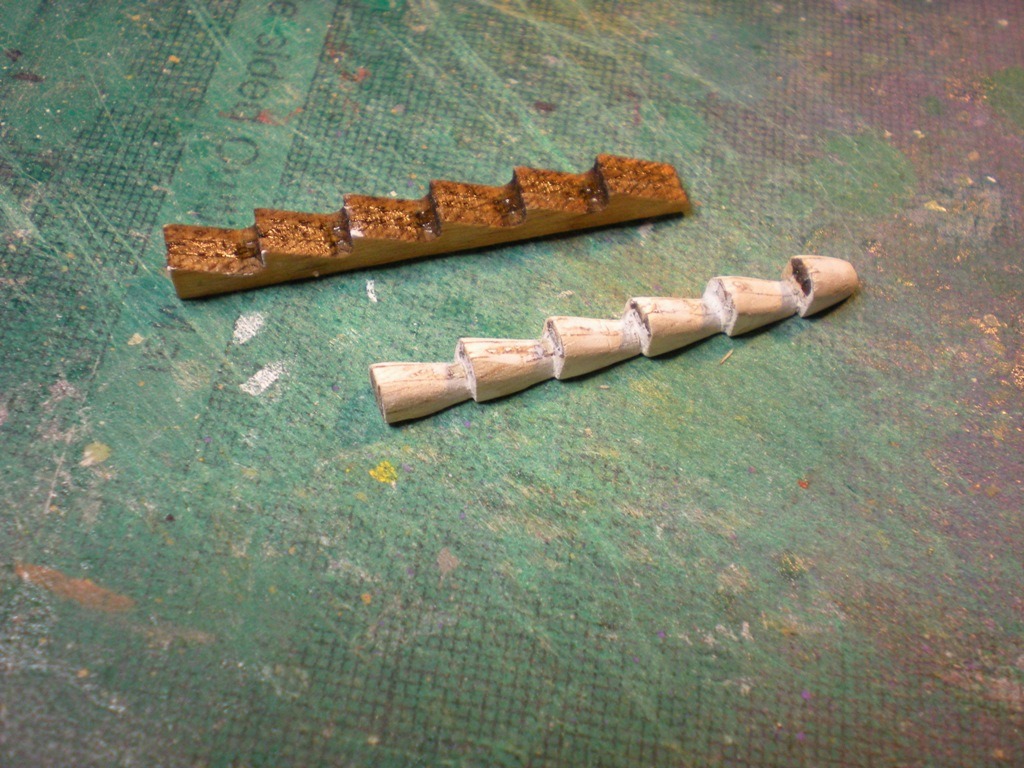
| jerry campbell, Image # 22222 | 17 Apr 11 06:20 |
Once carving is finished a couple of coats of sanding sealer are added and sanded and then painted Tamiya Red Brown to similate burnt metal exhausts. |
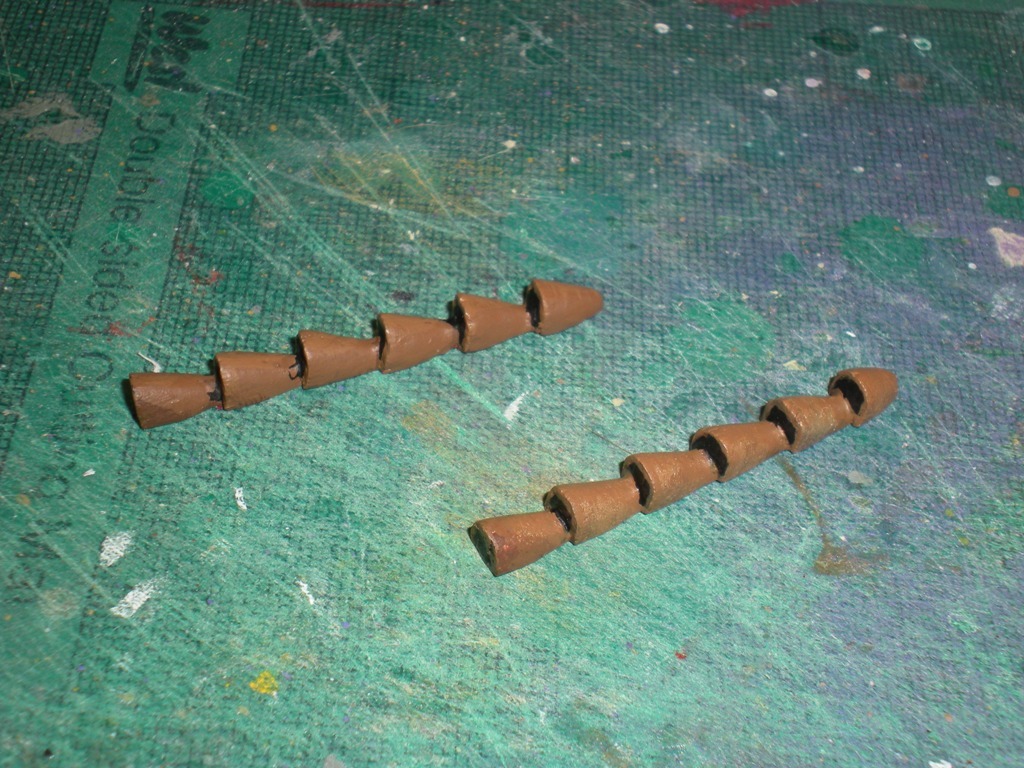
| jerry campbell, Image # 22221 | 17 Apr 11 06:16 |
3 pieces of laser balsa are laminated together and then carved into exhausts. |
| jerry campbell, Image # 22220 | 17 Apr 11 06:13 |
Iadded a little HobbyLite to the joint to smooth it to look like one piece. |
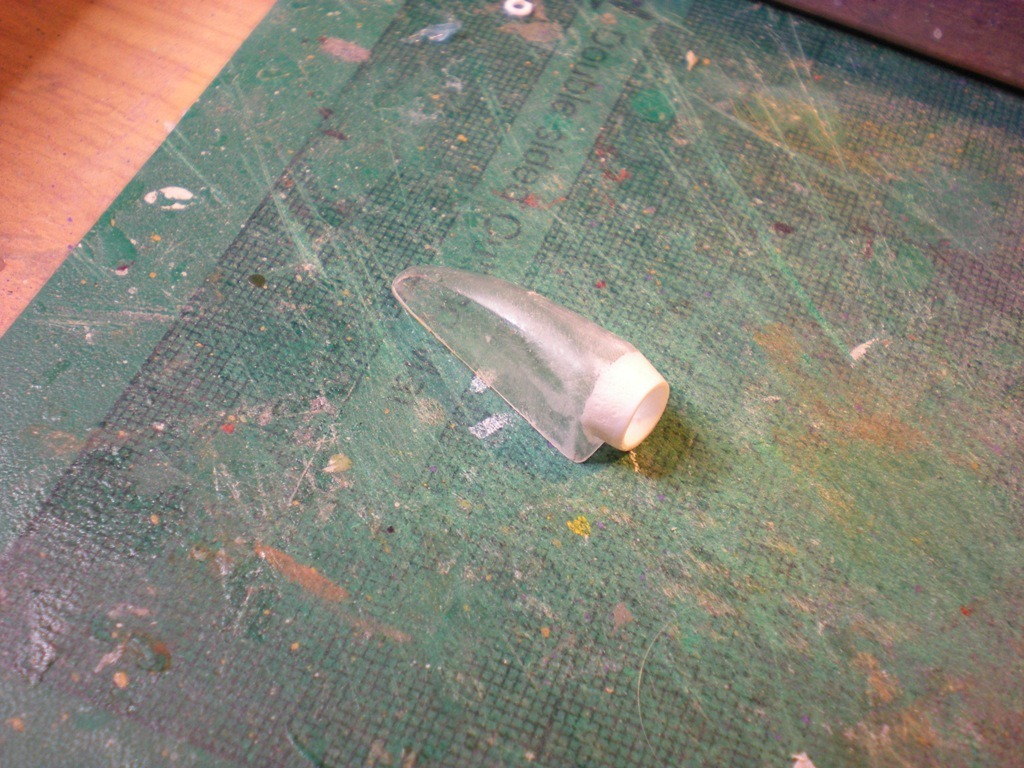
| jerry campbell, Image # 22219 | 17 Apr 11 06:11 |
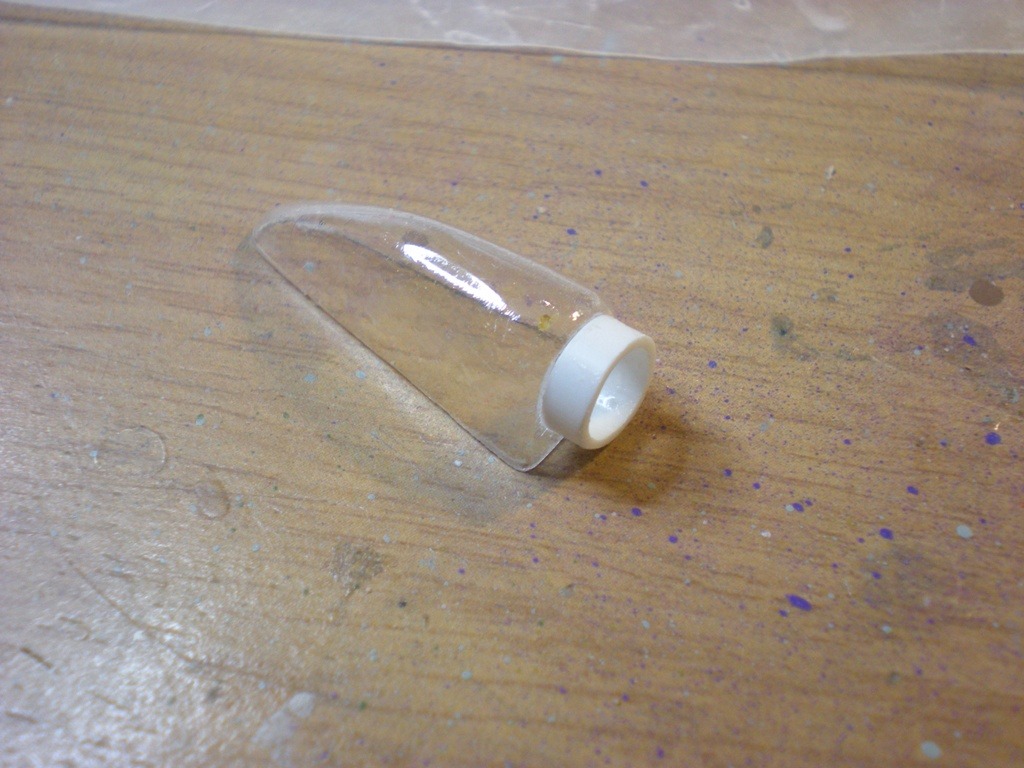
I added a section of plastic tubing to the front of the vac air intake. |
| poppy, Comment for image # 22141 | 16 Apr 11 05:17 |
| Beautifully done! |
| jerry campbell, Comment for image # 22141 | 12 Apr 11 06:16 |
| The instruments are Eduard pre-colored 1/24th photo-etch. |
| John M Oshust, Comment for image # 22140 | 11 Apr 11 21:29 |
| There it is on the left/port side...muffler bearing cutoff switch....sweet! |
| Roring40, Comment for image # 22141 | 11 Apr 11 20:28 |
| Hey nice job ! How did you construct the instruments ? |
| frwyflyer, Comment for image # 22141 | 11 Apr 11 18:57 |
| YES!! |
| David Duckett, Comment for image # 22141 | 11 Apr 11 18:00 |
| Stunning!! |
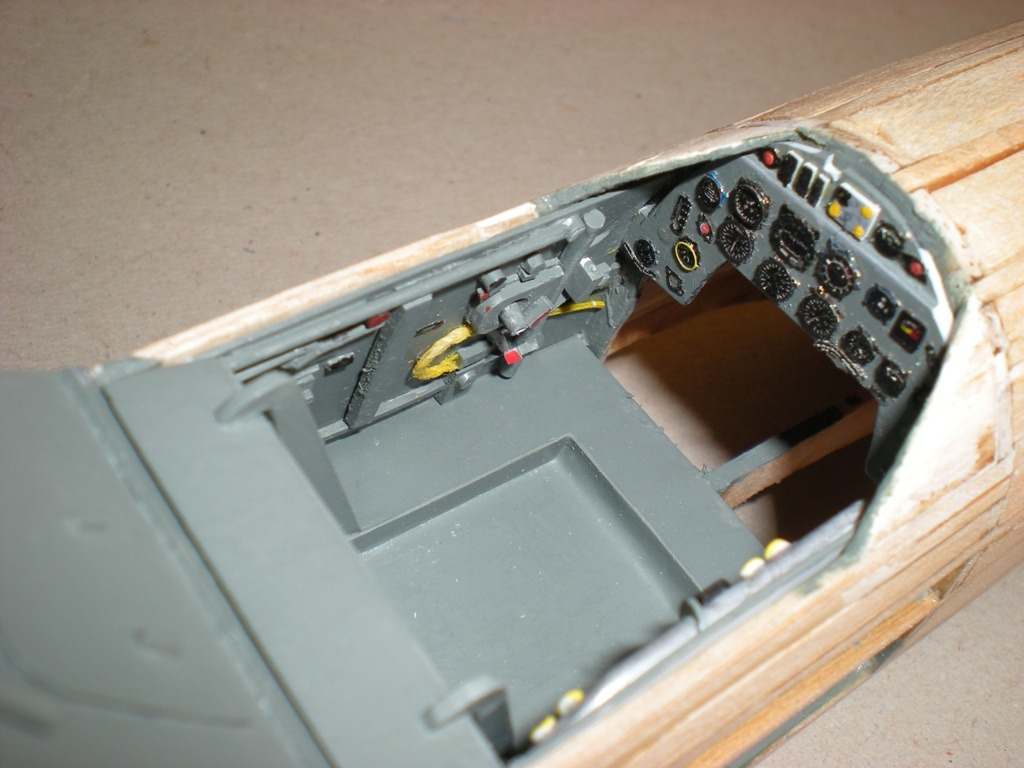
| jerry campbell, Image # 22141 | 11 Apr 11 17:58 |
The console and the control stick have to be added. |
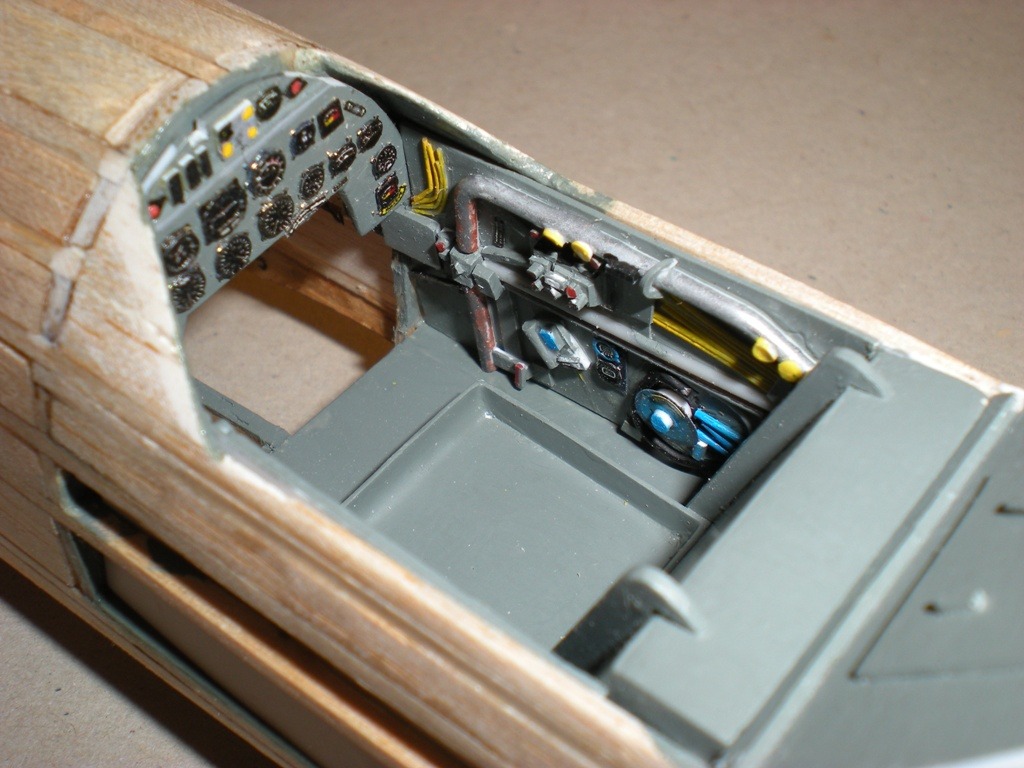
| jerry campbell, Image # 22140 | 11 Apr 11 17:56 |
The cockpit components trial fitted. |
| jerry campbell, Image # 22139 | 11 Apr 11 17:55 |
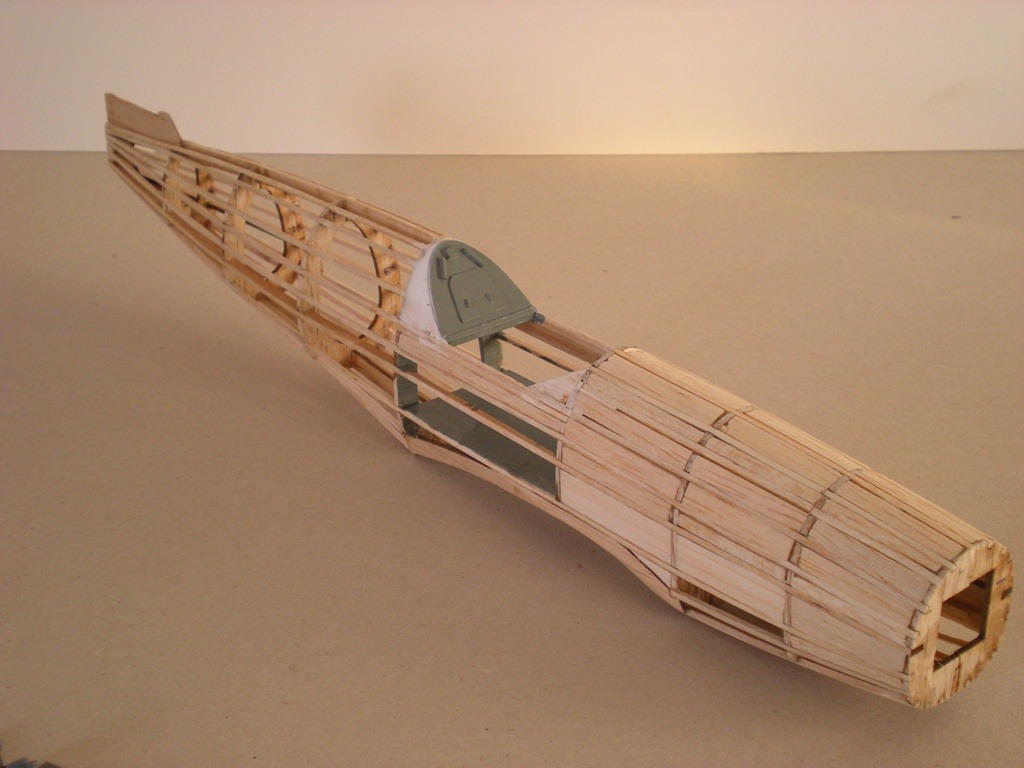
The Bf 109G-6 fuselage under construction. |
| Build Thread, Page :
1 2 [ 3 ] 4 5 6 7 (136 posts, 20 posts per page, 7 pages in total)
|
[ < Prev ] [ Next > ] |
