| Build Thread, Page :
1 2 [ 3 ] 4 5 6 7 8 9 10 (181 posts, 20 posts per page, 10 pages in total)
|
[ < Prev ] [ Next > ] |
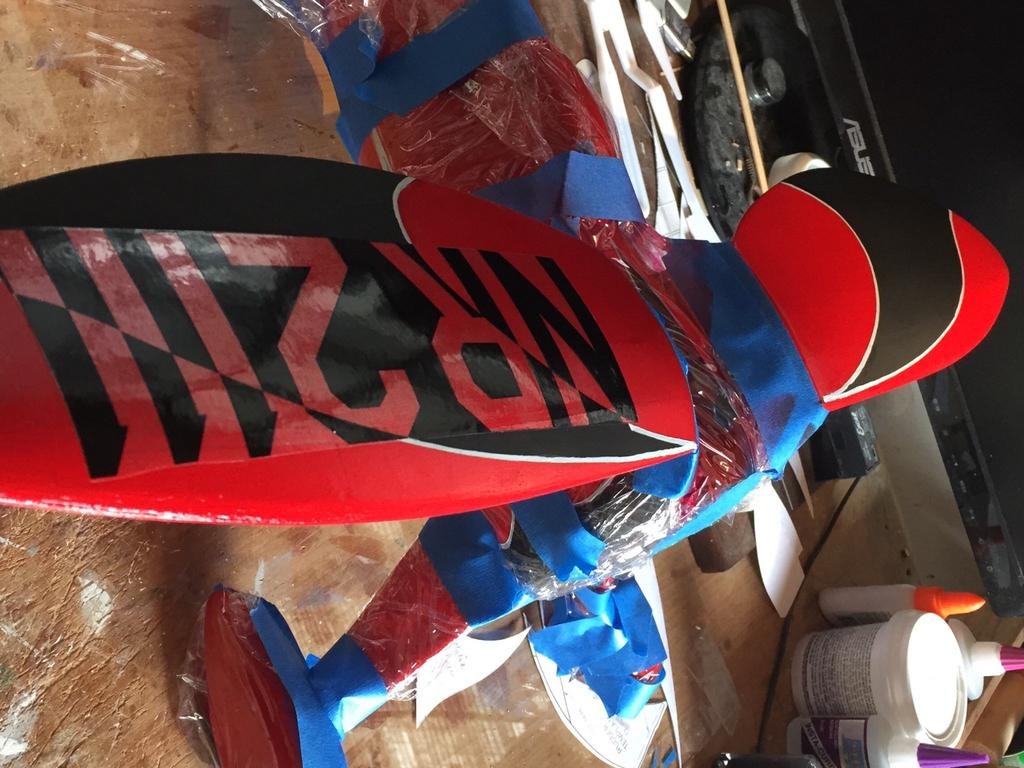
| heywooood, Comment for image # 40238 | 24 May 18 22:48 |
| I didn't want to use one decal and then have the other three panels painted. It would have looked odd...or odder..? than this. Once the semi-gloss clear goes on it should look a bit better yet |
| heywooood, Comment for image # 40238 | 24 May 18 22:45 |
| I used part of the kit supplied decal and just cut the registration numbers free. (the decal included the entire wing accent swirl) I then masked the center of the swirl using the registration as a guide - this left the red underlying the clear portions of the decal as you see here. |
| heywooood, Comment for image # 40238 | 24 May 18 22:43 |
| here is roughly where we are today.. |
| heywooood, Image # 40238 | 24 May 18 22:42 |
|
| heywooood, Comment for image # 40234 | 24 May 18 22:40 |
| the method I used was to paint the base red..then mask for the black. Then leaving the masks in place after the black had dried, I used the masks as a guide for the pen. keeping the line 'half on - half off' the tape edge. I made two passes with the pen allowing the lines to dry for an hour between passes. There was some bleed under the tape as there always seems to be, but as it is white paint the red easily covers it when I touched up. |
| Skyediamonds1985, Comment for image # 40234 | 24 May 18 22:10 |
| Excellent job HW! Thanks for the tip on the sharpie too. That white had to be really thick or as you say, stout. |
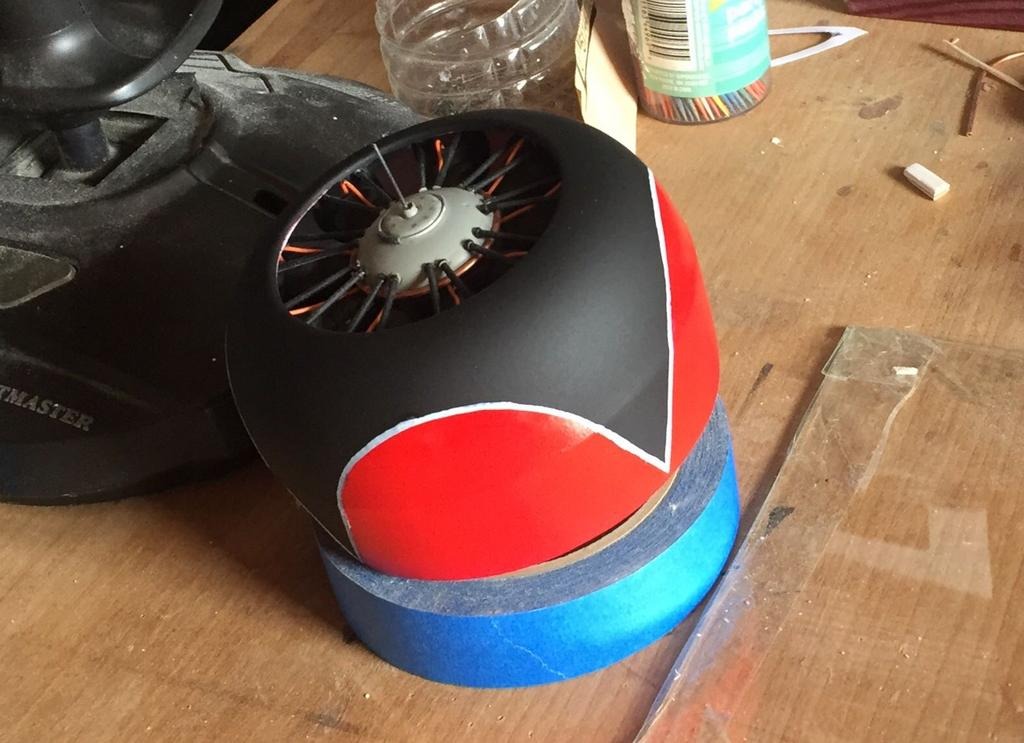
| jgood, Comment for image # 40232 | 24 May 18 21:01 |
| Looks fast, even with no engine installed! |
| Don C, Comment for image # 40234 | 23 May 18 09:52 |
| Thanks for the information on the Sharpie. I am familiar with he rest. |
| heywooood, Comment for image # 40234 | 22 May 18 22:04 |
| More like a quasi steady hand and a bit of black and red touch up. The white striping is done with a sharpie poster paint marker from Staples.
Goes on smooth and stout and takes the clear coat just fine. |
| Don C, Comment for image # 40234 | 22 May 18 17:16 |
| Looks pretty good. Steady hand. I'm working with the same colors and a similar design for the A-26. Guess I'll have to post a picture. |
| heywooood, Comment for image # 40234 | 22 May 18 12:53 |
| we'll see how it looks with the semi-gloss clear overcoat but this just might work out |
| heywooood, Image # 40234 | 22 May 18 12:52 |
|
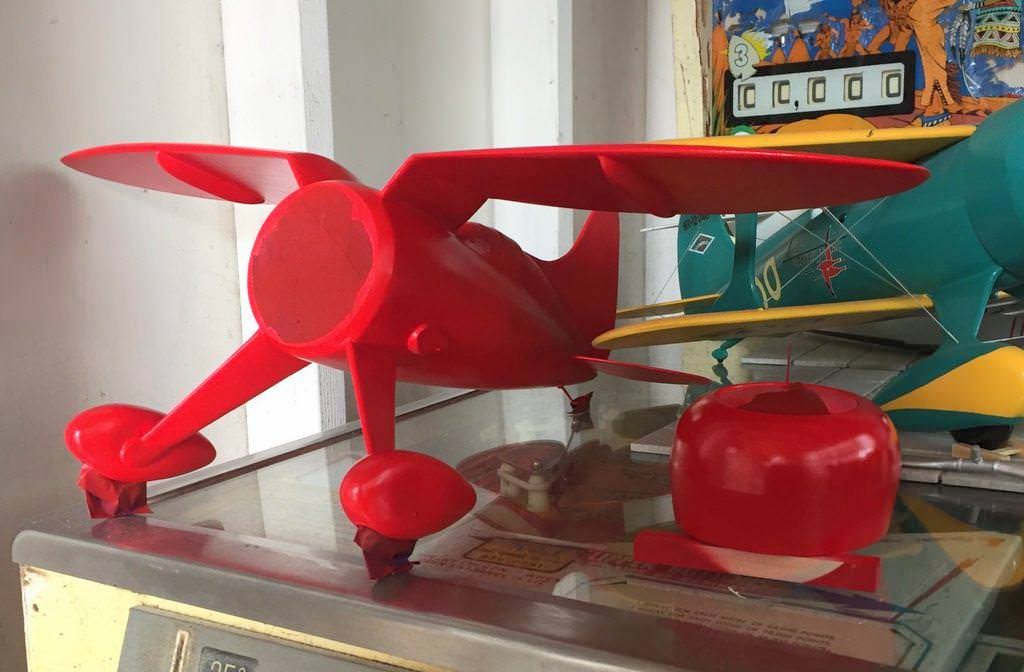
| heywooood, Comment for image # 40233 | 21 May 18 19:56 |
| the red is Tamiya 'Italian Red'..Ferrari related methinks - I hope the new and happy owner of the P-51 kit will post build progress..
Lol John..the wings DO look like a bunny's ears and sure I had to look it up
|
| John M Oshust, Comment for image # 40233 | 21 May 18 18:33 |
| Very nice. Reminds me of a flying lagomorph! |
| ElbertC, Comment for image # 40233 | 21 May 18 16:38 |
| All, just and FYI. The P-51 has been taken. Thanks to everyone. |
| Don C, Comment for image # 40233 | 21 May 18 16:12 |
| That should keep you busy for a while. Nice color! |
| heywooood, Comment for image # 40233 | 21 May 18 15:43 |
| drying...meanwhile I'll be cutting masks and looking at reference photo's |
| heywooood, Image # 40233 | 21 May 18 15:42 |
|
| David Duckett, Comment for image # 40232 | 21 May 18 14:09 |
| That's wild! |
| heywooood, Comment for image # 40232 | 21 May 18 13:22 |
| so it begins.. |
| Build Thread, Page :
1 2 [ 3 ] 4 5 6 7 8 9 10 (181 posts, 20 posts per page, 10 pages in total)
|
[ < Prev ] [ Next > ] |
