| Build Thread, Page :
1 2 [ 3 ] 4 5 6 7 8 9 10 11 (212 posts, 20 posts per page, 11 pages in total)
|
[ < Prev ] [ Next > ] |
| Don C, Image # 35730 | 17 Mar 16 11:05 |
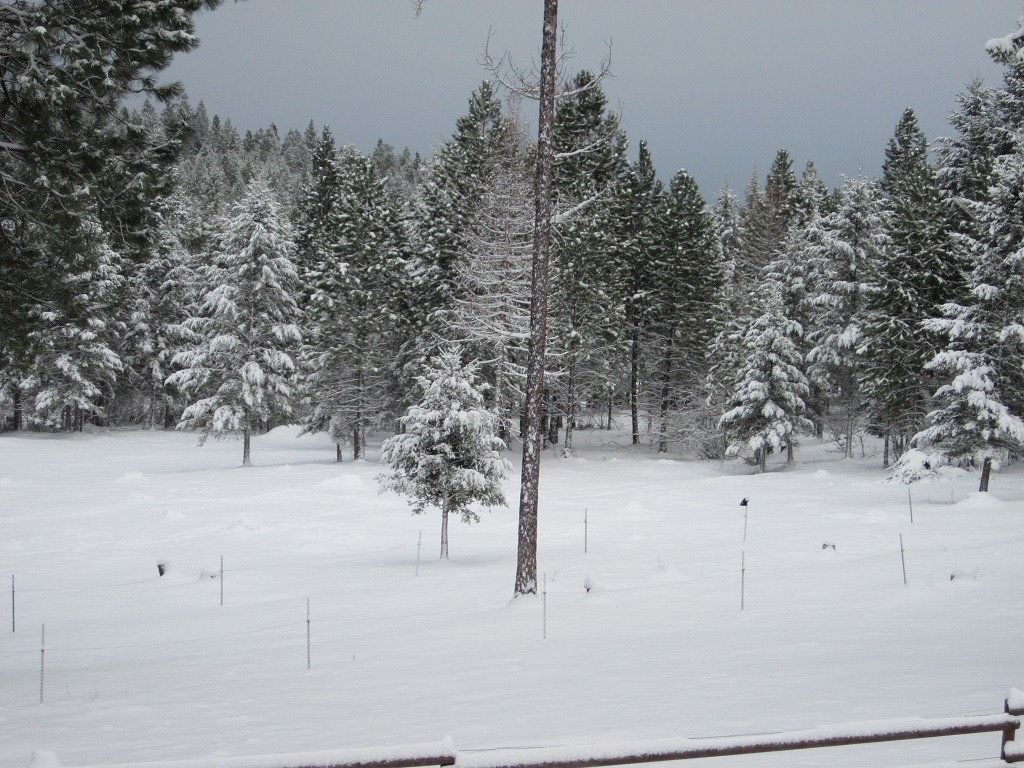
Mission Mtns 0800 today. Mother Nature can be cruel. |
| Don C, Image # 35729 | 17 Mar 16 11:03 |
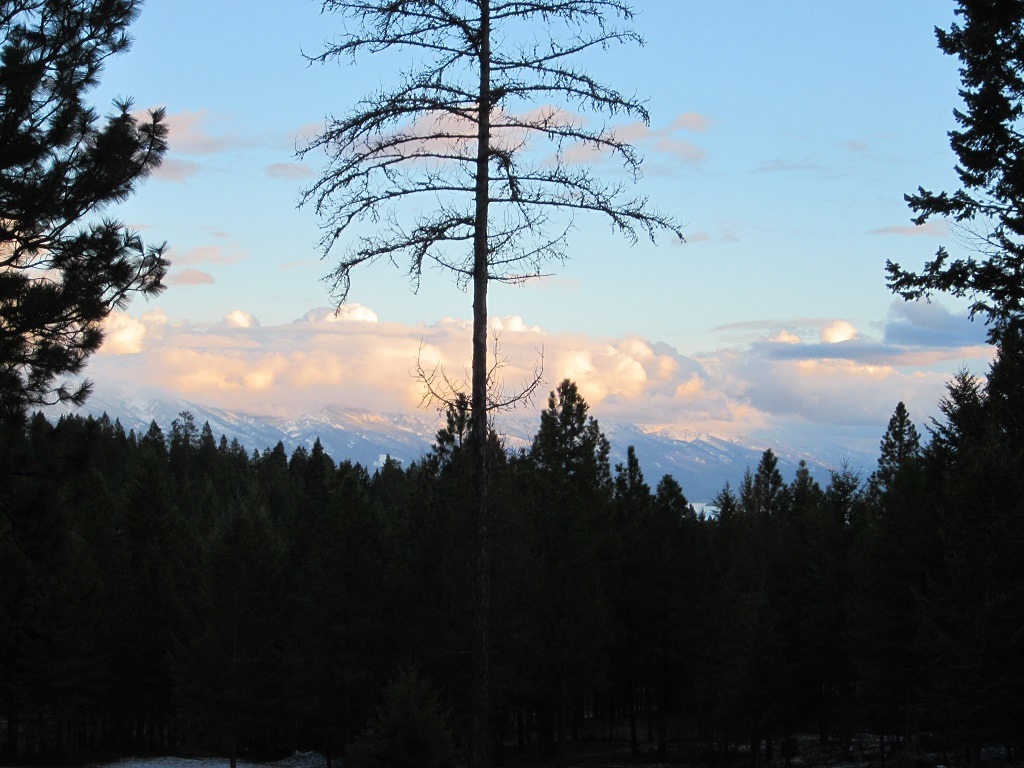
Mission Mtns yesterday 6:39 PM |
| Don C, Comment for image # 35719 | 16 Mar 16 11:32 |
| Thanks Poppy. And thanks Ray, Sky and DD for input on the windshield. Today's the day. |
| poppy, Comment for image # 35719 | 16 Mar 16 09:47 |
| Super details!! Very impressive. |
| Skyediamonds1985, Comment for image # 35721 | 15 Mar 16 18:45 |
| Don, may I also include my small input? After you glued the windshield in place as per Rayl, or DD, cut a thin strip (probably 1/8th) from black electrical tape that's laid out straight on a flat surface. Then have the thin strip lifted and stretched out on a series of small strips of balsa stood up on their ends from the flat surface so when you paint it the main color (or whatever color you chose), the paint doesn't run/blob off the edges on the flat surface. Better still, lightly paint it to avoid any risk of run off. When dry, simply cut the thin strips to the same length of the surrounding windshield. The real aircraft has thin strips of metal so why not emulate the real thing? The reason for using electrical tape is because its very flexible. When cutting, use a straight edge over a glassed surface. Because the tape has its own adhesive, its easy to apply and reapply to get it all just "right." Then dab a bit of cyano here and there to fix it in place. The bottom and top are good to have as the real aircraft had those metal "holding" strips. The thin strips of tape will also hide any blemishes. Okay, maybe my "small" input was a bit long.... |
| Don C, Comment for image # 35721 | 15 Mar 16 17:52 |
| Thanks Ray and DD. I was referring specifically to the Beaver. It'll go. |
| ElbertC, Comment for image # 35726 | 15 Mar 16 05:51 |
| Thank you, I needed that. |
| rayl, Comment for image # 35721 | 14 Mar 16 22:58 |
| Don: my method is; small narrow strips of masking tape to hold the sucker in place then apply thinned white glue around the edges with a (very) small brush. Don't use CA as it will frost the clear areas. DAMHIKT Be careful when removing the strips of tape then fill in areas where the tape was with more dilute white glue. |
| rayl, Comment for image # 35726 | 14 Mar 16 21:41 |
| Ahmen!!!!!!!!!!!!!!!! |
| Don C, Image # 35726 | 14 Mar 16 21:39 |
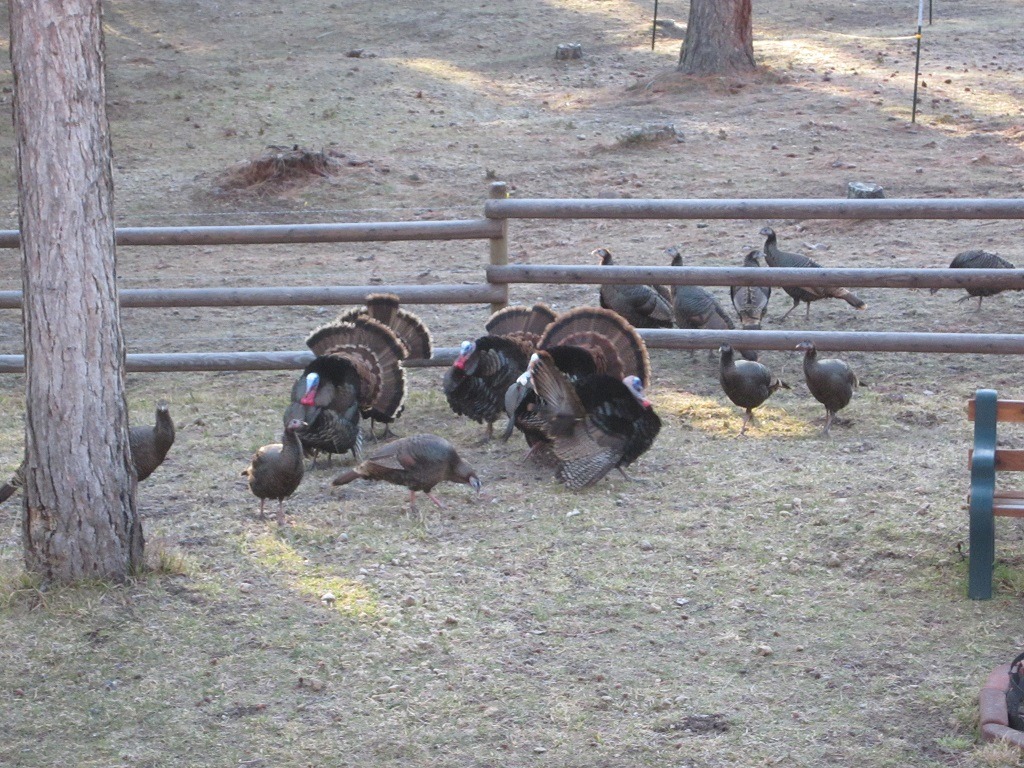
It's springtime in the Rockies and some of the residents are all fired up. (JUst felt we needed a break from the details) |
| Don C, Comment for image # 35721 | 14 Mar 16 21:22 |
| Thanks guys. There's Krylon clear over the paint. That seems to have helped the color. Now a question, probably for DD: Any pointers for installing the windshield? I have it ready, but it's a slippery little bugger. Still thinking about the side windows. |
| Skyediamonds1985, Comment for image # 35721 | 14 Mar 16 20:35 |
| Don, you're hitting all the details super spot on. I just looked at your previous postings of the model inverted, revealing all the attention to the aileron and flap hinges along with the aileron balance horns, and tie-downs. Really great model and work of art!! |
| rgood, Comment for image # 35721 | 14 Mar 16 11:48 |
| This is an excellent build Don - super! Love the colour depth. |
| rgood, Comment for image # 35719 | 14 Mar 16 11:46 |
| I hope that the pilot has shoulder harness on (for inverted flight!) |
| Don C, Comment for image # 35719 | 14 Mar 16 10:40 |
| Thanks,DD. |
| Don C, Comment for image # 35720 | 14 Mar 16 10:38 |
| Thanks, I've bought electricity from one for almost that long. |
| David Duckett, Comment for image # 35719 | 14 Mar 16 08:34 |
| That's some pretty fancy footwork there:-) |
| rayl, Comment for image # 35720 | 14 Mar 16 07:01 |
| Sweet!!! BTW: I worked for an Electric Cooperative for 40 years. |
| Don C, Image # 35721 | 13 Mar 16 22:02 |
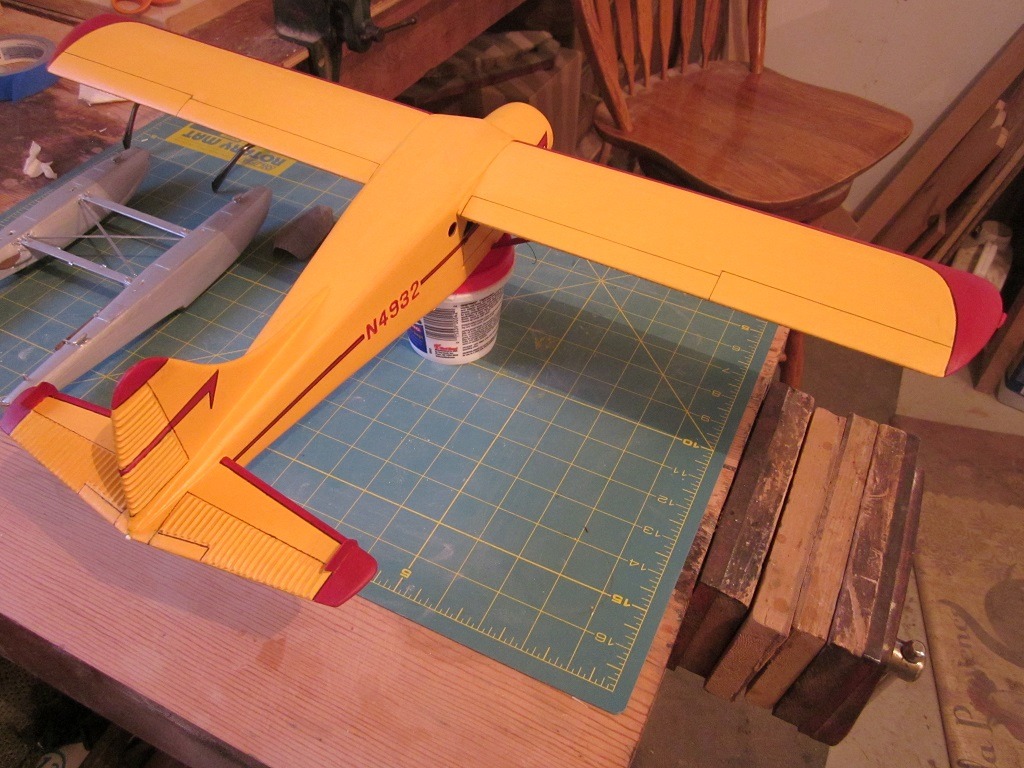
Almost there. |
| Don C, Image # 35720 | 13 Mar 16 21:57 |
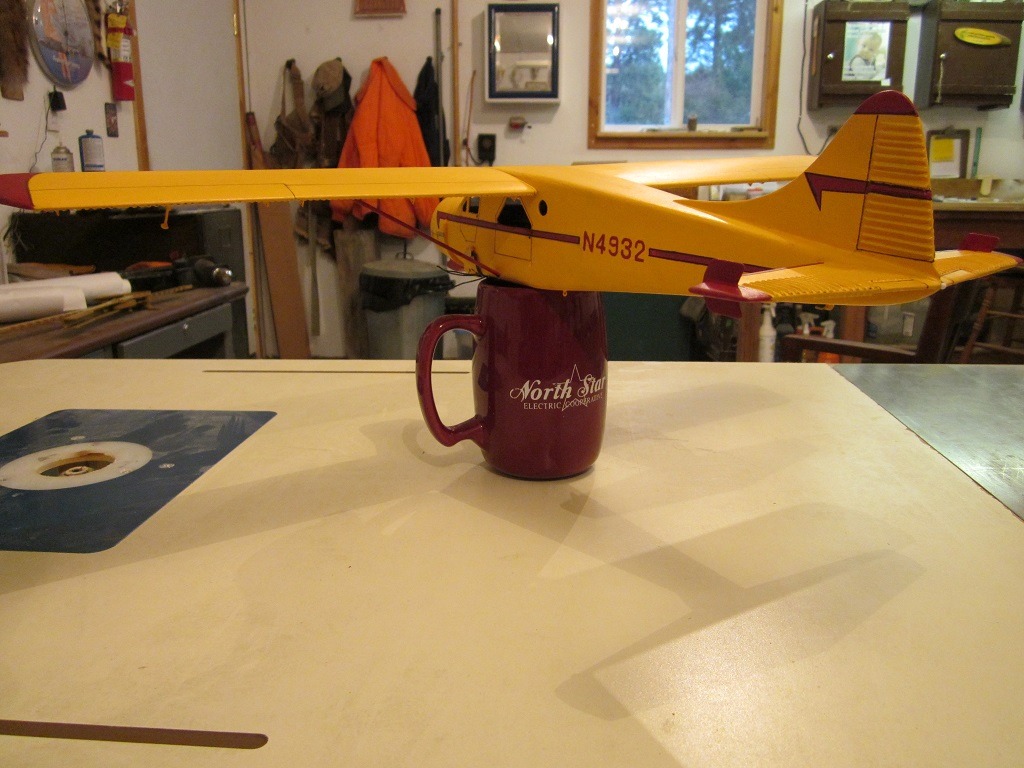
Here's another use for a coffee cup after the coffee is gone. |
| Build Thread, Page :
1 2 [ 3 ] 4 5 6 7 8 9 10 11 (212 posts, 20 posts per page, 11 pages in total)
|
[ < Prev ] [ Next > ] |

