| Build Thread, Page :
<< 4 5 6 7 8 [ 9 ] 10 (189 posts, 20 posts per page, 10 pages in total)
|
[ < Prev ] [ Next > ] |
| Creosotewind, Comment for image # 20102 | 15 Nov 10 15:40 |
| If a screwdriver is vodka and O.J., how do you make a Phillips Screwdriver? Vodka and milk of magnesia. |
| JohnG., Comment for image # 20105 | 15 Nov 10 14:34 |
| Outstanding work...Cheers!!! |
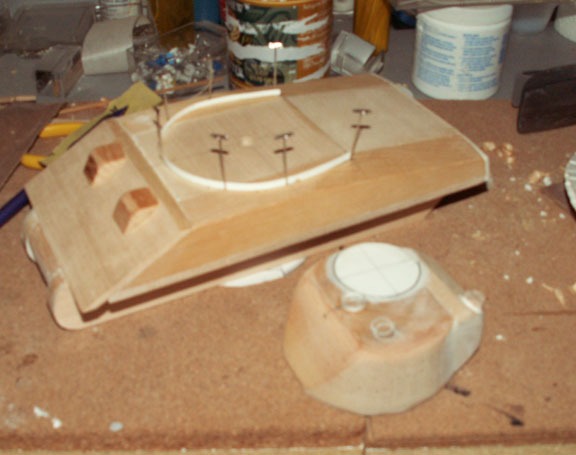
| Creosotewind, Image # 20106 | 15 Nov 10 14:08 |
|
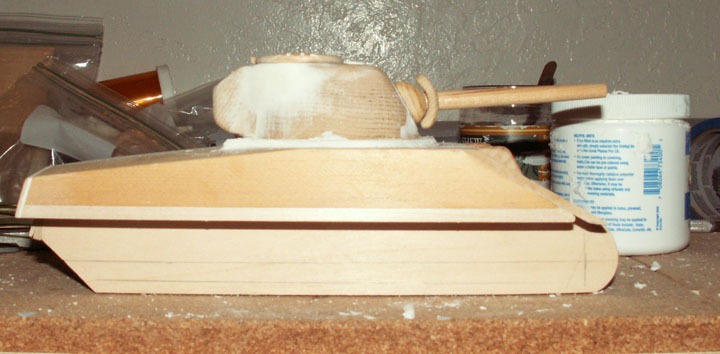
| Creosotewind, Image # 20105 | 15 Nov 10 14:08 |
The hull still has lots of little parts to add, but you can see the bullet splash rail to good effect. |
| Creosotewind, Image # 20104 | 15 Nov 10 14:07 |
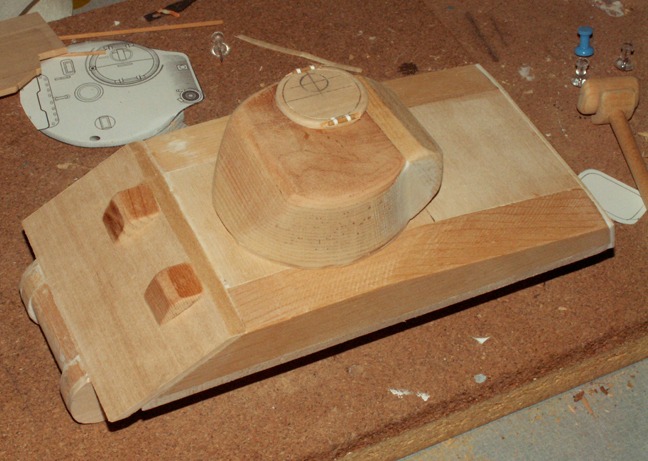
The gun is temporarily in place. The turret and hull have holes drilled in them so a wooden dowel can act as the pivot. |
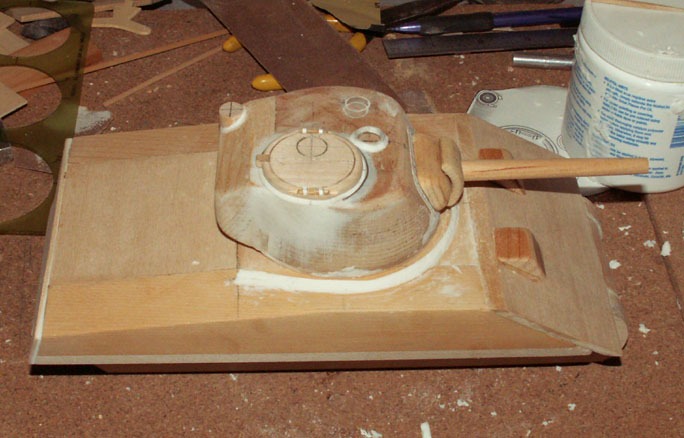
| Creosotewind, Image # 20103 | 15 Nov 10 14:05 |
Like the ring around the turret hatch, the hull has something similar except it protects the turret race from damage by bullets and shell splinters. I drew the pattern using a compass and ruler and glued a strip of card stock over the pattern. The pins hold it in place. I again added balsa putty to create a sloped lip. |
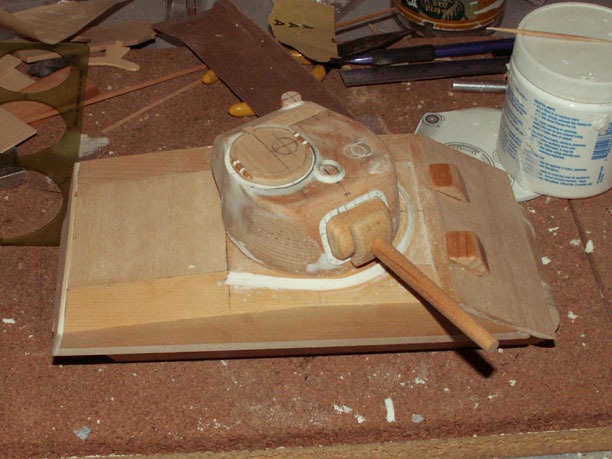
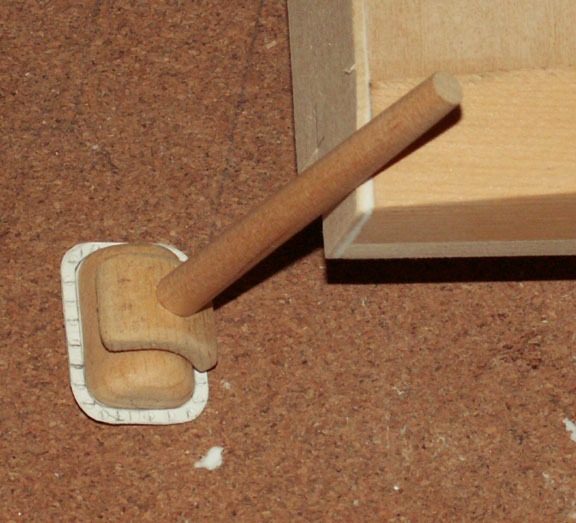
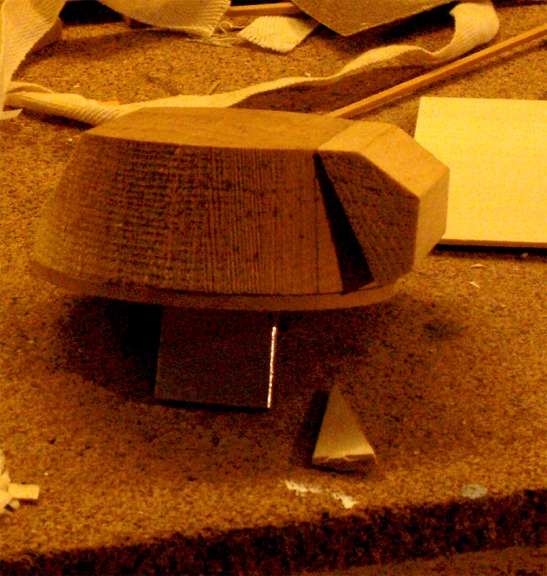
| Creosotewind, Image # 20102 | 15 Nov 10 14:03 |

The turret hatch could rotate on a ball bearing race. The race could let in water so the turret had a raised lip around the hatch. I used solder to make the ring and then feathered the edge with balsa filler. There should only be one ring at the top of the turret. Let that be a lesson, screwdrivers and sharp objects don't always mix. |
| Creosotewind, Image # 20101 | 15 Nov 10 13:59 |
A bit more detail of the 75mm. I need to drill out the barrel. |
| Creosotewind, Comment for image # 20026 | 13 Nov 10 17:29 |
| Fortunately, he must have forgotten that incident in 1973... |
| John M Oshust, Comment for image # 20023 | 13 Nov 10 16:12 |
| Wonderful!!! |
| Roring40, Comment for image # 20023 | 13 Nov 10 13:22 |
| The master at work - glad I have a front row seat |
| David Duckett, Comment for image # 20023 | 13 Nov 10 10:21 |
| Antici.............pation. |
| pfinn, Comment for image # 20023 | 13 Nov 10 10:14 |
| Yahoo! I was hoping you would be posting this build. Great stuff. Jimmy and I are following this with anticipation. |
| Creosotewind, Image # 20026 | 13 Nov 10 09:15 |
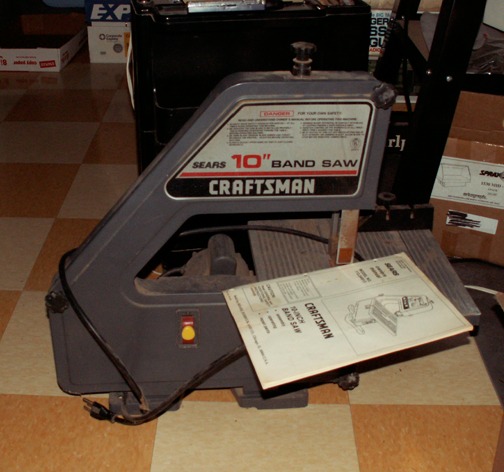
I wasn't looking forward to cutting out the suspension system by hand. I mentioned to my brother that I was looking for either a bandsaw or scroll saw. A couple days later I found this on my porch with a note from him saying he wasn't using this one and hopefully I could put it to good use. What a brother. |
| Creosotewind, Image # 20025 | 13 Nov 10 09:14 |

The 75mm barrel. The paper will be glued to the back of the barrel housing. I need to add screw details yet. |
| Creosotewind, Image # 20024 | 13 Nov 10 09:12 |

Profile of the tank. |
| Creosotewind, Image # 20023 | 13 Nov 10 09:12 |
Turret with the commader's hatch in place. Still some details to add to the turret and hatch. |
| Creosotewind, Image # 20022 | 13 Nov 10 09:09 |

The turret is sitting on the hull. The paper cutout is from a book I am using to correct shape and size errors. |
| Creosotewind, Image # 20021 | 13 Nov 10 09:08 |
The other side of the turret with the fillet in place. |
| Creosotewind, Image # 20020 | 13 Nov 10 09:07 |
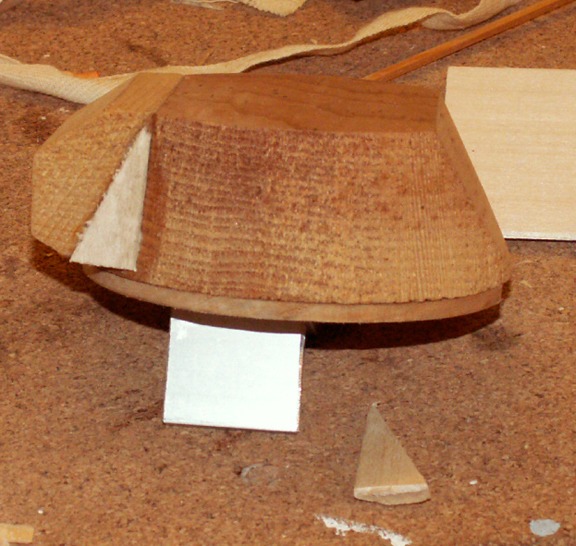
The turret was a solid piece of pine, rough cut to shape. It also sat too squat, so I added some basswood to the bottom. The bustle in the back left a wedge shaped gap that needed filling. You can see the fillet I made below the turret. |
| Build Thread, Page :
<< 4 5 6 7 8 [ 9 ] 10 (189 posts, 20 posts per page, 10 pages in total)
|
[ < Prev ] [ Next > ] |
