| Build Thread, Page :
<< 8 9 10 11 12 [ 13 ] 14 15 (286 posts, 20 posts per page, 15 pages in total)
|
[ < Prev ] [ Next > ] |
| julinick, Comment for image # 32904 | 21 Jan 15 11:17 |
| Very smooth. Excellent work so far! |
| rayl, Image # 32904 | 21 Jan 15 11:10 |
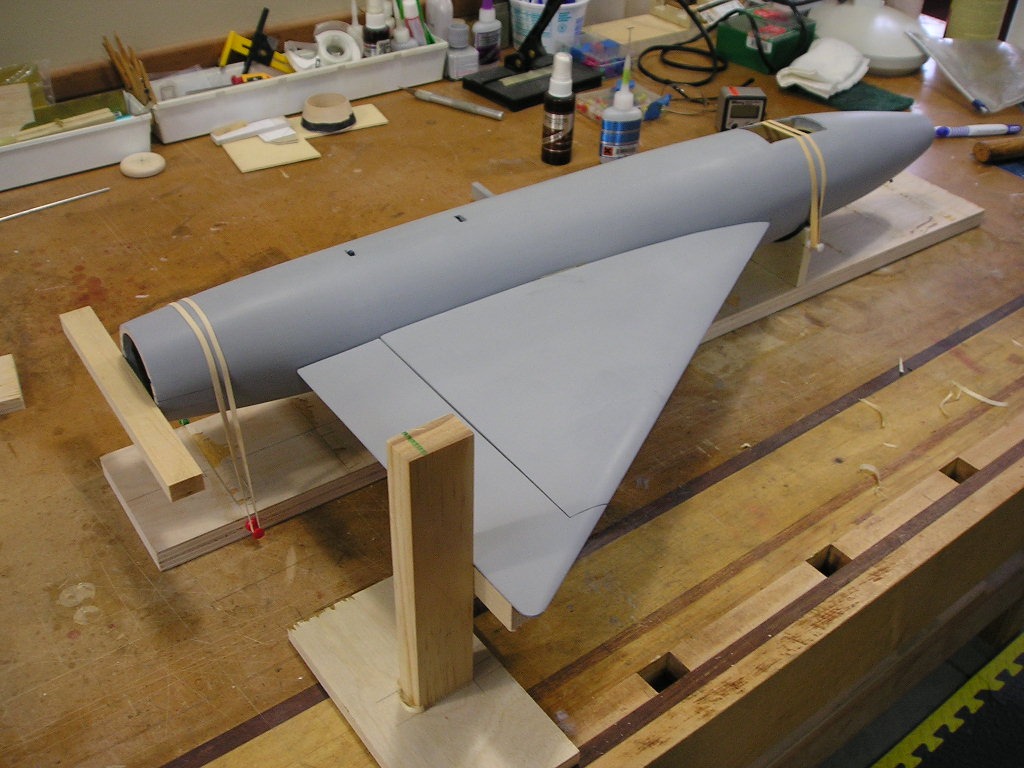
All primed and ready to move on. Attaching the Stbd wing here. Checked the incidence with the "Wixey" meter and made a jig to keep the wingtips in line. |
| rayl, Image # 32903 | 21 Jan 15 11:06 |

'Nuff said. |
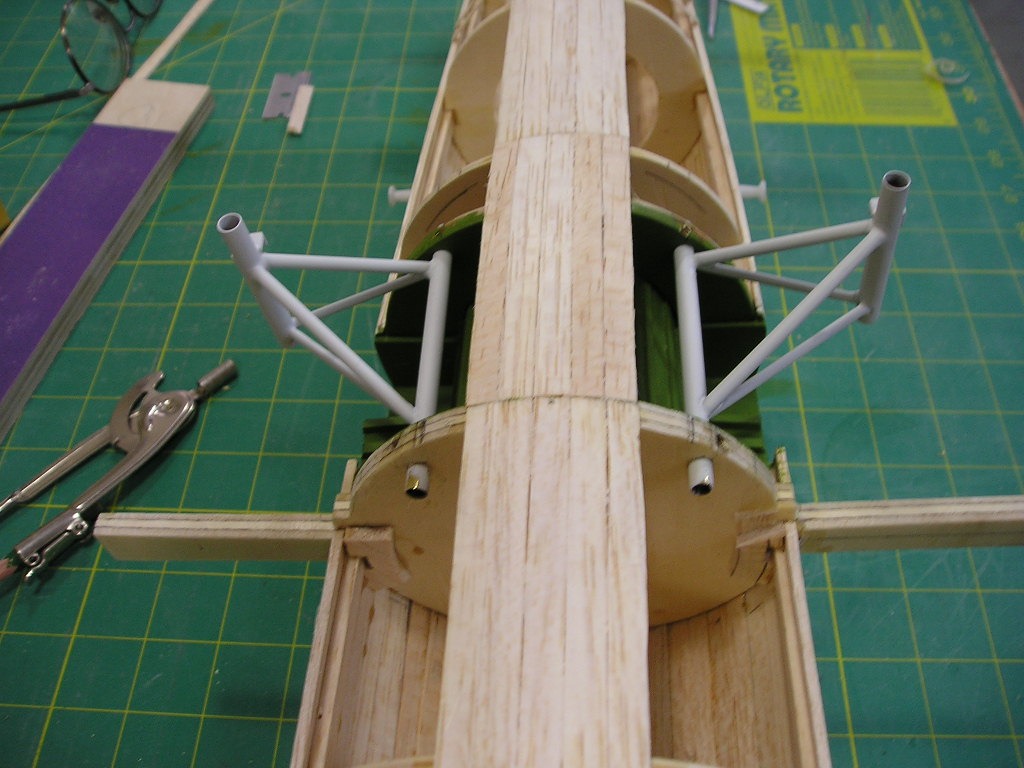
| rayl, Image # 32902 | 21 Jan 15 11:05 |

While I was waiting for the primer to dry, I fabricated the rest of the brass items for the main and nose gear. From the pictures of the real thing, the landing gear was quite "chintzy". No wonder that a gear failure was the ultimate cause of the plane's demise. |
| rayl, Image # 32901 | 21 Jan 15 11:00 |
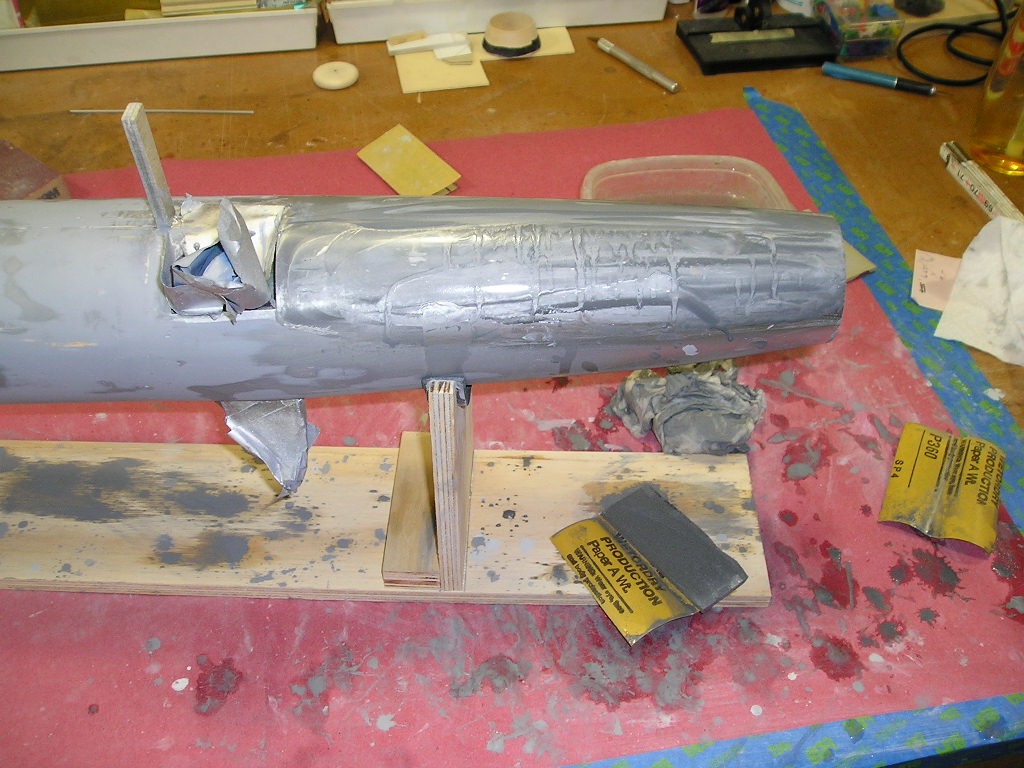
Fill/prime, fill/prime, ad infintium. Went to the newly opened Hobby Lobby in town and got some Tamiya "Mr. Surfacer" for the really little voids; worked pretty good. Final wet sanding in progress now. I went up to 1000 grit as the final step. |
| julinick, Comment for image # 32883 | 18 Jan 15 19:22 |
| WOW!!!! Looking fantastic!! |
| rayl, Comment for image # 32885 | 18 Jan 15 15:30 |
| ftomstark; That a cool story. I will have to look up that flick. I believe that the XF-92 was also in another flick painted up as a MIG-23, about 20 years before there actually was a Mig-23. But I think that all of the film footage ended up on the cutting room floor.
John; Reminds more of the Barbell (SS-580) that used to tie up to the SUBASE (PH) piers next to my sub which was the Sargo SS(N)-583 back in the 70's.
John: It reminds more of the Barbell (SS-580) that used to tie up at the SUBASE (PH) piers next to my sub (Sargo SS(N)-583 back in the 70's. |
| John M Oshust, Comment for image # 32885 | 18 Jan 15 14:16 |
| rayl...Ackula or Typhoon :-) |
| ftomstark, Comment for image # 32885 | 18 Jan 15 12:07 |
| When I was in the Air Force I was in an outfit that "owned" the XF 92. We loaned it to a movie studio (Universal I think) for the movie "Toward the Unknown" starring William Holden. It was used in a crash scene and made to look like a bellied-in F 102. They dug three holes in the desert for the landing gear so it looked like it was on its belly. The front inlet was covered with a pointed cone and a dummy inlet was placed aft of the canopy. Torn metal was placed here and there on the airframe to look like damage. Then fires were set around it so it looked like it had just crashed. William Holden saw this and rescued the pilot from the burning wreckage. The scene was at night and looked very realistic. The XF 92 was not damaged and was returned to Det. 1 of the USAF Orientation Group at Norton AFT in San Bernardino, CA. |
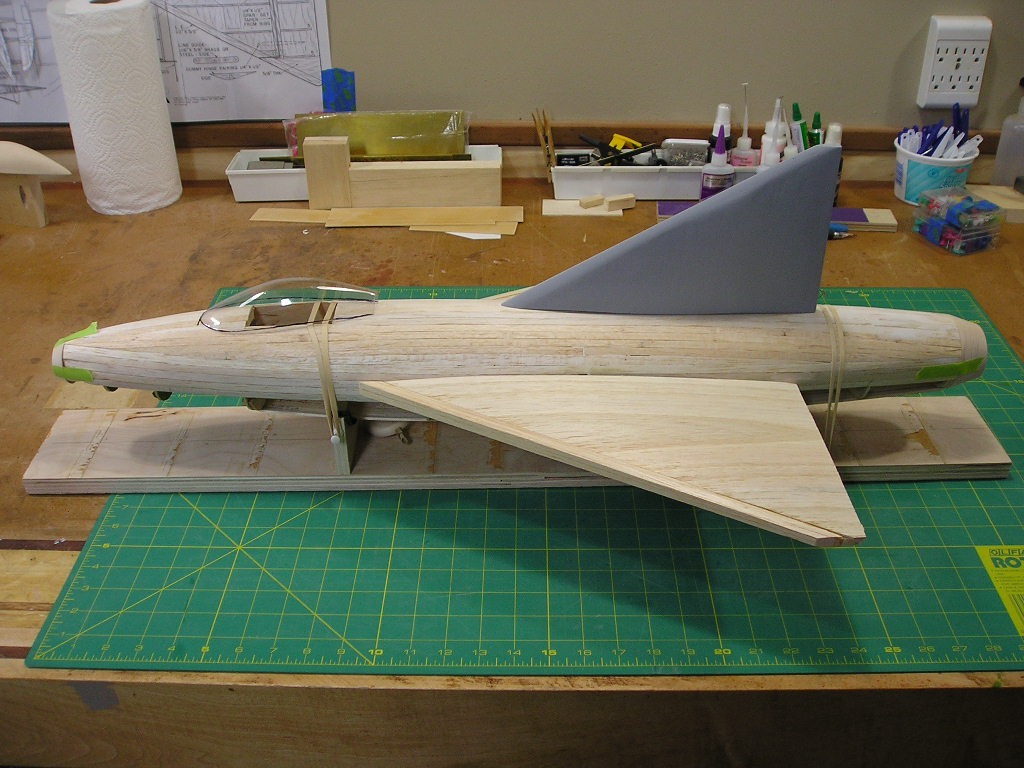
| rayl, Image # 32885 | 18 Jan 15 10:18 |
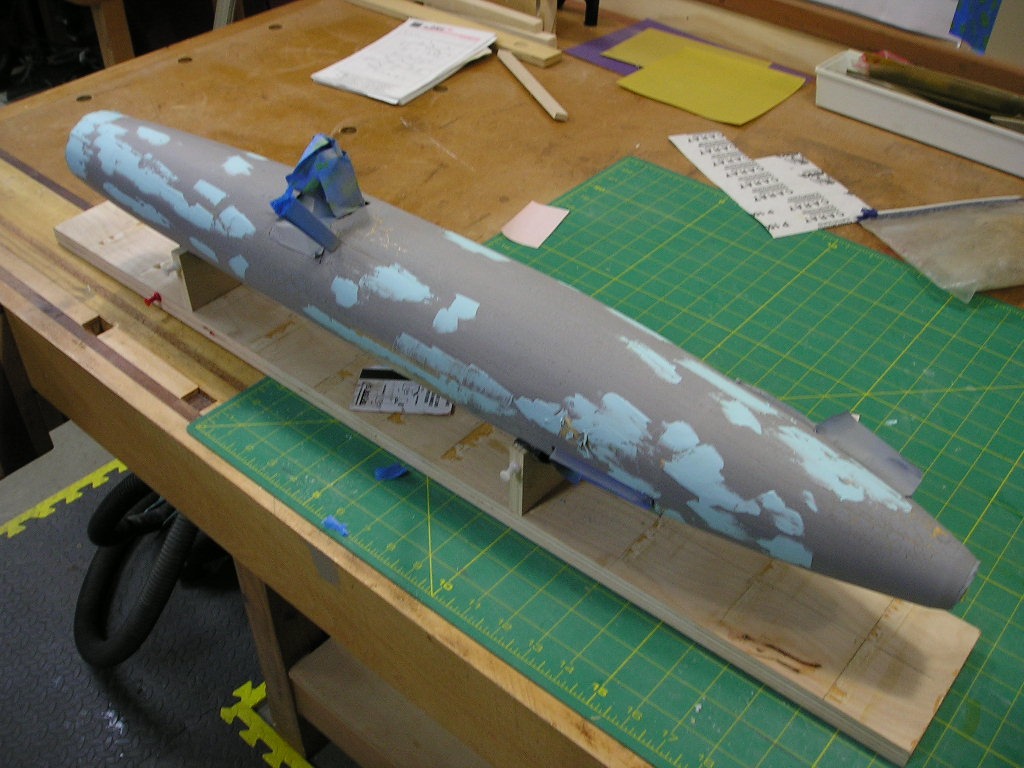
The great speckled bird! Two things happened: (1) My planking powress is lacking: many voids between the planks to fill. (2) I suffered some sort of incomparability issue between the intial finish and the high-fill primer, resulting in may "Crazed" areas. This is going to take a while as the primer surface has to nearly perfect if I am to lay on a aluminum finish coat. Catchya later! |
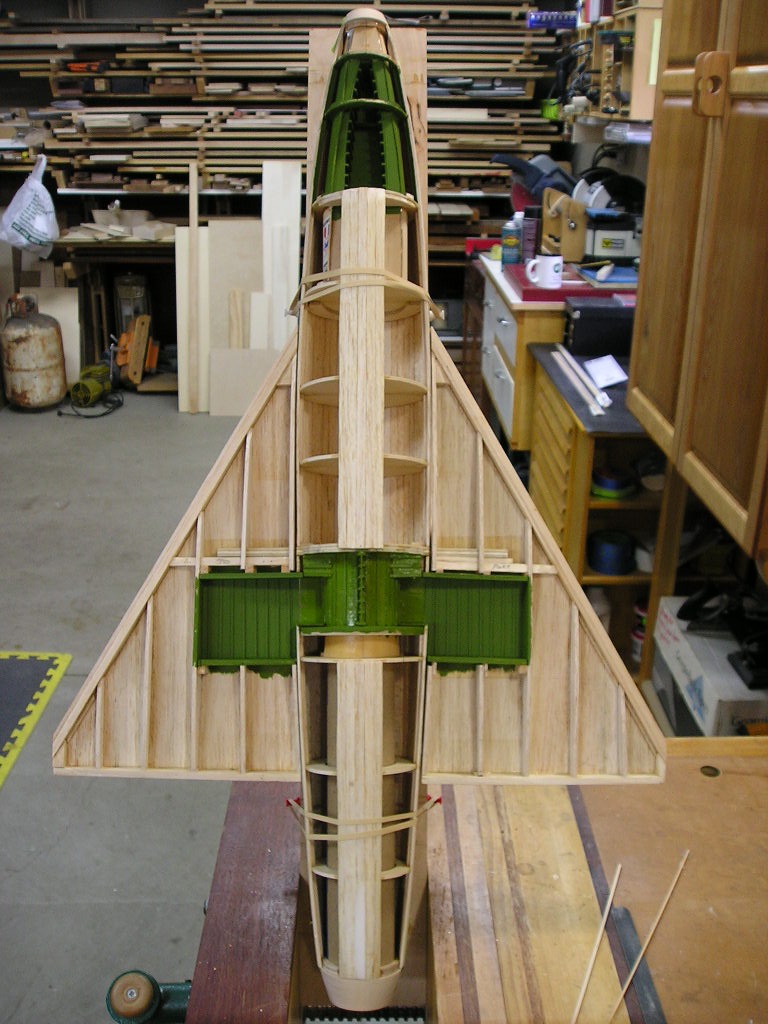
| rayl, Image # 32884 | 18 Jan 15 10:12 |
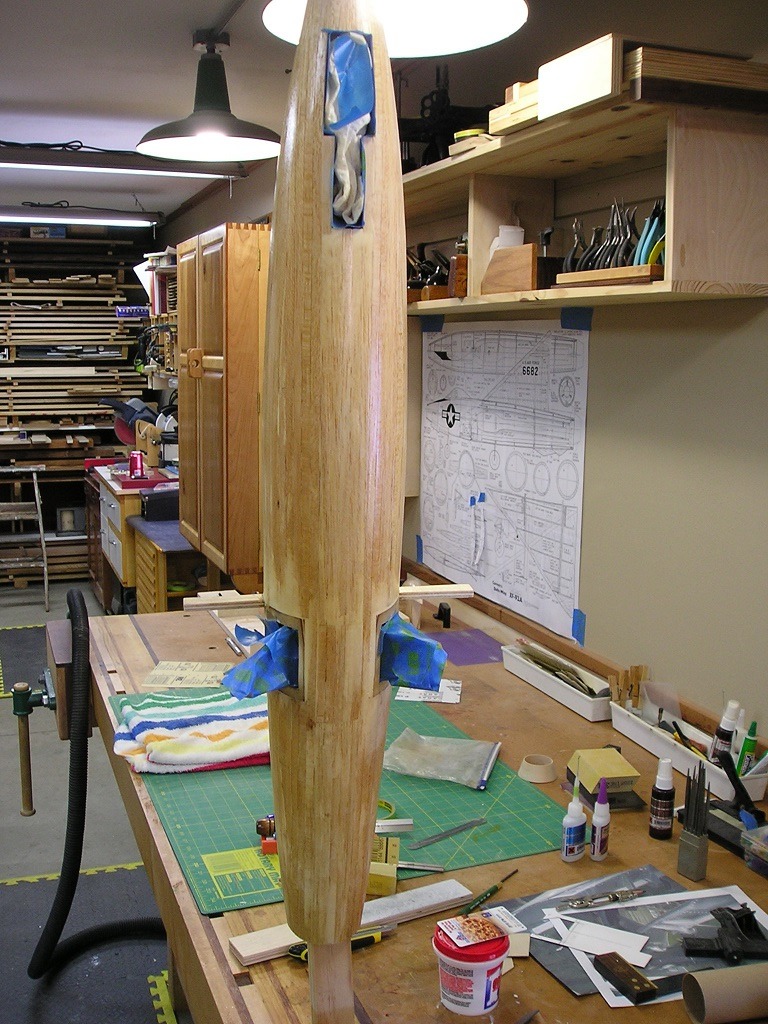
Finished all of the fuse planking. Installed 1/64" ply main L/G well inserts. I did this to simulate the thin edges of the wheel wells. I have three layers of sandinig sealer on the fuse now so the next step will be to lay on some automotive type high-fill primer. |
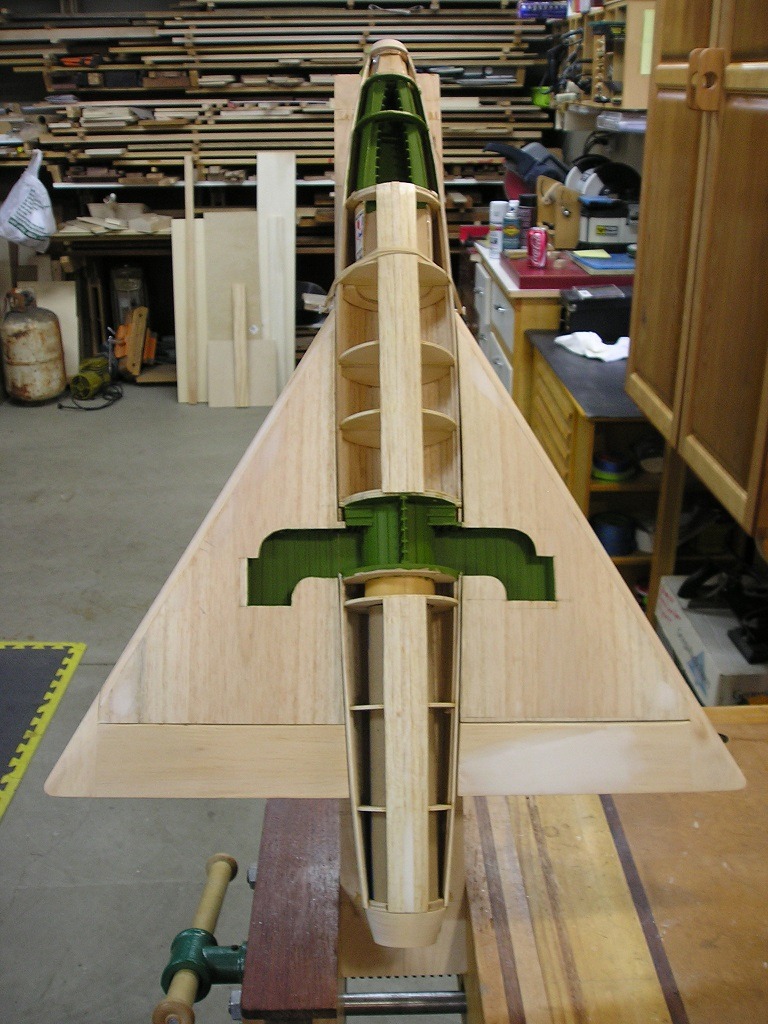
| rayl, Image # 32883 | 18 Jan 15 10:04 |
The main L/G firmly mounted into it's plywood bulkheads. I used a "Wixey" digital angle gauge to make sure the fuse was level (laterally) then set a bar across the L/G strutts to insure that they were level before supergluing them into place. I then drilled 3/32" cross pin holes through the main member and inserted music wire into those holes. The L/G shouldn't move at all. |
| rayl, Image # 32880 | 17 Jan 15 09:49 |
Bottom sheeting instaled on the wings and the elevons attached. Now I'm ready to finsih the fuse planking and move on to the sealer/primer stage. |
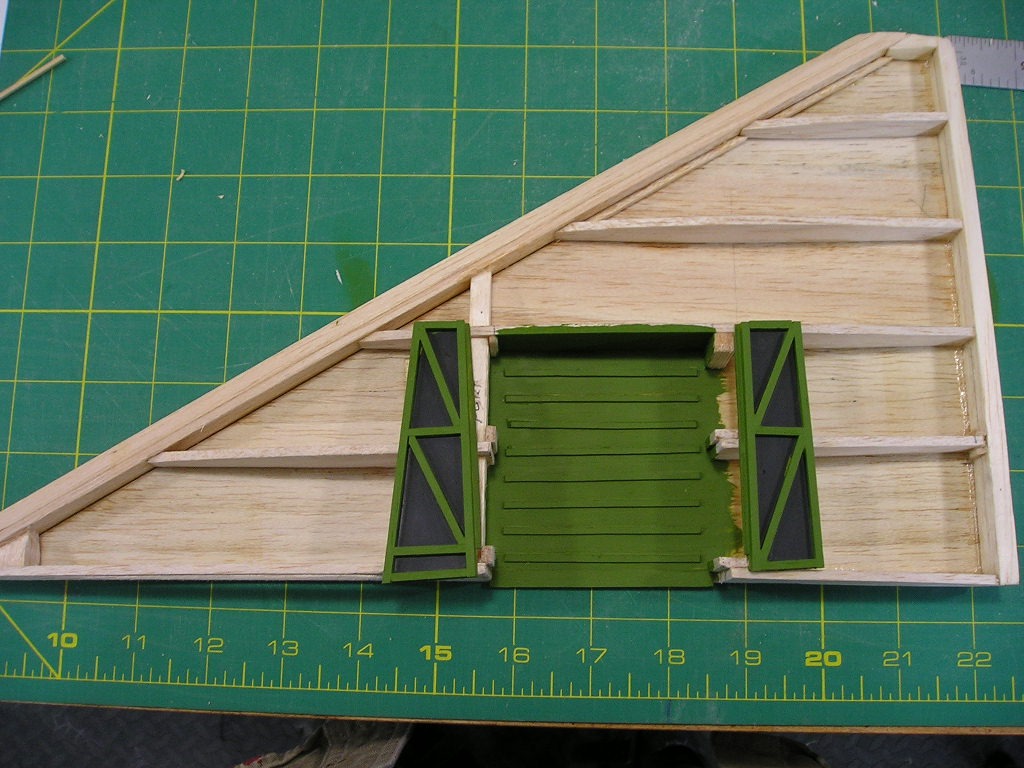
| rayl, Image # 32879 | 17 Jan 15 09:44 |
Main gear wells done. Ready to sheet the bottom of the wings. |
| rayl, Image # 32878 | 17 Jan 15 09:42 |

My new freind in Monterey, Ca. |
| rayl, Comment for image # 32858 | 14 Jan 15 17:20 |
| Julinick: Thanks. We will see how it looks after it is primed. |
| julinick, Comment for image # 32858 | 14 Jan 15 11:32 |
| Looking fantastic! The planking looks awesome! |
| rayl, Image # 32859 | 14 Jan 15 11:23 |
Started on the main L/G wells. A few strips to simulate the stringers and faux spars to close off the space. |
| rayl, Image # 32858 | 14 Jan 15 11:21 |
TOps of the wings are sheeted. Had to see what it looked like with them on. |
| rayl, Image # 32847 | 12 Jan 15 14:58 |
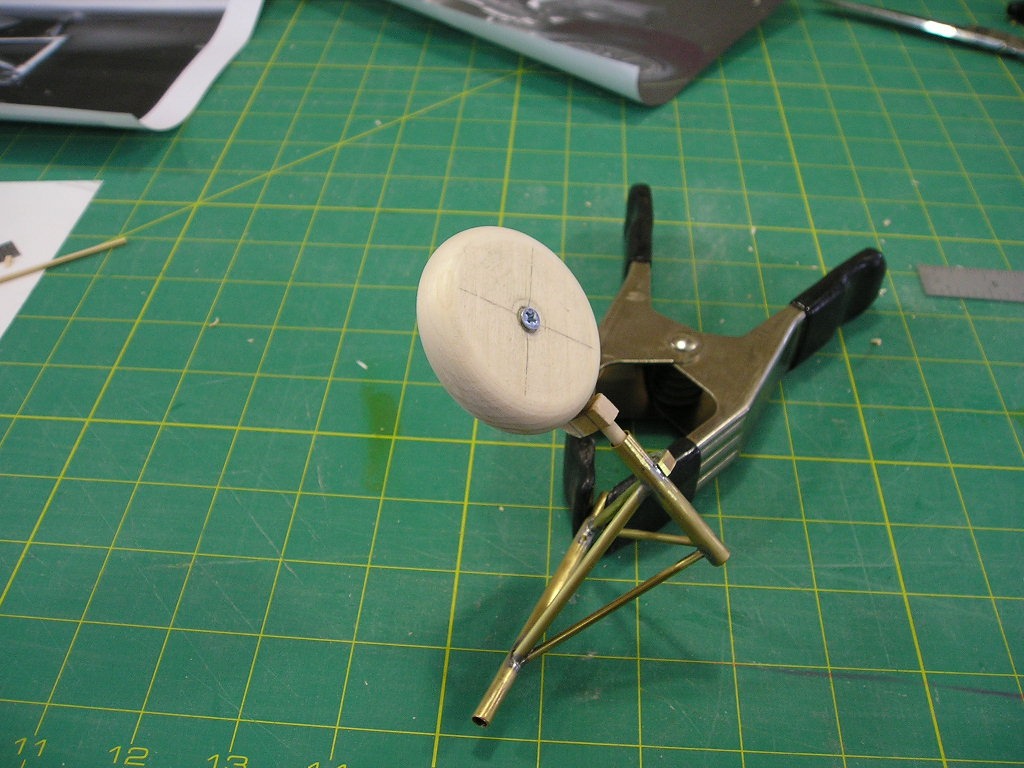
Before I start to sheet the wings, I have to fabricate the wheel wells in the wing. I fabbed a wheel of the correct size on my drill press to check for the well size and clearances, even though the gear will be non-functional. Just kinda fun to whip something like this out. |
| Build Thread, Page :
<< 8 9 10 11 12 [ 13 ] 14 15 (286 posts, 20 posts per page, 15 pages in total)
|
[ < Prev ] [ Next > ] |
