| Build Thread, Page :
<< 6 7 8 9 10 [ 11 ] 12 13 14 15 (286 posts, 20 posts per page, 15 pages in total)
|
[ < Prev ] [ Next > ] |
| rayl, Image # 33150 | 13 Feb 15 12:43 |
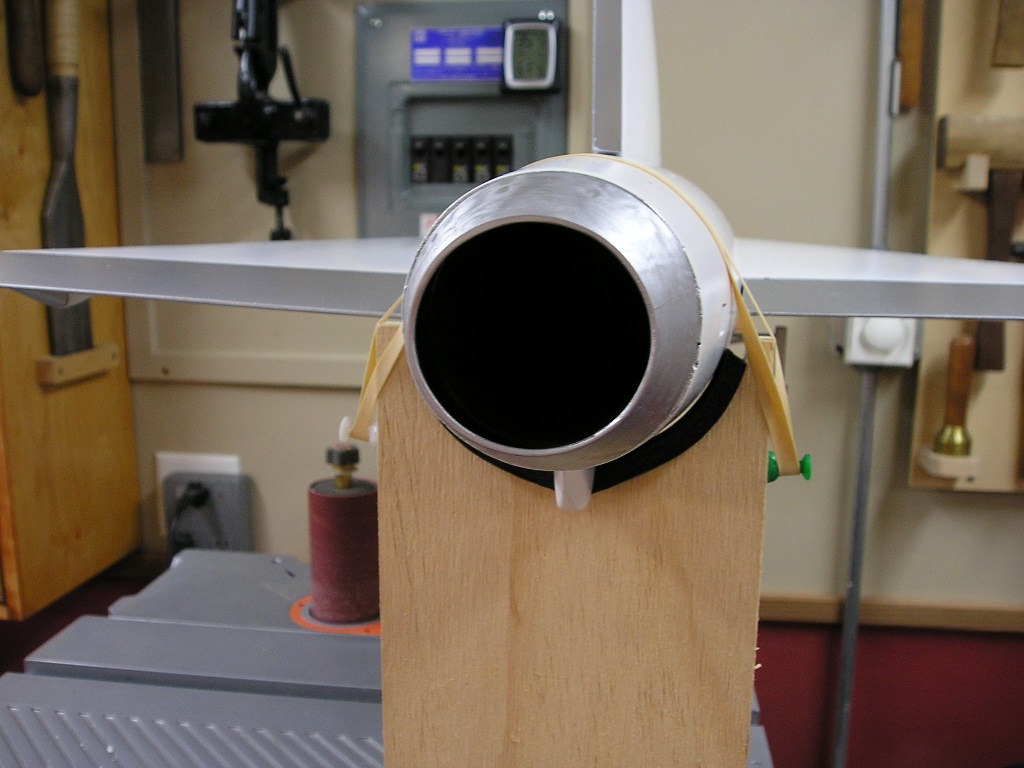
Done with this end. |
| rayl, Image # 33149 | 13 Feb 15 12:42 |
A/B duct installed. Two rings of soft solder CA'd to the former to provide gluing surface for the A/B nozzles and the plastic (ex-coke bottle) tail-piece fairing. |
| rayl, Image # 33148 | 13 Feb 15 12:38 |
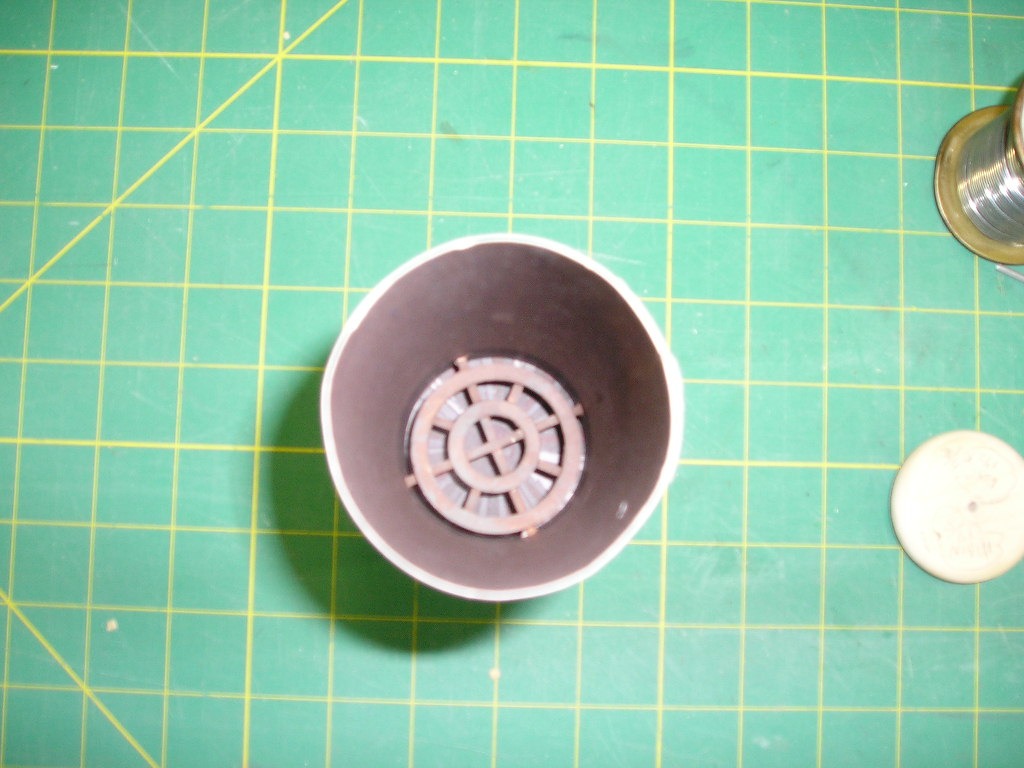
THis is the Afterburne exhaust. I used the "Paint" program to print out a mottled sheet to simulate the exhaust. The flame-holder rings are cardboard and Basswood sticks painted with cheap acyrlics ($0.50 @) from wallyworld. |
| rayl, Comment for image # 33104 | 12 Feb 15 13:44 |
| It is a very good movie. The in-flight scenes of the XB-51 are spectacular although I could never figure out how the script writers came up with "Gilbert XF-120" for a stage name. I always liked Holden as an actor, "Bridges at Toko-Ri" being his best. |
| jgood, Comment for image # 33104 | 12 Feb 15 12:44 |
| Hey Ray. Thanks to you, and this model, I now own a copy of 'Toward the Unknown'! |
| bobgood, Comment for image # 33103 | 09 Feb 15 12:01 |
| Amazing stuff this! I had no idea that such a thing could be done. Would like to try that myself one day I fancy doing an F86, and this would be the way to the "can of peas"! |
| Don C, Comment for image # 33104 | 09 Feb 15 11:37 |
| Some time in the future a lot of us will be drinking Coke. Nice to see it progressing. |
| julinick, Comment for image # 33104 | 09 Feb 15 10:38 |
| Outstanding. Very cool to learn different techniques from everyone :) |
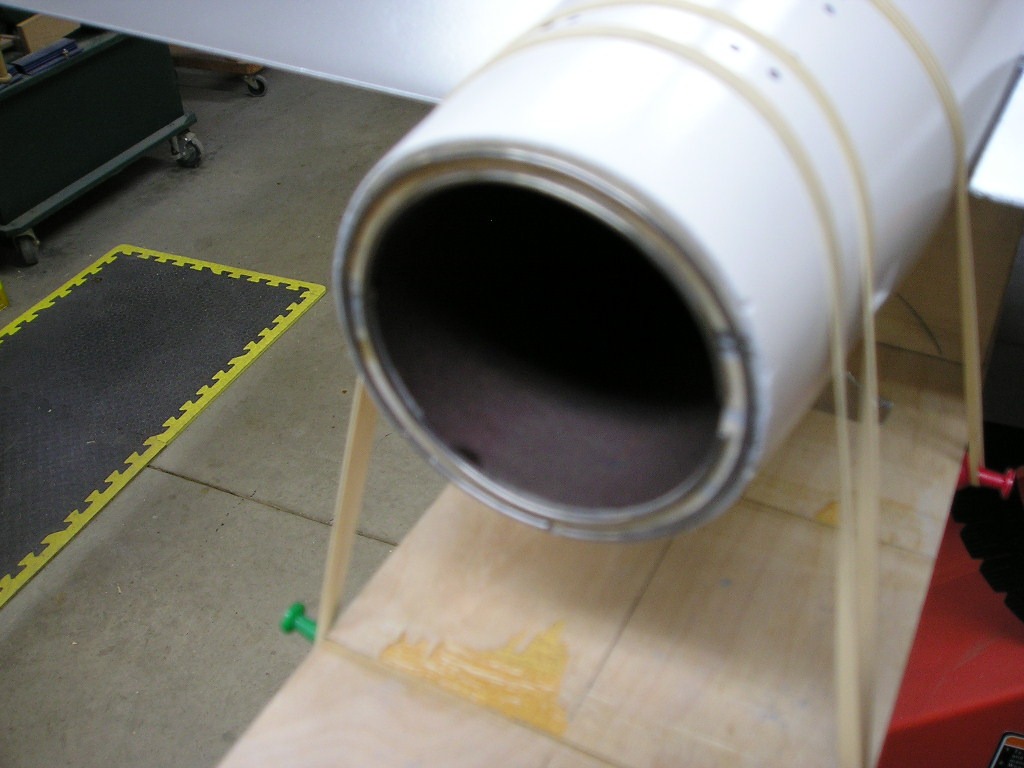
| rayl, Image # 33104 | 09 Feb 15 10:27 |
Here is the first test fit; not bad. I will CA a ring of fine solder to the small end to ensure that it remains circular and give it a little strength. |
| rayl, Image # 33103 | 09 Feb 15 10:25 |

All shrunk down and ready to trim it out. |
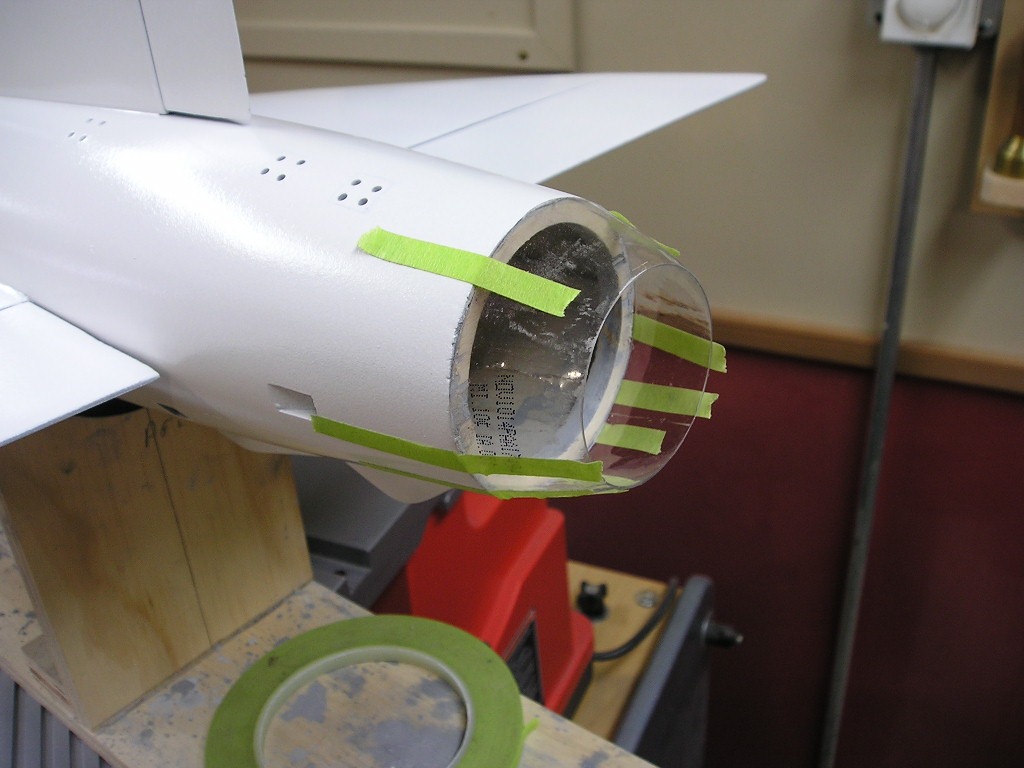
| rayl, Image # 33102 | 09 Feb 15 10:24 |
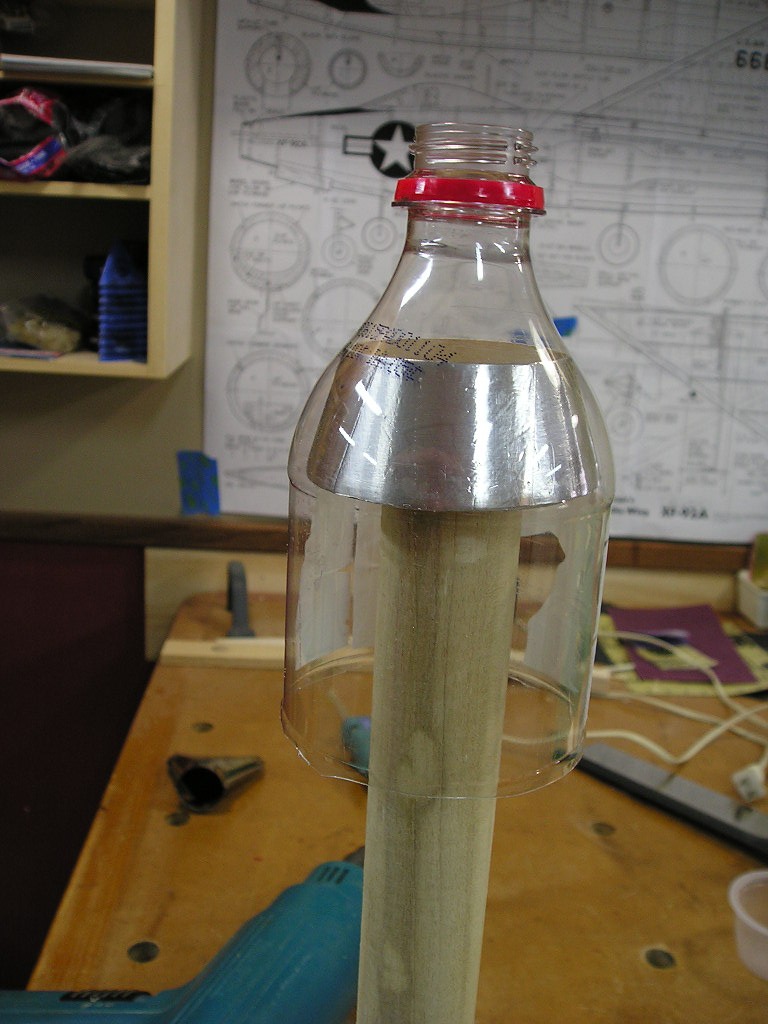
I had a little time in the shop yesterday while the LOML was shopping, so I thought that I would do another "Shrinky-Dink' for the Afterburner tail piece. Here is the portion of the Coke bottle over the form before applying heat to it. |
| meku, Comment for image # 33081 | 08 Feb 15 03:11 |
| Very good, imaginative! |
| Lindy, Comment for image # 33081 | 07 Feb 15 21:19 |
| Outstanding. Looking great ! |
| JohnG., Comment for image # 33081 | 07 Feb 15 17:50 |
| OUTSTANDING.............. |
| Don C, Comment for image # 33081 | 07 Feb 15 16:59 |
| John's right. Nice work. |
| John M Oshust, Comment for image # 33081 | 07 Feb 15 14:19 |
| Work like this takes time, patience, and skill. Not the same as taking plastic wheels out of a box and attaching them. Bravo, the end result will make the effort worthwhile! |
| rayl, Image # 33081 | 07 Feb 15 13:40 |
Dosen't look like a full 2 days work does it? BTW; when I said that I was machining the parts, it was all done with standard, i.e. full size, turning gouges and machinist files to work down to the final size. |
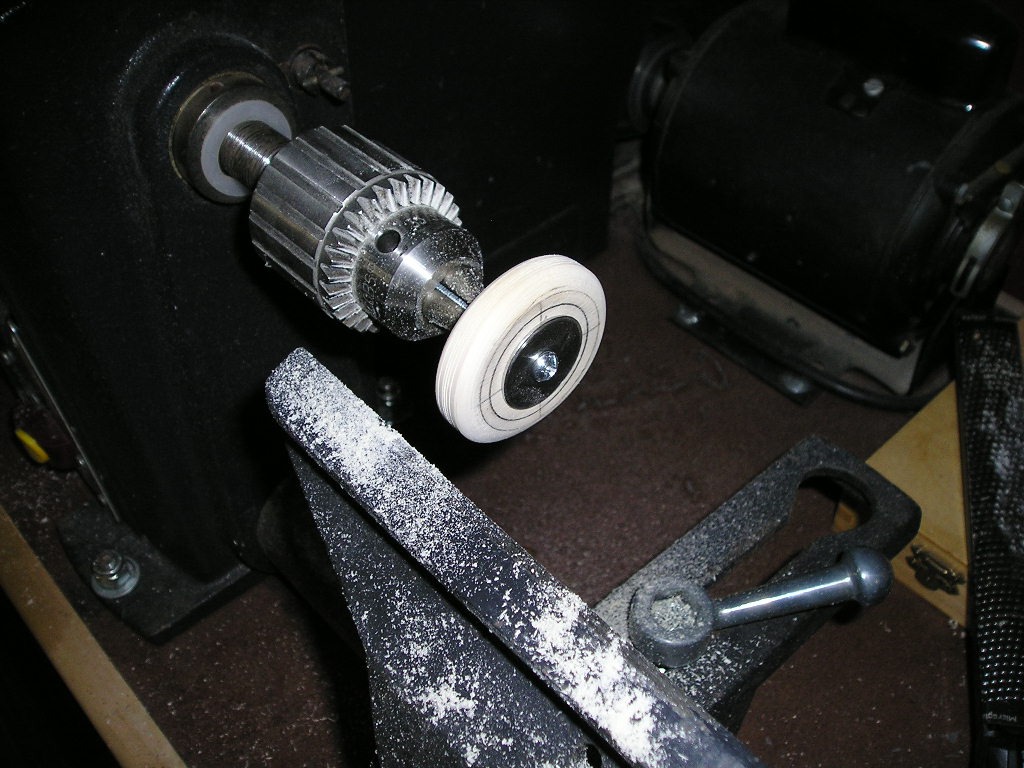
| rayl, Image # 33080 | 07 Feb 15 13:37 |
Drilling the center of the tire out. (Looks like a shot from Fine Woodworking doesn't it?) |
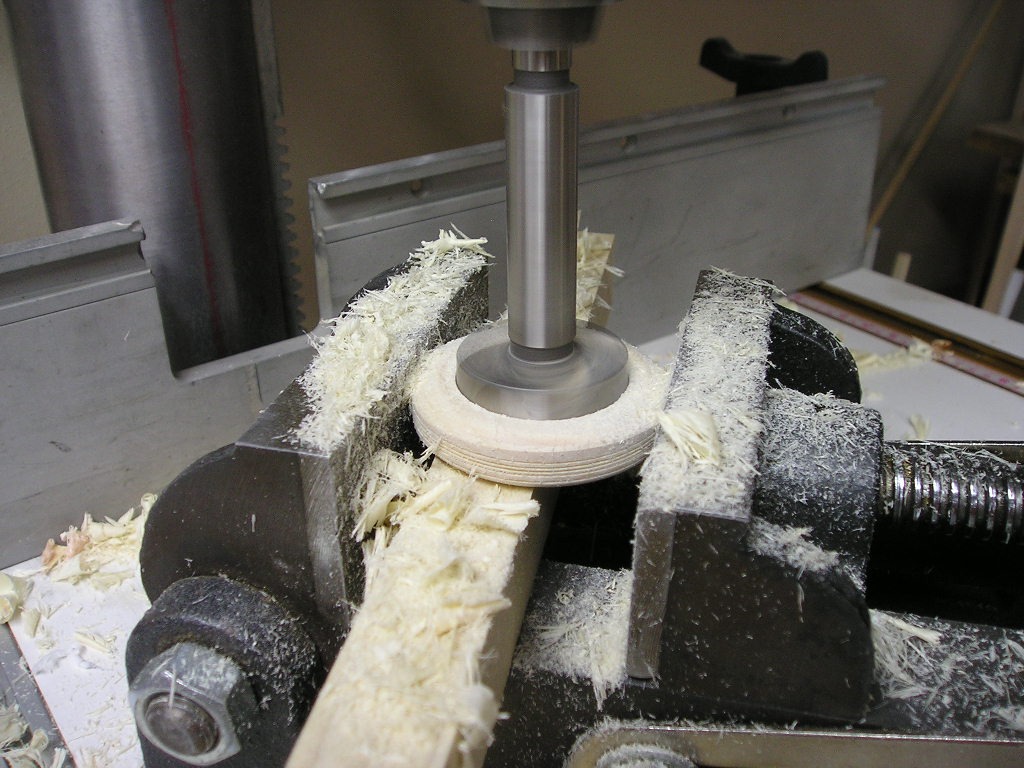
| rayl, Image # 33079 | 07 Feb 15 13:36 |
Turning the wheels out of Basswood on the lathe. |
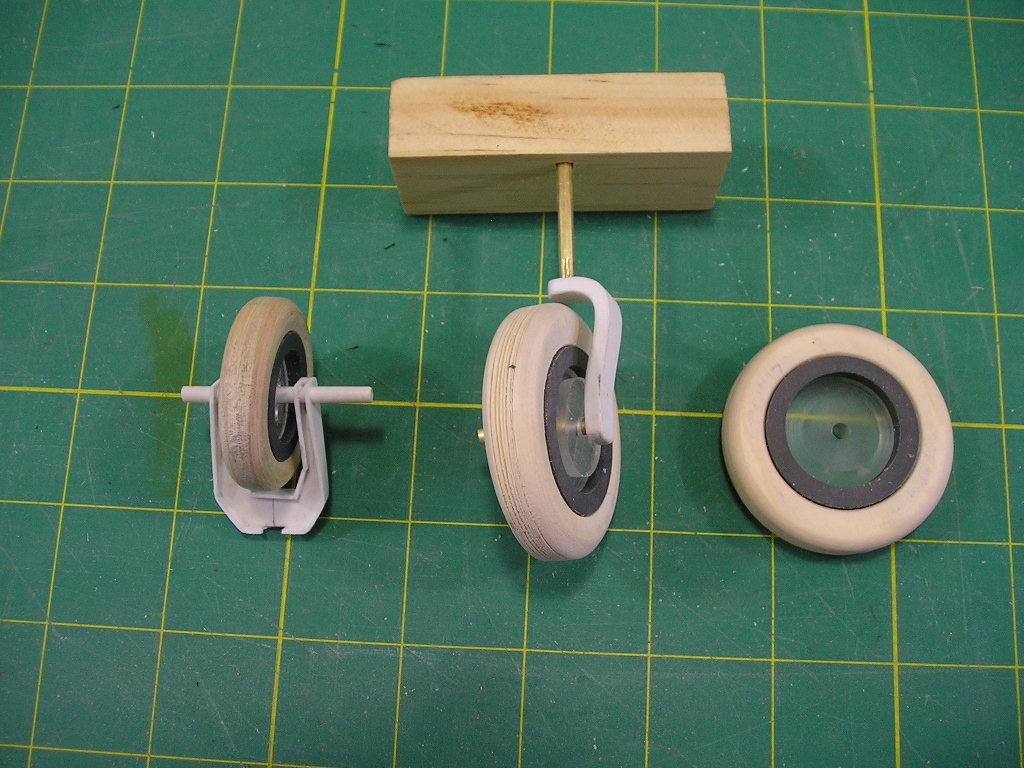
| rayl, Image # 33078 | 07 Feb 15 13:34 |
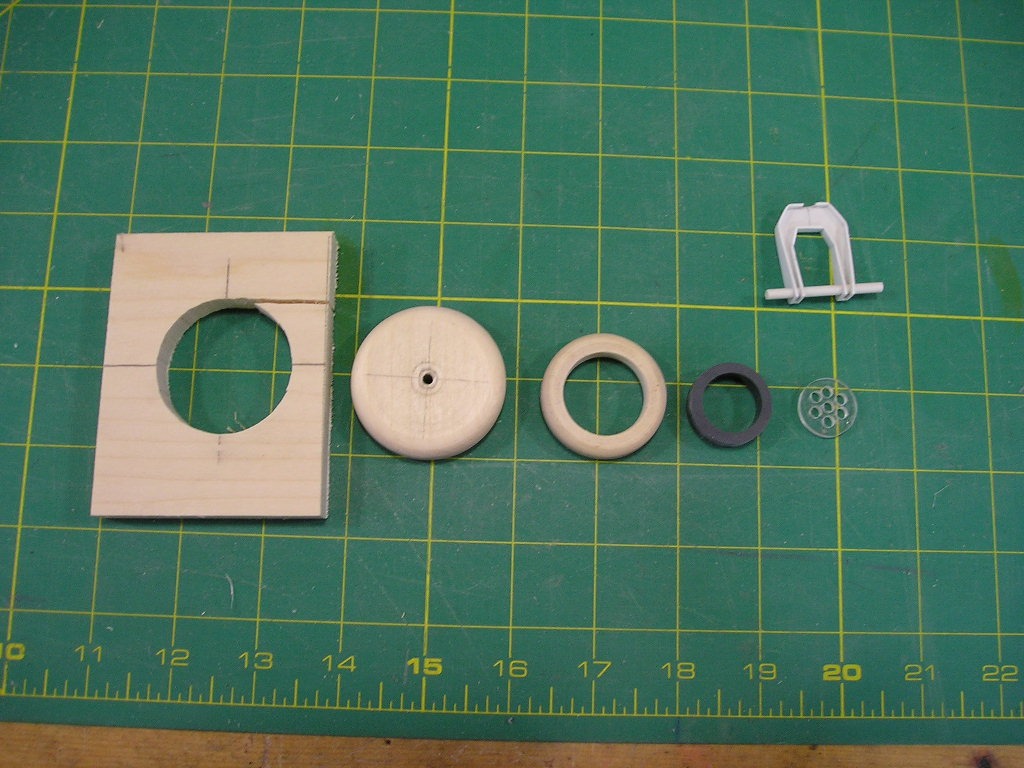
While I'm waiting for the Gloss White paint to dry: I always try to let white sit for a least a week before I touch it, I started to work on the Landing gear. The progression from left-tp-right: (1) Cut out the shape on the jig-saw, (2) establish the shape of the tire on the lathe, (3) drill the hub hole out to finish the tire, (4) machine the hub to size out of "black" PVC pipe, (5) machine the Hub disc out of 3/16" plexi. The Nose Gear yoke above was assembled during our last snowstorm, all out of styrene. |
| Build Thread, Page :
<< 6 7 8 9 10 [ 11 ] 12 13 14 15 (286 posts, 20 posts per page, 15 pages in total)
|
[ < Prev ] [ Next > ] |
