| Build Thread, Page :
1 [ 2 ] 3 4 5 6 7 8 (158 posts, 20 posts per page, 8 pages in total)
|
[ < Prev ] [ Next > ] |
| frwyflyer, Comment for image # 18062 | 23 May 10 14:38 |
| BEAUTIFUL!! That pilot really sets it off |
| David Duckett, Comment for image # 18055 | 23 May 10 13:50 |
| A bit of torque, wot? |
| David Duckett, Image # 18065 | 23 May 10 13:48 |
|
| David Duckett, Image # 18064 | 23 May 10 13:38 |

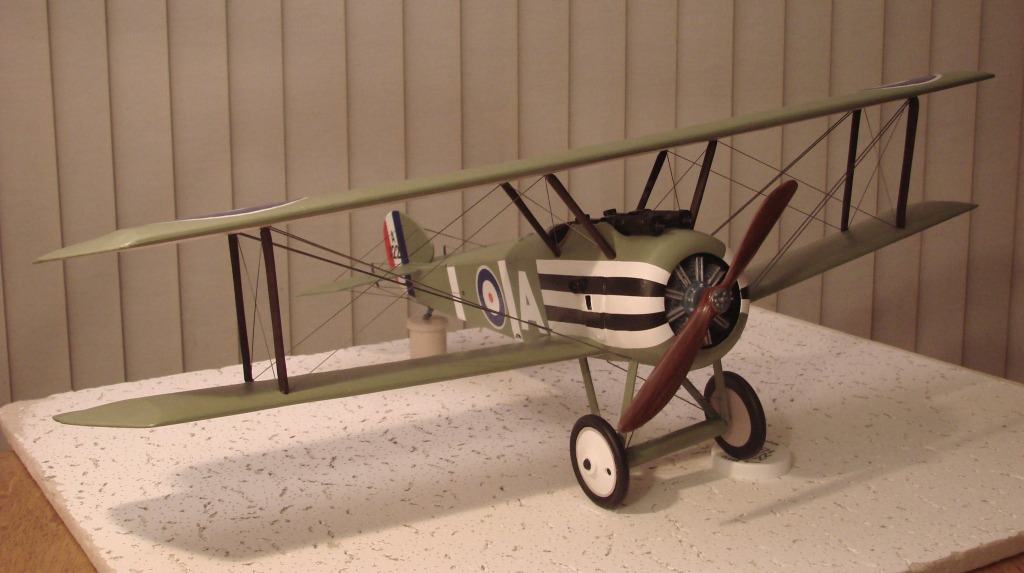
Midnight at the oasis, Send your Camel to bed... |
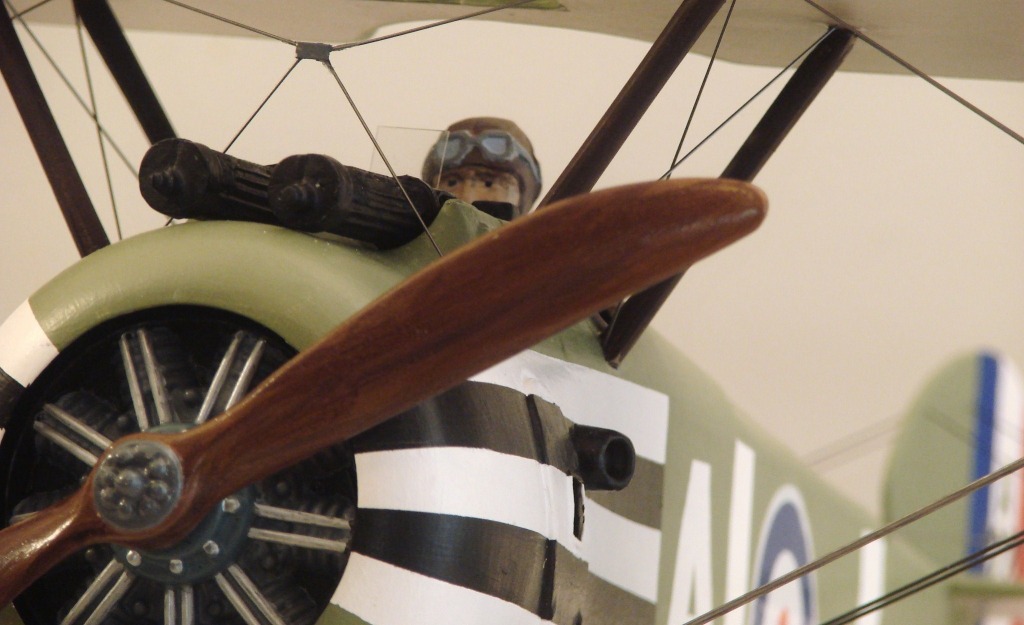
| David Duckett, Image # 18062 | 23 May 10 13:36 |
|
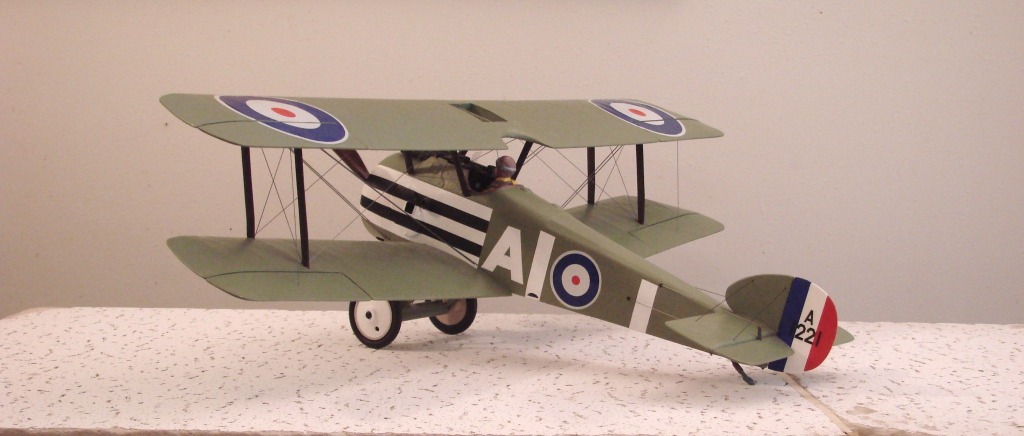
| David Duckett, Image # 18061 | 23 May 10 13:35 |
|
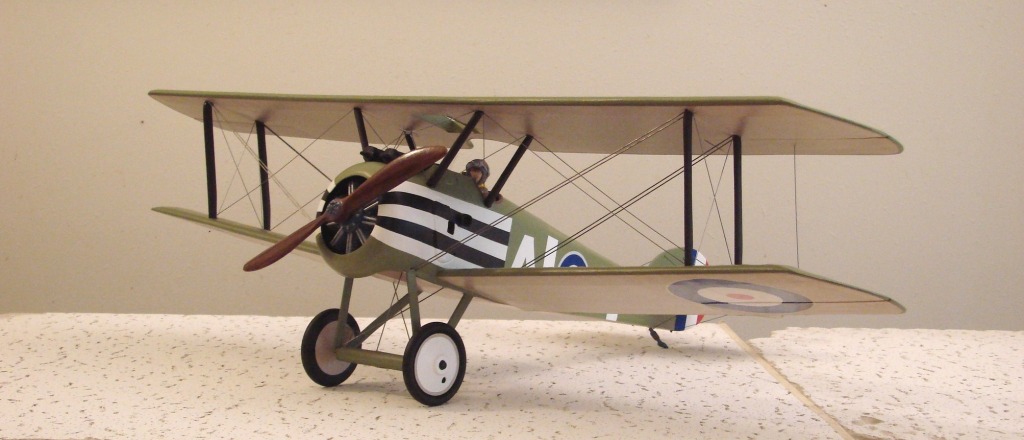
| David Duckett, Image # 18060 | 23 May 10 13:35 |

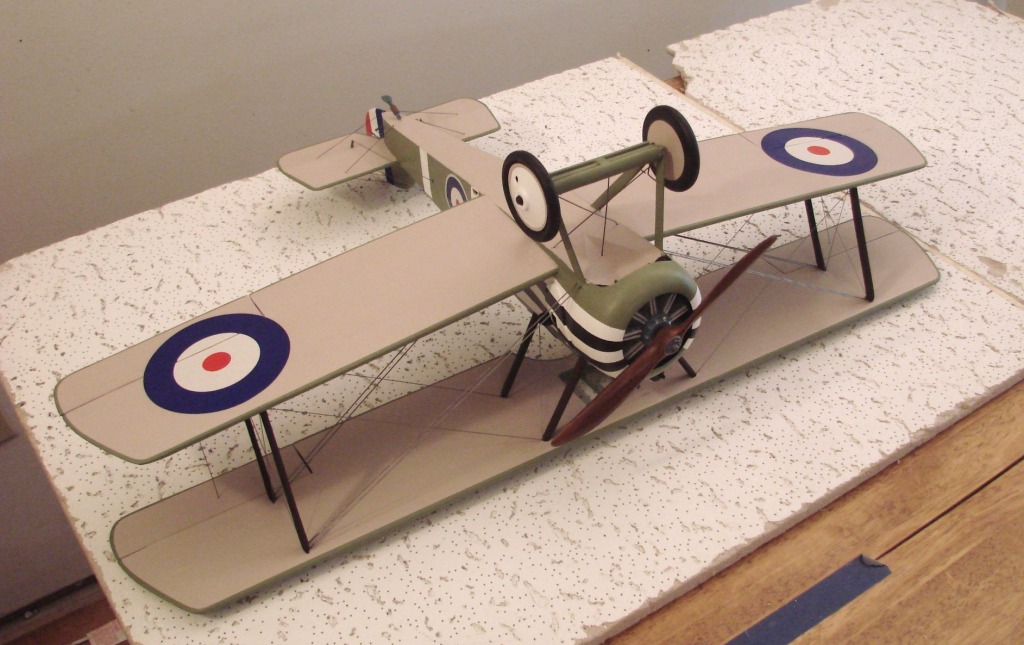
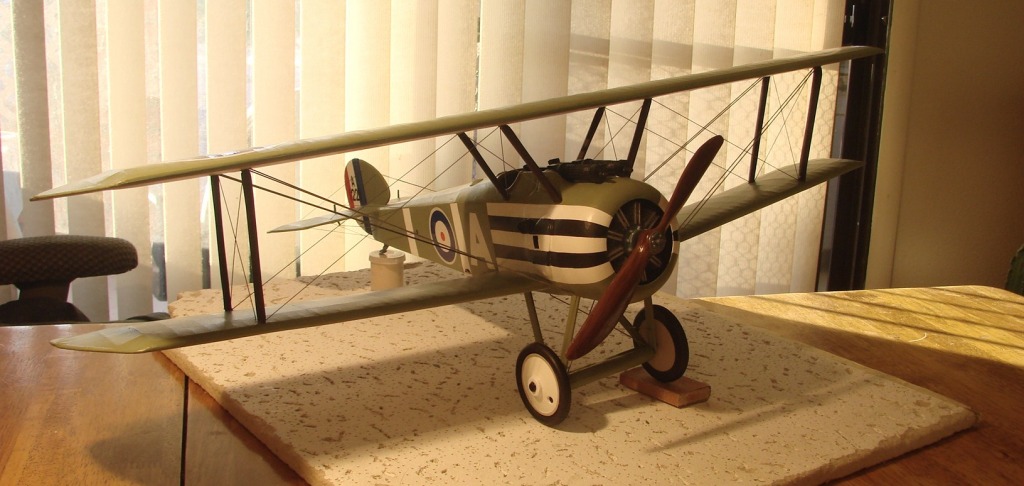
A walk around a Camel |
| David Duckett, Image # 18059 | 23 May 10 13:34 |
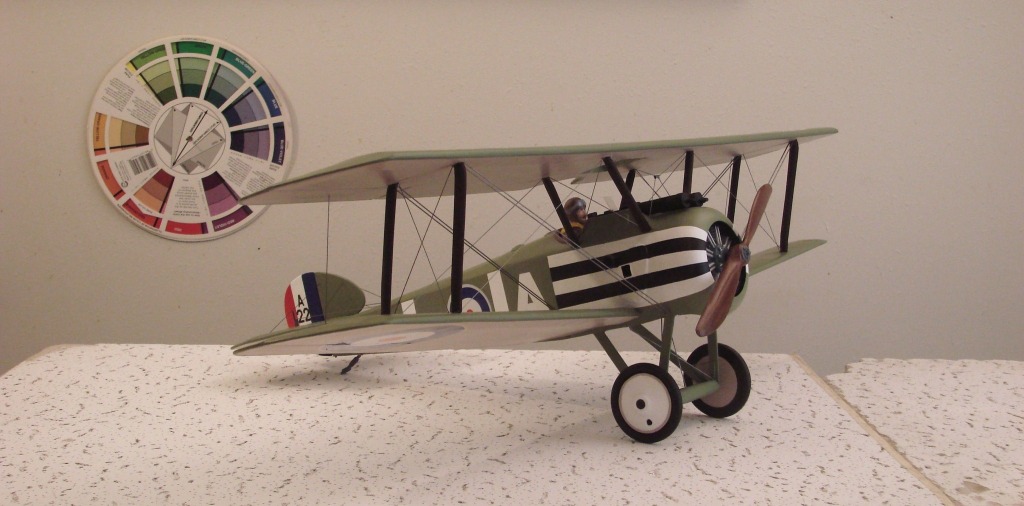
|
| David Duckett, Image # 18058 | 23 May 10 13:33 |
|
| David Duckett, Image # 18057 | 23 May 10 13:32 |
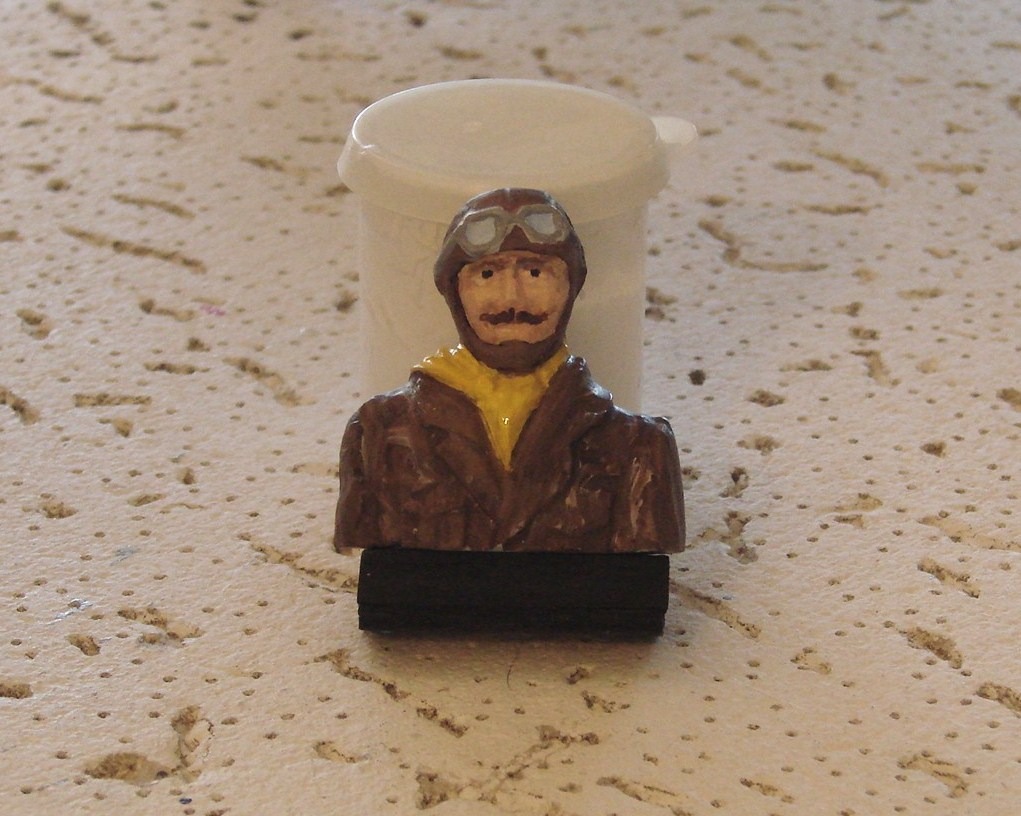
The pilot is also cast using the kit pieces as molds. |
| stirling, Comment for image # 18055 | 23 May 10 13:31 |
| Pilot error I assume? |
| David Duckett, Image # 18056 | 23 May 10 13:30 |

|
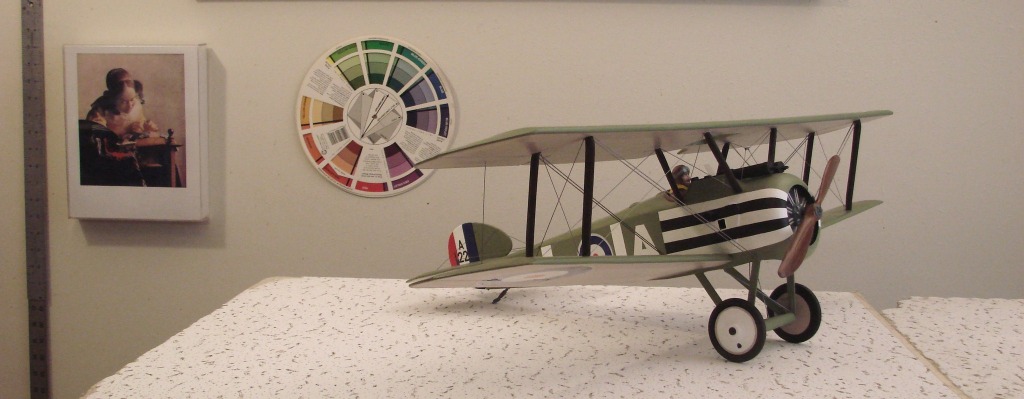
| David Duckett, Image # 18055 | 23 May 10 13:29 |
Finished |
| hjlittman, Comment for image # 17985 | 22 May 10 06:48 |
| Cats, you've got to love them. |
| stirling, Comment for image # 17982 | 21 May 10 22:06 |
| Just another extremly impressive production from you Mr Duckett. Those guns look ready to fire off a few rounds at the Hun and the plane ready for take off. Top notch again. |
| stirling, Comment for image # 17985 | 21 May 10 21:59 |
| Look at those eyes! 'Go Ahead, Make My Day'. |
| David Duckett, Image # 17984 | 21 May 10 18:13 |
|
| David Duckett, Image # 17983 | 21 May 10 18:12 |
5 more wires to finish the rigging. The doubled wires from the top of the outer struts to the bottom of the fuselage are .035", all others are .020". Easy! |
| David Duckett, Image # 17982 | 21 May 10 18:09 |
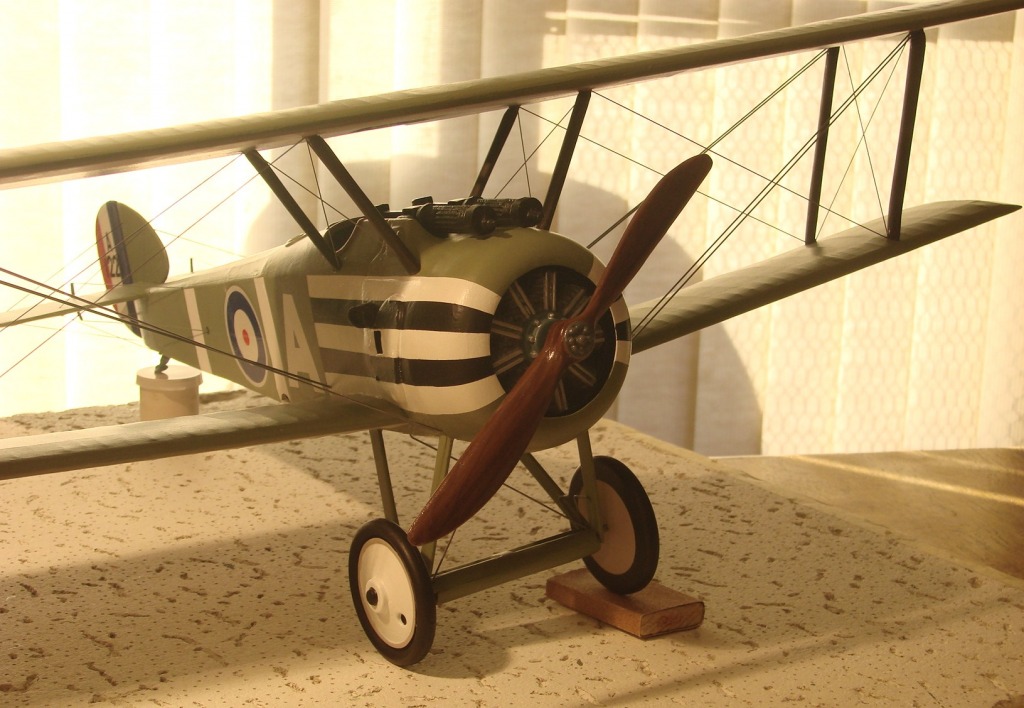
The prop halves were glued together with Testors plastic cement and Squadron white putty was used to seal and smooth the edges and Micro-Fill was used to finish the last small gaps. It was then painted with clear dope to make the plastic accept the acrylic paint more easily. The color is raw sienna with raw umber added to darken and when dry the dark color is brushed loosely and lightly over the base color creating streaks. It was then sprayed with Top Flite crystal clear. |
| David Duckett, Image # 17981 | 21 May 10 18:01 |
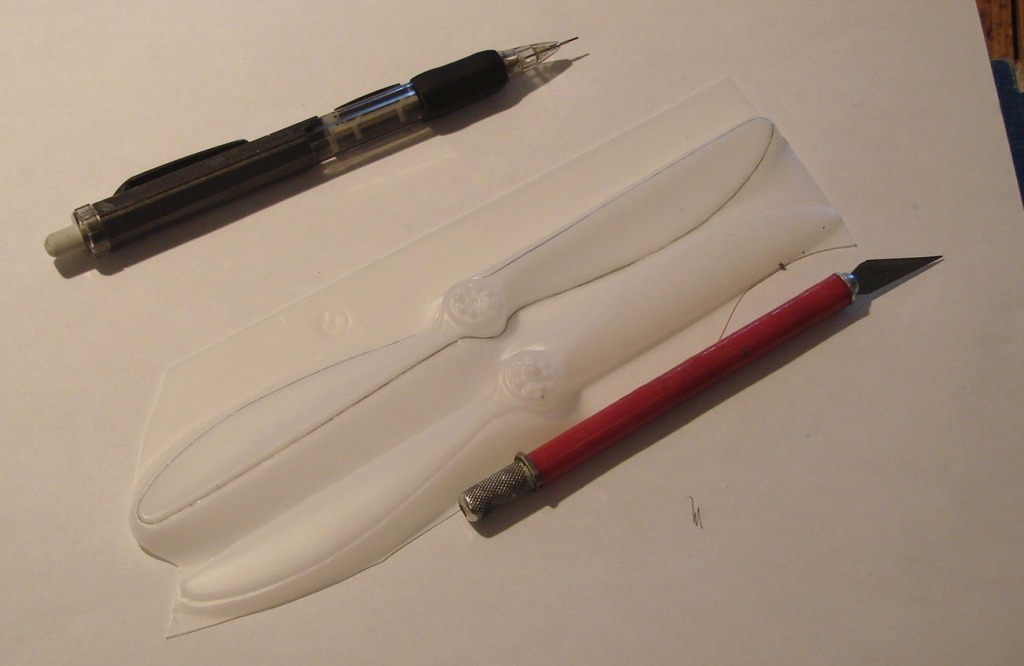
Old trick: outline the part with a pencil before cutting so it can be seen better. |
| Build Thread, Page :
1 [ 2 ] 3 4 5 6 7 8 (158 posts, 20 posts per page, 8 pages in total)
|
[ < Prev ] [ Next > ] |
