| Build Thread, Page :
1 2 [ 3 ] 4 5 6 7 8 (153 posts, 20 posts per page, 8 pages in total)
|
[ < Prev ] [ Next > ] |
| hjlittman, Comment for image # 8112 | 01 May 08 11:23 |
| Yet another Dremel accessory I have to get. And, I thought that I was having fun with the little circular saw attachment. |
| jgood, Comment for image # 8107 | 30 Apr 08 18:56 |
| I love reading all your conversations! I learn tons from this! Keep on with this Willie, it's going to look great in the end. |
| sweetwillie, Comment for image # 8112 | 30 Apr 08 18:44 |
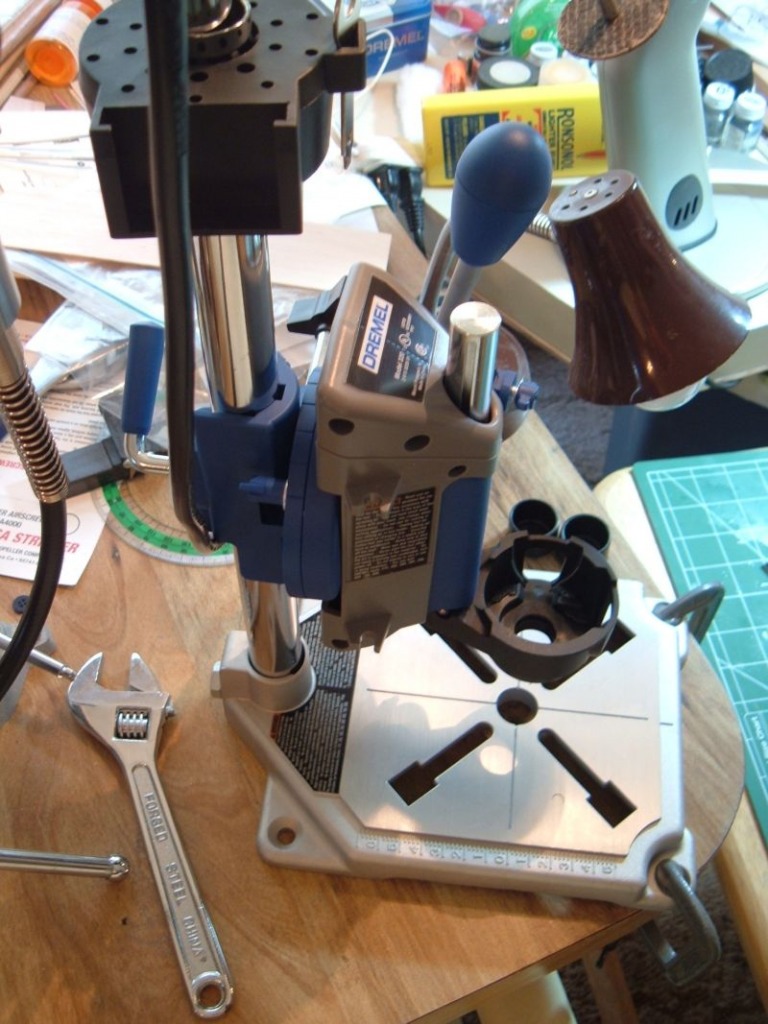
| It's a Dremel drill press. They call it a "Rotary Work Station" The head under the 'Dremel" name is where you put the dremel tool and you can drill into the stand or you can rotate the head 180 degrees in 15 degree increments. Plus it's got a hundred things that I'm just learning that you can do with it. It sells at Home Depot for $44.95. I'm thrilled with it.
|
| wingspanner, Comment for image # 8112 | 30 Apr 08 17:36 |
| Careful. John O is after it!!!
Don't blame him its a nice bit of kit. |
| John M Oshust, Comment for image # 8112 | 30 Apr 08 17:19 |
| What is it.... a Dremel drill press or Milling machine? |
| John M Oshust, Comment for image # 8114 | 30 Apr 08 17:17 |
| So much for suggestions! |
| sweetwillie, Image # 8114 | 30 Apr 08 17:14 |
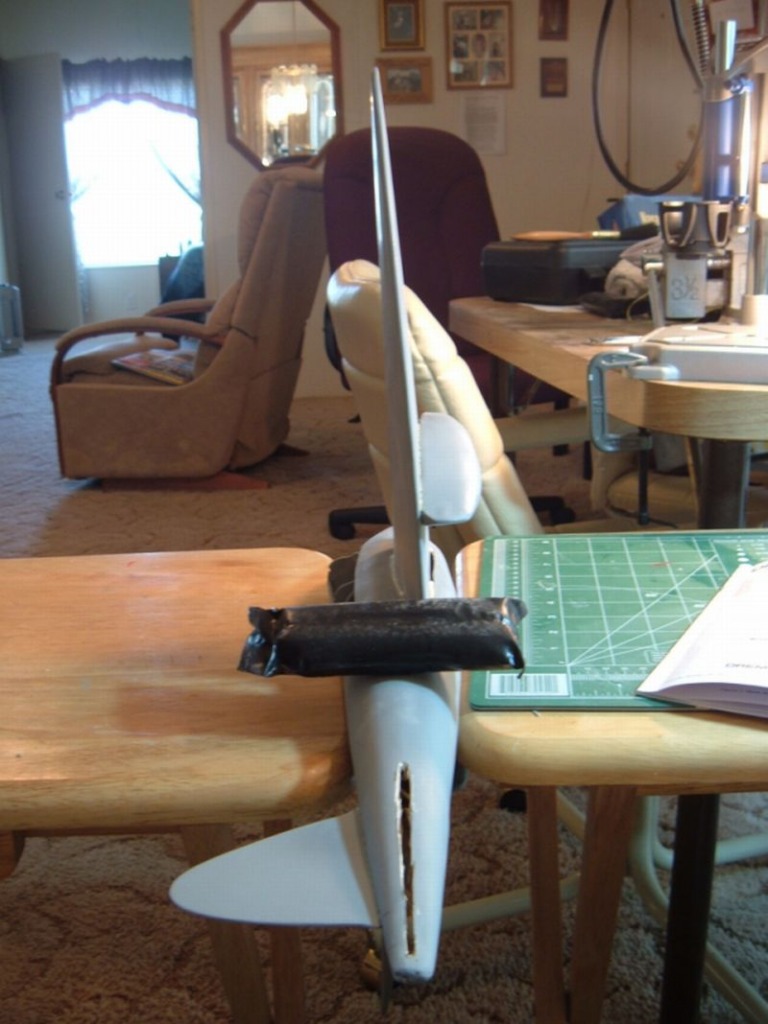
I didn't have any cardboard or styrofoam, so I used Gap filling CA and held it in place with my hands till it set, and then set up these tables as a jig to let it dry fully. I also added some Elmer's . It worked. The dihederal is correct now. |
| sweetwillie, Image # 8113 | 30 Apr 08 17:12 |
I've always wanted one of these. |
| sweetwillie, Image # 8112 | 30 Apr 08 17:11 |

Check out the present that I got from my Daughter-in-law today. Pretty nice! Huh? |
| SteveM, Comment for image # 8107 | 30 Apr 08 15:16 |
| If you leave to work in the garden, come back from time to time to visually verify proper alignment. I can't tell you how many times I've been bitten by slow drying glues with parts held in a jig that apparently wasn't good enough. I'd set it all up then come back hours later to find it dried and not where I left it.
Sometimes I'll use a slow drying glue for the joint except for a few small areas where I wick in CA to help hold proper alignment while the slow drying glue cures. |
| John M Oshust, Comment for image # 8107 | 30 Apr 08 15:02 |
| Pin....cut a wire coat hanger into pieces that you can stick in both wings, going thru the fuse. I prefer wood but use what you have. |
| John M Oshust, Comment for image # 8107 | 30 Apr 08 14:57 |
| Great...now please listen. Make a "jig" from something. Styrofoam or cardbpaord. Pin the fuse vertical. Attach the wings dry. I would pin them together. When the jig is set....with pins, whatever, put the whole assembly together with glue. In your case, something slow acting...Elmer's or epoxy. Get the alignment perfect, then lock the assembly down. Pins a rubber bands work for me. Work in the garden, have a few cans of suds, and wait for it to dry. |
| Abby Marie, Comment for image # 8107 | 30 Apr 08 14:30 |
| There you go Willie. We all know that you can make a beautiful job of it. |
| sweetwillie, Comment for image # 8100 | 30 Apr 08 11:17 |
| John G. I try to build it as you suggested, but, sometimes, I get so caught up in the build, that I get ahead of myself and the plans. Old habits are hard to break. |
| sweetwillie, Comment for image # 8107 | 30 Apr 08 11:14 |
| I found out that CA fumes when heated are very toxic. I used CA to speed up the curing of the Elmer's glue and it's very toxic when cutting it away with a Dremel. Thank God for Dremel Power tools! That job took about 15 mins. Otherwise it would've taken hours. I also, had to cut the horiz stab out, I had it about an inch too far forward. Again, Thanks for the encouragement. Stay tuned. |
| sweetwillie, Image # 8107 | 30 Apr 08 11:10 |
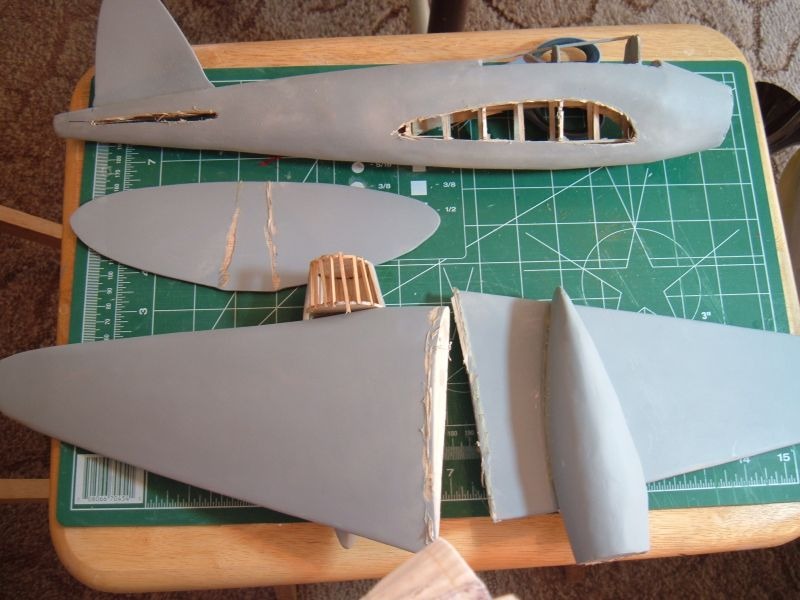
Well, it's done. Thanks for the engouragement, guys. |
| JohnG., Comment for image # 8100 | 30 Apr 08 09:29 |
| SW....going to Plastic??? Well, if you ever return to balsa, I have another thought for you consideration: construct ALL your parts first and dry fit each BEFORE you go to the covering step...believe you will find this in the simple instruction booklet provided with Guillow 500 Series models. |
| Abby Marie, Comment for image # 8100 | 30 Apr 08 09:11 |
| Sweetwillie, this is NO time to stop on this bird. Try what RodN suggested. Nothiung venterd, nothing gained. You can do it. |
| John M Oshust, Comment for image # 8100 | 30 Apr 08 07:49 |
| That is is why I suggested that you peg the wings trhu the fuse. |
| RodN, Comment for image # 8100 | 30 Apr 08 02:21 |
| Cut slowly and only a small amount with each pass and I reckon you've got nothing to lose, worst case some more patching and filling to do later. You have the skills and the patience otherwise you would not have come this far at all eh! |
| Build Thread, Page :
1 2 [ 3 ] 4 5 6 7 8 (153 posts, 20 posts per page, 8 pages in total)
|
[ < Prev ] [ Next > ] |
