| Build Thread, Page :
<< 5 6 7 8 9 [ 10 ] 11 12 (223 posts, 20 posts per page, 12 pages in total)
|
[ < Prev ] [ Next > ] |
| rhysleo, Comment for image # 13352 | 19 Jul 09 07:17 |
| wow! looking very awesome. |
| David Duckett, Comment for image # 13352 | 19 Jul 09 04:12 |
| Suhweeeetttt!! Don't you ever sleep? |
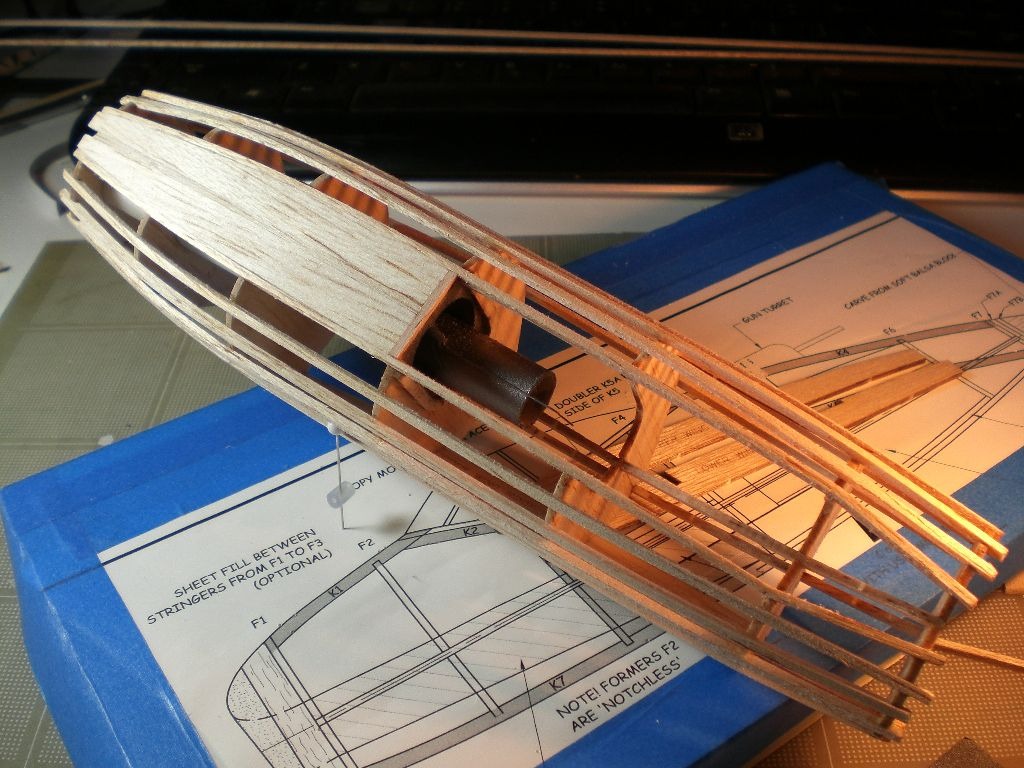
| pfinn, Image # 13352 | 19 Jul 09 03:49 |
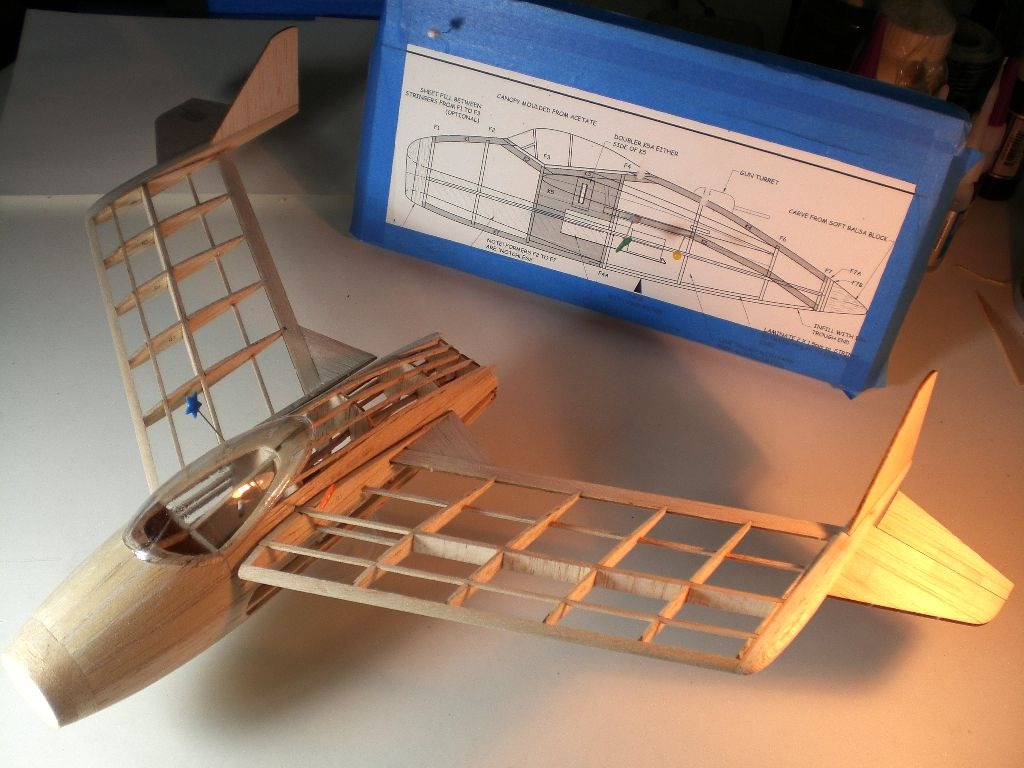
Just had to put it together and take a look see. |
| pfinn, Image # 13345 | 18 Jul 09 21:33 |
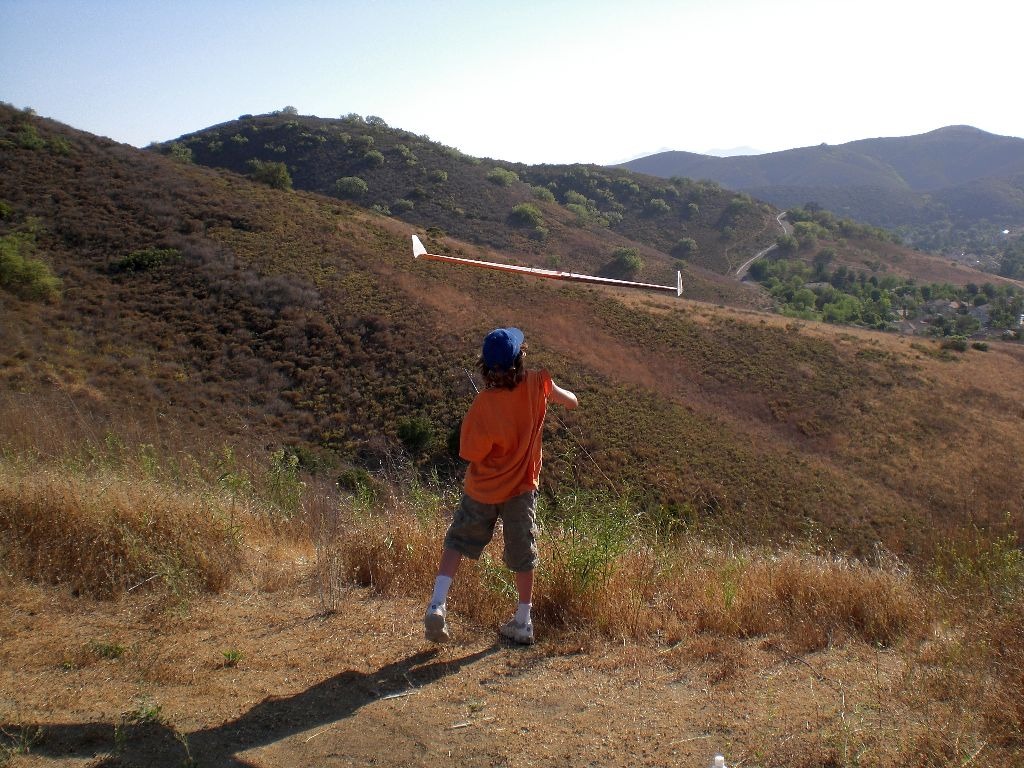
This is where the BV will be flying. That is the landing surface (rock strewn hard pack or pokey bushes) that will pretty much decide which material I cover with. I really want to use Esaki, but.... |
| pfinn, Image # 13344 | 18 Jul 09 21:25 |
What is it with me and "Swoopees"! |
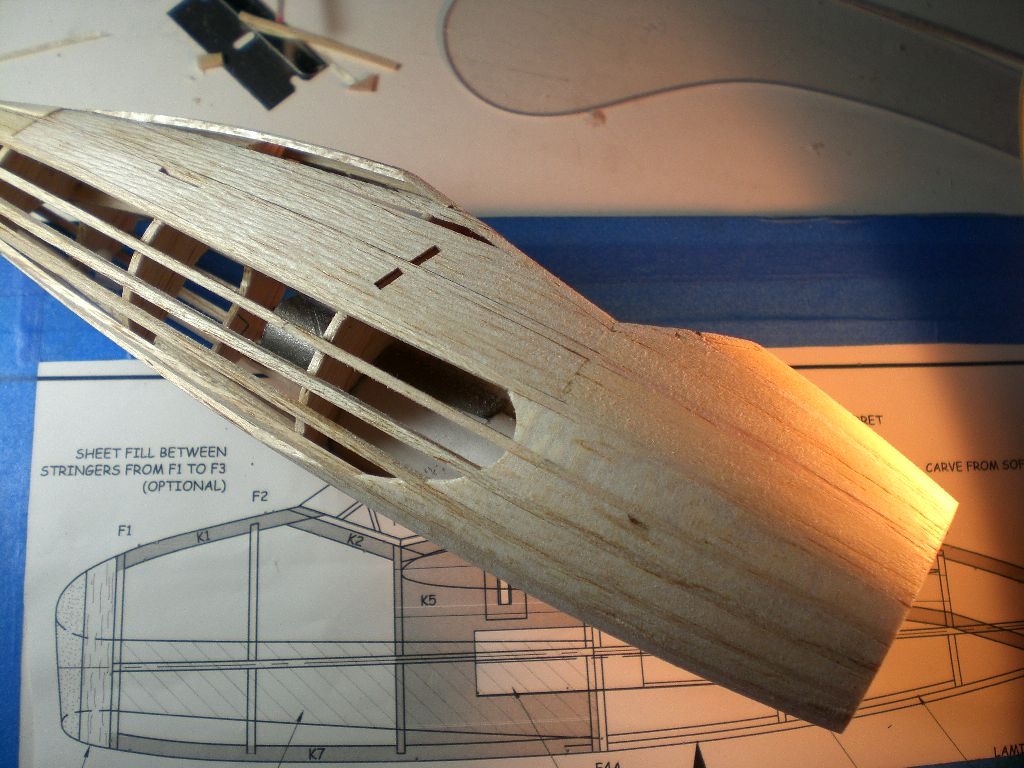
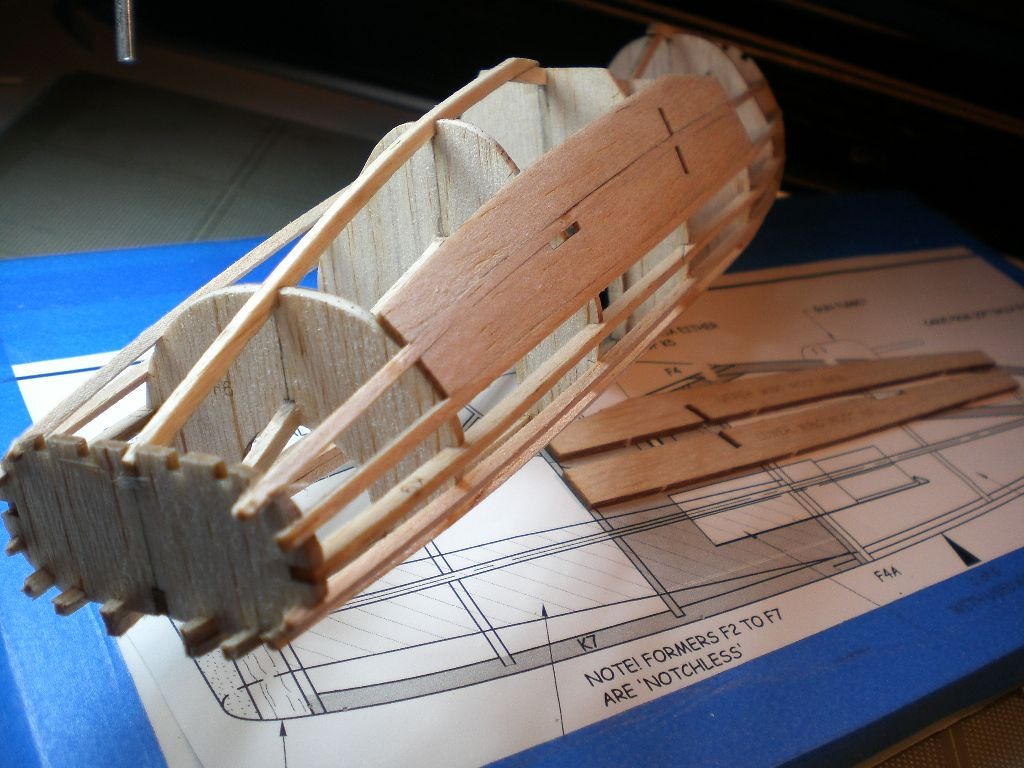
| pfinn, Image # 13343 | 18 Jul 09 21:24 |
I also cleared the material on F1 between the stringers to allow the infill to continue to the nose block (uo next). Plus it was a whole lot easier! |
| pfinn, Image # 13342 | 18 Jul 09 21:20 |
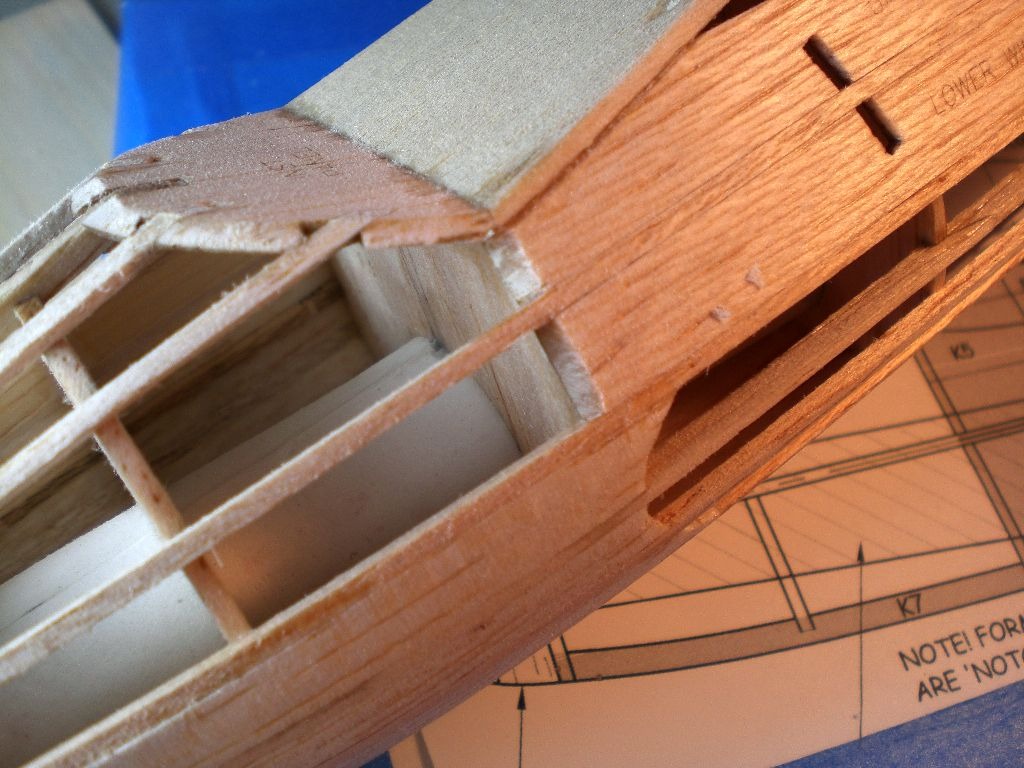
Where the laser cut infill pieces met the "use scrap to infill" with a butt joint, I beveled the mating surfaces to create a stronger Lap joint. Worked out well. |
| David Duckett, Comment for image # 13313 | 16 Jul 09 12:50 |
| Nice, watercolor's not easy. I'm wondering if you would like to help me with a project since I need some assistance?? Thanks. dduckett@triconet.org |
| rhysleo, Comment for image # 13313 | 16 Jul 09 06:48 |
| very good! |
| pfinn, Image # 13313 | 16 Jul 09 04:58 |

I do believe the pilot dropped something and is frantically searching the cockpit floor ( that's why you can't see him, or her! Painted this back in school in '85. |
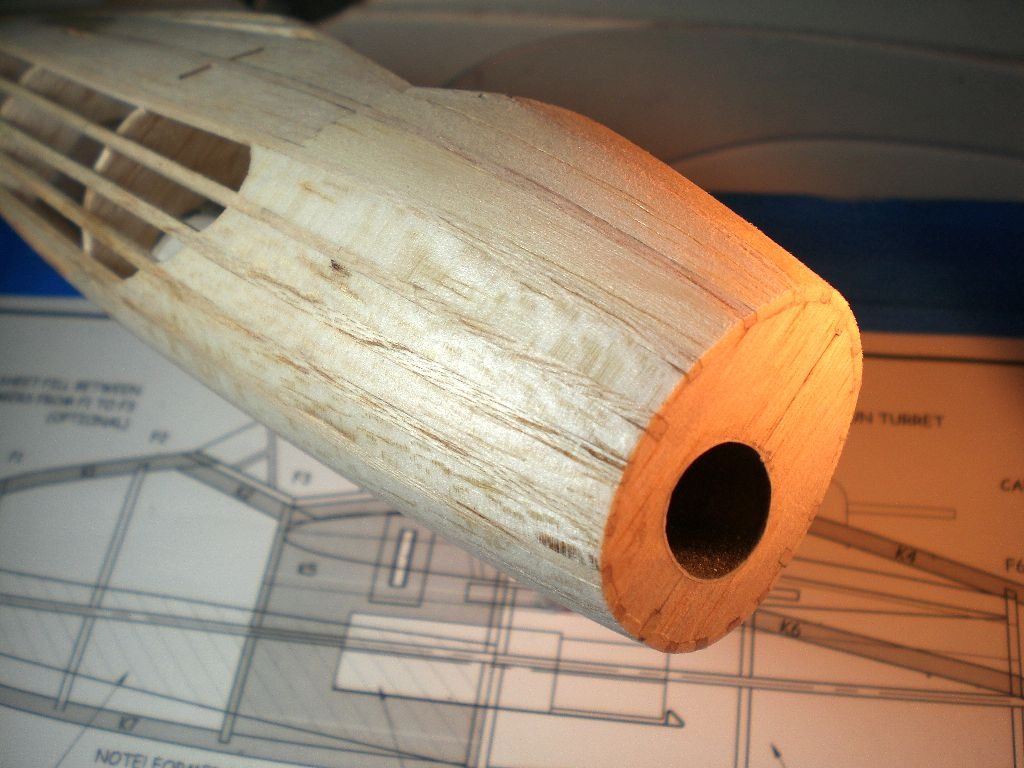
| pfinn, Image # 13301 | 15 Jul 09 03:48 |
Started infill on nose. Extendedback on the bottom for landingson the hard stuff. |
| pfinn, Image # 13300 | 15 Jul 09 03:45 |
Bevel the infill pieces where needed. And remember to sand off the laser " Ala Chara" on the seams... unless you prefer little black lines on your joints...(ahem). |
| pfinn, Image # 13299 | 15 Jul 09 03:34 |
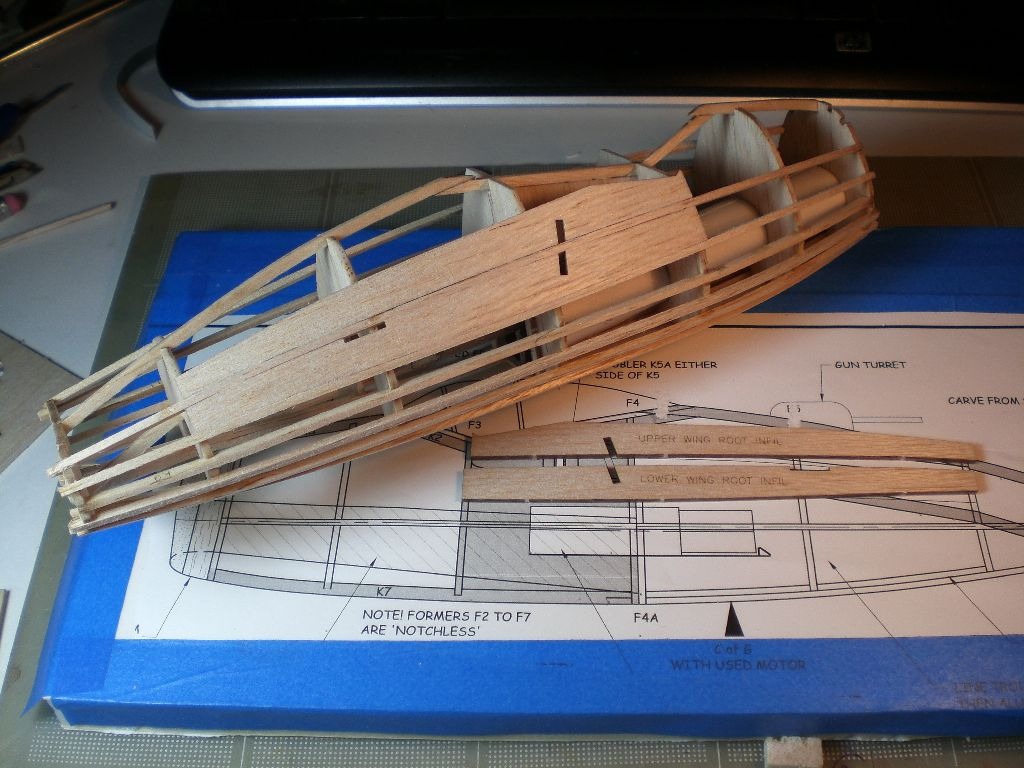
The wingroot sheet infill pieces are precut.Went in wonderfully. Glued in the two adjacent stringers on nose and tail only first, then lower adjacent stringer where indicated by laser marking on only F3 and F6 (nose is F1). Then glue lower infill piece to formers using the stringer two glue points like a shelf. finishinish gluing stringers, Add top wing root infill piece. Done. |
| jerry campbell, Comment for image # 13231 | 14 Jul 09 06:42 |
| Really pleased to see you doing Shorty's Bv 215, I've had one for some time but never got around to building it. With your's as inspiration I may move it to the short list. Really looks good. Looking forward to more pics. |
| pfinn, Comment for image # 13270 | 14 Jul 09 03:54 |
| Thank You, David. The feeling is mutual. |
| David Duckett, Comment for image # 13270 | 14 Jul 09 02:48 |
| Seeing your work is a sheer delight! |
| pfinn, Image # 13272 | 14 Jul 09 02:34 |
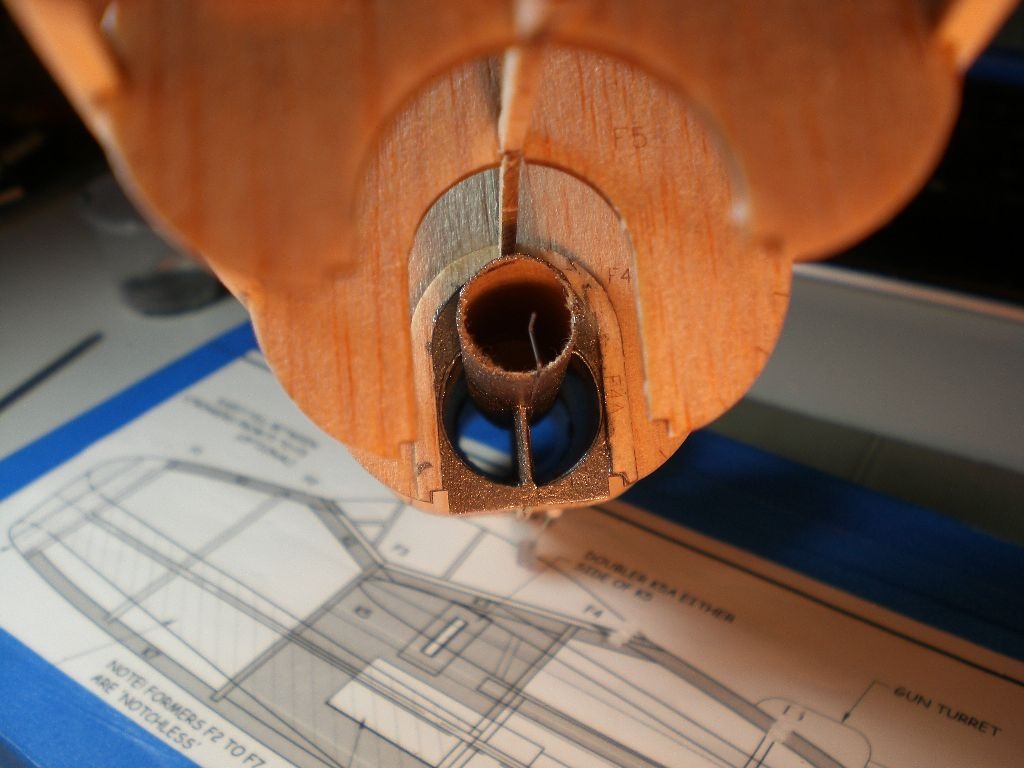
Exhaust trough. The "Active Air Ducting" is used to help reduce drag (venturi like during boost as wel as eliminating turbulence around the motor nozzle. The trough gets lined as well woth paper then aluminum foil. |
| pfinn, Image # 13271 | 14 Jul 09 02:25 |

Intake, |
| pfinn, Image # 13270 | 14 Jul 09 02:21 |

Everything to make it go done. The paper is 67 lbs. Vellum Bristol ( used for "Fiddlers Green" models). |
| pfinn, Image # 13269 | 14 Jul 09 02:15 |
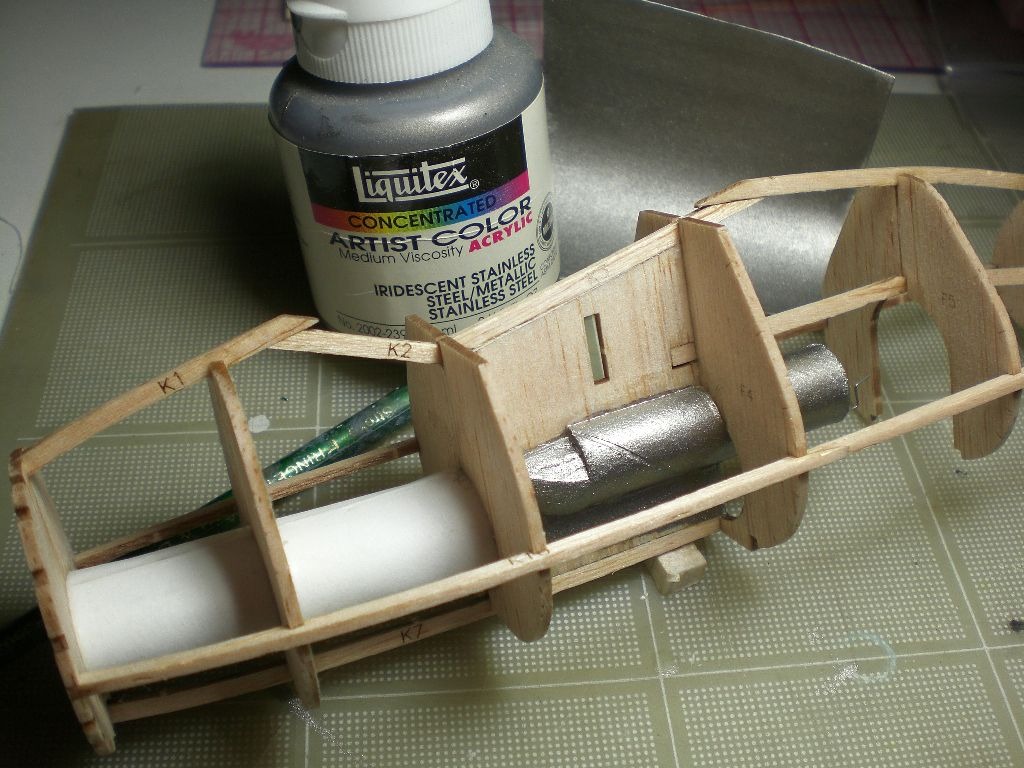
The air duct will continue thru to F4. |
| Build Thread, Page :
<< 5 6 7 8 9 [ 10 ] 11 12 (223 posts, 20 posts per page, 12 pages in total)
|
[ < Prev ] [ Next > ] |
