| Build Thread, Page :
<< 4 5 6 7 8 [ 9 ] 10 11 12 13 14 >> (851 posts, 20 posts per page, 43 pages in total)
|
[ < Prev ] [ Next > ] |
| jgood, Comment for image # 36740 | 12 Sep 16 18:49 |
| Very good! |
| Creosotewind, Comment for image # 36740 | 12 Sep 16 15:56 |
| This thing is really coming alive. Great job Sky! |
| Don C, Comment for image # 36740 | 11 Sep 16 23:12 |
| Better than not bad - really good. |
| Skyediamonds1985, Image # 36740 | 11 Sep 16 21:47 |
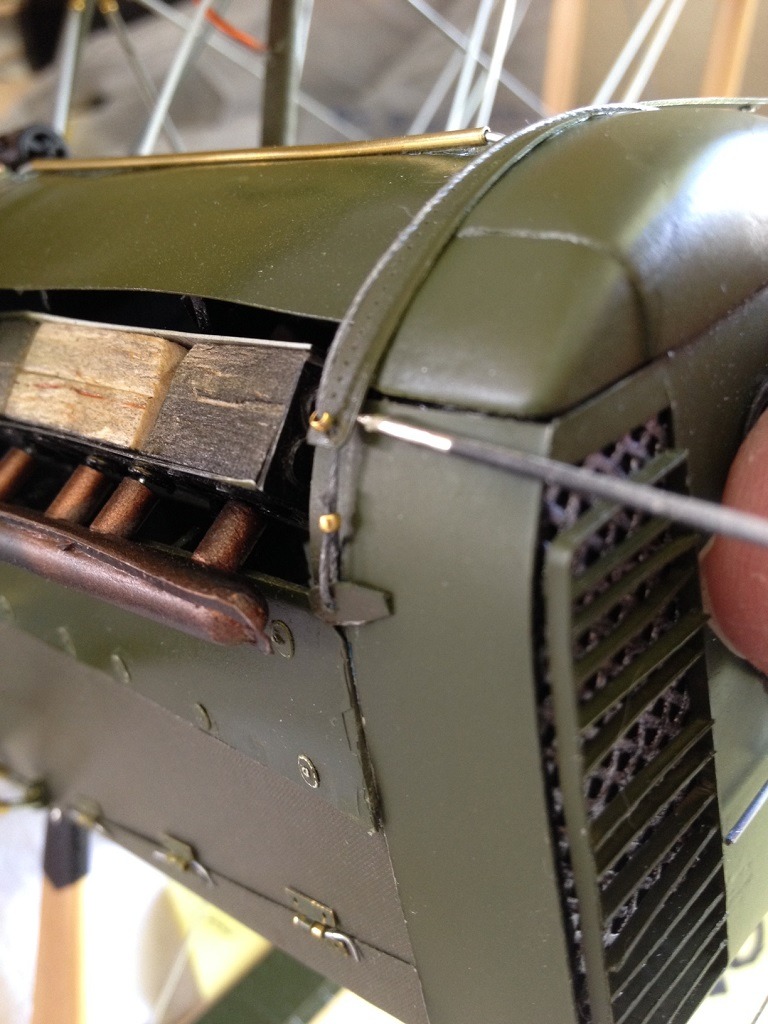
End result. The cap was a small circular piece of brass that was punched out and glued on top of a small ring to give it depth. Not bad, eh? |
| Skyediamonds1985, Image # 36739 | 11 Sep 16 21:44 |
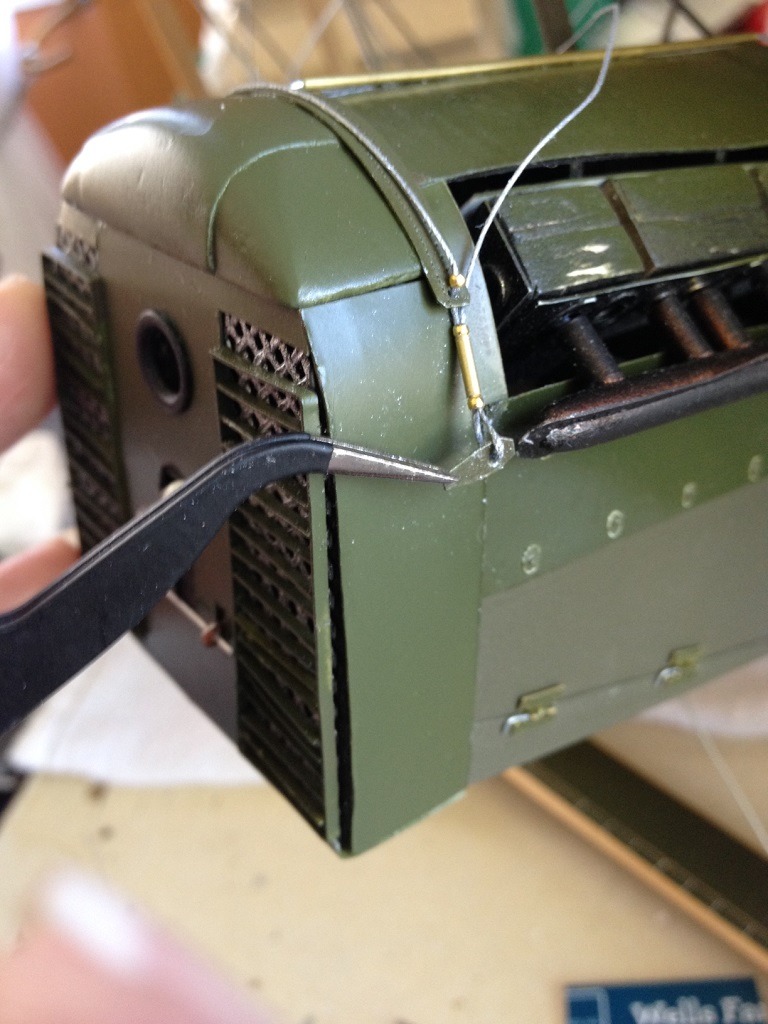
The Vintage Aviator revealed that only on the left side was the turnbuckle. Like the small turnbuckles used in the cockpit area, I cut small sections out of .006" brass tubing and used small really tiny beads. To thread them back over themselves was a challenge. |
| Skyediamonds1985, Image # 36738 | 11 Sep 16 21:37 |
Left a portion of the end a bit loose on purpose to give it the illusion of the cable holding it down. |
| Skyediamonds1985, Image # 36737 | 11 Sep 16 21:34 |
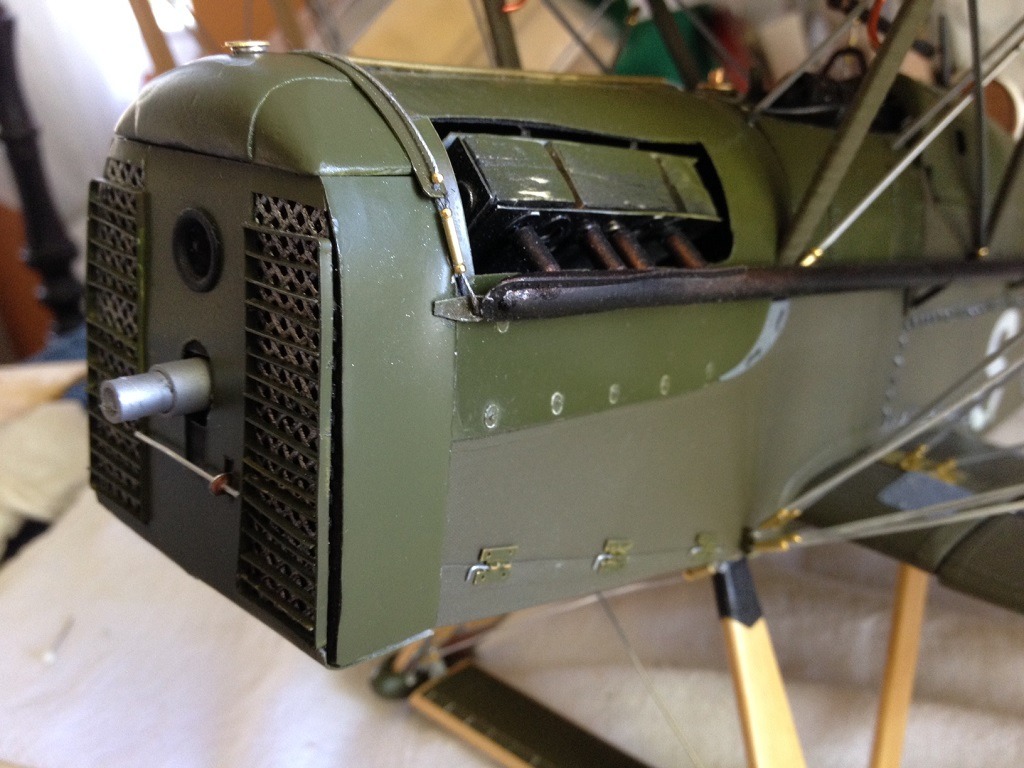
Close up photos of the real plane revealed the radiator had a strap that was tied down with a cable. Used the pin to help glue on the edge of the strap. |
| Skyediamonds1985, Image # 36736 | 11 Sep 16 21:33 |
Added some super glue to a pin so I could exercise better control where it wanted it to go. |
| Skyediamonds1985, Comment for image # 36735 | 11 Sep 16 14:03 |
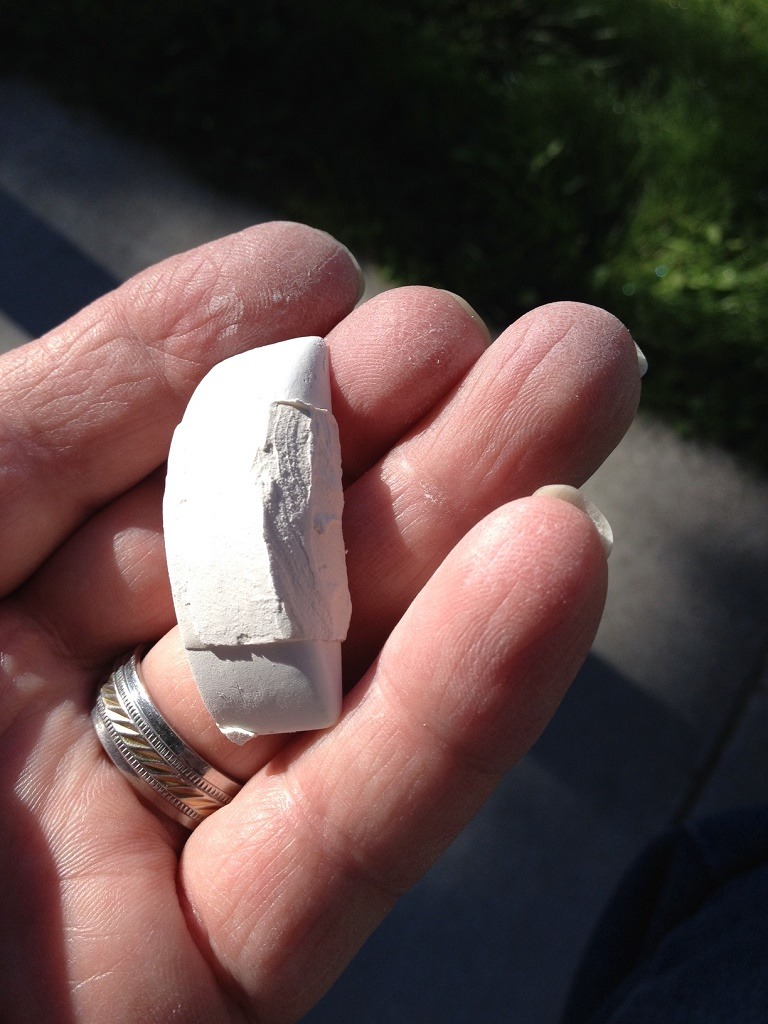
| Darn. That laptop sent that image before I was finished typing the caption. Maybe it's telling me I talk too much? Just wanted to say that I had to apply several applications of Spackling, then sanding it down. Primed it, Found mistakes that needed correcting and reapplied the compound again. Did this about four times. |
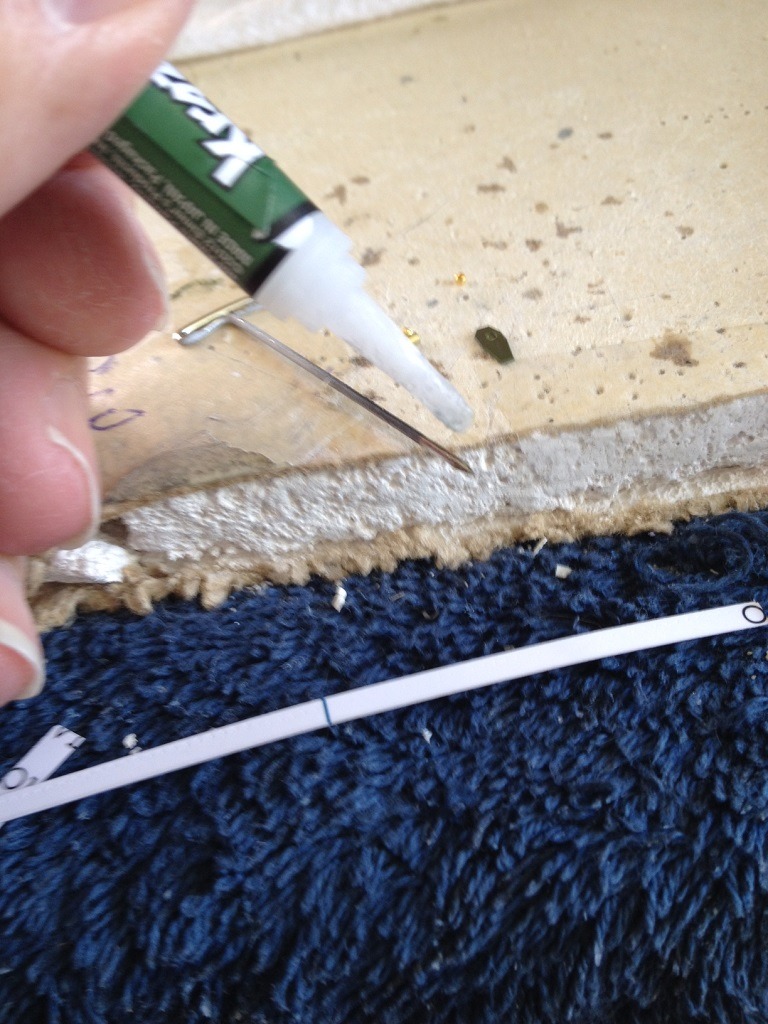
| Skyediamonds1985, Image # 36734 | 11 Sep 16 13:59 |
Forgot to show how I approached the detailing of the top portion of the radiator. I just used Spacklin Compound. This is in its rough shape just after I pulled off the masking tape while it was still wet. |
| Skyediamonds1985, Image # 36733 | 11 Sep 16 13:53 |
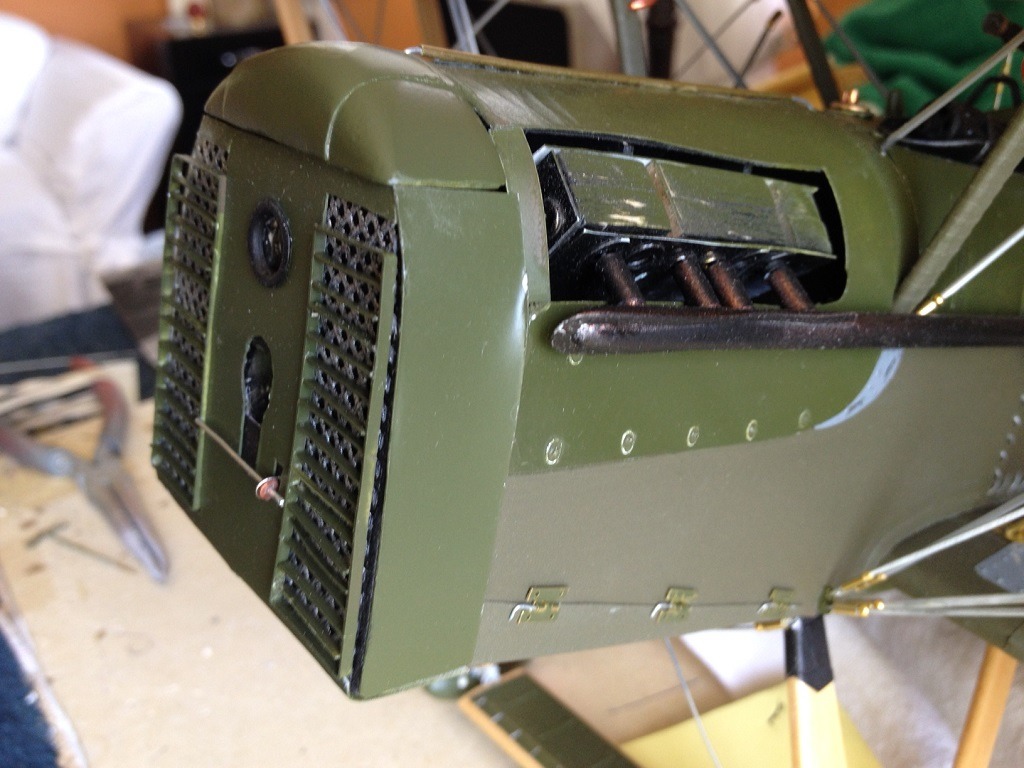
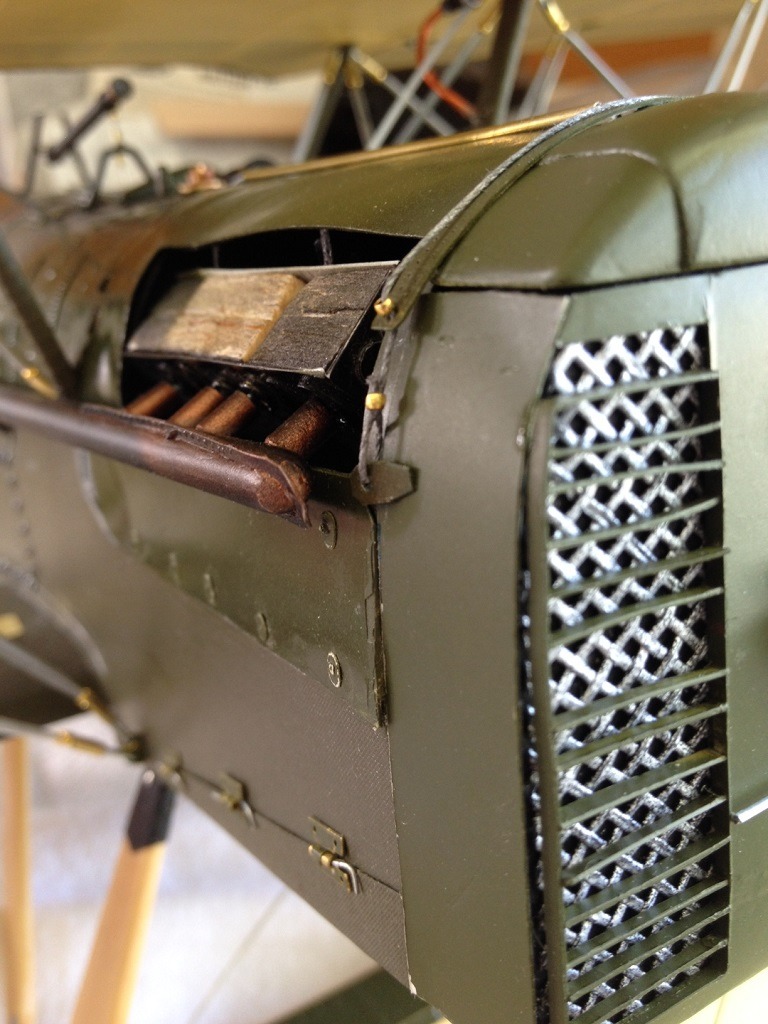
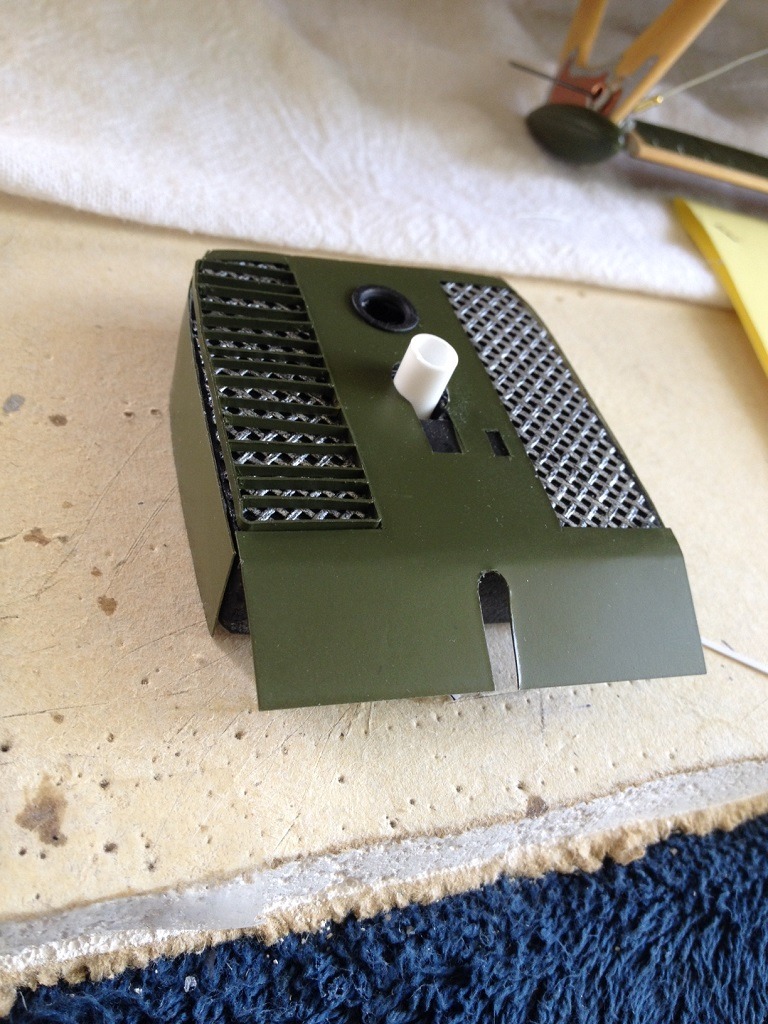
The bottom of the radiator cover has been glued to the underside of the fuselage and top has been painted. Only to add just a few more accessories and this will be finished and I'll move onto the tail feathers. |
| Skyediamonds1985, Image # 36731 | 10 Sep 16 13:31 |
All the louvers are glued in place along with the small "adjusting" rod and, if you look closely, can see a very fine wire wrapped around the wheel. Sorry about not having the louvers adjustable. It actually occurred to me to try making them adjustable, but reality hit me. I had to keep in mind, "This is only a small stick-n-tissue model." I'm currently having some problems with my ol' laptap. I've taken additional pictures, but can't seem to get them resized into my folder for future submission to this site. I'll keep trying. I sincerely thank everyone for their inputs. I've posted my response in my last post on the 6th. You guys are great. |
| Skyediamonds1985, Comment for image # 36717 | 10 Sep 16 13:26 |
| Guys, sorry for the delay in responding to all of your marvelous inputs. DD was especially helpful in posting the two photos: 1) of the Vintage Aviator's S.E. 5's radiator louvers in the neutral position and 2) for the Eduard photo-etching. I used to have a Facebook account many years ago, and I might renew this account. I also had to keep in mind that this model is only a small 1/15th scale (or less) Guillow's stick-n-tissue model. Despite all of the intense detailing, the very nature of this kit mandates a limit as to how much can I accomplish with basic household items such as scissors, tweezers, small pliers and small hammer. To Anders, I'm glad you found Solartex more agreeable. It's heavier than the silkspan for those who are interested in flying their models, but I was seeking a more detailed look. I sincerely thank you for your input on Vintage Aviator and will try to catch up following this route. Thank you all. |
| Anders, Comment for image # 36717 | 06 Sep 16 21:04 |
| My understanding is that they will not, placed in this position to make the best apperance in any psition the aircraft is hanged/placed for final display.
And i agree that he would be able to make them open and close. and to you sky, i understand it like this; you found the vintage aviator website. but if you do not have an facebook account id urge you to get one, i follow a number of millitary sites and aircraft sites there. NO need for time consuming games or catching up with long lost friends. Today i asked the vintage aviator group for details on their Sopwith pup, and whitin the minute i had newly taken pics of the details needed. I can ask them for any details if you want, no problem. but i think you get my point. and btw i got the name i used for my se5a cowering wrong the other day, i used the fabric kind of cowering you used and found it interesting to work with. |
| biplane guy, Comment for image # 36717 | 06 Sep 16 13:20 |
| Gary, will the louvers open and close, or is life too short? I have no doubt you could find a way. : ) |
| Skyediamonds1985, Image # 36717 | 04 Sep 16 17:51 |
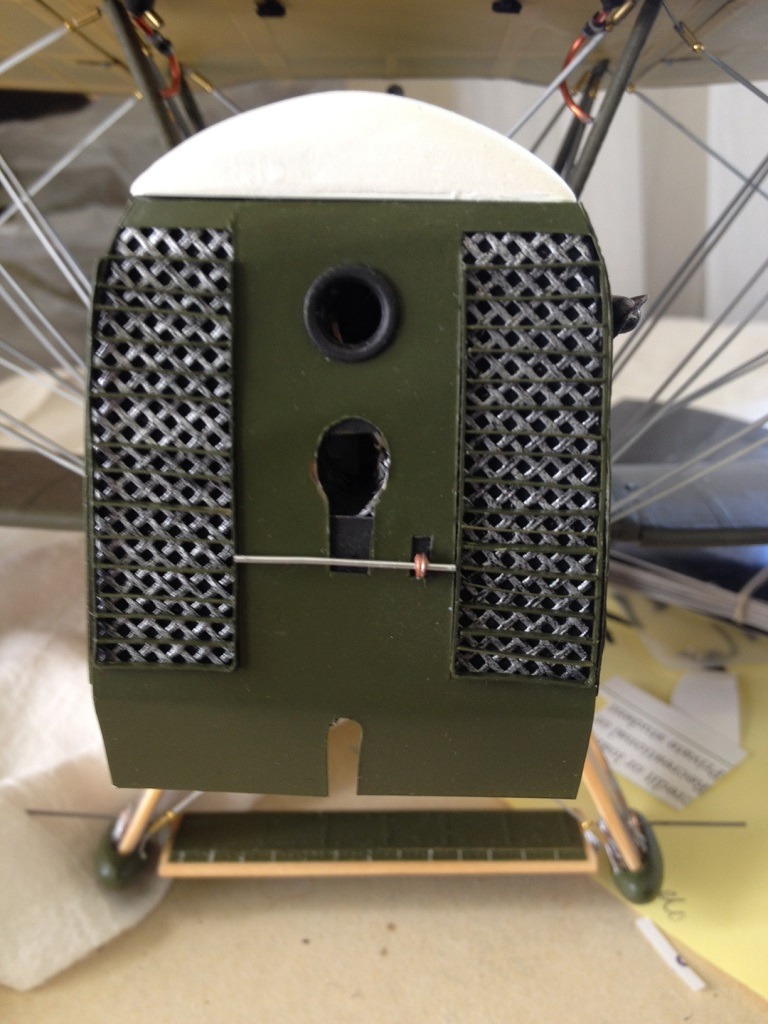
However, when viewed from an angle, the louvers are very prominent. I could've arranged the louvers to cant downward to visually bring them out. Since this model will be given to my daughter, I have no idea where she'll be displaying it. So, decided a neutral position would be best. |
| Skyediamonds1985, Image # 36716 | 04 Sep 16 17:49 |
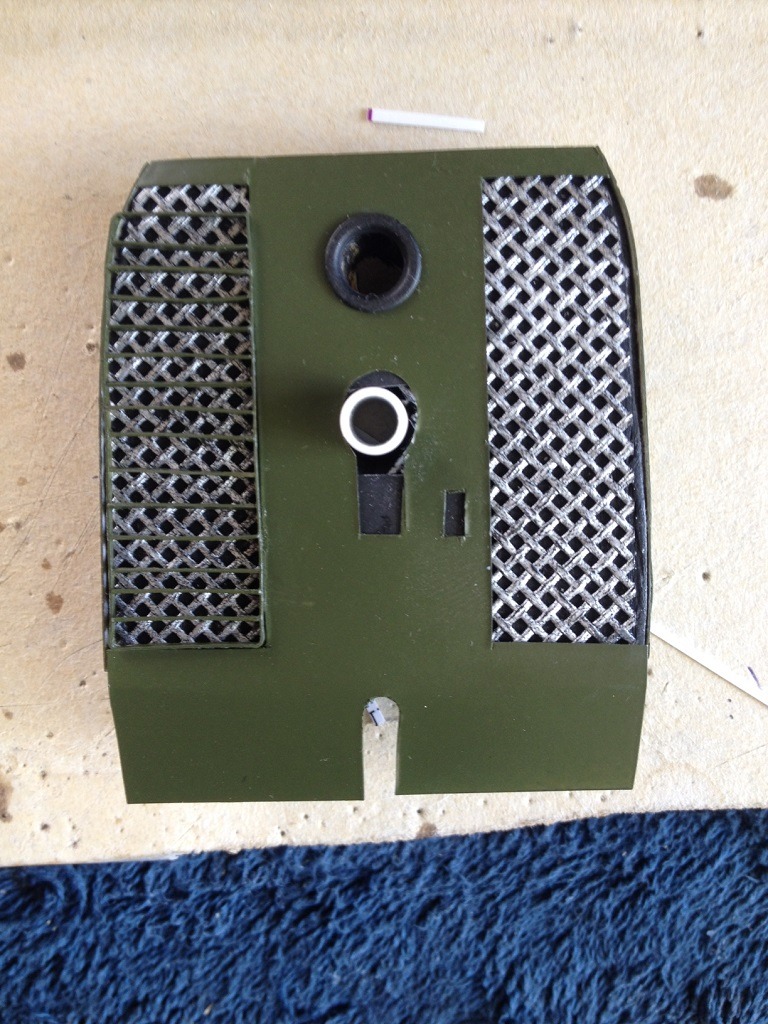
Finished painting and glued in place the left side. I purposely took this picture straight-on to show how the louvers seemingly disappeared. |
| Skyediamonds1985, Image # 36715 | 04 Sep 16 17:48 |
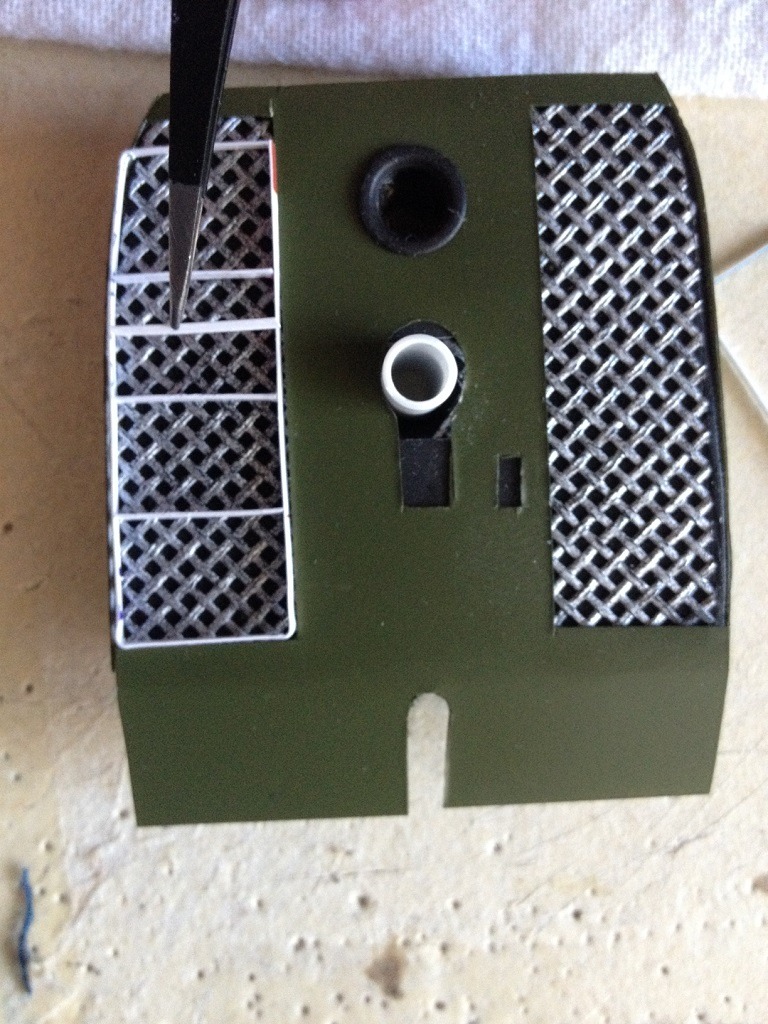
Not glued yet. Will paint first. |
| Skyediamonds1985, Image # 36714 | 04 Sep 16 17:47 |
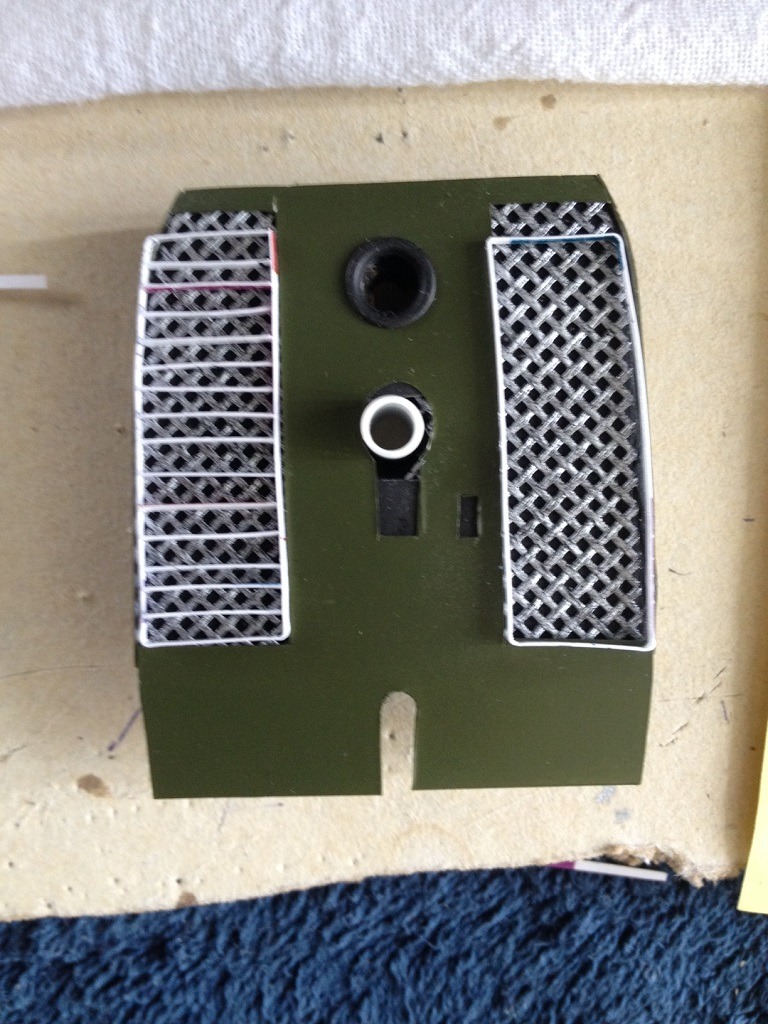
Each louver was placed evenly within the space provided by the previous ones. |
| Skyediamonds1985, Image # 36713 | 04 Sep 16 17:45 |
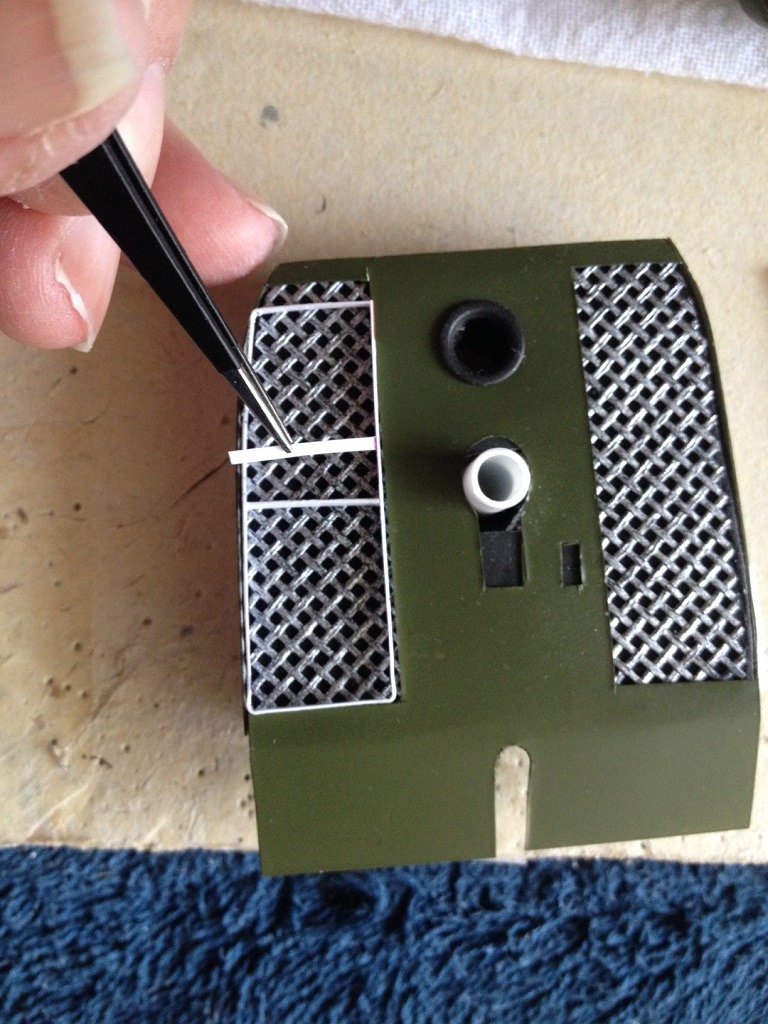
In effort to maintain even distribution of the louvers, I simply filled in the spaces from the middle outwiard |
| Build Thread, Page :
<< 4 5 6 7 8 [ 9 ] 10 11 12 13 14 >> (851 posts, 20 posts per page, 43 pages in total)
|
[ < Prev ] [ Next > ] |
