| Build Thread, Page :
<< 7 8 9 10 11 [ 12 ] 13 14 15 16 17 >> (851 posts, 20 posts per page, 43 pages in total)
|
[ < Prev ] [ Next > ] |
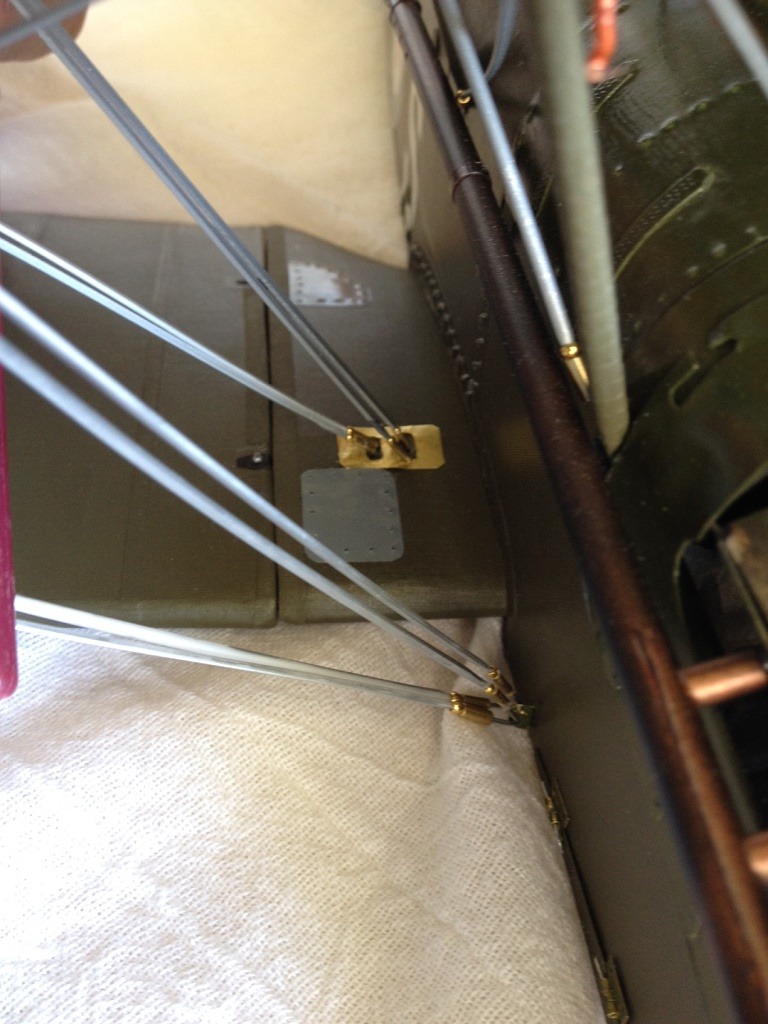
| Skyediamonds1985, Image # 36626 | 16 Aug 16 22:36 |
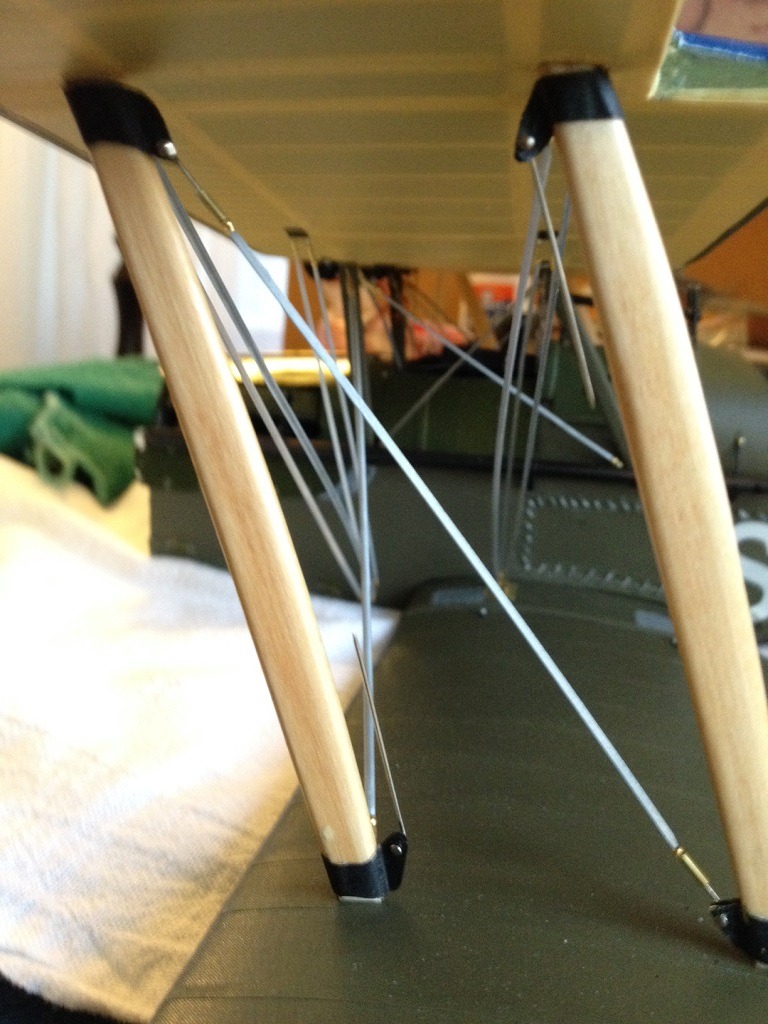
Sorry this is the other side. But basically sized the plastic rigging and turnbuckles to fit and simply slipped them over the pin cut to the right size. |
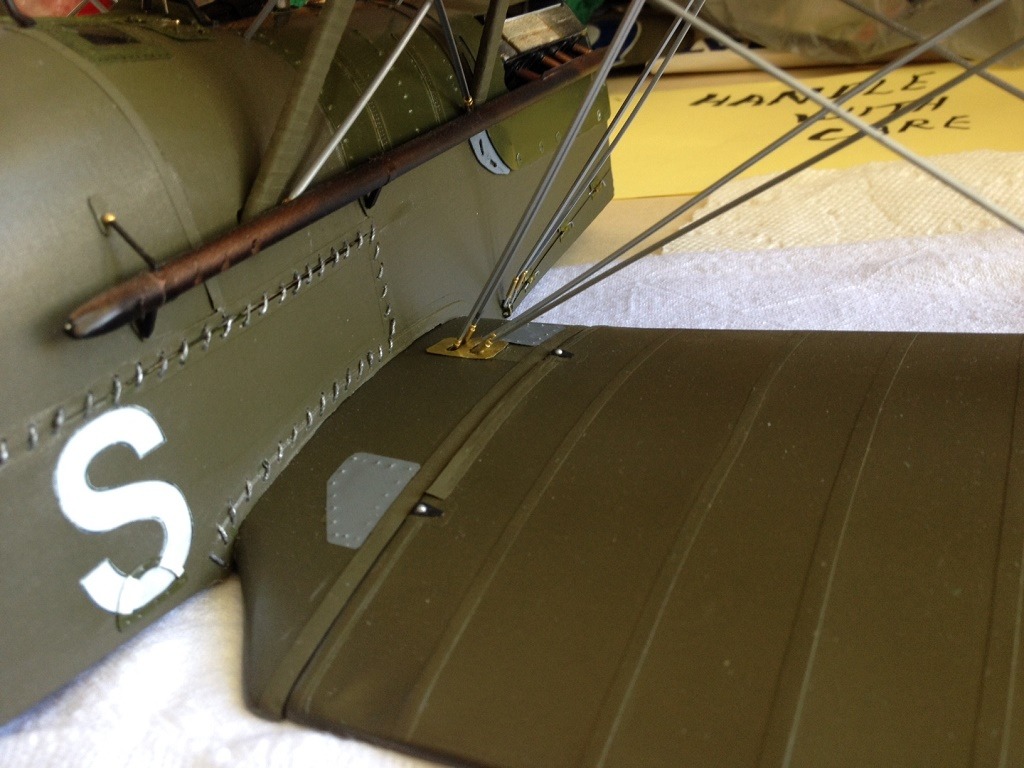
| Skyediamonds1985, Image # 36625 | 16 Aug 16 22:34 |
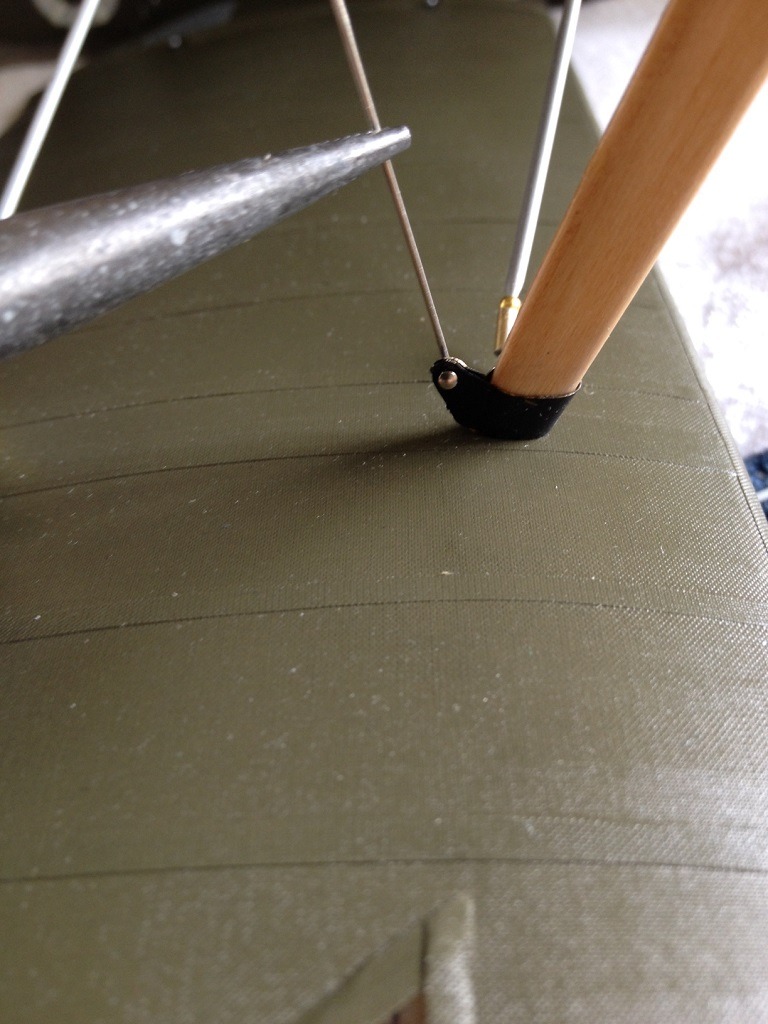
I simply took a regular pin and bent it at 90 degrees as close to the head as possible. Then inserted it through the hole made in the bracket |
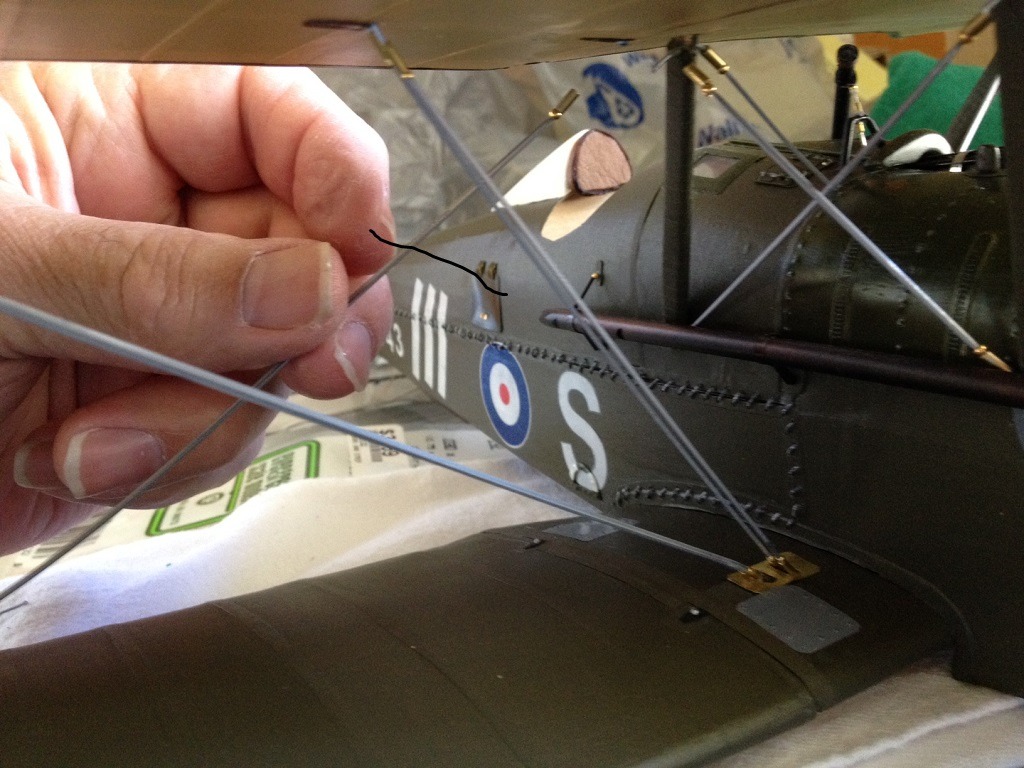
| Skyediamonds1985, Image # 36624 | 16 Aug 16 22:32 |

Came up with (to me) a somewhat novel concept. It's basically a continuation of using wire to hold the turnbuckle and rigging in place -see my previous postings |
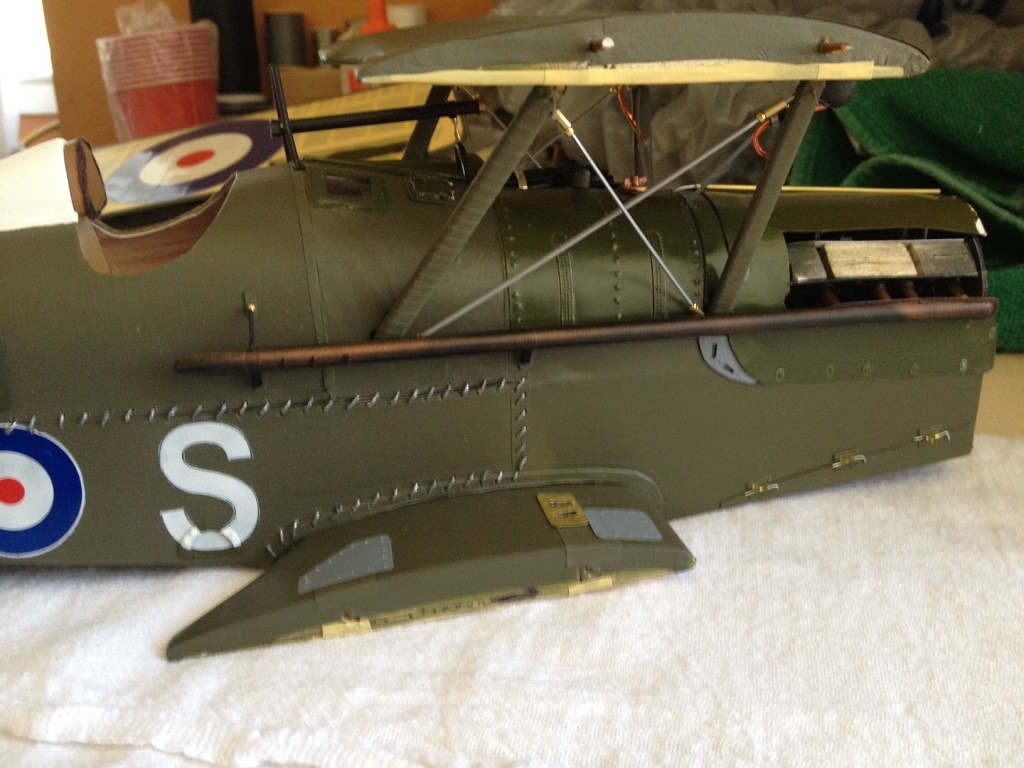
| Skyediamonds1985, Image # 36623 | 16 Aug 16 22:31 |
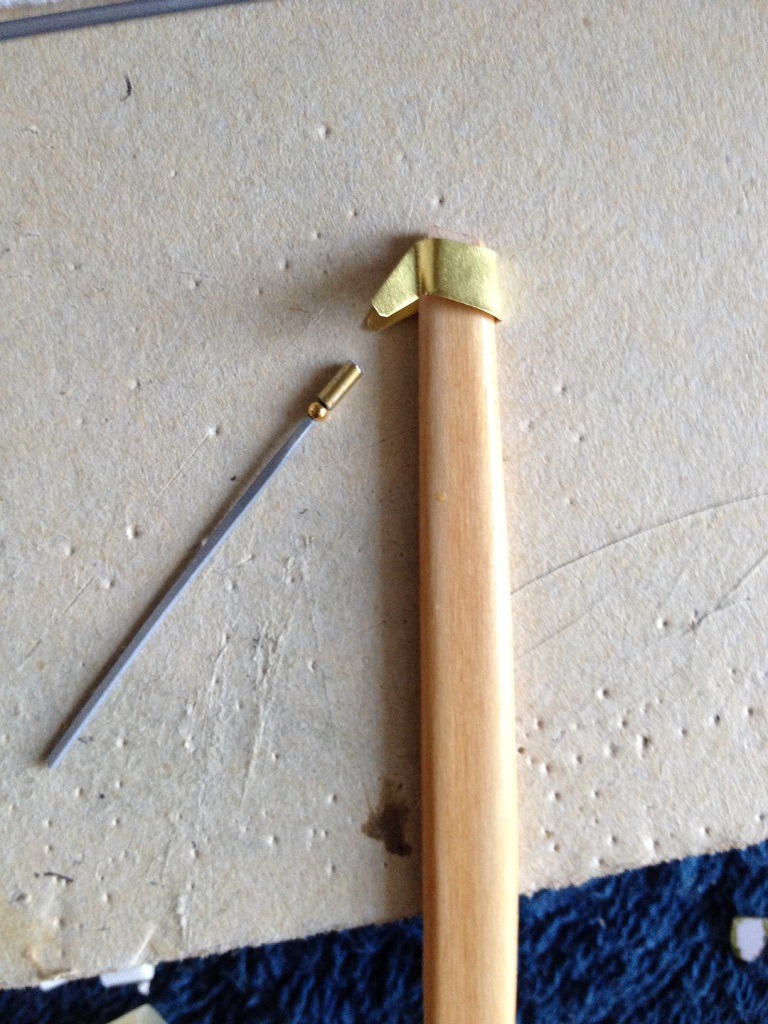
'As previously mentioned in one of my past posts, trying to figure out how to attach the turnbuckle/rigging to the wing strut bracket. Initially thought of using fishing line to loop around and pull the rigging, but would leave the fishing line exposed as well as dealing with the beaded turnbuckle. |
| biplane guy, Comment for image # 36600 | 16 Aug 16 15:47 |
| Wow Gary, talk about raising the bar! |
| John M Oshust, Comment for image # 36600 | 16 Aug 16 05:44 |
| I concur! |
| Skyediamonds1985, Comment for image # 36618 | 15 Aug 16 22:24 |
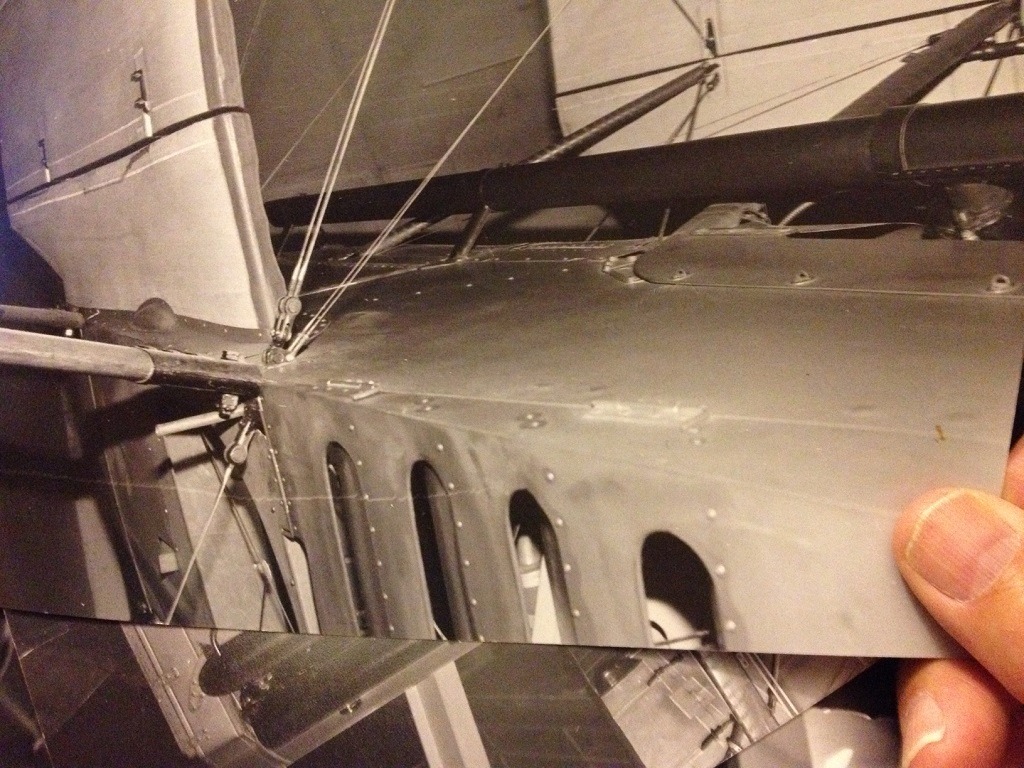
| Dang. Hit the "send" before I could type in the caption. This is a good close up of the real aircraft and the double set of flying wires hooked up to a bracket on the side of the fuselage. It is this bracket that I chose to replicate instead of using small hooks. |
| Skyediamonds1985, Image # 36618 | 15 Aug 16 22:22 |
|
| Skyediamonds1985, Image # 36617 | 15 Aug 16 22:07 |
I could've used tiny hooks as anchor points for the double rigging at the fuselage, but a close up photo shows it to have a special bracket. So, decided to try as best as I could. |
| Skyediamonds1985, Image # 36616 | 15 Aug 16 22:05 |
Poppy, bsadonk, Dfell, Don C, and Anders, I sincerely thank each one of you for those amazing compliments. As mentioned previously, this model is dedicated to you guys. Dfell, I used to study your Camel build for weeks. Don C, & Anders both of your models are outstanding! -Sky |
| Anders, Comment for image # 36600 | 15 Aug 16 18:52 |
| Been studying the real one lately, and as far as i can tell you could trick anyone to think its the real one when you are done! Great skills in action here Gary! |
| Don C, Comment for image # 36600 | 15 Aug 16 17:31 |
| Impressive, Gary! |
| Dfell, Comment for image # 36600 | 15 Aug 16 15:05 |
| Amazing!! |
| bsadonkill, Comment for image # 36600 | 15 Aug 16 12:52 |
| I agree with poppy, the details in this model is FANTASTIC! |
| poppy, Comment for image # 36600 | 15 Aug 16 09:41 |
| As realistic as a model of this size can get!! Super details! |
| Skyediamonds1985, Image # 36600 | 14 Aug 16 22:44 |

Getting there. When the rigging is completed, then I'll install the landing gears. I wanted to avoid any potential damage to the gear while man-handling the model during rigging. |
| Skyediamonds1985, Image # 36599 | 14 Aug 16 22:42 |
Both top and bottom outer wing panels installed. Now comes the "fun" part. The rigging. |
| Skyediamonds1985, Image # 36598 | 14 Aug 16 22:40 |
Exhaust and upper and lower wing center sections installed and ready for the outer wing panels. |
| Skyediamonds1985, Image # 36597 | 14 Aug 16 22:39 |
As much as I didn't want to paint over such a nice brass finish, they were painted flat black as per real aircraft |
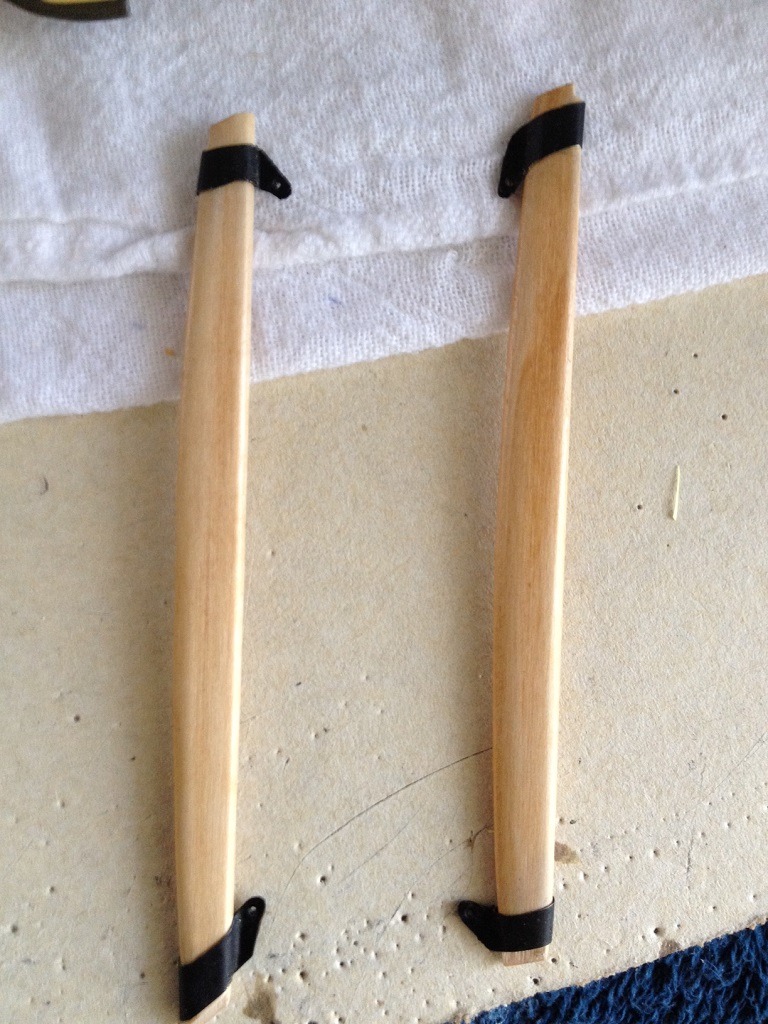
| Skyediamonds1985, Image # 36596 | 14 Aug 16 22:37 |

Holes punctured and brass worked out smooth to fit over each wing strut |
| Build Thread, Page :
<< 7 8 9 10 11 [ 12 ] 13 14 15 16 17 >> (851 posts, 20 posts per page, 43 pages in total)
|
[ < Prev ] [ Next > ] |
