| Build Thread, Page :
<< 12 13 14 15 16 [ 17 ] 18 19 20 21 22 >> (851 posts, 20 posts per page, 43 pages in total)
|
[ < Prev ] [ Next > ] |
| Skyediamonds1985, Comment for image # 36252 | 18 Jun 16 00:20 |
| Huey, thanks. I'll try it. I'm hoping it won't dissolve the Teflon coating. But at this stage, the model is completely covered and now really don't have much to lose and I'll probably wind up buying a new iron anyway. |
| Huey V77, Comment for image # 36252 | 16 Jun 16 19:03 |
| Sky, use a test piece first, Micro Weld is methylene chloride, it desolves almost everything. Might do the trick. |
| biplane guy, Comment for image # 36252 | 16 Jun 16 11:25 |
| I guess there's not much chance of obtaining a matching paint color. It would probably cover the texture though which is one of the features I really like about your covering choice. Can the covering be removed, or is it easier to just rebuild this section? Sorry that happened, Sky. |
| BriandKilby, Comment for image # 36234 | 15 Jun 16 09:07 |
| thank you for your kind words sky! |
| Skyediamonds1985, Image # 36255 | 14 Jun 16 23:47 |
The photo of the real aircraft shows the metal steps right at the edge of the outer wing panels and center section. I purposely arranged the steps to help cover up the damage. If anyone has any ideas how to address this issue with the heating iron, would like to hear it. Thanks guys. At least all of the components that needed covering, were covered and ready for installation. |
| Skyediamonds1985, Image # 36254 | 14 Jun 16 23:45 |

One down, three to go |
| Skyediamonds1985, Image # 36253 | 14 Jun 16 23:44 |
Fabricating the metal steps to the lower wing and marking the underside for punching out rivets |
| Skyediamonds1985, Comment for image # 36252 | 14 Jun 16 23:43 |
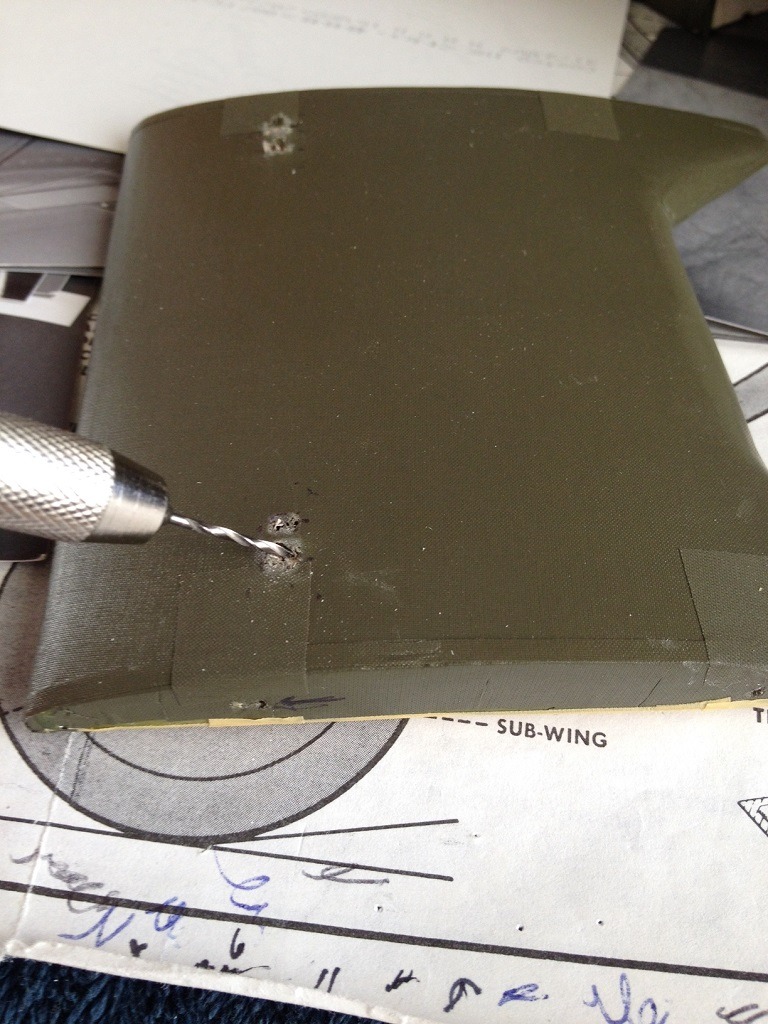
| I'll either have to buy another one, or use a small piece of cloth cut off one of my T-shirts. So, had to do a bit of artistic license in the next few steps. |
| Skyediamonds1985, Image # 36252 | 14 Jun 16 23:42 |
If you zoom up and look closely, you can see damage along the edges caused by my heating iron. The Teflon coating somehow was contaminated. Went to hobby store and was told to use lacquer thinner to remove paint that somehow got on. Tried it, and still have trouble. Anyone have ideas? I'll |
| Skyediamonds1985, Image # 36251 | 14 Jun 16 23:38 |
Went through various mediums before (finally) settling on thin brass. Lots of practice here |
| Skyediamonds1985, Image # 36250 | 14 Jun 16 23:37 |
For rigging. |
| Skyediamonds1985, Image # 36249 | 14 Jun 16 23:36 |

Right profile side |
| Skyediamonds1985, Image # 36248 | 14 Jun 16 23:35 |
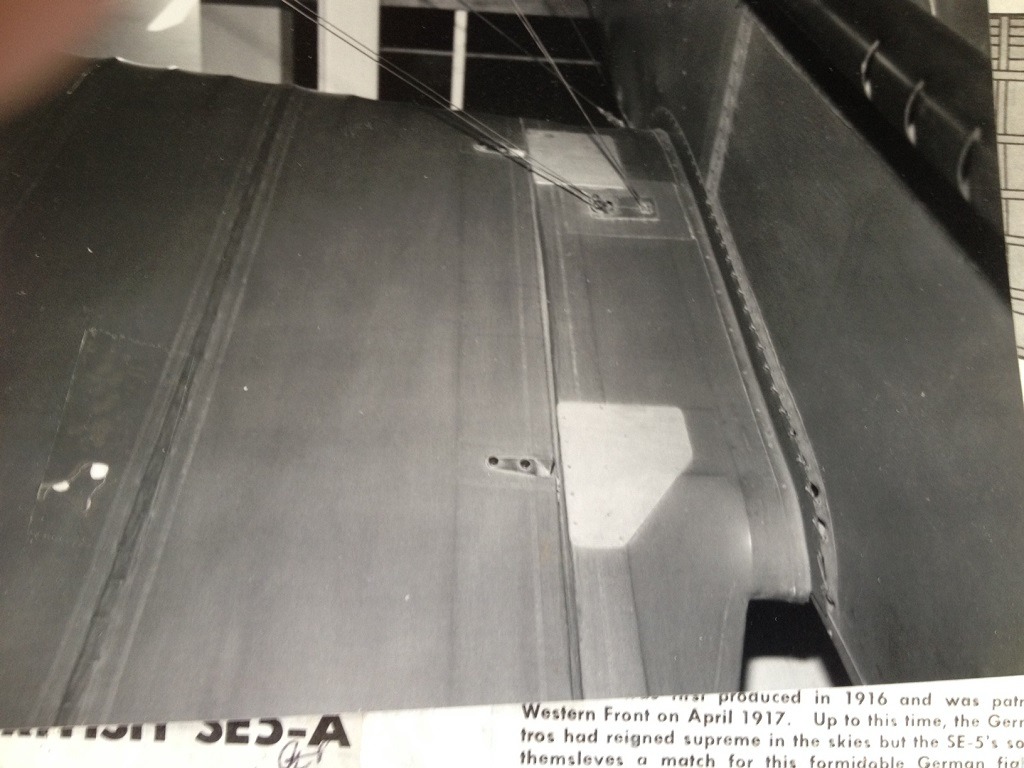
Photo of the real aircraft taken at the RAF Museum. Left side of lower wing |
| Skyediamonds1985, Comment for image # 36234 | 14 Jun 16 23:23 |
| Well now, I sincerely thank yee all for this attention. Addressing Mr. Huey's observation, I'll first rig the flat wires from the underside of the top center section to the fuselage as per real aircraft using tweezers (got lots of 'em). Then, I'll stop there to fabricate the landing gear but leave the wheels off to help keep the model off its belly. This is so when I install the lower wing center section and the rest of the undersides, they'll all be safely away from the dirty table (or so the theory goes). For Mr. Don C, I actually (now) have two towels to make for a soft place to rest the major components from damage during the rest of the build. Yes, you're correct, it is green. I couldn't find a pure white or red. Soo. green it is. I sincerely thank you Mr. Brian. You've been around this site for awhile, and you know good models when you see 'em. For this, I say "Thank you" and thank you all. |
| Don C, Comment for image # 36234 | 14 Jun 16 09:36 |
| What happened to the red and white towels? Although this could be a grass field. |
| BriandKilby, Comment for image # 36234 | 14 Jun 16 08:39 |
| this is going to look nice! |
| Huey V77, Comment for image # 36234 | 14 Jun 16 06:58 |
| Sky, I see a huge problem! How are you going to fit----- your fingers in there to rig the cabain wires? |
| Skyediamonds1985, Image # 36237 | 12 Jun 16 17:45 |
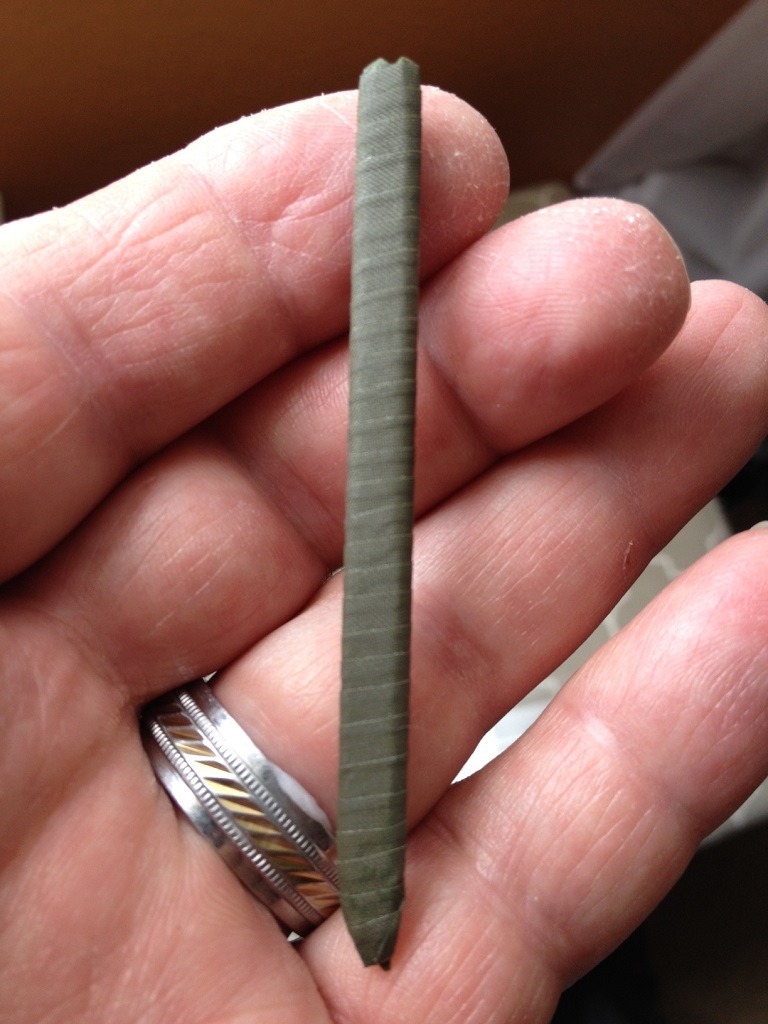
One of the finished struts |
| Skyediamonds1985, Image # 36236 | 12 Jun 16 17:44 |

Thin strips of Solartex were used to wrap around the cabane struts using a heating iron |
| Skyediamonds1985, Image # 36235 | 12 Jun 16 17:43 |

A long strip of light balsa served as the "extended" wing to help with the aliighnment |
| Build Thread, Page :
<< 12 13 14 15 16 [ 17 ] 18 19 20 21 22 >> (851 posts, 20 posts per page, 43 pages in total)
|
[ < Prev ] [ Next > ] |
