| Build Thread, Page :
<< 15 16 17 18 19 [ 20 ] 21 22 23 24 25 >> (851 posts, 20 posts per page, 43 pages in total)
|
[ < Prev ] [ Next > ] |
| Skyediamonds1985, Image # 36109 | 22 May 16 17:40 |
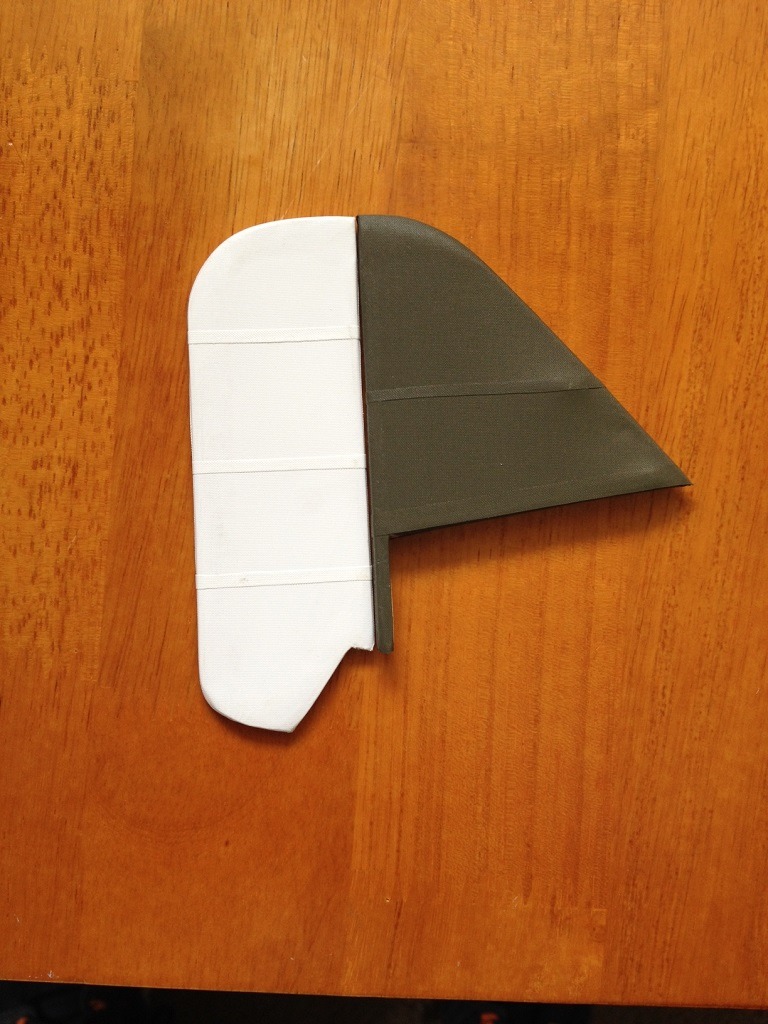
Vertical tail, The last item that needed covering. I used white Solartex for the rudder to allow for the white color portion of the red, white, and blue vertical colors. |
| Huey V77, Comment for image # 36092 | 21 May 16 08:48 |
| Sky look at this web sight and you'll know where I worked, titanaircraft.com.. Have 400 hrs. in the prototype. Love Randolph, hate the new systems. The dope trick I learned from a friend in Pa. . Scratch built a 1/32 UPF7, laid sewing thread for ribs. Doped length wise till they blended in. Fabric sag turned out awesome. |
| Huey V77, Comment for image # 36092 | 21 May 16 08:39 |
|
| Skyediamonds1985, Comment for image # 36092 | 19 May 16 21:39 |
| I'm glad that Huey pointed out that doping the wing length wise will fill in the edges of the tape, that results in literally blending in the tape to the surface. This is also a little-known fact not recognized by most modelers. But, as ol' Blue Eyes would sing: "I did it my way" and on my S.E. 5, allowed the surface tape to be a bit prominent. |
| Skyediamonds1985, Comment for image # 36092 | 19 May 16 21:31 |
| Finally, I'd like to refer you to a couple of my previous postings and you'll see the familiar FAR 43.13 showing the rib-stitching and their spacing according to the speed of the aircraft. I also included some copies of pre-WW I aircraft that used surface tapes that did not have the "pinked" edges; a little-known fact that might give us VA members a slight edge over other modelers. At 1/12th scale ( I believe Mr. DD says my model is closer to 1/14th scale) the rib stitches would only be about 1/16" across each rib. Far too small for my thumb-like fingers, and according to the dimensions of the full scale aircraft and the proper spacing, it would require 2,480 stitches. Far too many for my eyes or sanity. After working on full scale aircraft in an open hangar, ventilator "on" and full face mask, I can truly say that dope gave me a renewed outlook on life that lasted for days. I think its called OCD.... :0) |
| Skyediamonds1985, Comment for image # 36092 | 19 May 16 21:24 |
| Just simply set the modeling iron to medium, about "3," and carefully work out the winkles by tacking along the edges. When all of the surrounding edges are ironed on, just glide the iron over the whole surface to make it taut. I was amazed at how easy and simple it was. I then cut thin strips of Solartex and ironed them on the surface to simulate the surface tapes. No dope was ever used here. |
| Skyediamonds1985, Comment for image # 36092 | 19 May 16 21:20 |
| Huey, another full scale artist amongst us? Excellent! May the Force continue to grow. I'm a retired A & P ( & multi-engine pilot) but when it comes to modeling, I'm a newbie constantly seeking advice from the veterans. In answer to your inquiry, I'm using Solartex. It's a British product distributed through Balsa USA. Its a heat-shrink film pretty much like Monokote, but their pre-colored films feature an extremely fine fabric-like weave that's incredible. They're not cheap. According to the current Balsa's listings: one roll of 2 meters (thats 27" by 6' -that last figure is in feet) sells for $25.58. |
| Huey V77, Comment for image # 36092 | 19 May 16 18:20 |
| Sky, what material are you putting on the covering? I've covered 8 full scale a/c, if it's dope, brushed over the tapes, from length wise would fill in around the edges of the tapes. I covered a S1E Pitts, 1 in. spacing and pulled every not. Took for ever, but looked awesome. |
| Huey V77, Comment for image # 36092 | 19 May 16 18:14 |
|
| Skyediamonds1985, Image # 36095 | 18 May 16 23:01 |
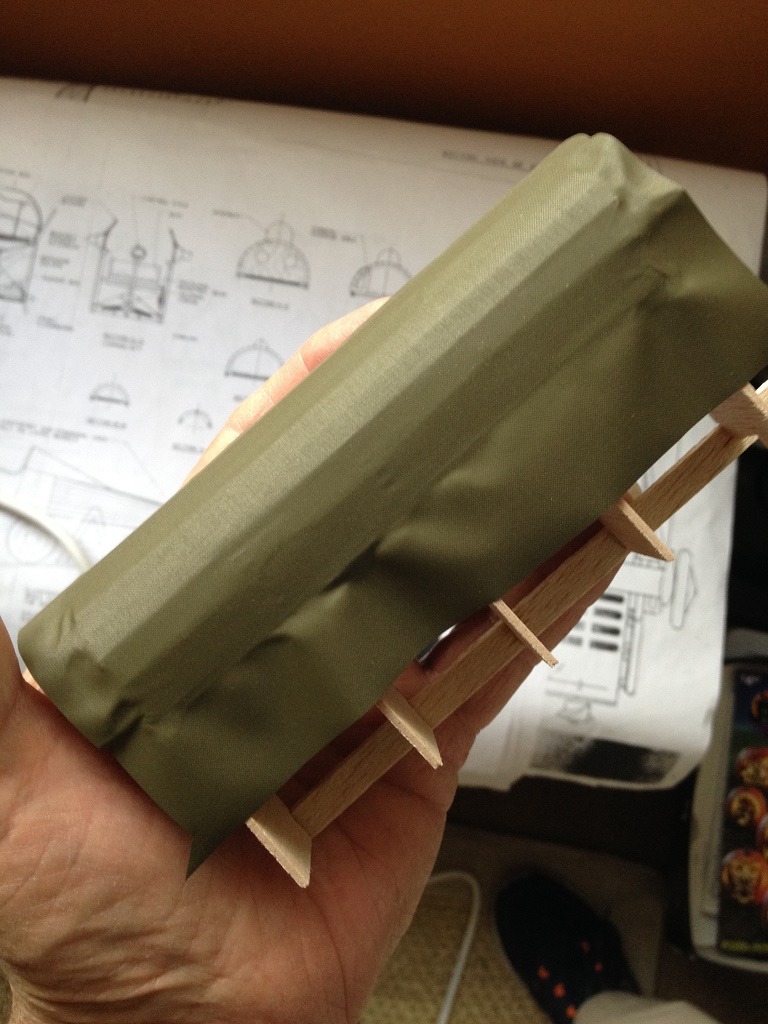
Practice concept on my dummy fuselage. I did about three of them before I worked out the final details. |
| Skyediamonds1985, Comment for image # 36091 | 18 May 16 21:52 |
| Biplane, sorry good guy. Didn't get to this stage until just recently. I thought of painting the edges, but wasn't sure of the matching colors, or my steady hand. LoL... |
| biplane guy, Comment for image # 36090 | 18 May 16 21:09 |
| Amen to that, John. |
| biplane guy, Comment for image # 36091 | 18 May 16 21:06 |
| Now you tell me! |
| John M Oshust, Comment for image # 36090 | 17 May 16 20:28 |
| Me thinks that you are more exacting than the painters that painted the real,planes😋 |
| Skyediamonds1985, Image # 36092 | 17 May 16 20:27 |
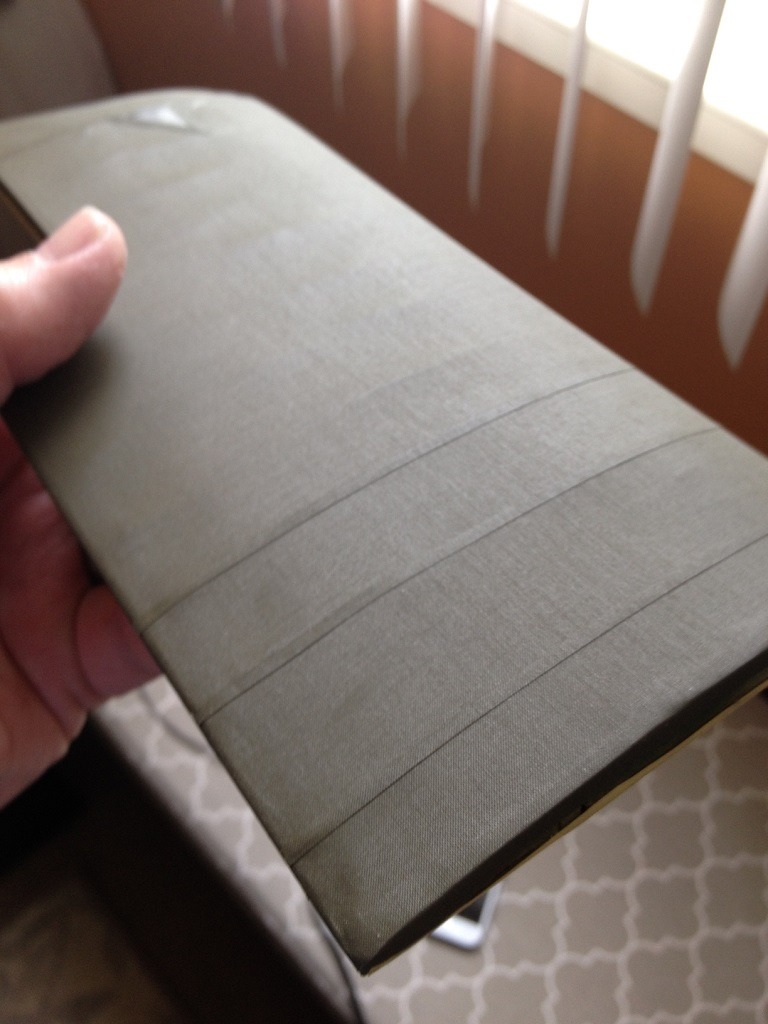
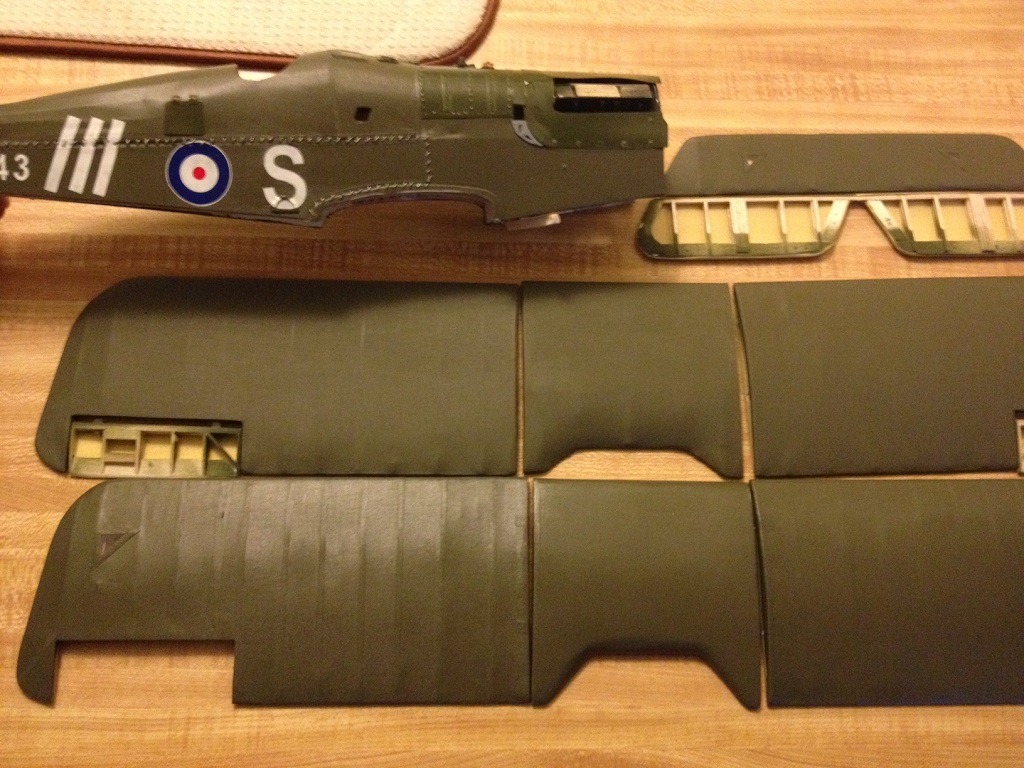
This is the lower left wing as I was adding the thin strips of surface tapes. I decided to avoid adding the stitching to keep my sanity for the next project. I also felt I would need some practice on my "proof of concept" wing sample and making sure that the decals conform to the complex detailing of rib stitching, surface tape, and rounded leading edges of ailerons. |
| Skyediamonds1985, Image # 36091 | 17 May 16 20:23 |
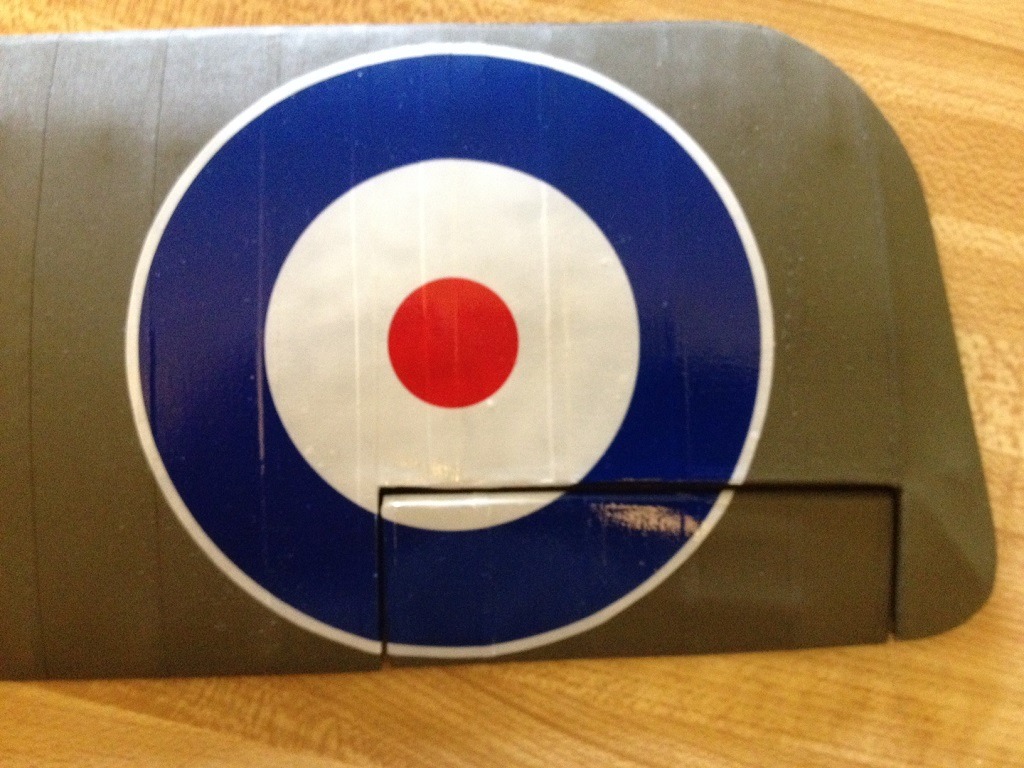
Completed decal results. * Make sure when adding extra decal material, NOT to shorten the outside perimeter of the whole decal. Keep the outline of the decal while adding extra material from the inside of the decal. This is not going to be functioning, but it's nice to have a bit of extra detailing for those people who know what to look for. |
| Skyediamonds1985, Image # 36090 | 17 May 16 20:18 |
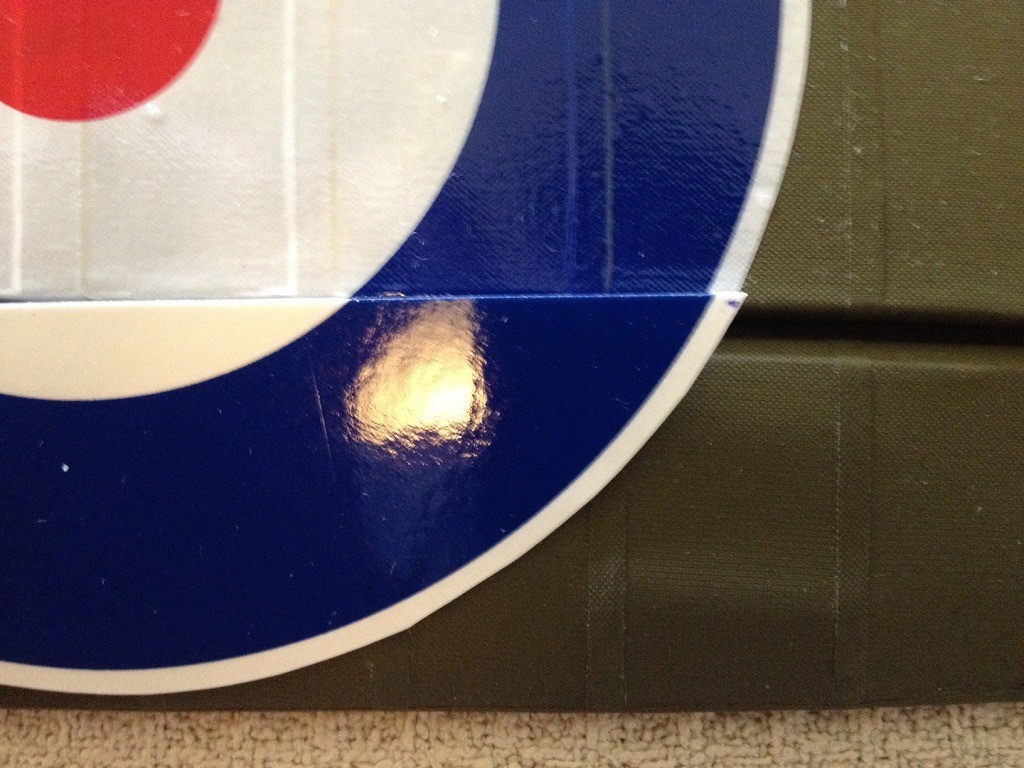
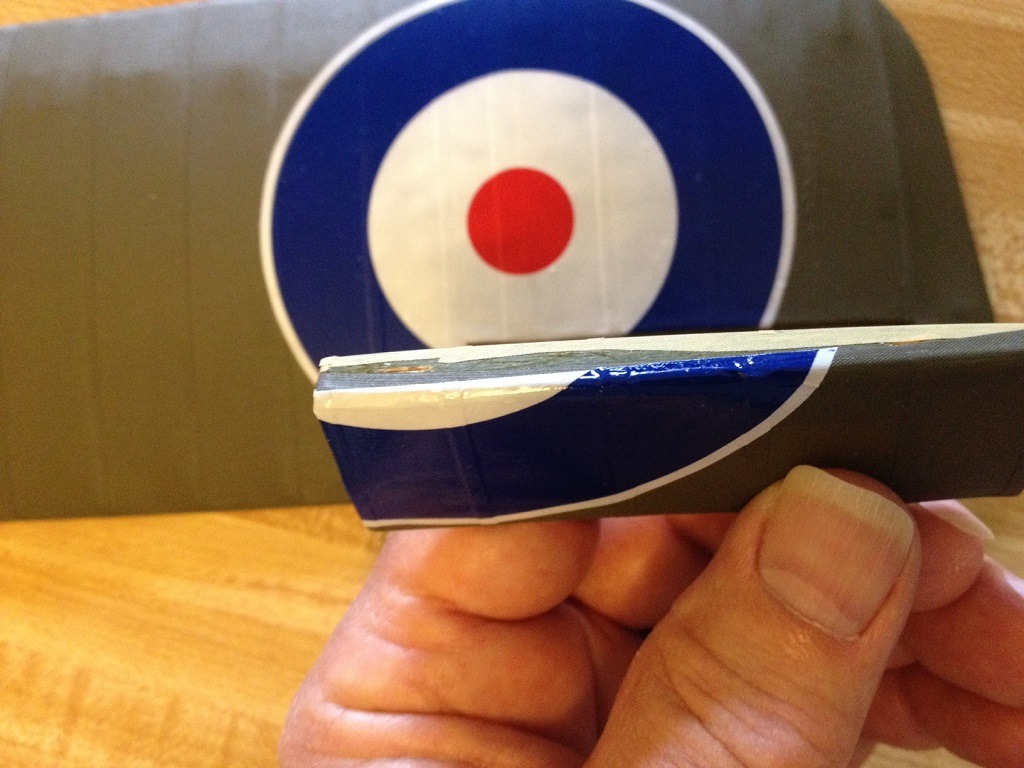
Close up reveals the extra decal needed to wrap itself around the aileron leading edge. The amount needed is totally subjective, meaning it's up to the modeler to determine how much to allow to wrap around the top portion of the aileron, yet not too much left over to start peeking out from the underside. I'd say about 1/3 to 1/2 of the leading edge outta do it. |
| Skyediamonds1985, Image # 36089 | 17 May 16 20:15 |
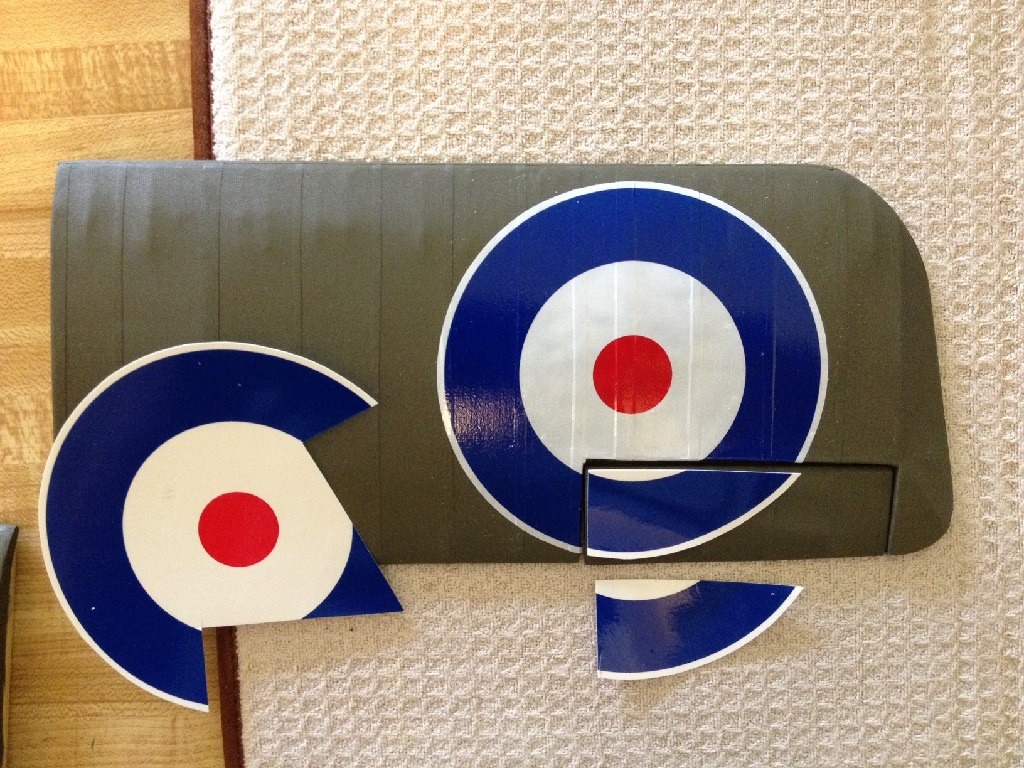
This is where ordering extra decals comes in handy. Two reasons: First, is in case of a screw up, and secondly, to provide some extra material to cover the rounded surfaces. |
| Skyediamonds1985, Image # 36088 | 17 May 16 20:13 |
Not exactly absolutely clear picture, but it does reveal how the decal seemingly has enough surface area to wrap itself around the leading edge of the aileron and also the trailing edge of the wing. |
| Skyediamonds1985, Image # 36039 | 14 May 16 18:49 |
Almost covered. I ducked out on the stitches. "Mr" Rayl takes the lead.... |
| Build Thread, Page :
<< 15 16 17 18 19 [ 20 ] 21 22 23 24 25 >> (851 posts, 20 posts per page, 43 pages in total)
|
[ < Prev ] [ Next > ] |
