| Build Thread, Page :
<< 19 20 21 22 23 [ 24 ] 25 26 27 28 29 >> (851 posts, 20 posts per page, 43 pages in total)
|
[ < Prev ] [ Next > ] |
| Skyediamonds1985, Image # 35894 | 19 Apr 16 20:34 |
To get the desired hinge type and scale, I had to first use a pair of dice (cutting pliers) then followed up with small modeling files. |
| Skyediamonds1985, Image # 35893 | 19 Apr 16 20:32 |
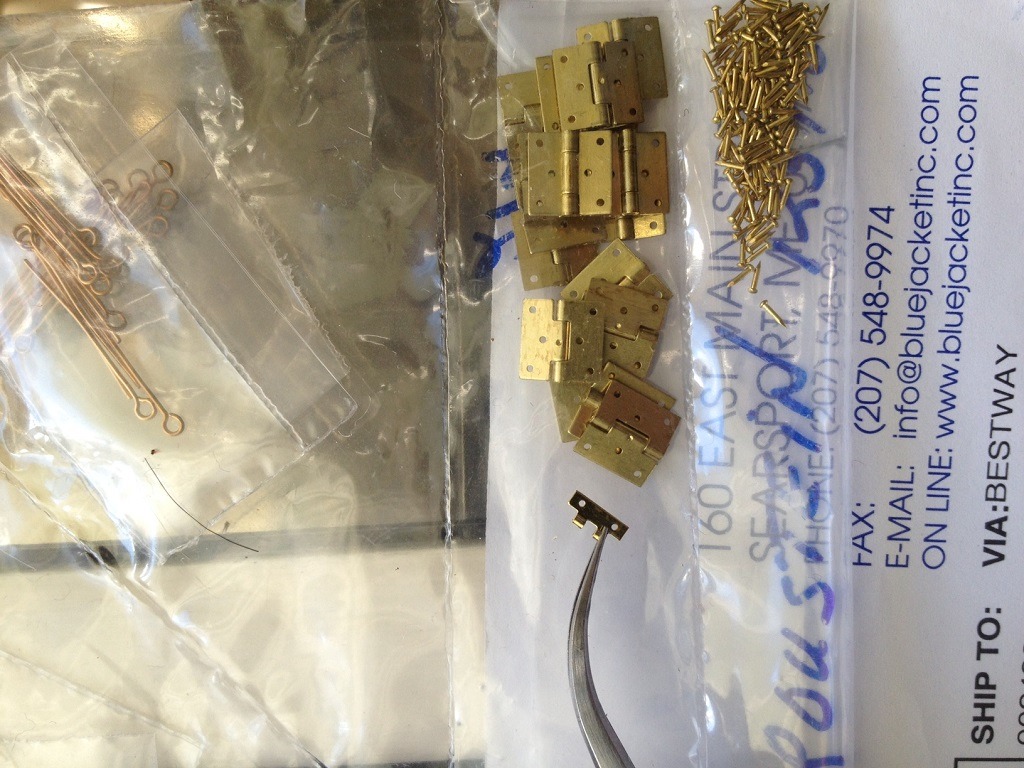
Blue Jacket also produces small hinges. These are the smallest they have. You can easily compare the sizes. I may use them for a larger scale model someday |
| Skyediamonds1985, Image # 35892 | 19 Apr 16 20:31 |
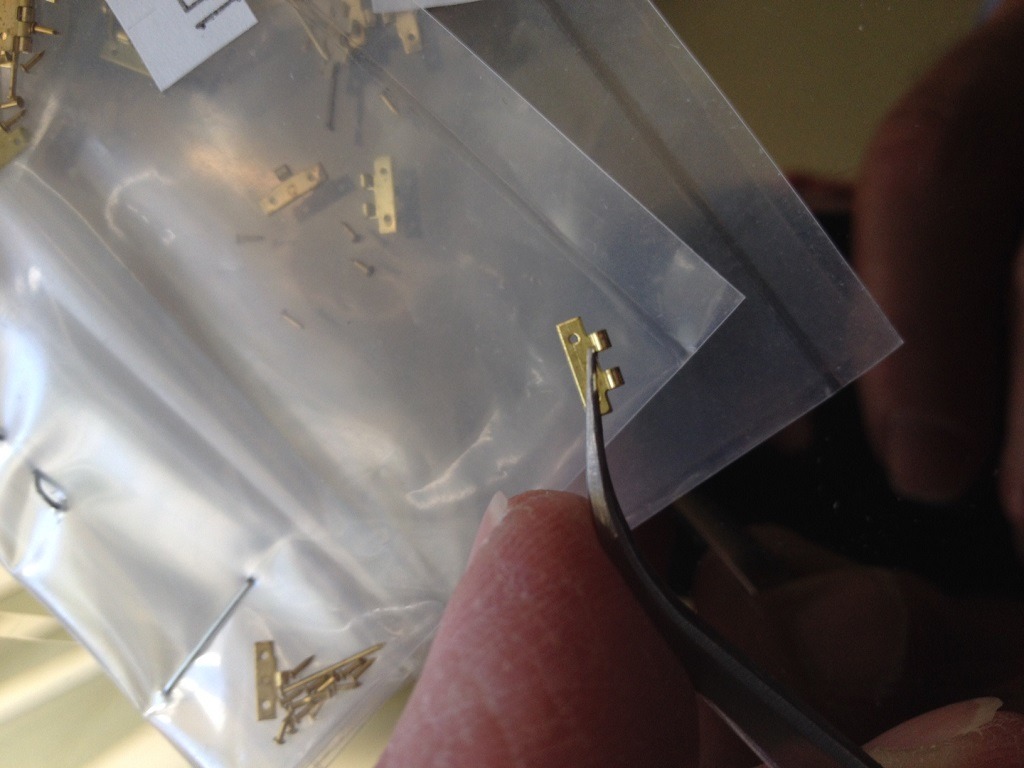
You can see their scale from comparing my finger and tweezers. Very inexpensive |
| Skyediamonds1985, Image # 35891 | 19 Apr 16 20:29 |
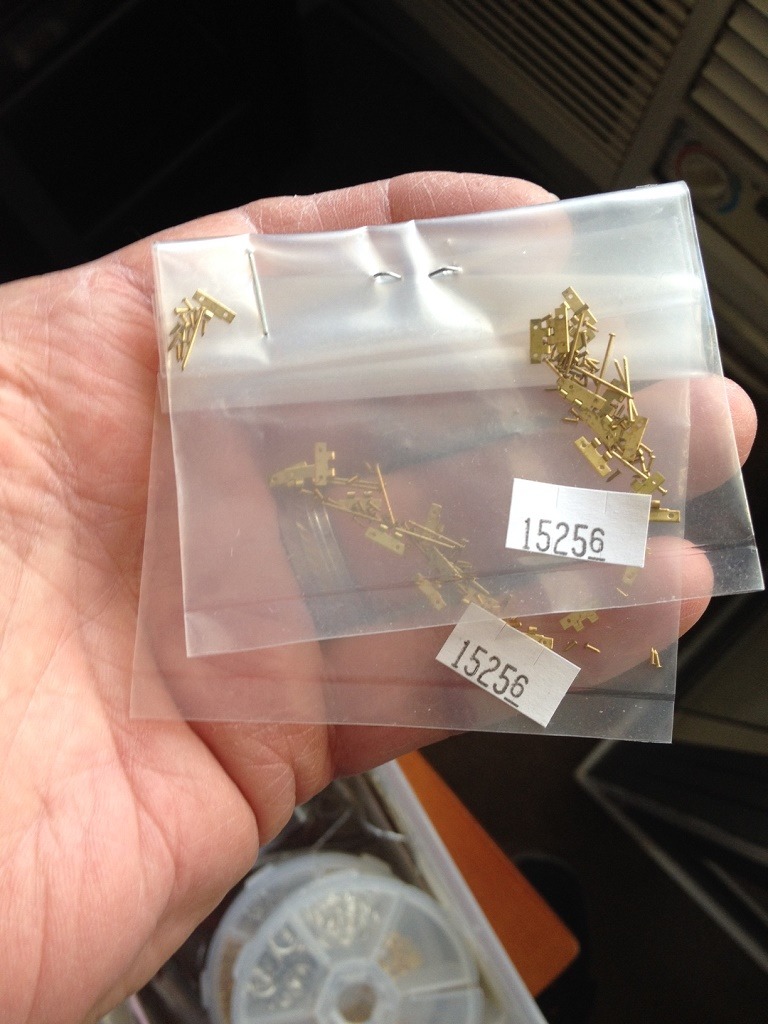
Purchased some very small brass hinges from MicroMark |
| Skyediamonds1985, Image # 35890 | 19 Apr 16 20:28 |
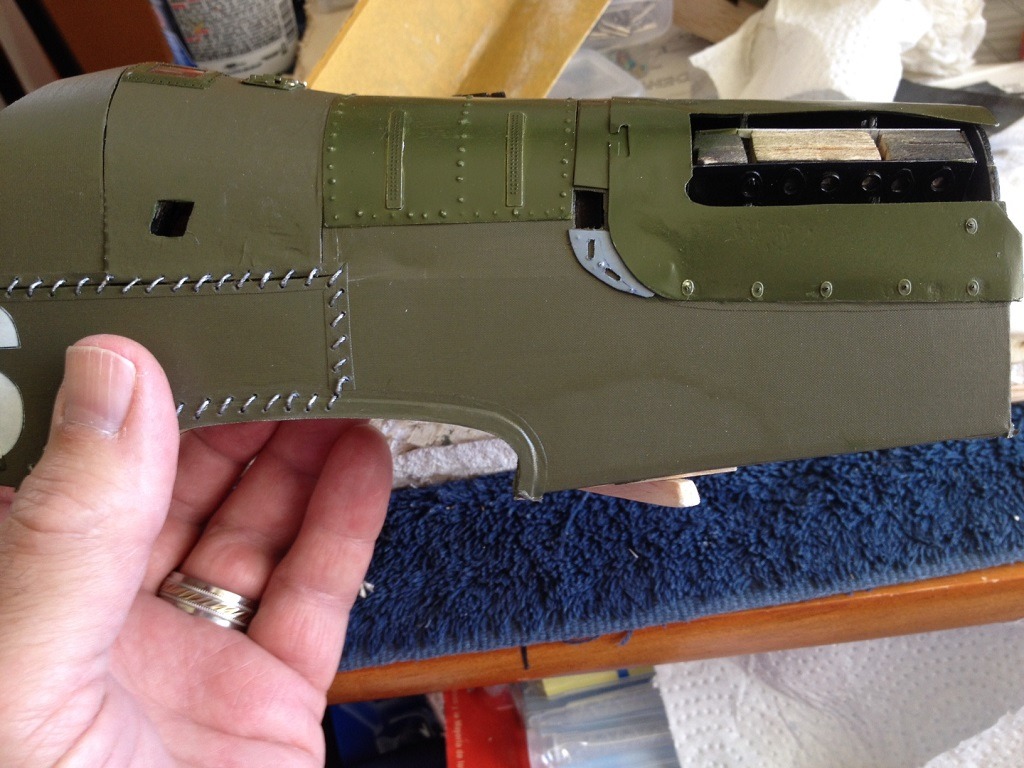
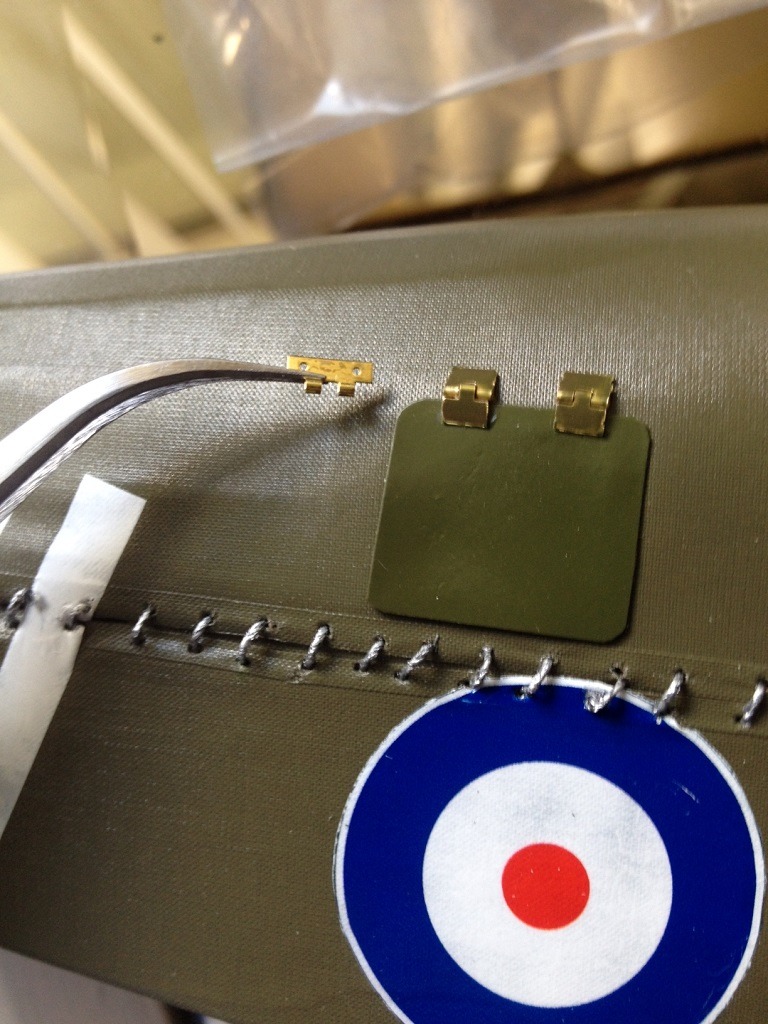
Finished results. The small indentations, are from my previous attempts using rub-off letters without much success. With the self-adhesive letters, the small dents are barely noticeable. The engine cover was already glued in place. So that precluded any chance of redoing the whole cover. Stuff happens.... |
| Skyediamonds1985, Image # 35889 | 19 Apr 16 20:25 |
I carefully laid down the "holed" letters onto a sheet of paper. Using a rattle can of Temiaya Olive Drab, I sprayed the letters. After they were dried, I carefully lifted them off the sheet. Because they're self-adhesive, I simply stuck them into place. No glues, no mess. I could even relocate them into their final place, if necessary |
| Skyediamonds1985, Image # 35888 | 19 Apr 16 20:19 |
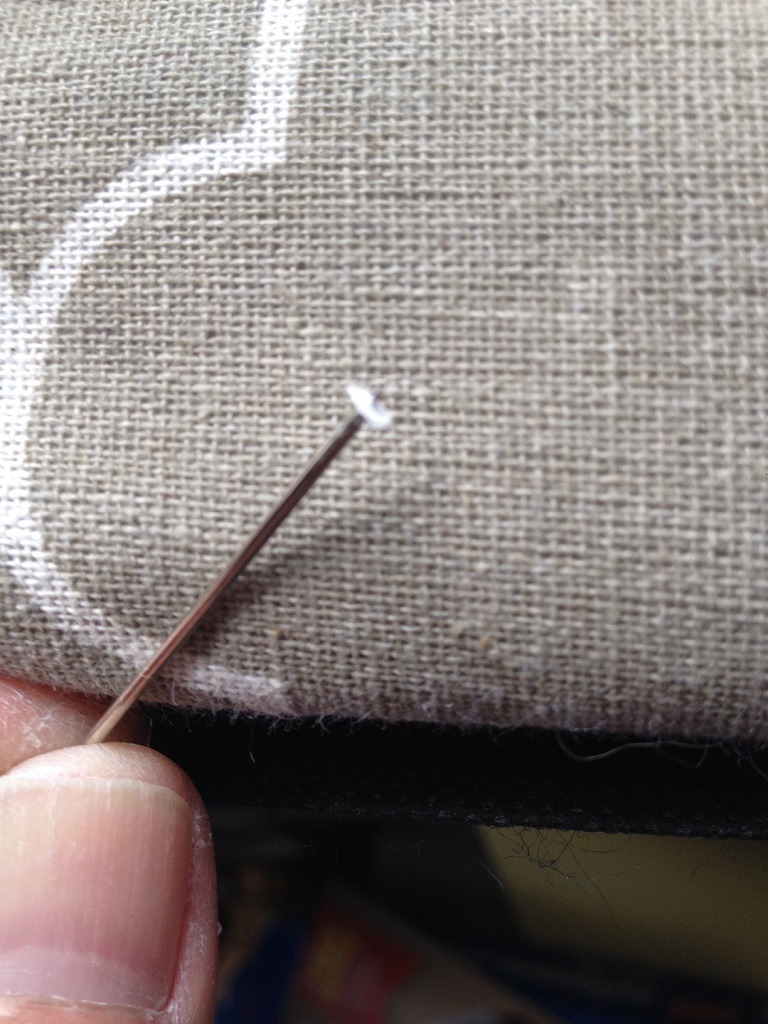
Used a "T" pin to poke a hole |
| Skyediamonds1985, Image # 35887 | 19 Apr 16 20:18 |
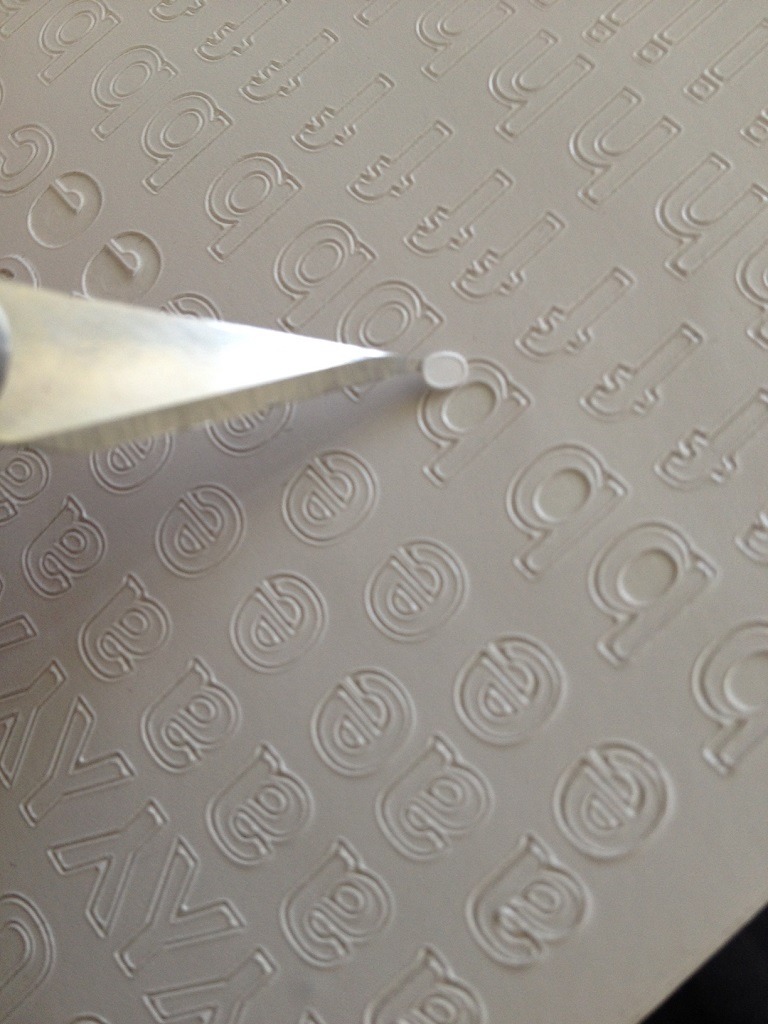
Obtained some self-stick vinyl letters from a local arts and crafts store. Pulled out the "O" from the centers of the letters "b." Seemed to be about the right size. |
| Skyediamonds1985, Image # 35886 | 19 Apr 16 20:13 |
Going to replicate the small hatches holding down the engine cover |
| Skyediamonds1985, Comment for image # 35840 | 14 Apr 16 17:19 |
| A special "Thank you" to Meku. Have you started on your Beaver? |
| TED, Comment for image # 35840 | 14 Apr 16 08:27 |
|
| meku, Comment for image # 35840 | 14 Apr 16 01:39 |
| Excellent job! |
| Skyediamonds1985, Comment for image # 35840 | 12 Apr 16 18:50 |
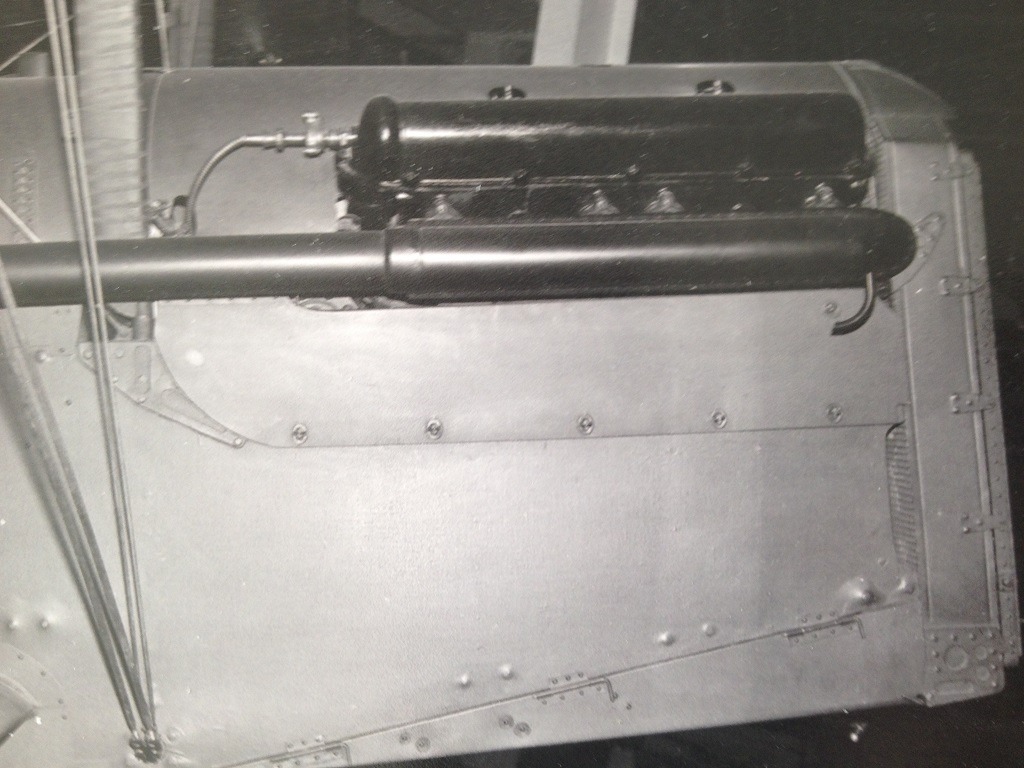
| Thank you Brian, Don and Rayl. Your appraisals means a lot. Next on the agenda is trying to figure out the details of the housing around the Vickers gun. Not many details show it very well. Will try to extrapolate as much data as possible and go from there. |
| rayl, Comment for image # 35840 | 12 Apr 16 15:05 |
| Excellent Sky! |
| Don C, Comment for image # 35840 | 12 Apr 16 09:51 |
| Super. Just super. |
| BriandKilby, Comment for image # 35840 | 12 Apr 16 08:05 |
| very sleek and detailed sky! |
| Skyediamonds1985, Comment for image # 35840 | 11 Apr 16 23:27 |
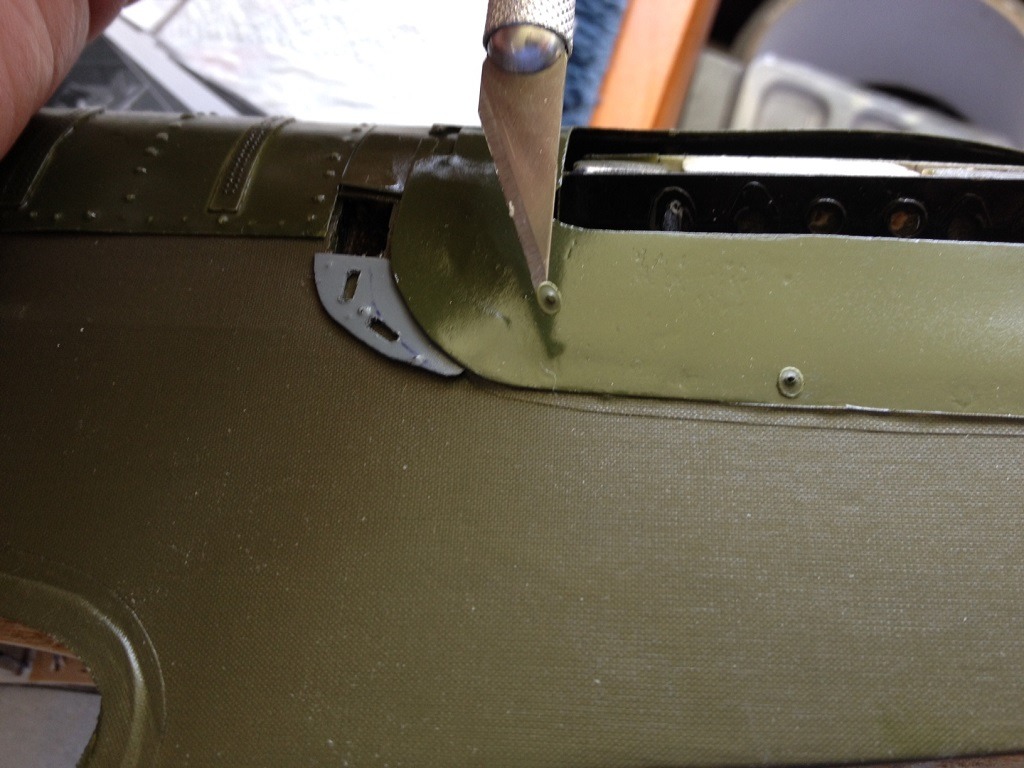
| As an addendum, research shows the forward bracket to be painted either black -as shown in the Vintage Aviator, or blended in olive drab as shown in my previous post of the RAF's S.E.5. I decided on a "compromise" of the sorts and had it painted gloss gray to have it pop out. I thought it would be nice to highlight the detailing of the bracket as well. |
| Skyediamonds1985, Image # 35840 | 11 Apr 16 23:18 |
Also managed to slip in the forward cabane strut bracket |
| Skyediamonds1985, Image # 35839 | 11 Apr 16 22:29 |
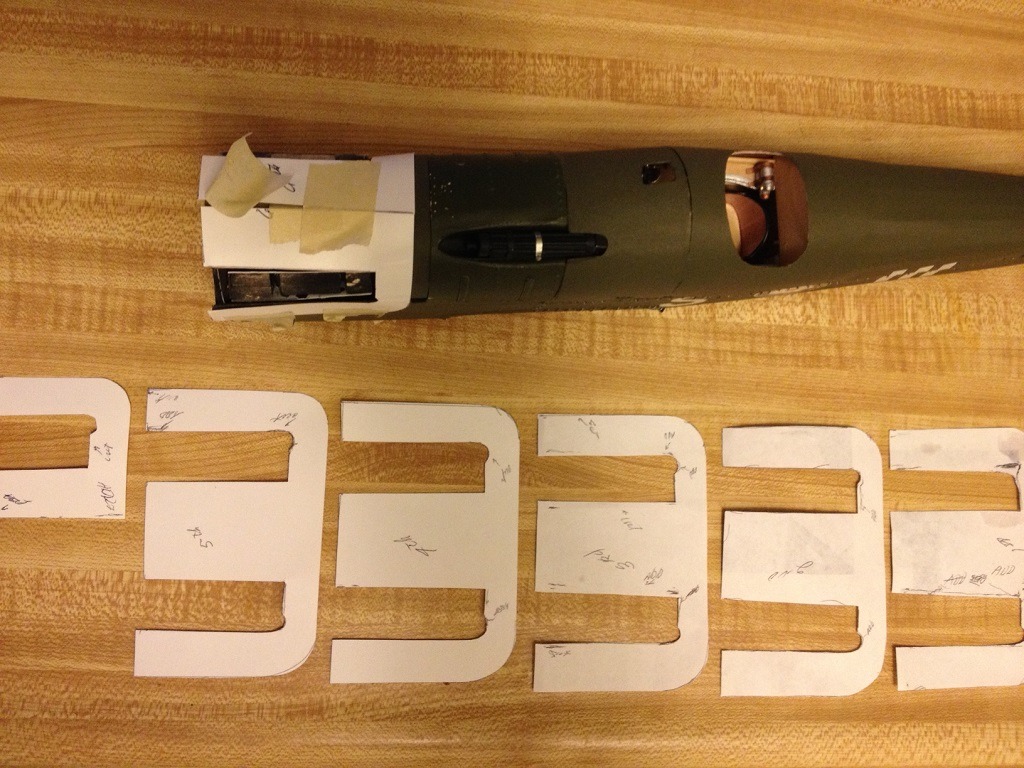
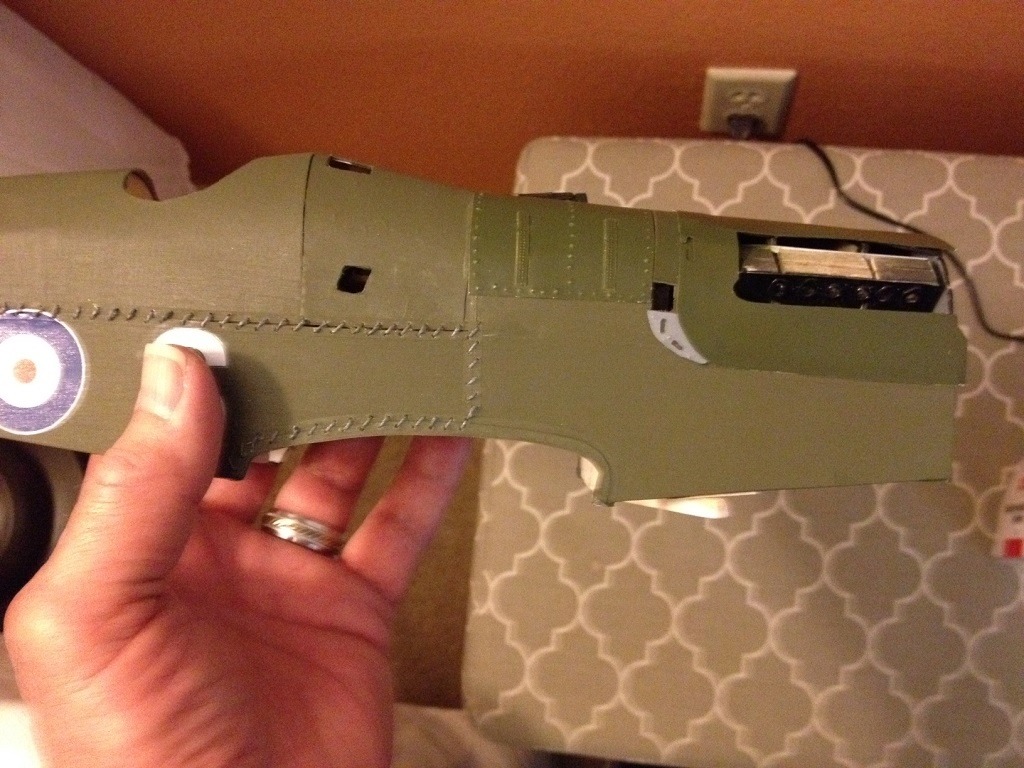
Went through a lot of "adjustments" of the templates until just right. |
| Skyediamonds1985, Image # 35838 | 11 Apr 16 22:27 |
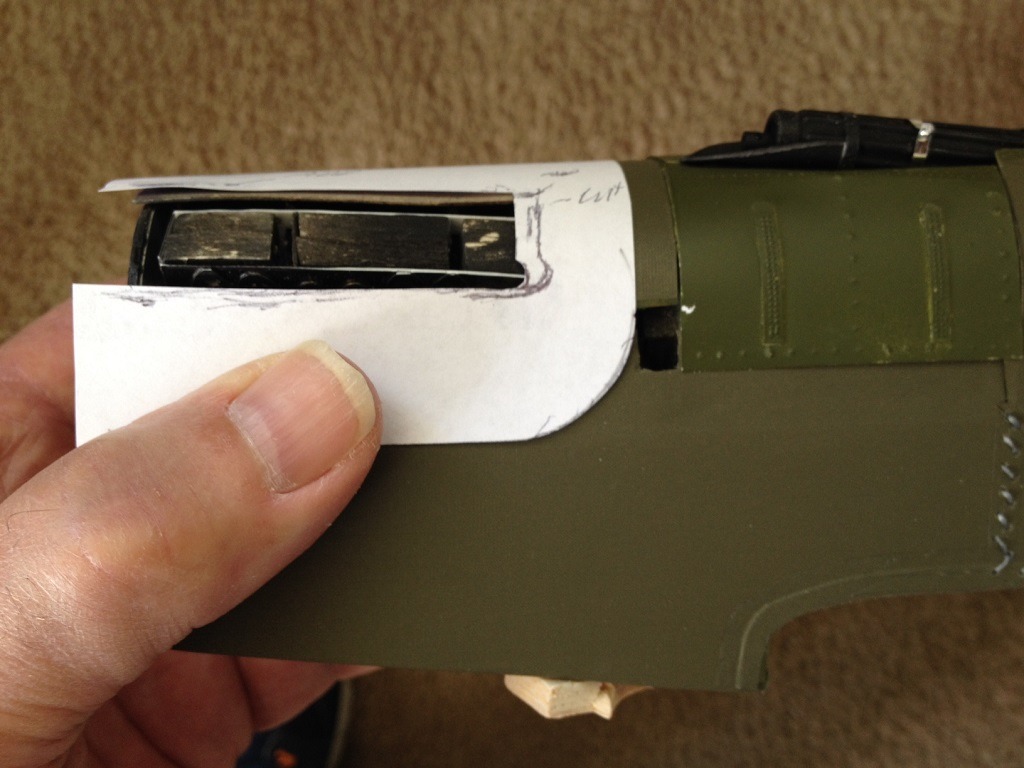
Adjusting for engine clearance and exhaust plumbing |
| Build Thread, Page :
<< 19 20 21 22 23 [ 24 ] 25 26 27 28 29 >> (851 posts, 20 posts per page, 43 pages in total)
|
[ < Prev ] [ Next > ] |
