| Build Thread, Page :
<< 20 21 22 23 24 [ 25 ] 26 27 28 29 30 >> (851 posts, 20 posts per page, 43 pages in total)
|
[ < Prev ] [ Next > ] |
| Skyediamonds1985, Image # 35837 | 11 Apr 16 22:26 |
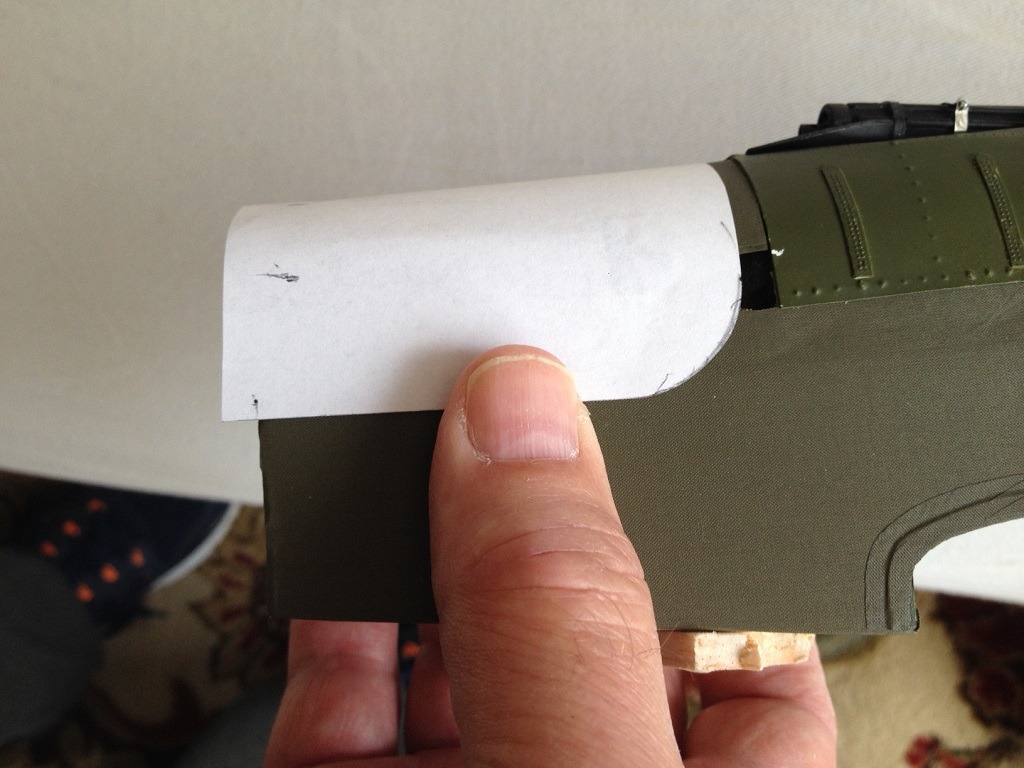
Making a template. |
| Skyediamonds1985, Image # 35836 | 11 Apr 16 22:26 |
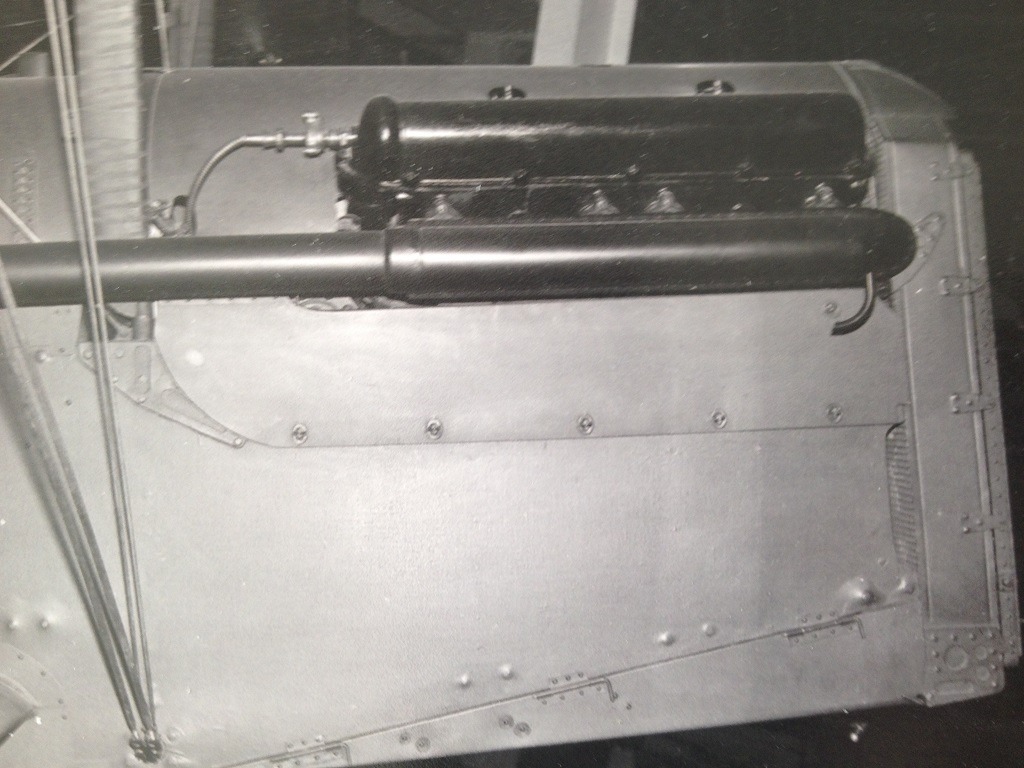
Right side view of the real aircraft. Trying to emulate the large paneling surrounding the engine. |
| Skyediamonds1985, Comment for image # 35795 | 29 Mar 16 22:55 |
| If you'll notice, the letter and numbers on the next decal sheet are too big. I'll have to have them resized to fit the fuselage. Even then, I'll have to carefully cut out each letter and number to ensure that the presence of carrier film is minimized between characters. I could offset by spraying a clear coat, which would help hide the carrier film, but in this case, not completely. |
| Skyediamonds1985, Image # 35796 | 29 Mar 16 22:50 |
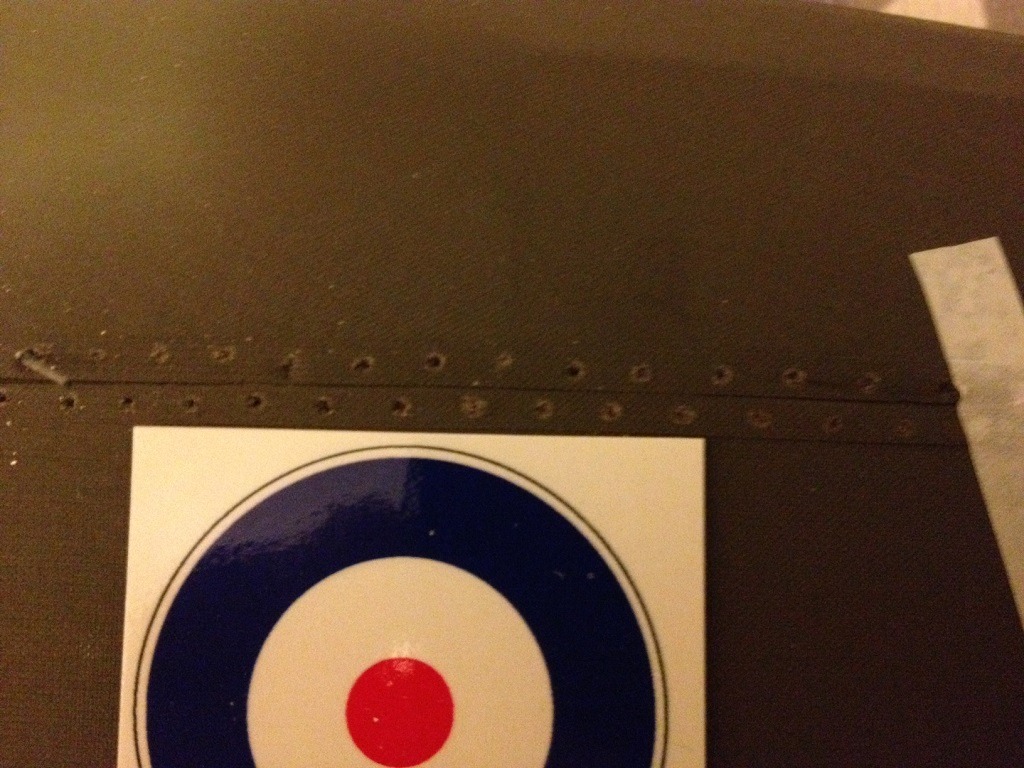
About to add the British insignia. The Guillow's kit's roundels are too large and not to scale for this model. I'm going to have to carefully cutout the roundel right at the fine line. Most customized decals are generated from a computerized printer which only produces the image on paper. Therefore, the paper itself has the carrier film spread all over the sheet and each image must be cut out on it's own. Large letters and numbers shown in my previous postings, will each have to be cut out. I'm going to have them resized as they're too large for this fuselage. John Brantley does a good job at producing customized images, but needs to know the exact dimensions and letter fonts, logos, insignias and so forth. i |
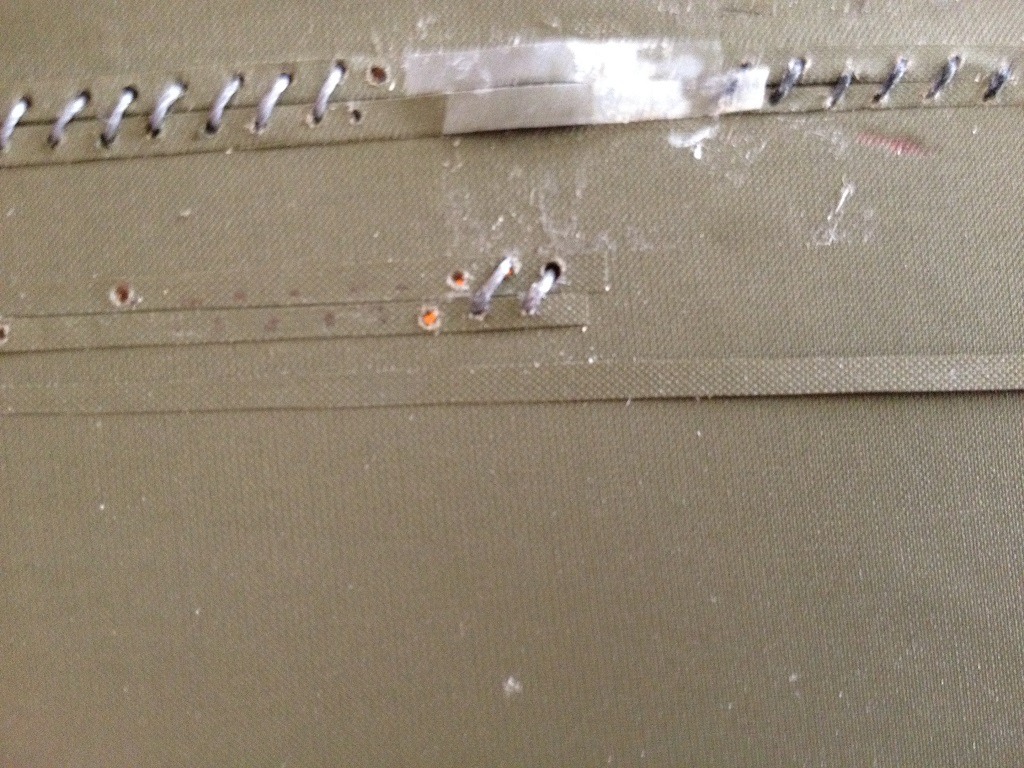
| Skyediamonds1985, Image # 35795 | 29 Mar 16 22:39 |
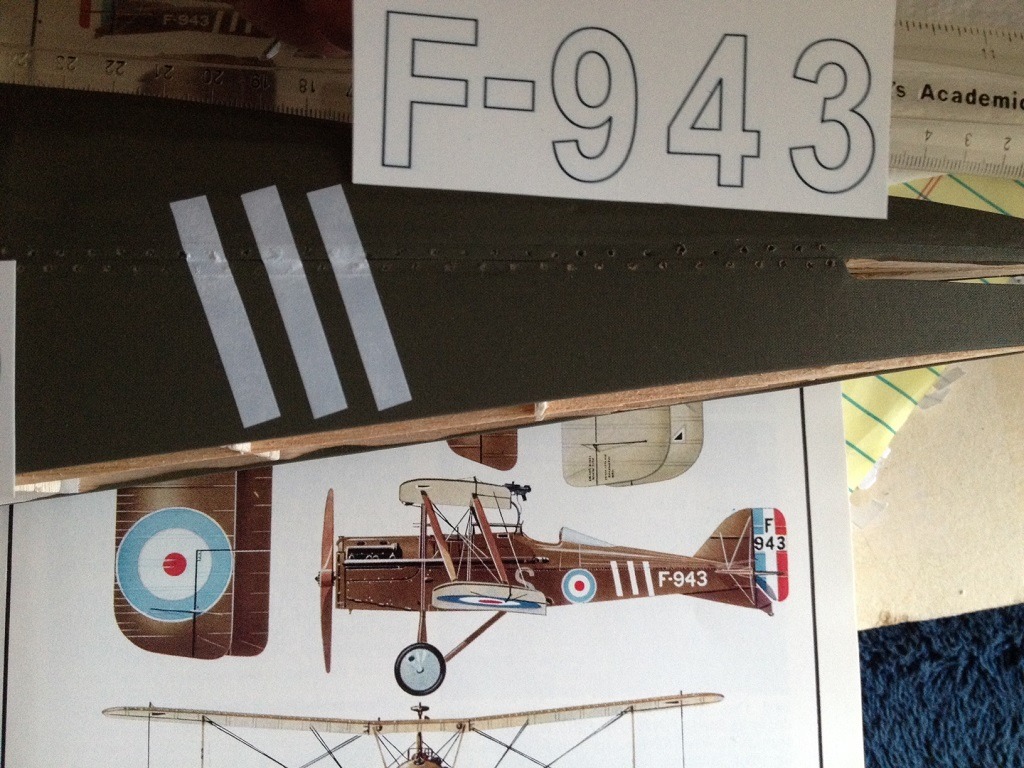
Applying custom decals before the rest of the stitching. A word about customized decals.... These three stripes are blank decal sheets with white color background. They were then cut into thin strips and the white colored background was allowed to slide off. |
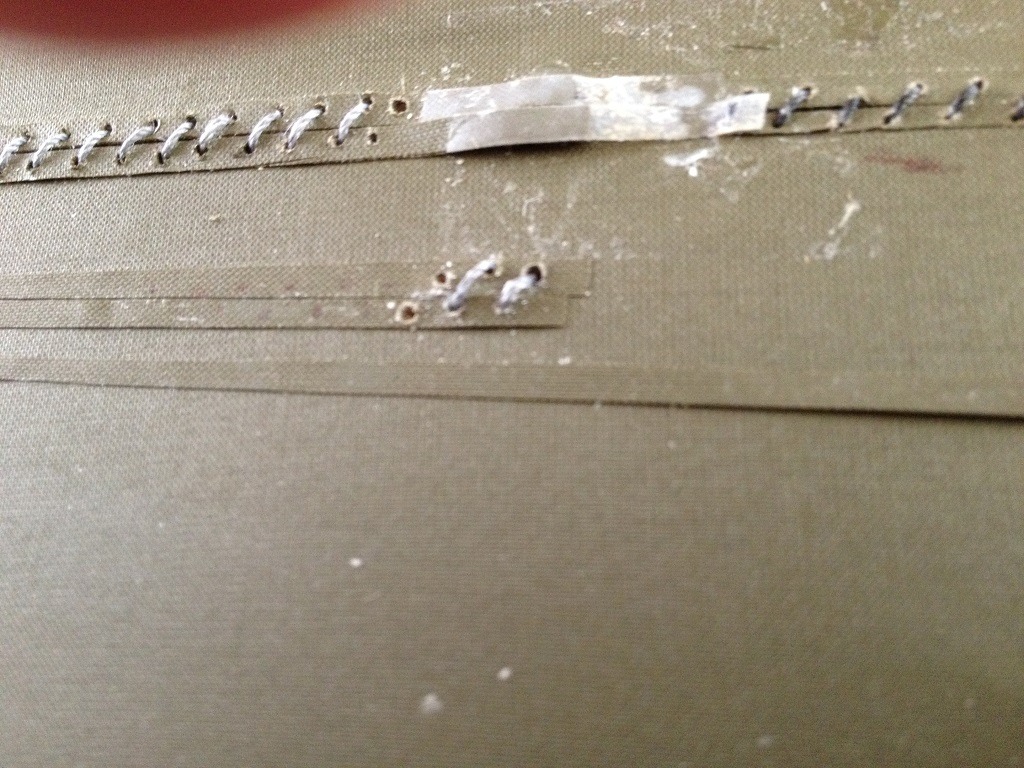
| Skyediamonds1985, Image # 35794 | 29 Mar 16 22:37 |
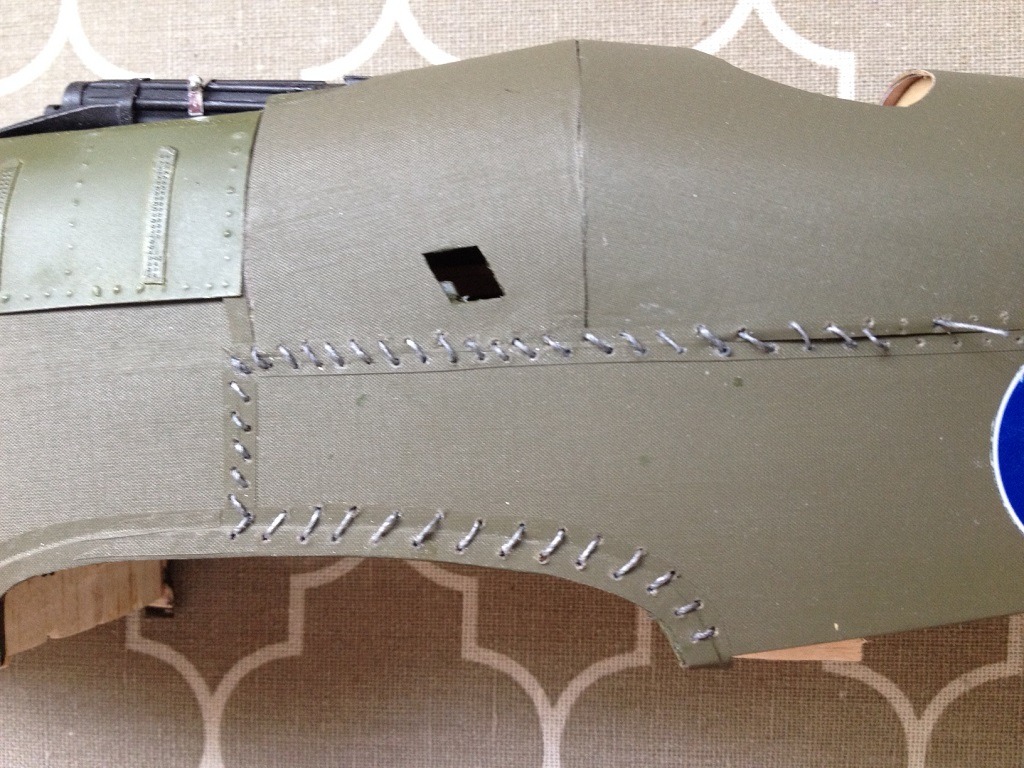
Starting the long road on stitching. |
| Skyediamonds1985, Image # 35793 | 29 Mar 16 22:35 |
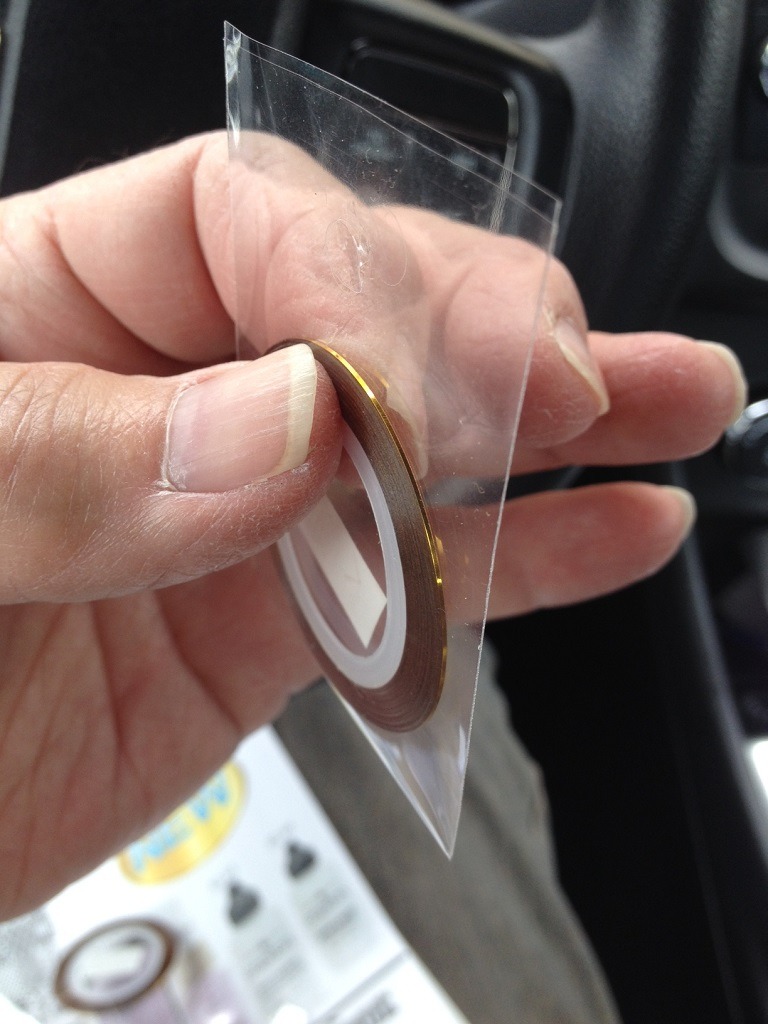
Close up of one of the thin metal tapes in brass. |
| Skyediamonds1985, Image # 35792 | 29 Mar 16 22:34 |
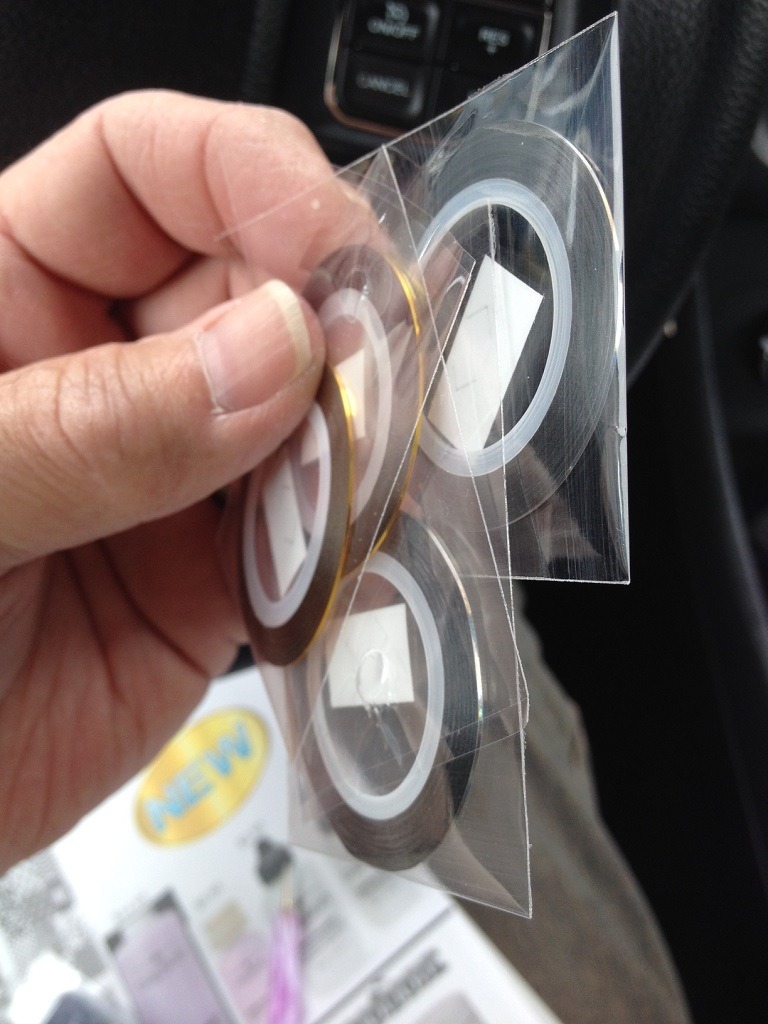
Very thin (I think 1/64") metal foil tape in and chrome. Almost anyone can obtain black chart tape, but not in metal finish. Again, at the specialty hair and nail stores |
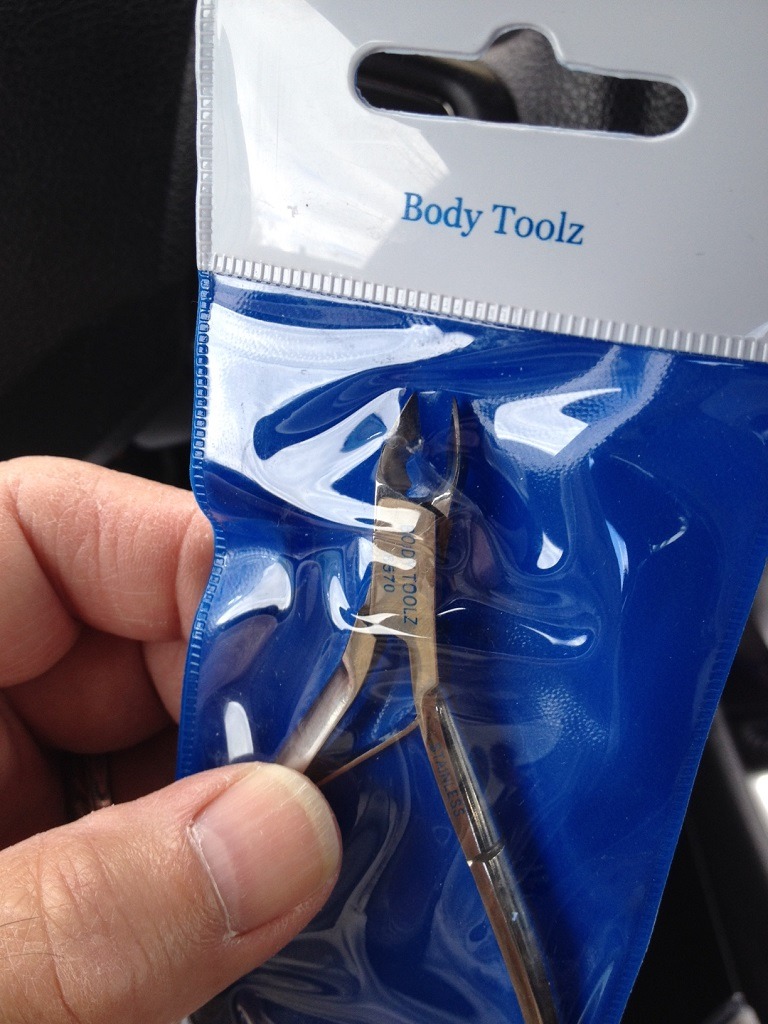
| Skyediamonds1985, Comment for image # 35791 | 29 Mar 16 22:33 |
| MicroMark sells similar tweezers for $6.50 to $9.00 |
| Skyediamonds1985, Image # 35791 | 29 Mar 16 22:27 |
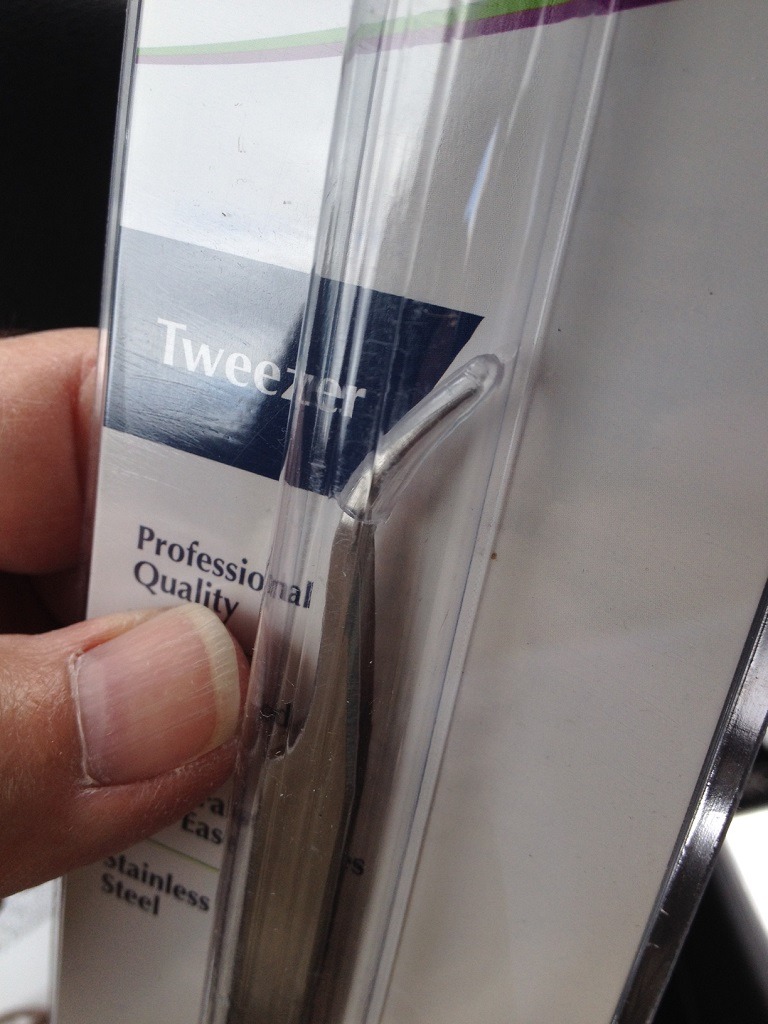
Very small and fine tweezers for $5.00 at the hair and nail specialty store. |
| Skyediamonds1985, Comment for image # 35789 | 29 Mar 16 22:26 |
| I should add that they're a buck fifty each.... |
| Skyediamonds1985, Image # 35790 | 29 Mar 16 22:24 |
Small cutters (dice). Only five bucks at the nail and hair specialty shop. |
| Skyediamonds1985, Image # 35789 | 29 Mar 16 22:23 |
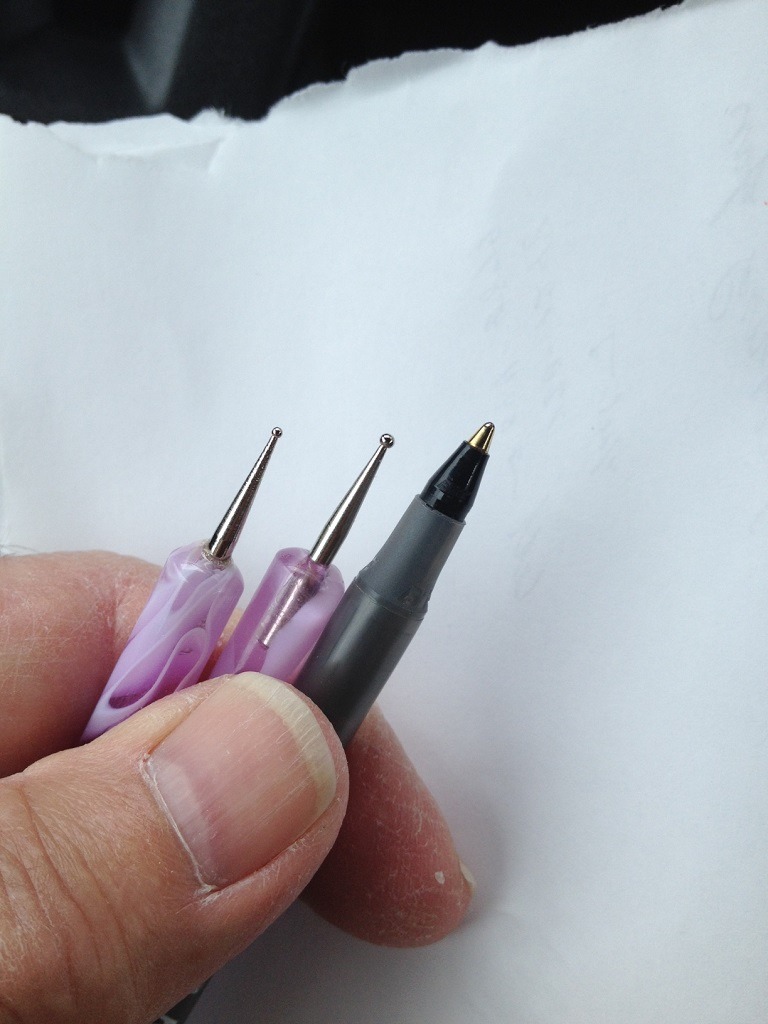
Got some news to share with everyone. I use a ball point pen as my "riveter" by lightly punching on the back of glossy paper (or thin plastic sheeting) and allowing the small "bump" or rivet to show through on the top side. Went through a specialty shop for hair and nail products (Okay guys, its my wife's favorite place) and discovered a couple of small ball ends. My wife says they're used for decorating nails with dots of nail polish. I placed them next to the pen to give you some reference. |
| Don C, Comment for image # 35766 | 22 Mar 16 19:36 |
| That should look great. Hope your eyes hold out. |
| Skyediamonds1985, Image # 35766 | 21 Mar 16 20:13 |
End result. Looks the same as the stitching using the needle technique as seen above, but kind of "outside the box" thinking. This is going to be a long process, but hoping the end results will be worth it. Isn't that why we all build in the first place? |
| Skyediamonds1985, Image # 35765 | 21 Mar 16 20:11 |
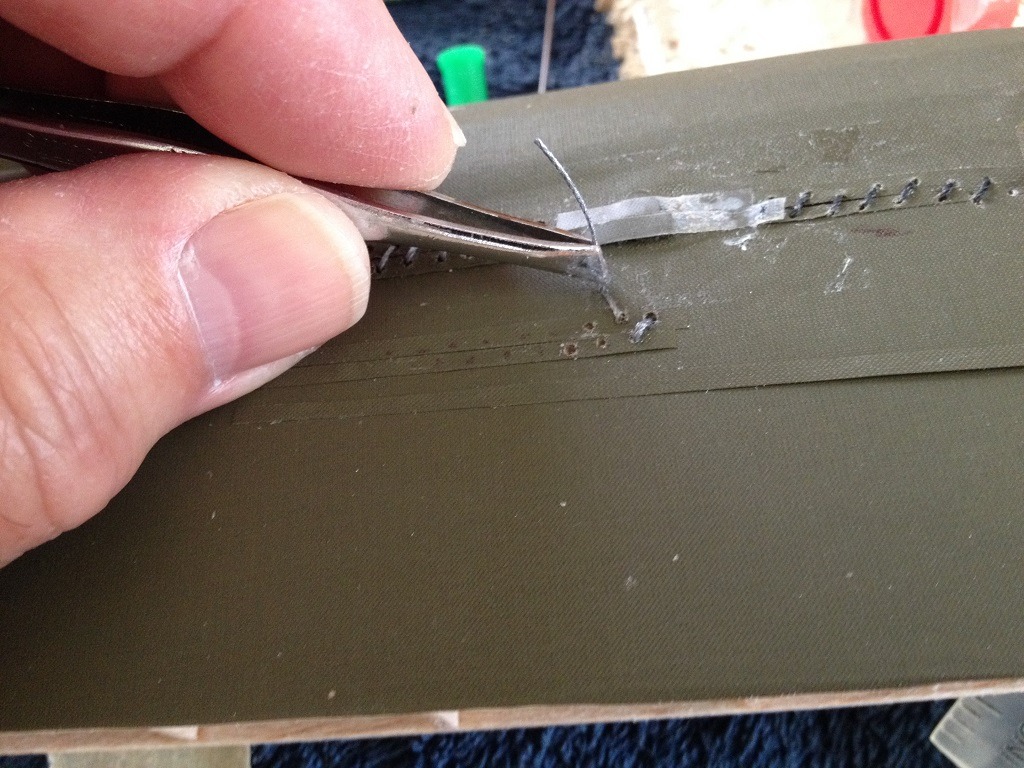
Getting closer by pushing the thread through the hole with a pair of tweezers..... |
| Skyediamonds1985, Image # 35764 | 21 Mar 16 20:09 |
|
| Skyediamonds1985, Image # 35763 | 21 Mar 16 20:09 |
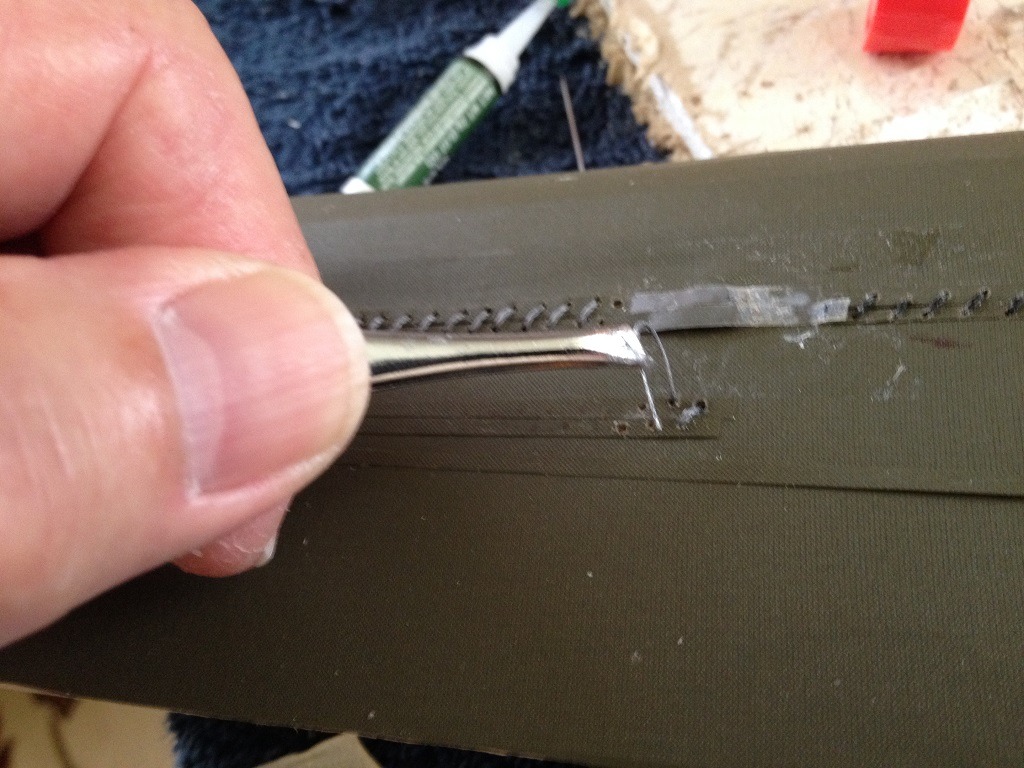
After the glue dried a few seconds later, I then bent over the opposite end of the stiff thread into the next hole. |
| Skyediamonds1985, Image # 35762 | 21 Mar 16 20:07 |

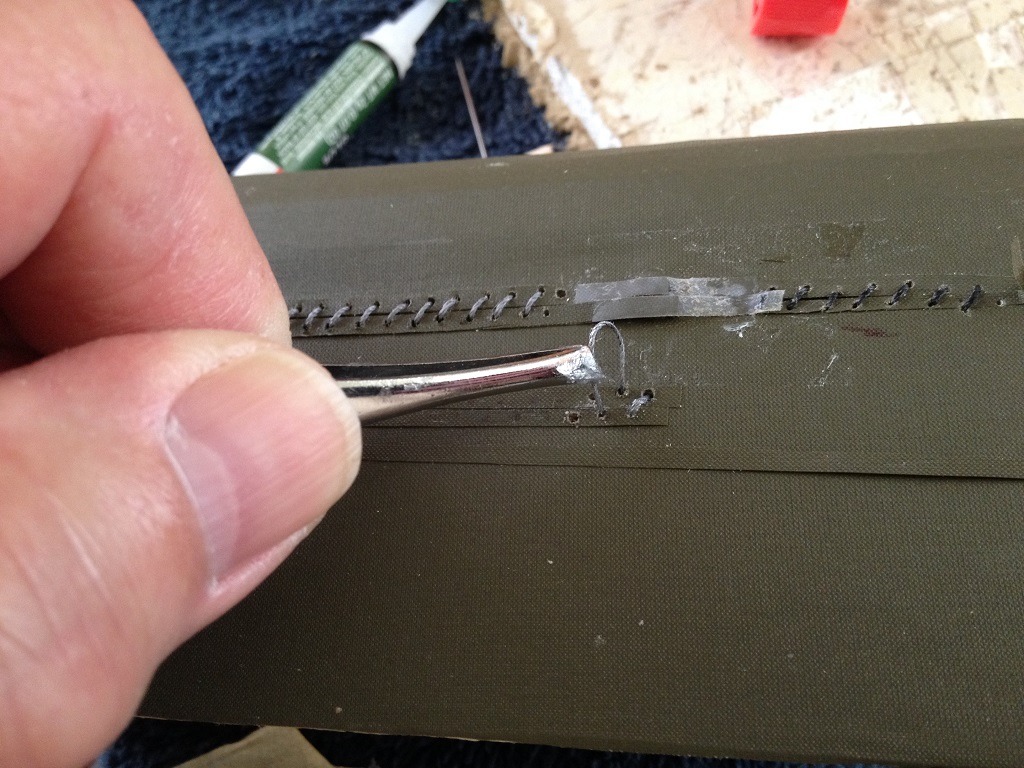
I added a bit of cyano just above the hole and allowed it to flow through the thread via capillary action so as to minimize any chance of glue marks on the surface. |
| Skyediamonds1985, Image # 35761 | 21 Mar 16 20:04 |
Okay, bear with me on this. I cut a small section of (now) stiffened thread that was painted silver through a hole that was drilled apprx twice the diameter of the thread. Any tighter, I would need a needle to help guide it through. I'm using the stiffness of the thread as its own needle point. |
| Build Thread, Page :
<< 20 21 22 23 24 [ 25 ] 26 27 28 29 30 >> (851 posts, 20 posts per page, 43 pages in total)
|
[ < Prev ] [ Next > ] |
