| Build Thread, Page :
<< 25 26 27 28 29 [ 30 ] 31 32 33 34 35 >> (851 posts, 20 posts per page, 43 pages in total)
|
[ < Prev ] [ Next > ] |
| rayl, Comment for image # 35605 | 16 Feb 16 12:33 |
| Nice indeed. The rigging on the "Stringbag' must have been a treat-:) |
| poppy, Comment for image # 35605 | 16 Feb 16 06:17 |
| That is a beautiful Swordfish!!!! |
| David Duckett, Comment for image # 35605 | 16 Feb 16 03:28 |
| That's very nice. Must have taken years to build. |
| Skyediamonds1985, Image # 35607 | 15 Feb 16 21:04 |
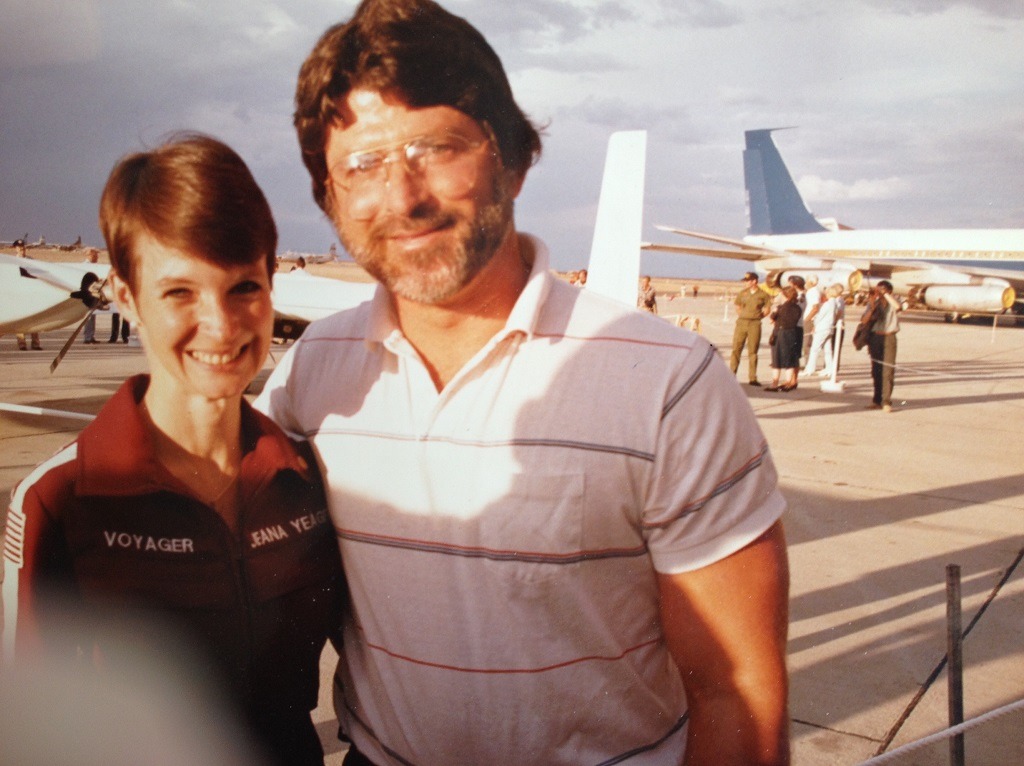
Sky and Jeanna Yeager just days after the epic flight around the world. Long story behind this, but like everyone says, one picture is worth a thousand words. |
| Skyediamonds1985, Image # 35606 | 15 Feb 16 21:02 |
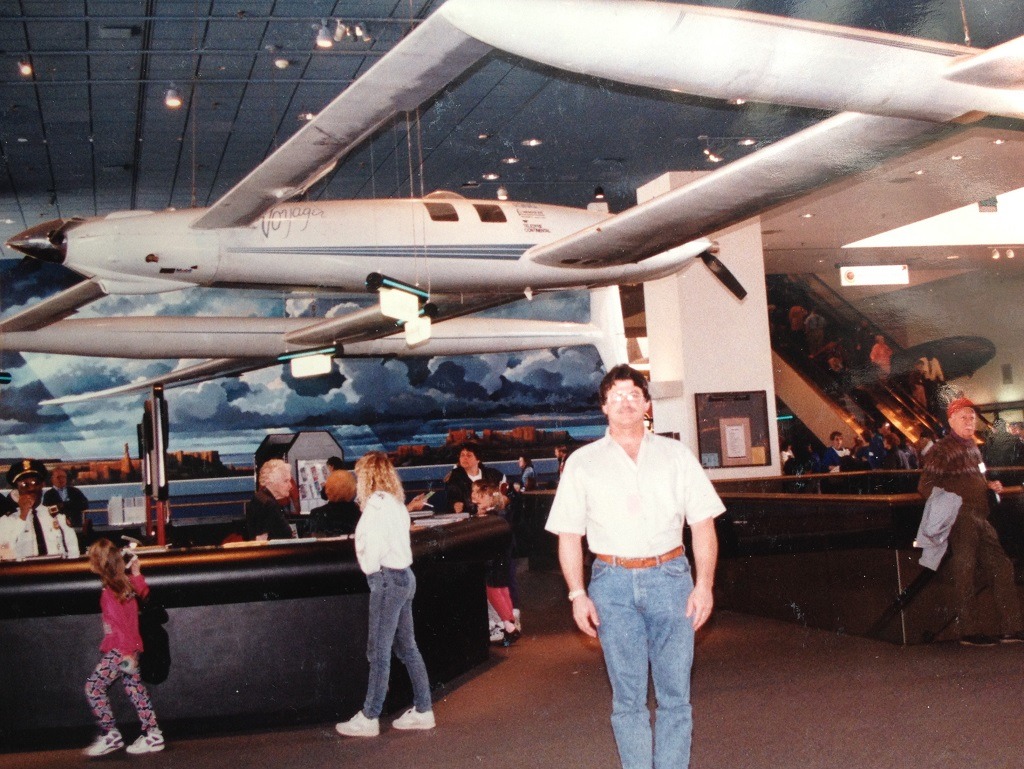
Sky standing under Voyager.. Never thought I'd be standing here after that epic flight. Next photo shows why |
| Skyediamonds1985, Comment for image # 35605 | 15 Feb 16 20:43 |
| I take that back. My son was about ooohh fourish or so. Made my own British roundels from mailing labels. Just painted on the glued surface. Cut out a circle, in this case, blue or red. Then dip in water. The glue dissolves and the paint slides off becoming the decal. Applied the same techniques to the large letter "B" on the fuselage with very good success. |
| Skyediamonds1985, Image # 35605 | 15 Feb 16 20:20 |
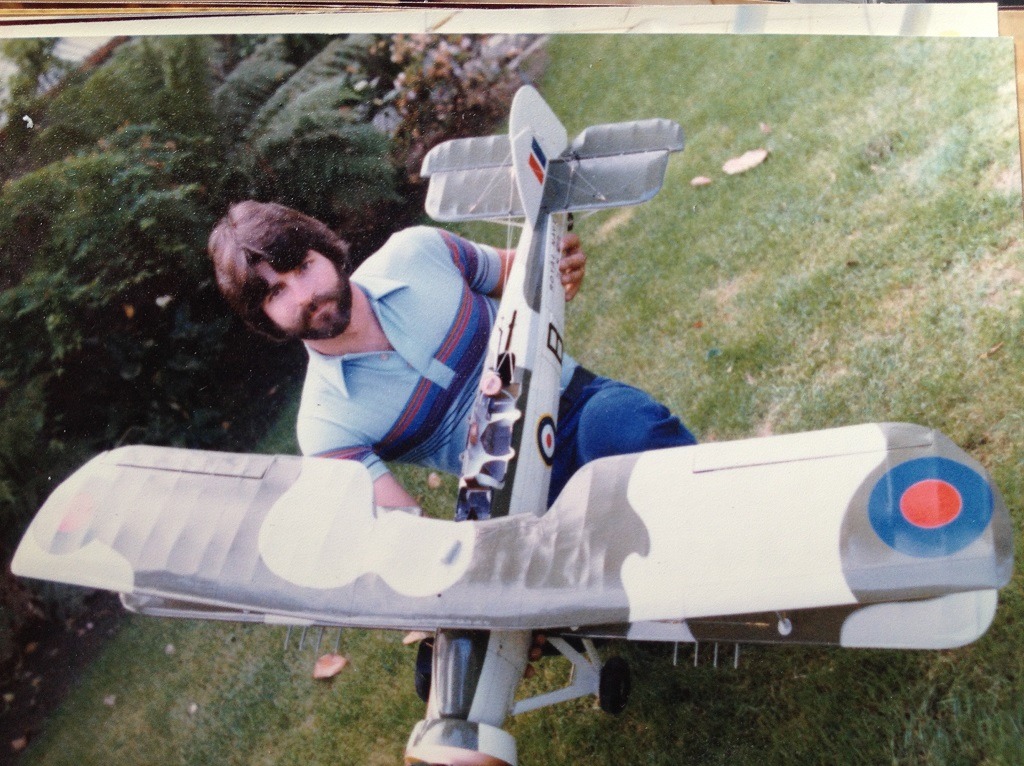
Sky (Gary) when he was ever sooo young. Just finished the Swordfish model. My son was still an egg at the time. |
| Skyediamonds1985, Image # 35599 | 14 Feb 16 22:48 |
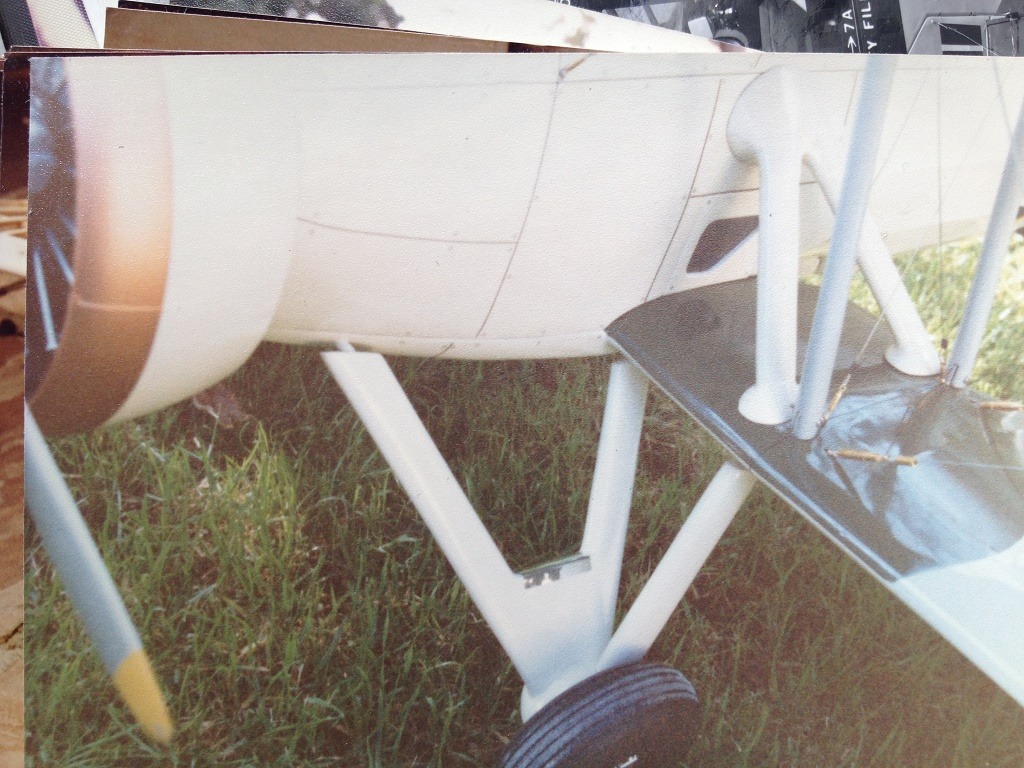
Close up of some of the detailing. The thin lines were from 1/64th chart tape and the "O" hatches were from the letter "O's" from rub off transfer letters. |
| Skyediamonds1985, Image # 35598 | 14 Feb 16 22:47 |

For those who wish to stroll down memories lane, this model of the Swordfish was built in 1984. Had a 5 foot wingspan and scratched out fro Bob Holman's Plans |
| Skyediamonds1985, Image # 35558 | 08 Feb 16 19:49 |
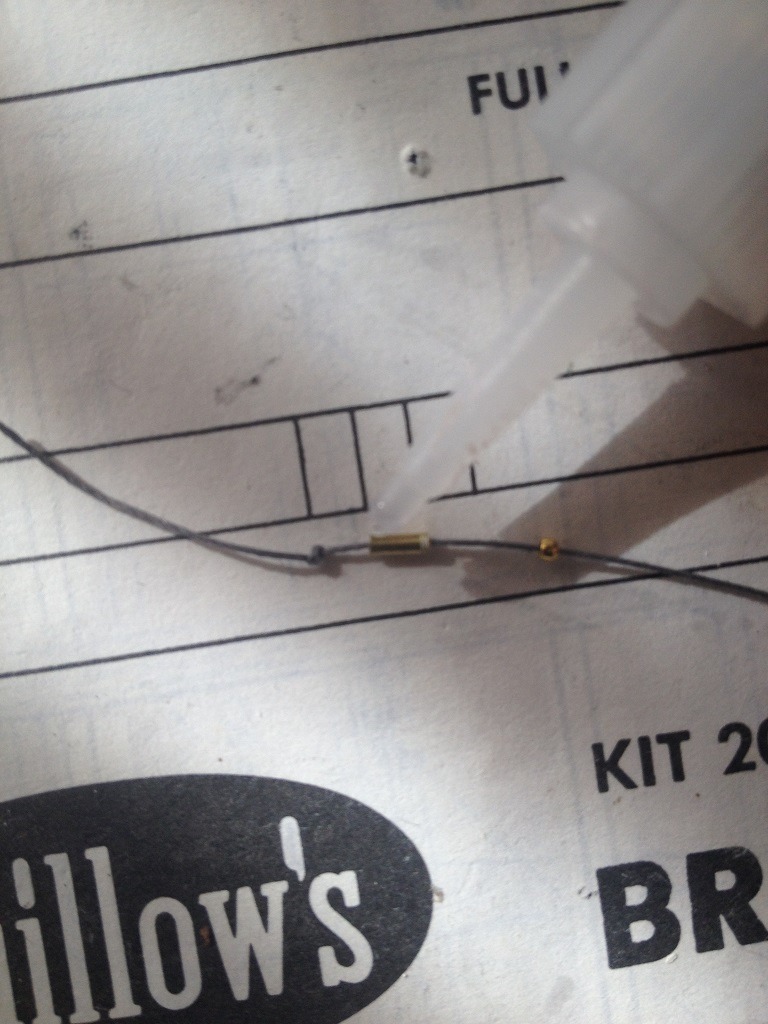
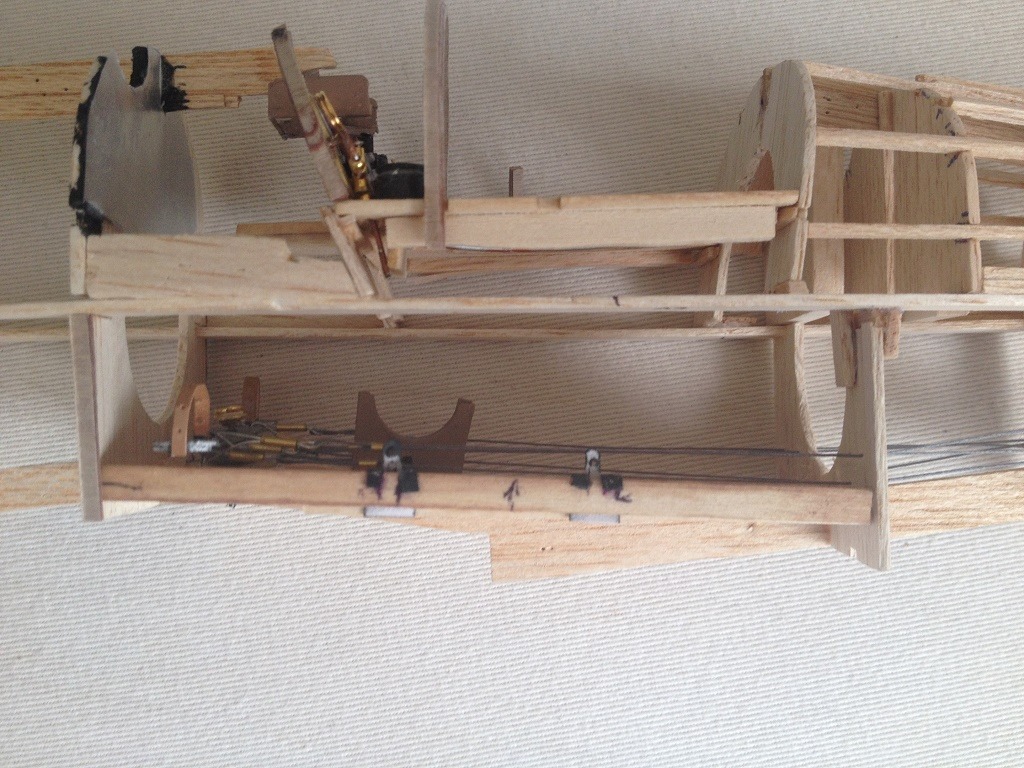
Here's a close up of what I used for simulating the rigging and turnbuckles for the cockpit interior. I tied a small knot at the end of silver-colored thread being used as wiring, so as to keep the small tubing from slipping off. I then glued a tiny brass bread to the end of my (now) turnbuckle. Cut off the excess thread, leave the knot in place and glue the knot onto the framework, making sure that it lines up with the direction of the wiring. |
| rayl, Comment for image # 35557 | 08 Feb 16 15:07 |
| Looking very nice Sky. Lots of activity going on in there. |
| Skyediamonds1985, Comment for image # 35557 | 08 Feb 16 14:01 |
| I feel that the pilot's seat is too low, but following the inboard profile of the scale drawings. Must have a long torso... |
| Skyediamonds1985, Image # 35557 | 08 Feb 16 13:59 |
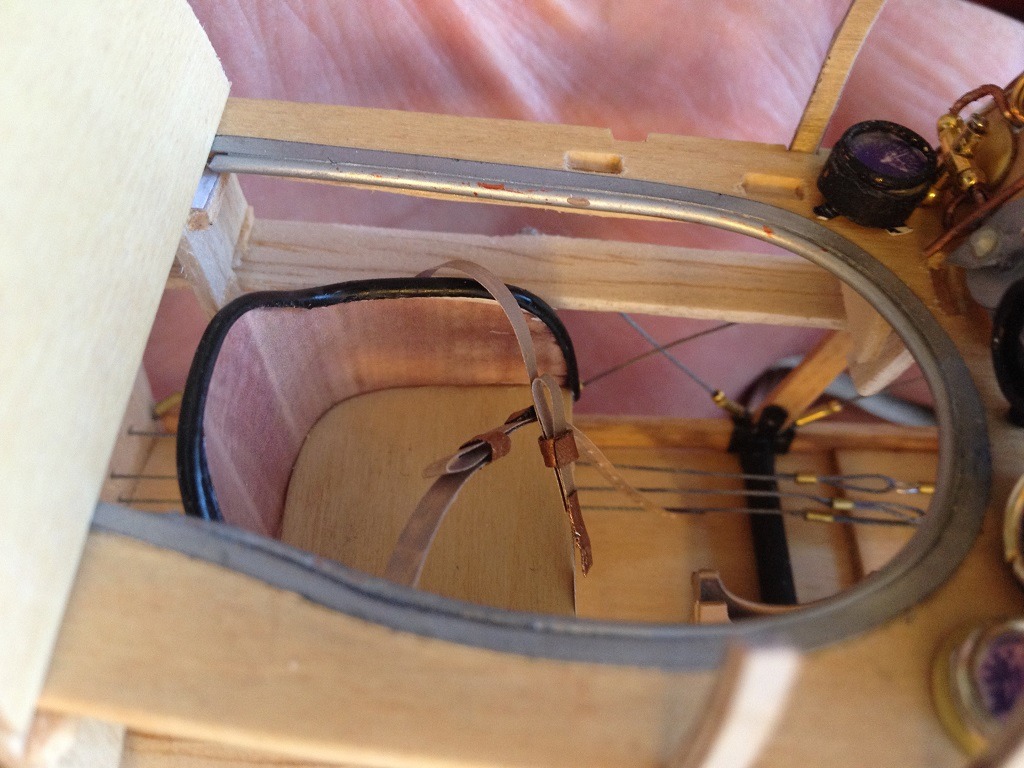
Pilot's seat installed. |
| Skyediamonds1985, Image # 35555 | 08 Feb 16 13:32 |
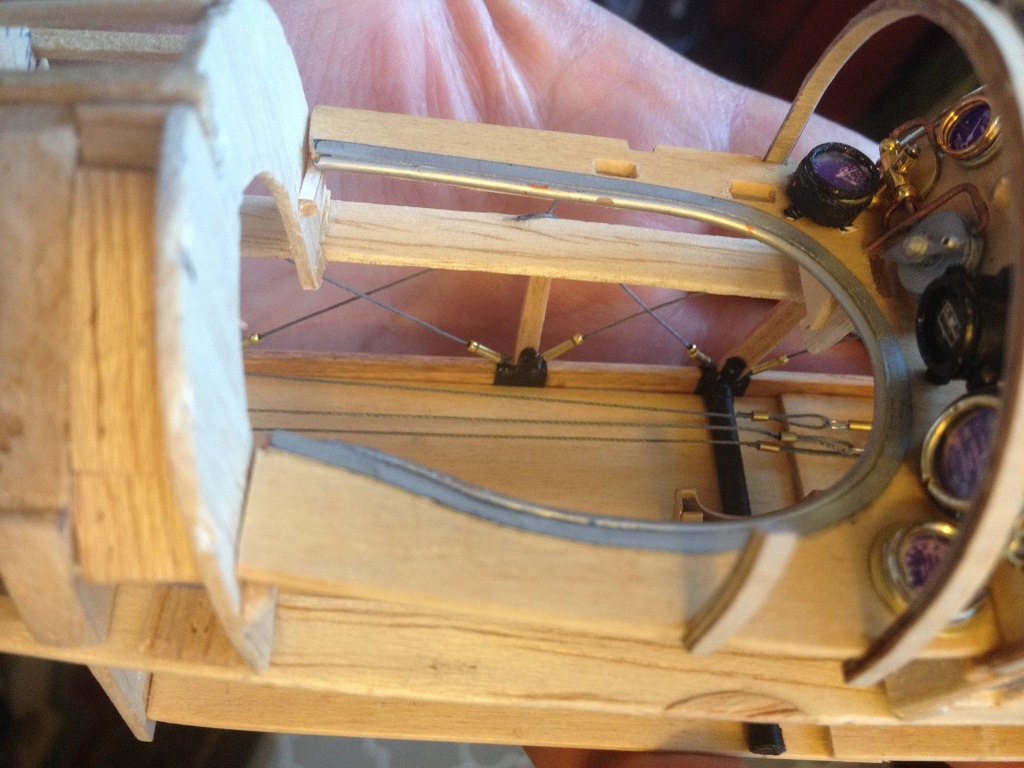
Vertical supports were wood stained, glued into place. Turnbuckles were made from small brass tubing cut to size and a small bead was added to top. All glued into place. |
| Skyediamonds1985, Image # 35554 | 08 Feb 16 13:23 |
|
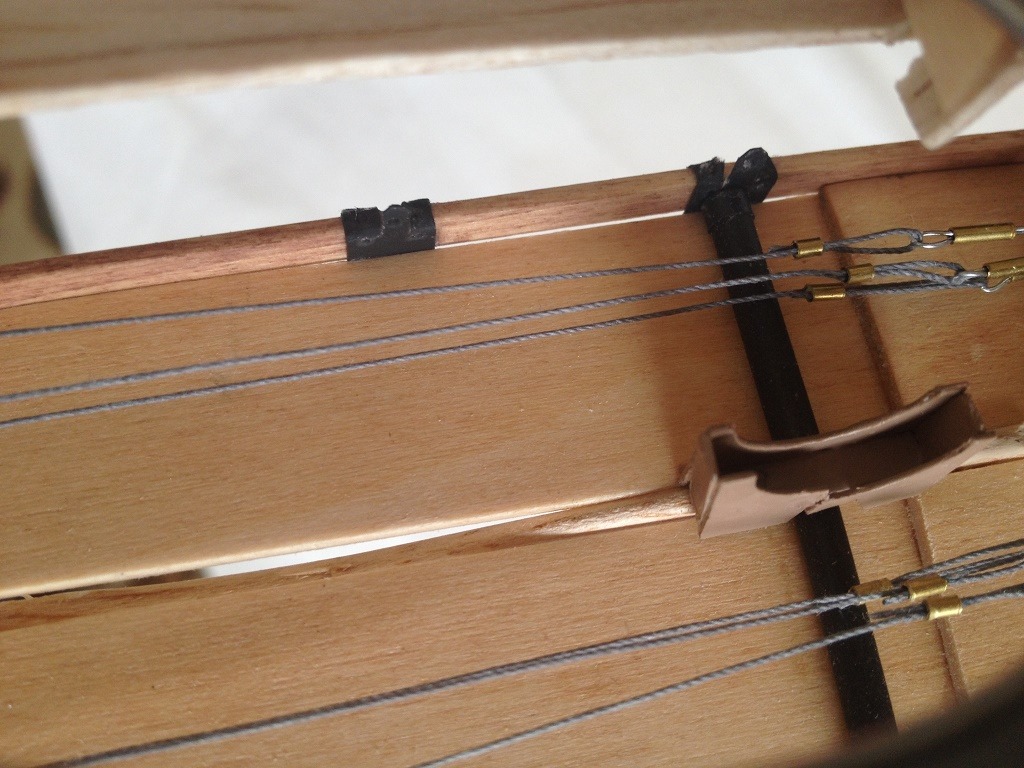
| Skyediamonds1985, Image # 35553 | 08 Feb 16 13:23 |
The horizontal wooden support and the "brackets" glued in place. Not paying attention to the outside which no one will see. In deference to Don D, yep, everyone on this site will know!.. LoL |
| Skyediamonds1985, Image # 35552 | 08 Feb 16 13:20 |
|
| Skyediamonds1985, Image # 35551 | 08 Feb 16 13:20 |

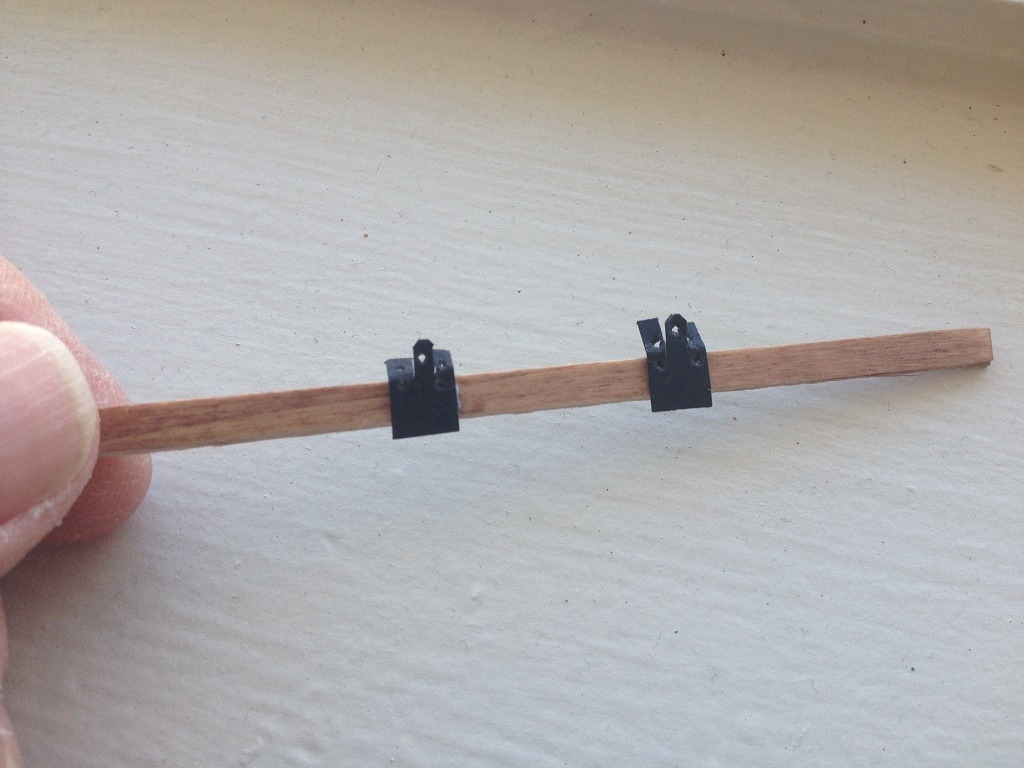
Then it was glued such that the painted glossy side was facing in towards the cockpit interior. I folded the edges on either side and left the center piece alone to simulate attachment to the vertical support |
| Skyediamonds1985, Image # 35550 | 08 Feb 16 13:18 |
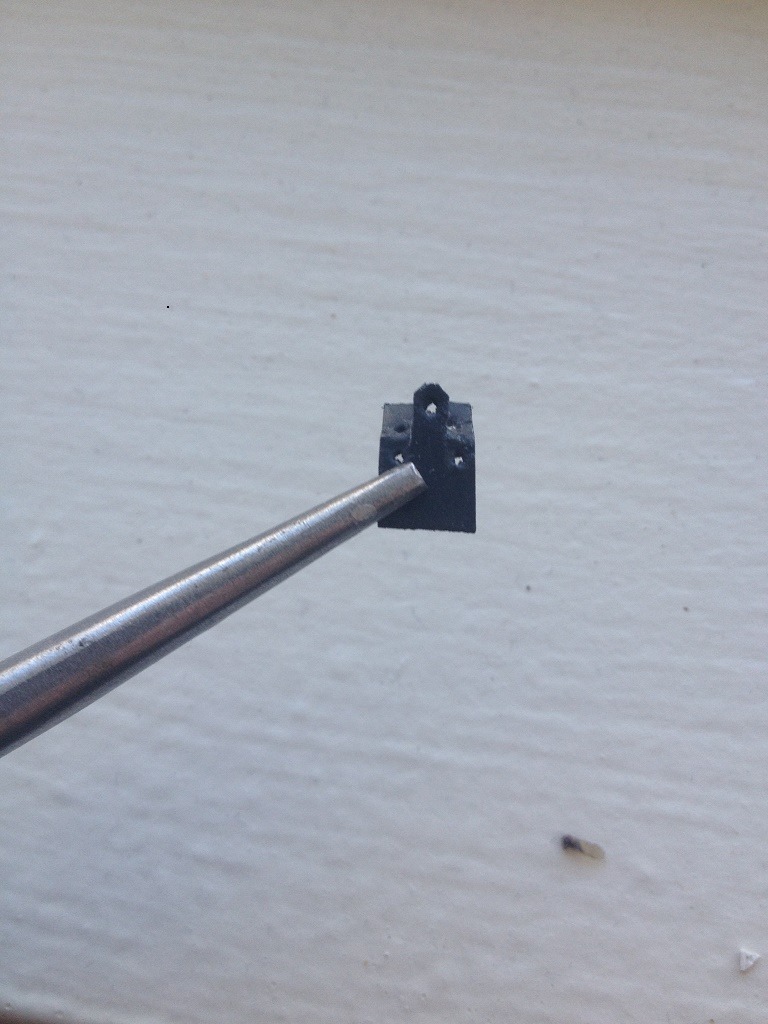
The paper was cut along the sides bracketing the vertical support. Punched a few "lightening" holes, and painted overall flat black. I made sure to paint along the edges to avoid the white paper showing through. |
| Skyediamonds1985, Image # 35549 | 08 Feb 16 13:14 |
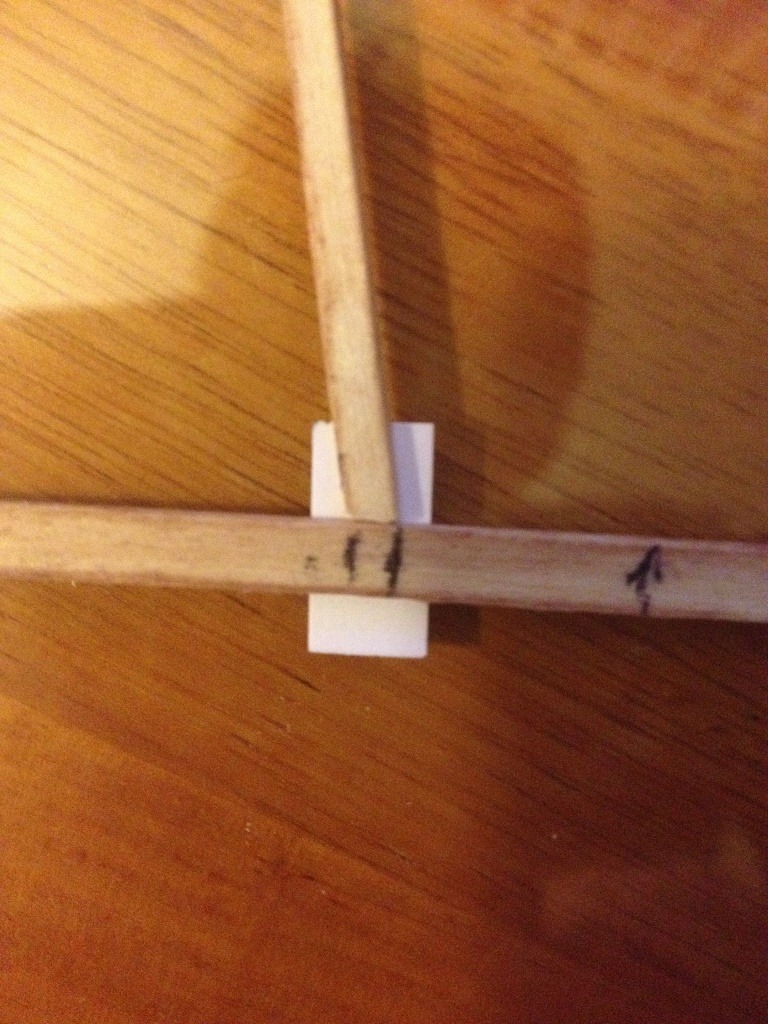
To simulate the brackets and rigging inside the cockpit, I first cut some pieces of paper that is also glossy on one side. Then matched it up with my intended cockpit wooden supports. |
| Build Thread, Page :
<< 25 26 27 28 29 [ 30 ] 31 32 33 34 35 >> (851 posts, 20 posts per page, 43 pages in total)
|
[ < Prev ] [ Next > ] |
