| Build Thread, Page :
<< 21 22 23 24 25 [ 26 ] 27 28 29 30 31 >> (851 posts, 20 posts per page, 43 pages in total)
|
[ < Prev ] [ Next > ] |
| Skyediamonds1985, Image # 35760 | 21 Mar 16 19:53 |
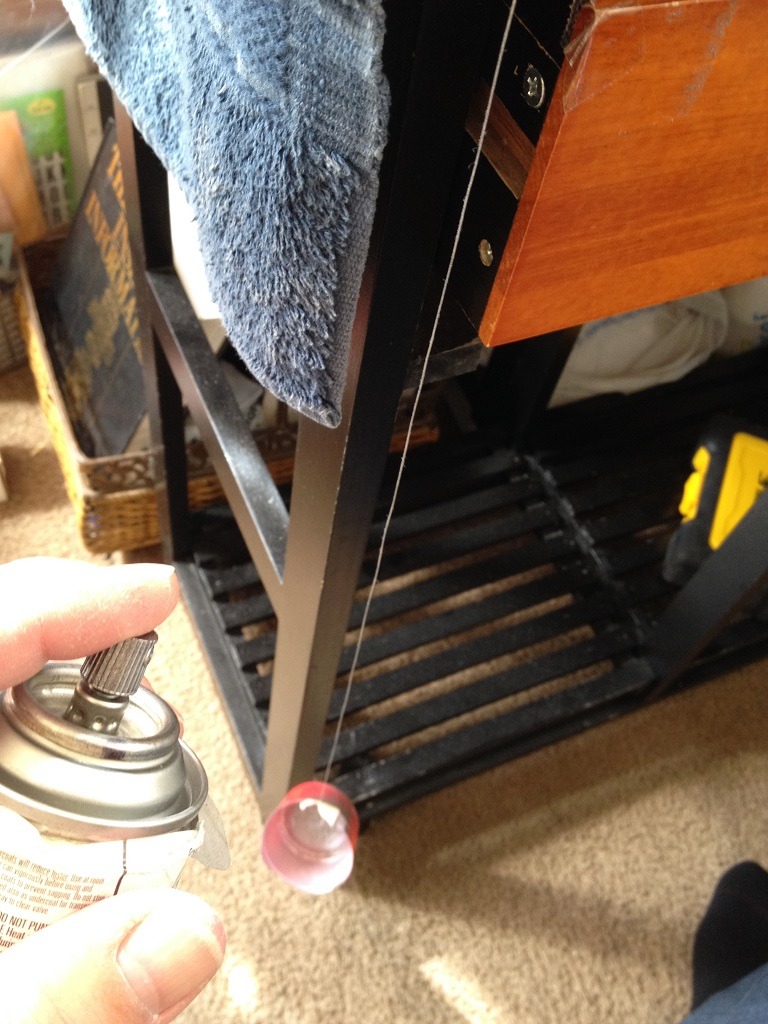
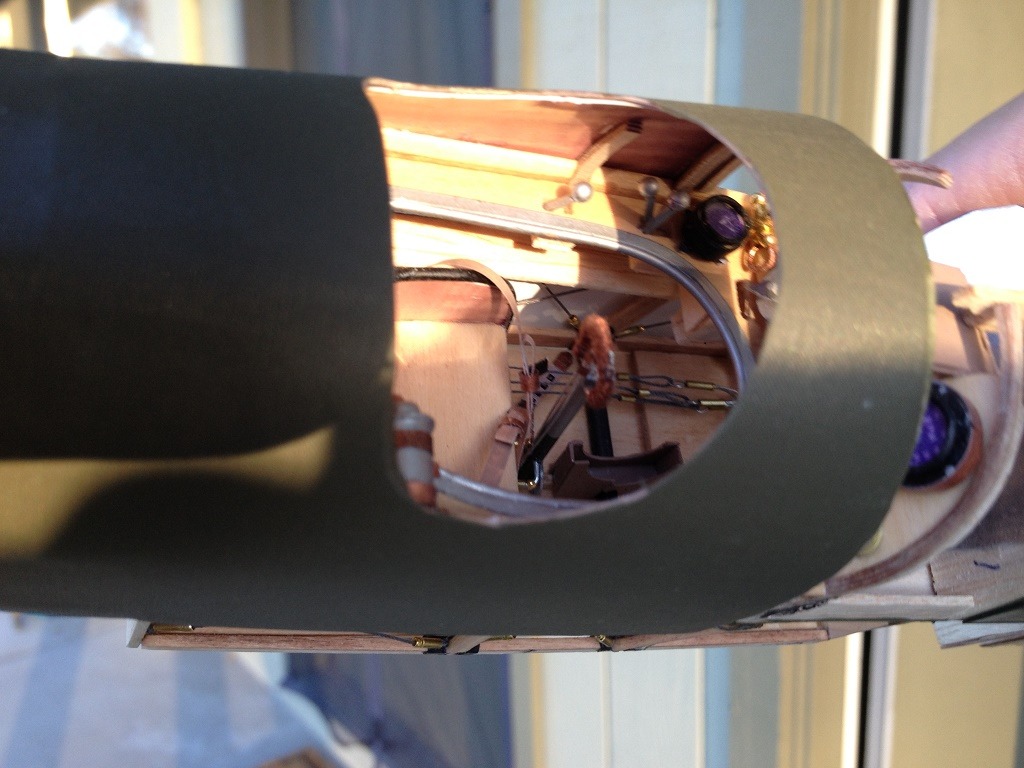
In stitching the fuselage sides, I decided to come up with an alternate route. This picture was posed to show how I added a small weight at the end of the thread, and painted the thread with spray paint. This does two things: it stiffens the thread and gives it a threaded cable appearance. |
| Skyediamonds1985, Image # 35759 | 21 Mar 16 19:50 |
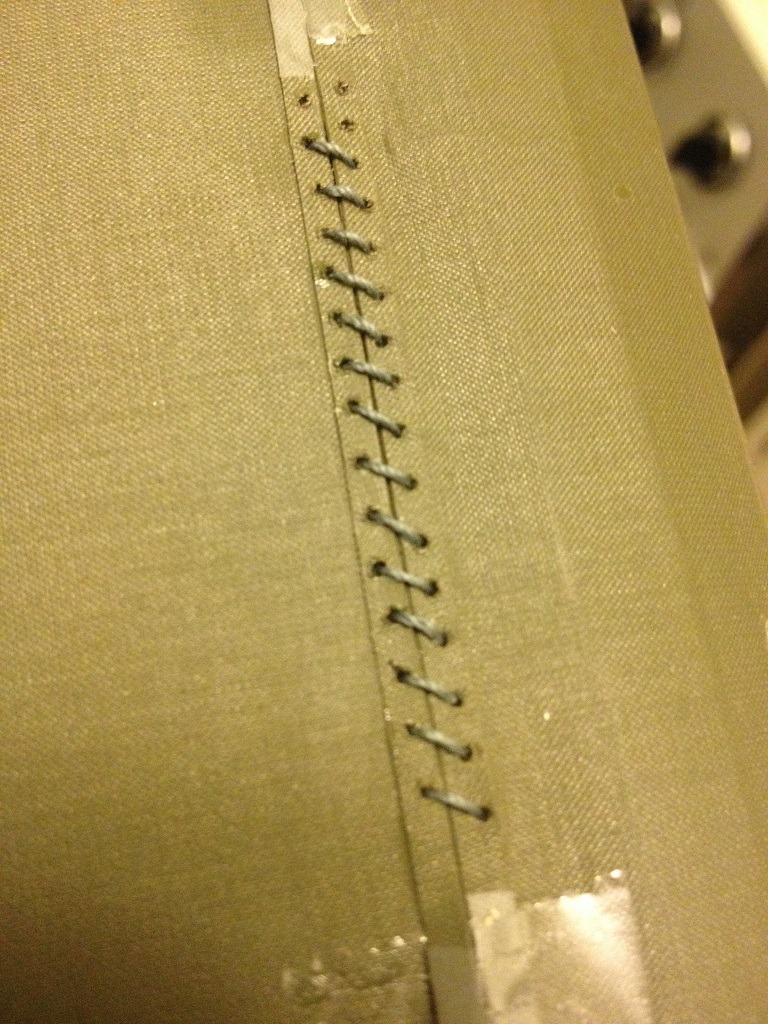
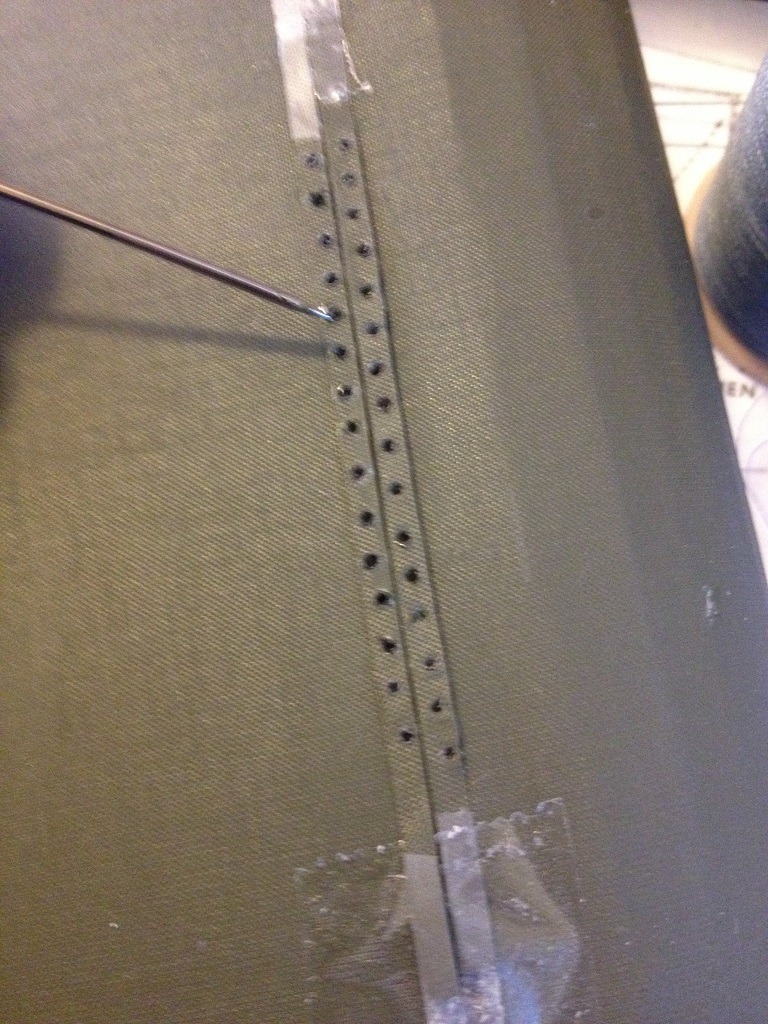
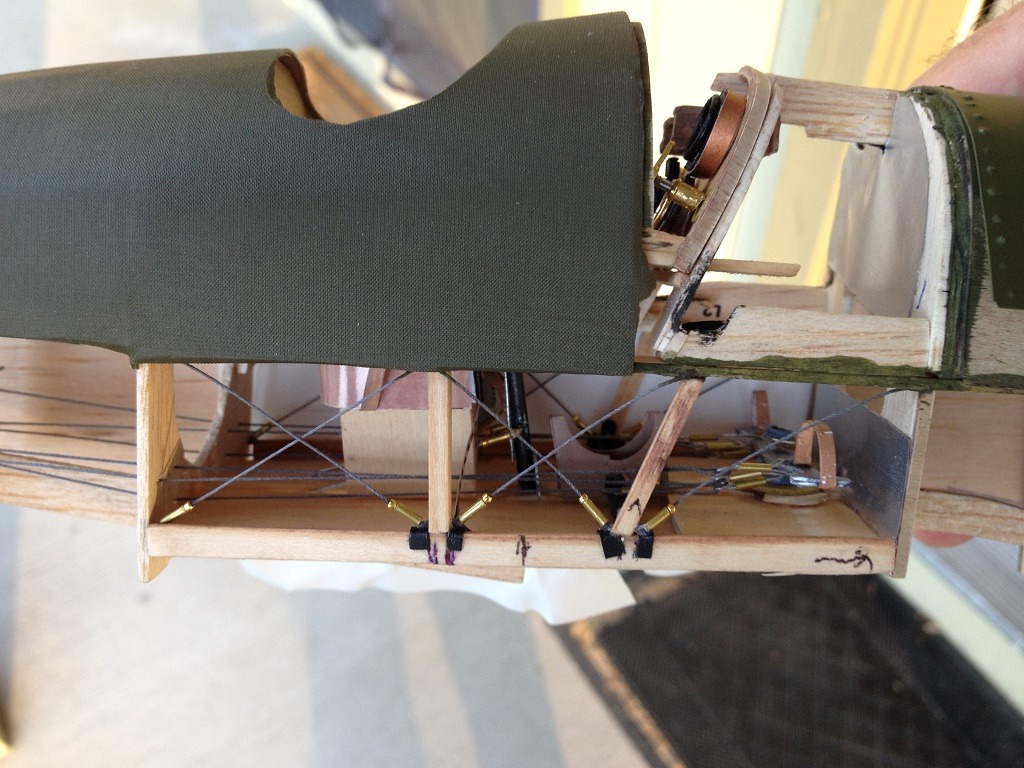
First drilled holes twice the size of the thread using a pin vice. Then used a curved needle and threaded the stitching. Worked great on "Proof of Concept" but quickly discovered that the fuselage was too narrow for this method. Compounding all of this was the floor in the cockpit area supporting the rudder pedals and control column prevented access to the sides for the needle/thread route. So... |
| Skyediamonds1985, Image # 35758 | 21 Mar 16 19:46 |
|
| Skyediamonds1985, Image # 35757 | 21 Mar 16 19:45 |
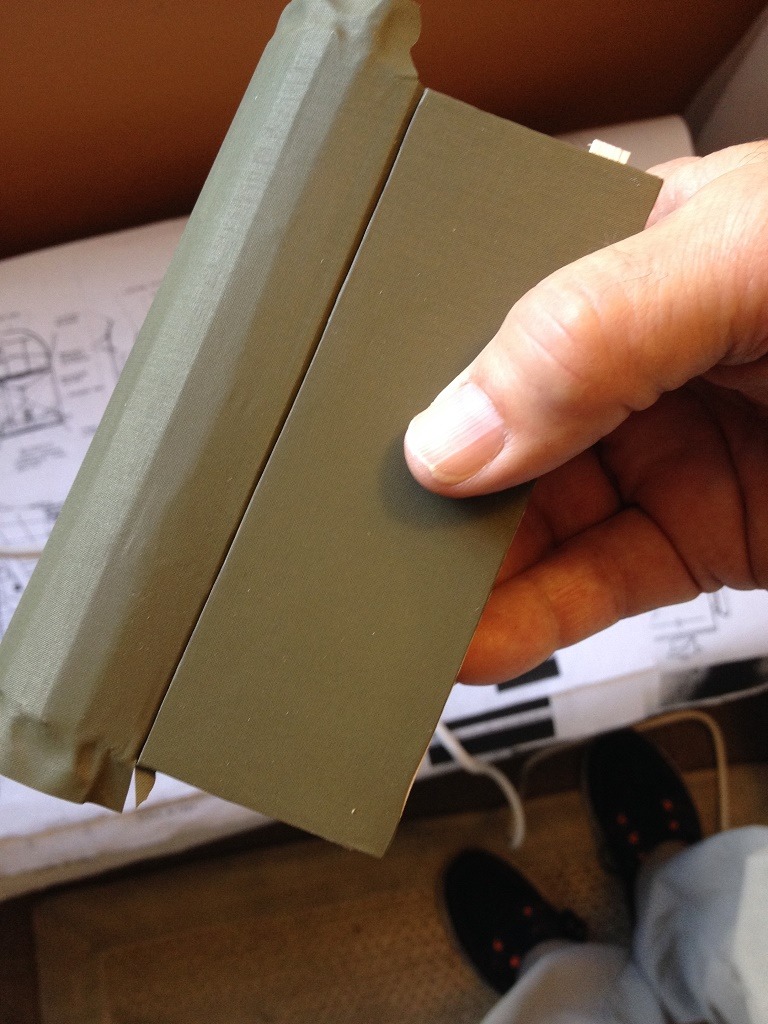
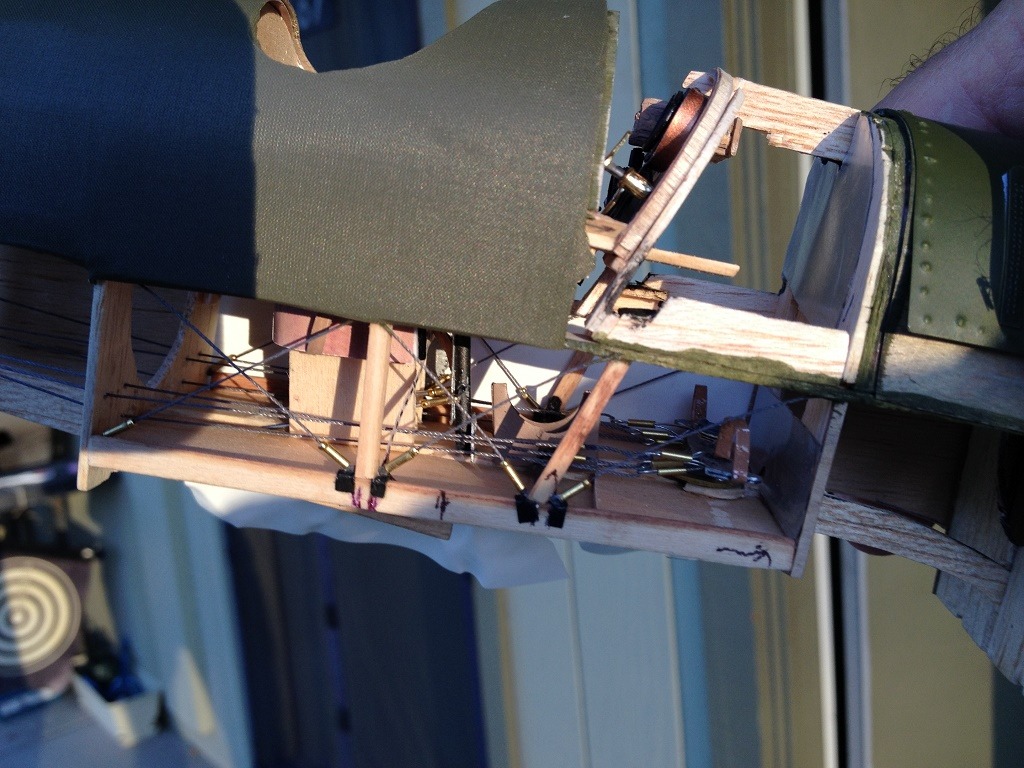
My previous postings of "Proof of Concept" of fuselage in trying to figure out the stitching. |
| Skyediamonds1985, Image # 35756 | 21 Mar 16 19:39 |
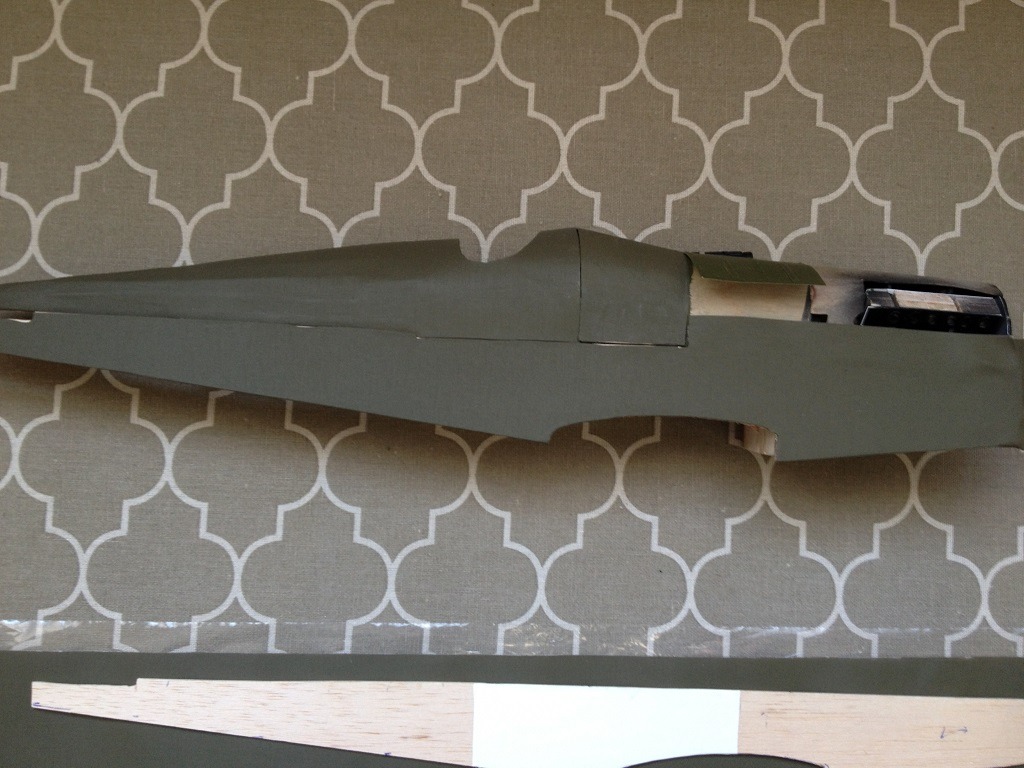
Glued the sides together. In this picture, its just positioned prior to gluing. |
| Skyediamonds1985, Image # 35755 | 21 Mar 16 19:38 |
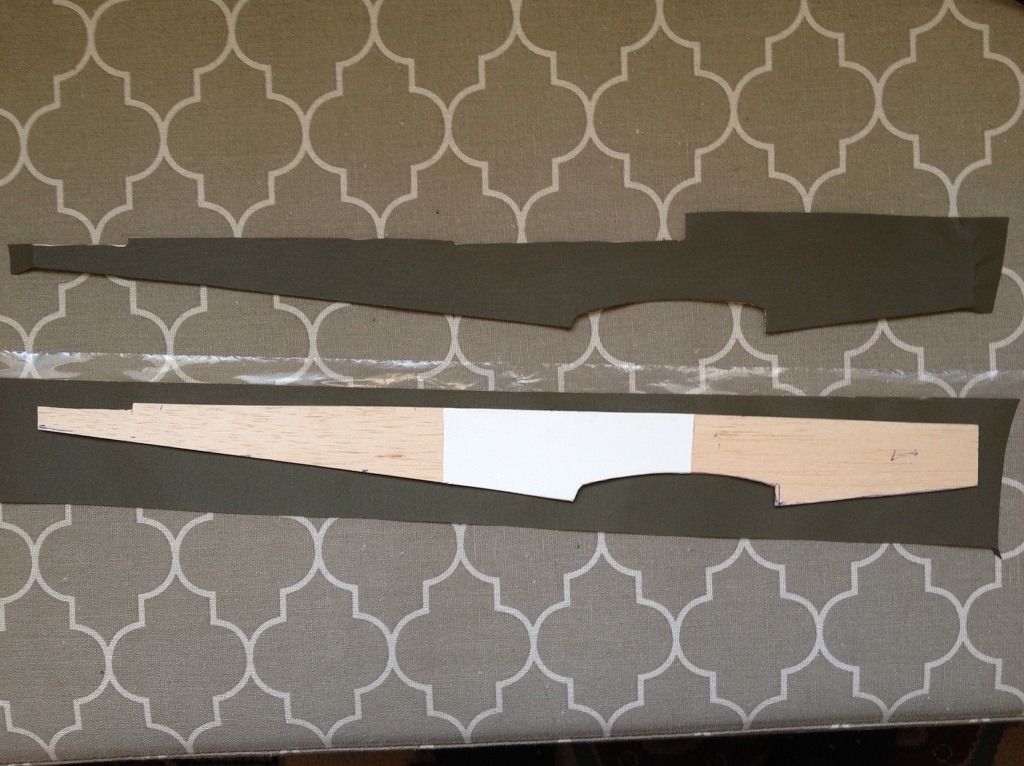
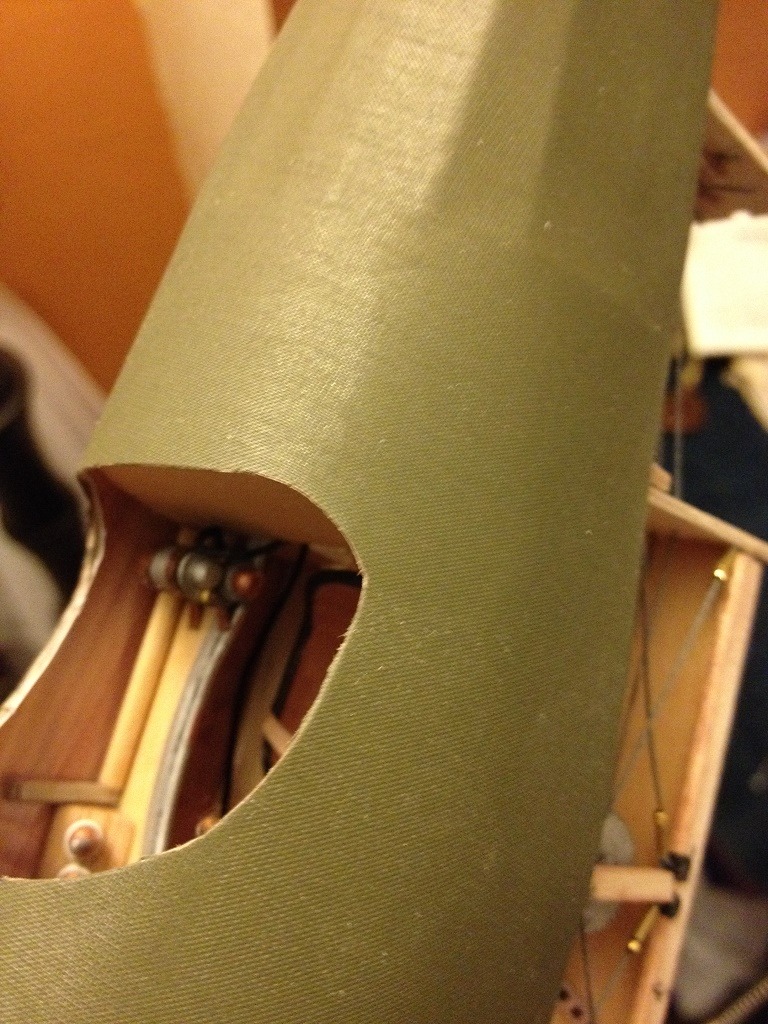
This is what the whole side looks like with a small section of white colored Solartex around the cockpit area |
| Don C, Comment for image # 35744 | 18 Mar 16 11:12 |
| Coming together very nicely. |
| Skyediamonds1985, Image # 35744 | 17 Mar 16 23:48 |
|
| Skyediamonds1985, Image # 35743 | 17 Mar 16 23:47 |
|
| Skyediamonds1985, Image # 35742 | 17 Mar 16 23:22 |
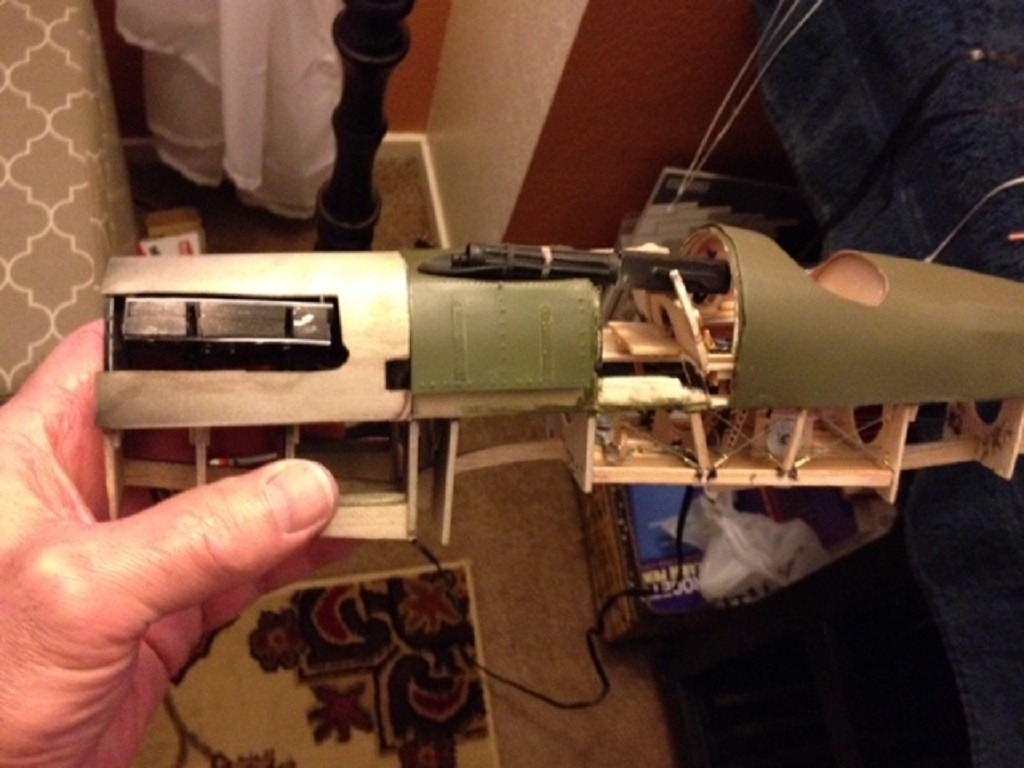
Getting a good idea of the wooden finish of the cockpit interior along with the white fabric near the bottom. Finally moving a bit faster. All o f those long hours of sub-assys and more sub-assys are coming together. |
| Skyediamonds1985, Image # 35741 | 17 Mar 16 23:19 |
|
| Skyediamonds1985, Image # 35740 | 17 Mar 16 23:19 |
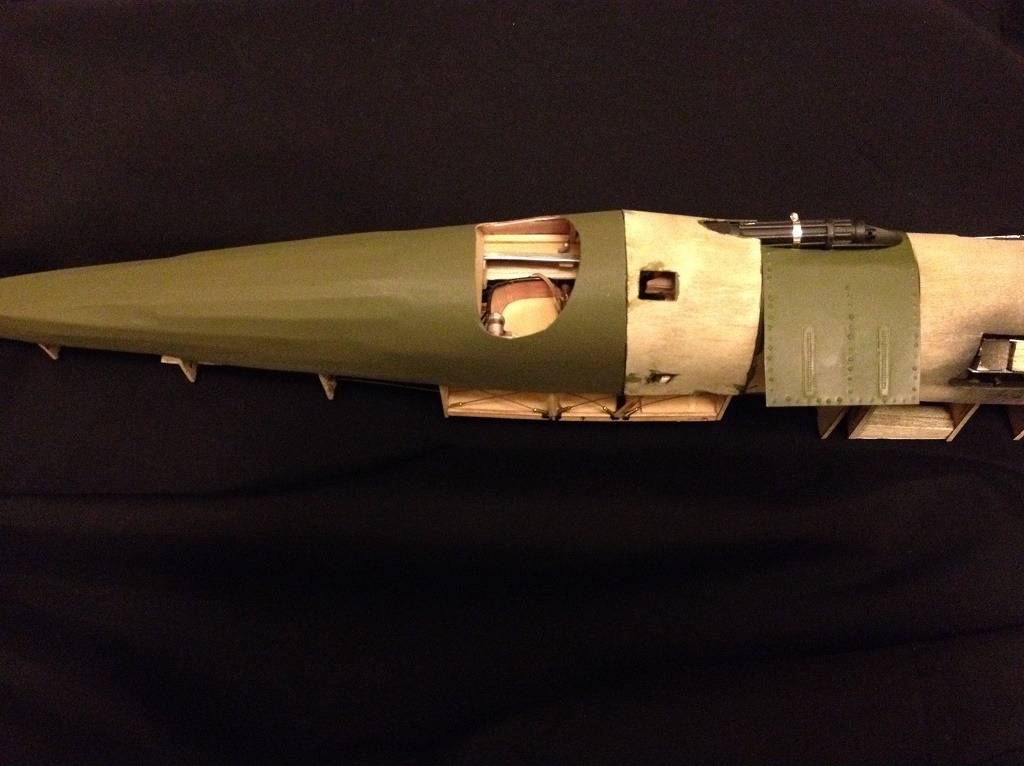
Added white Solartex to the insides of fuselage paneling around the cockpit area |
| Skyediamonds1985, Image # 35739 | 17 Mar 16 23:17 |
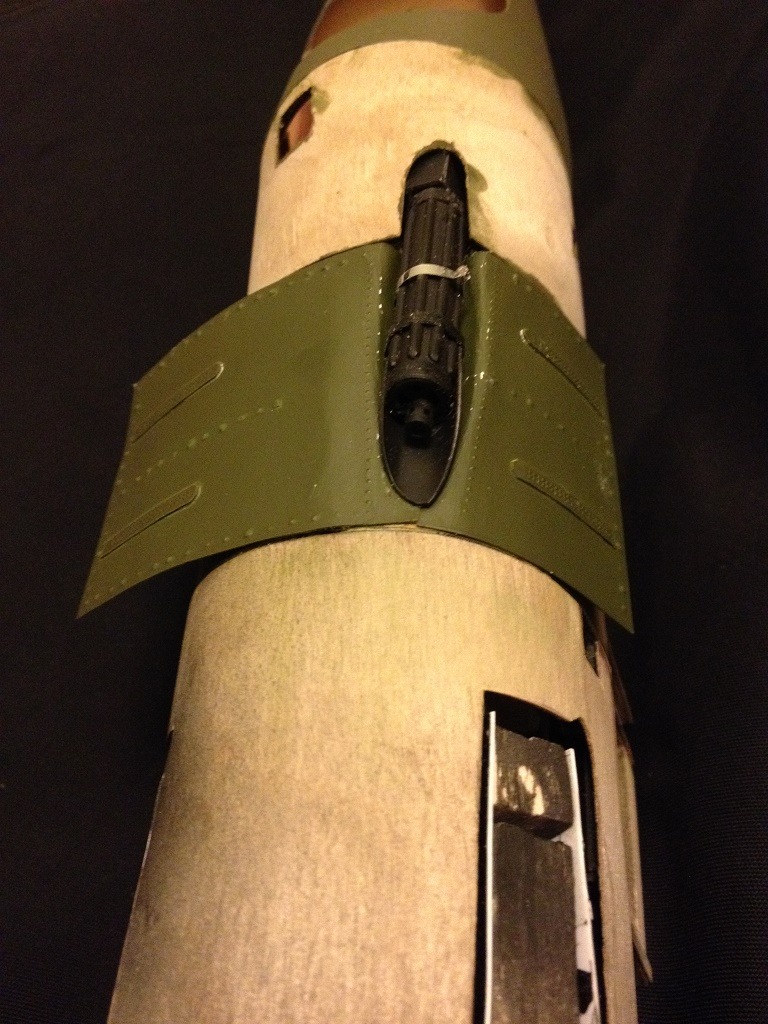
Adding the rivet detailed gun trough paneling and the additional ply paneling behind. All starting to come together |
| Skyediamonds1985, Image # 35738 | 17 Mar 16 23:12 |
Close up of the Solartex fine weave pattern |
| Skyediamonds1985, Image # 35737 | 17 Mar 16 23:11 |

Covering the rear of the fuselage with heat-srink Solartex with its fine fabric weave. My first time covering with heatr-shrink film on the fuselage. |
| Skyediamonds1985, Image # 35736 | 17 Mar 16 23:09 |

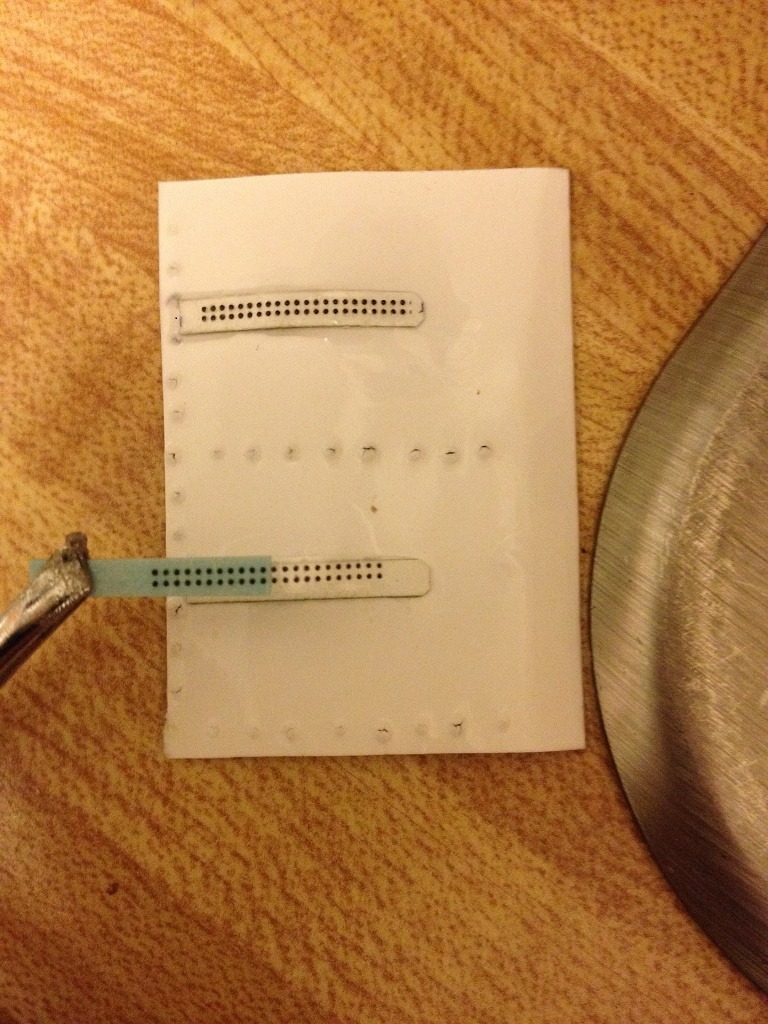
A dash of olive drab spray paint from Tamiyia and Voila' finished results. Notice how the rivet decals add dimentions |
| Skyediamonds1985, Image # 35735 | 17 Mar 16 23:07 |
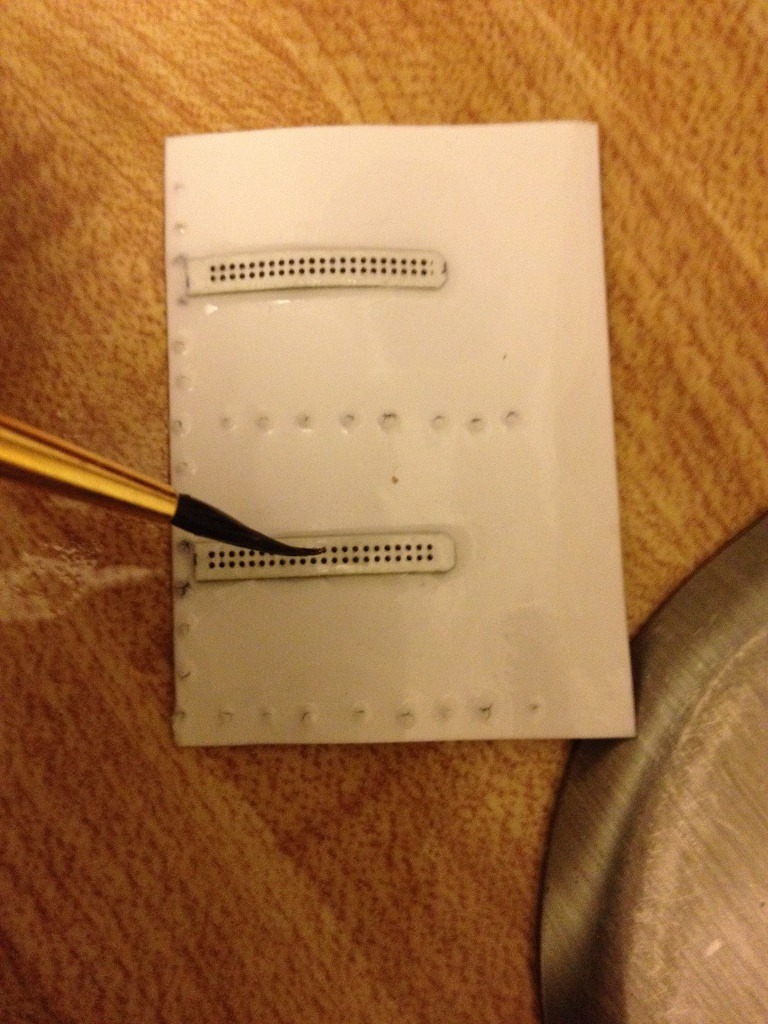
Brushing on, and over, some setting solutions |
| Skyediamonds1985, Image # 35734 | 17 Mar 16 23:06 |
Using MicroMark for finer details of rivets. They make decals that actually stick out. |
| Skyediamonds1985, Image # 35733 | 17 Mar 16 23:03 |
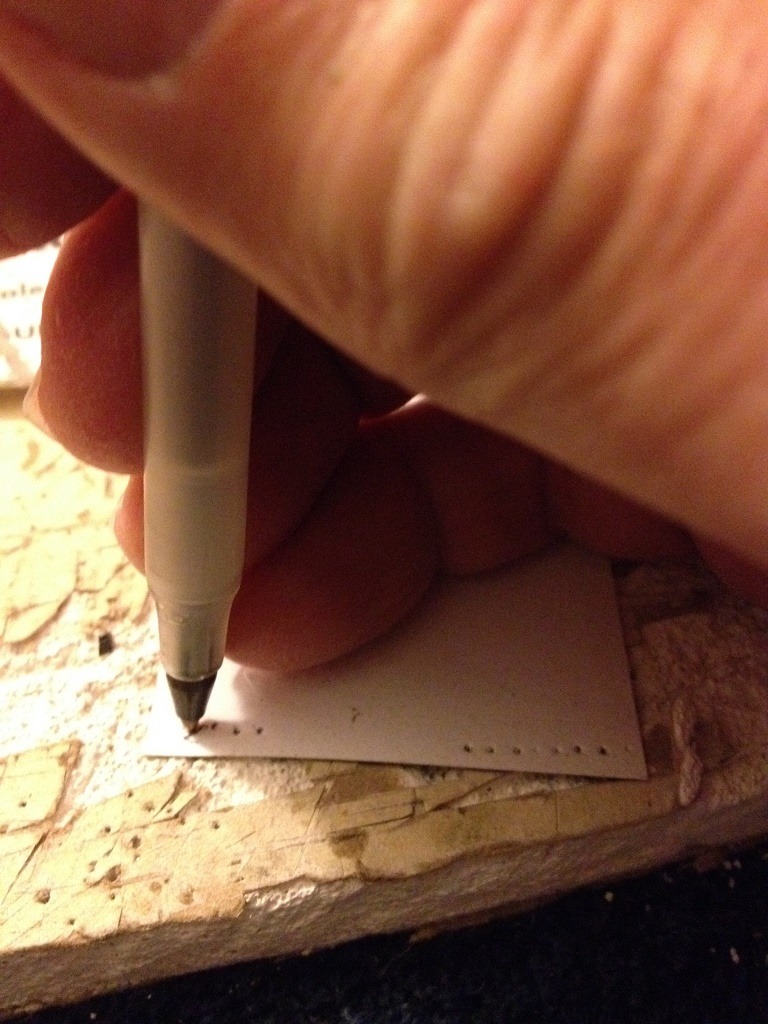
Using ball point pen on the back of glossy paper to punch out rivets for fuselage panel |
| poppy, Comment for image # 35673 | 16 Mar 16 09:42 |
| Lovely work!! |
| Build Thread, Page :
<< 21 22 23 24 25 [ 26 ] 27 28 29 30 31 >> (851 posts, 20 posts per page, 43 pages in total)
|
[ < Prev ] [ Next > ] |
