| Build Thread, Page :
<< 14 15 16 17 18 [ 19 ] 20 21 22 23 24 >> (851 posts, 20 posts per page, 43 pages in total)
|
[ < Prev ] [ Next > ] |
| Skyediamonds1985, Image # 36216 | 06 Jun 16 20:44 |
Now for the "latches" or whatever they are.... |
| Skyediamonds1985, Image # 36215 | 06 Jun 16 20:40 |
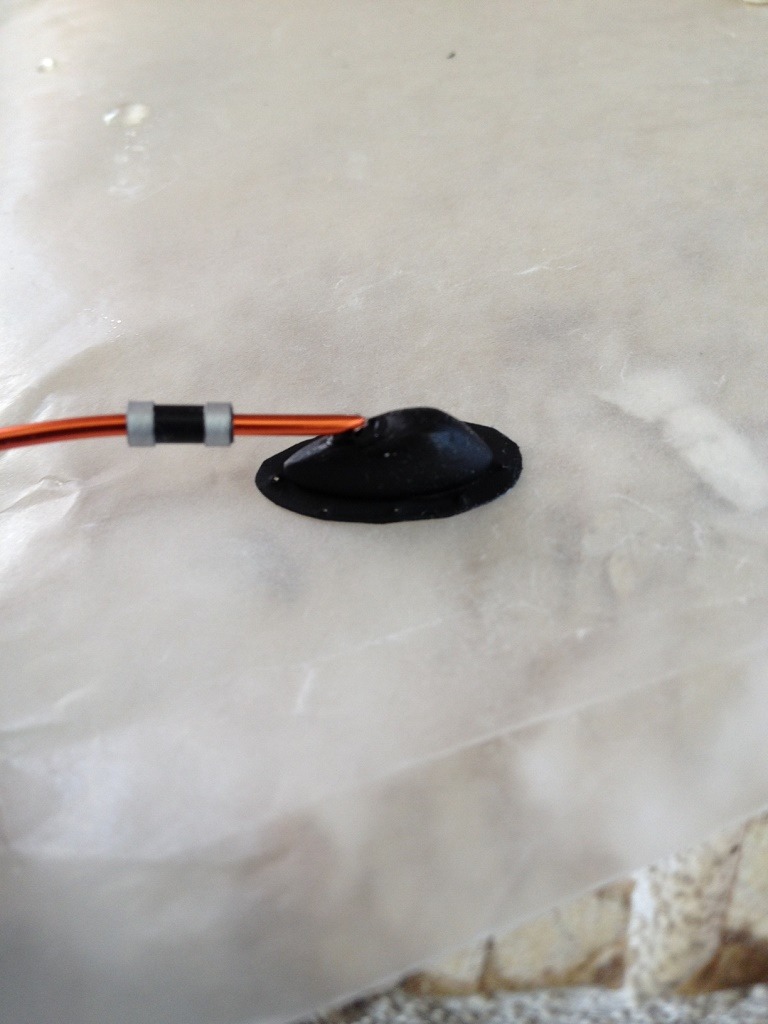
I chose the leave the "fuel lines" copper if for no other reason than to give it a little bit of "bling." |
| Skyediamonds1985, Image # 36214 | 06 Jun 16 20:39 |
|
| Skyediamonds1985, Image # 36213 | 06 Jun 16 20:38 |
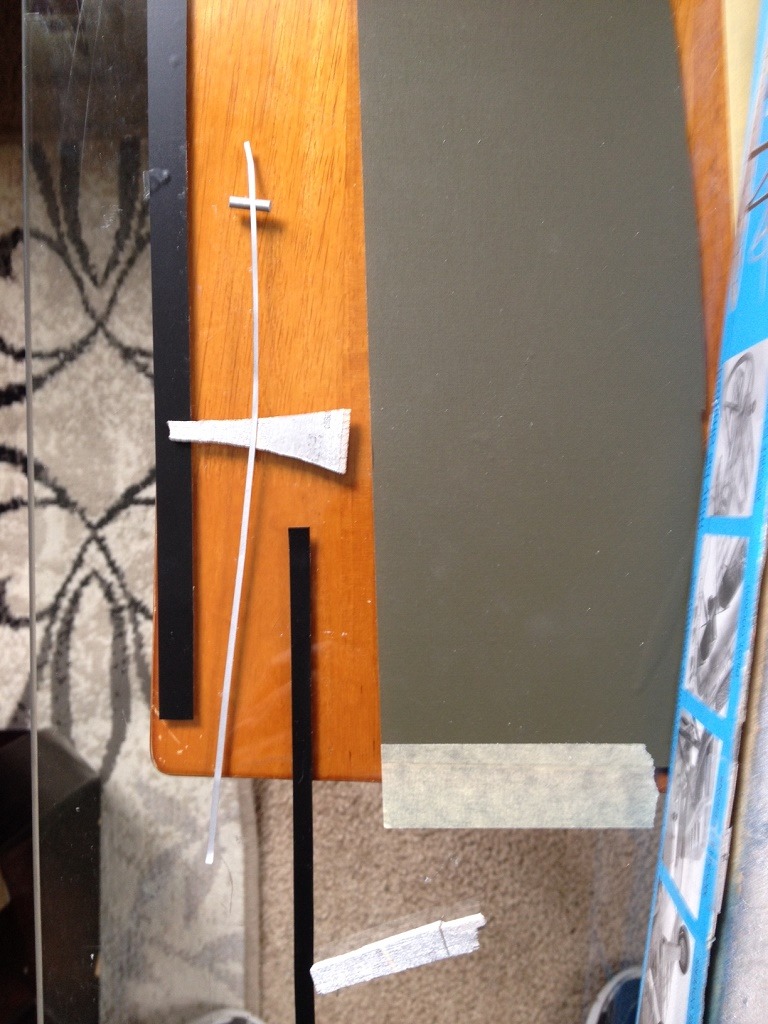
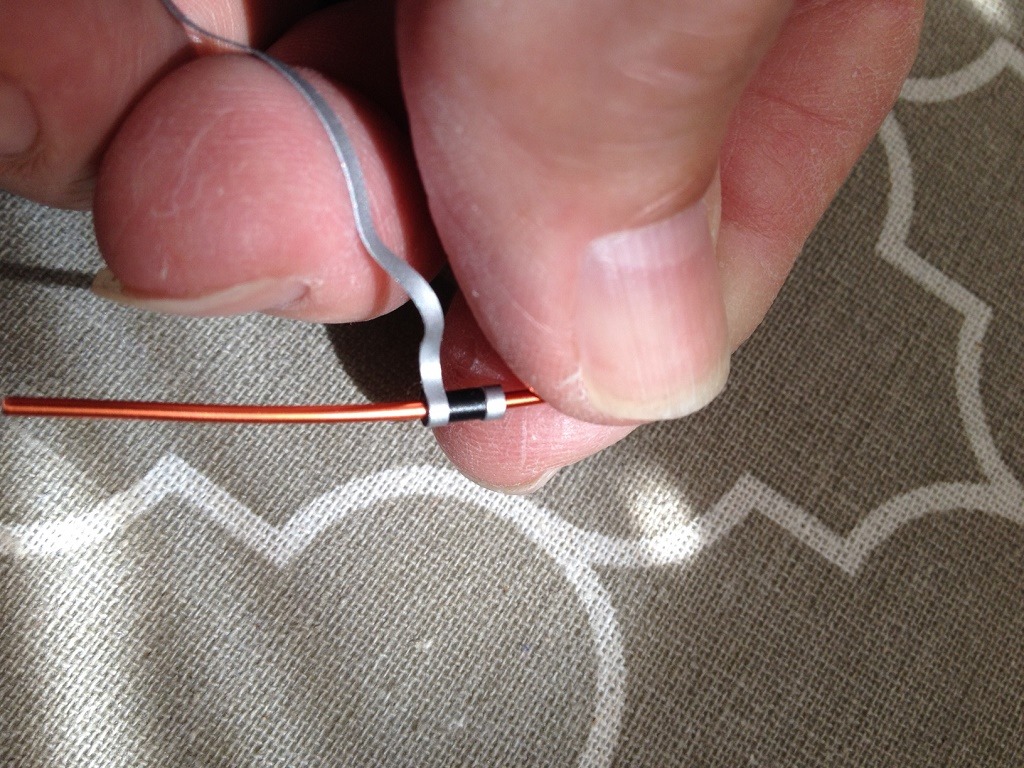
To duplicate the tie ends, I cut an ultra thin strip of electric tape and had it suspended while painting it silver to avoid any paint spreading around the tape if it was laid flat. |
| Skyediamonds1985, Image # 36212 | 06 Jun 16 20:36 |
Seeing how the fuel line appears to have some sort of rubber clamp with tie ends, I couldn't find a suitable tubular bead of the size I needed. So, decided to use black electric tape wrapped around until I felt the approx. diameter was met. |
| Skyediamonds1985, Image # 36211 | 06 Jun 16 20:33 |
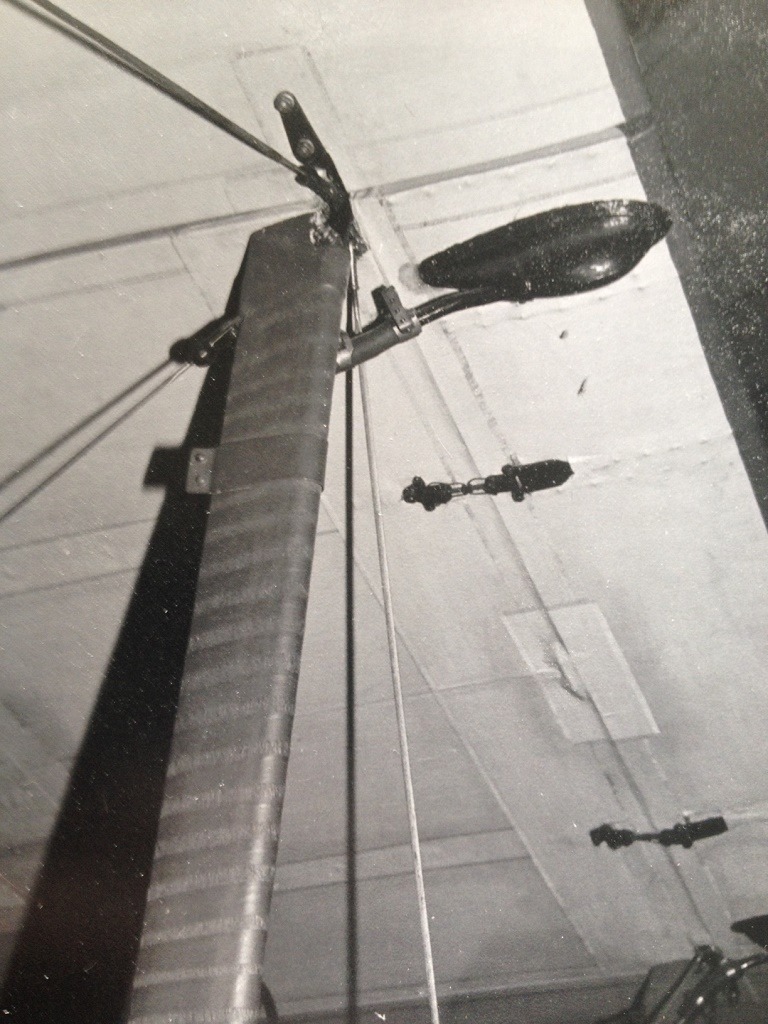
Balsa covered with Spackling compound. After sanding, I gave it a spray of primer and sanded. |
| Skyediamonds1985, Image # 36210 | 06 Jun 16 20:31 |

Going to duplicate the fuel sump and what I think are the latches. |
| Skyediamonds1985, Comment for image # 36155 | 27 May 16 19:10 |
| Yep. The tubes are actually 1/16" diameter brass tubes available at any hobby store or Hobby Lobby. I simply used an old A-Xcti blade and rolled it back and forth until I cut it through. To use a pair of dice (wire cutters) would pinch the ends. Then I used the smallest beads at the ends to 'cap" off the tubes to simulate the turnbuckles. Incidentally, this is my plan to use throughout the rigging of the model. I used regular silver-colored thread found in most stores such as Wal Mart or any fabric store. I thought about painting the thread a bright chrome silver, but since this is on the underside of the plane, I decided to skip this step. However, I plan on painting the threads the chrome silver for the control rigging. The stationary rigging for the wings will use half-round thin strips of EverGreen plastic, also painted silver. |
| biplane guy, Comment for image # 36155 | 27 May 16 18:49 |
| Are those the tubes and beads you were telling me about? What are they strung on? |
| Skyediamonds1985, Image # 36156 | 26 May 16 15:04 |
Now you know.... |
| Skyediamonds1985, Image # 36155 | 26 May 16 15:03 |
|
| Skyediamonds1985, Image # 36154 | 26 May 16 15:03 |
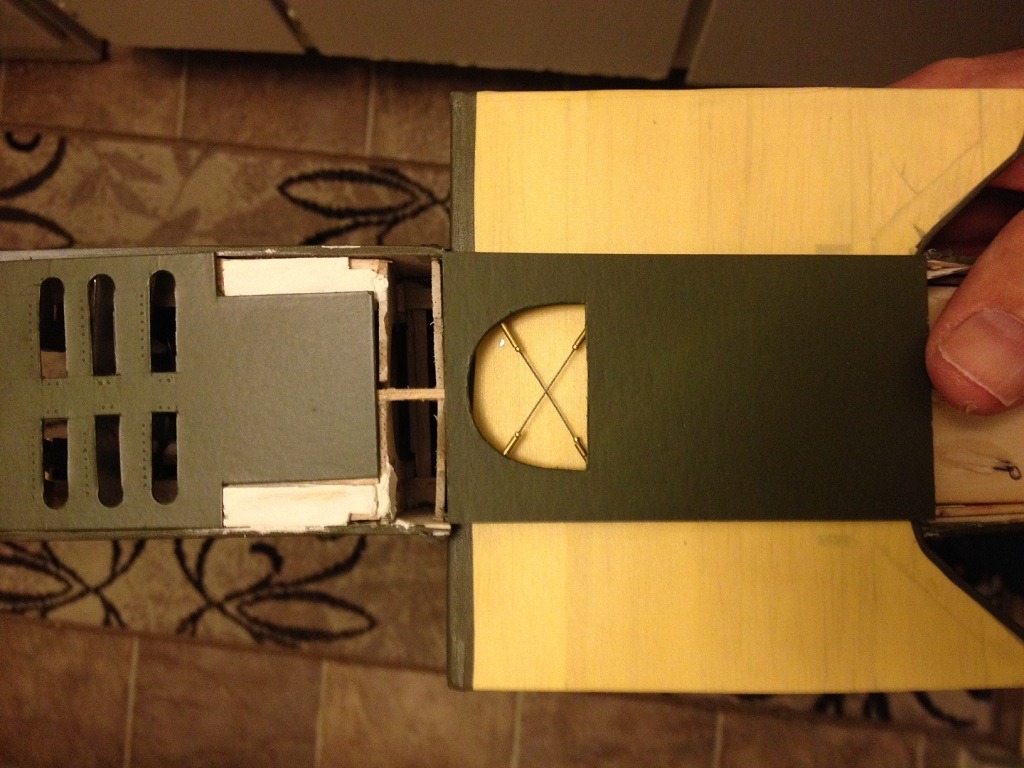
Forward underside near the nose is to the left of the picture, lower wing and center section being added |
| Skyediamonds1985, Image # 36153 | 26 May 16 15:01 |
|
| Skyediamonds1985, Image # 36152 | 26 May 16 15:00 |
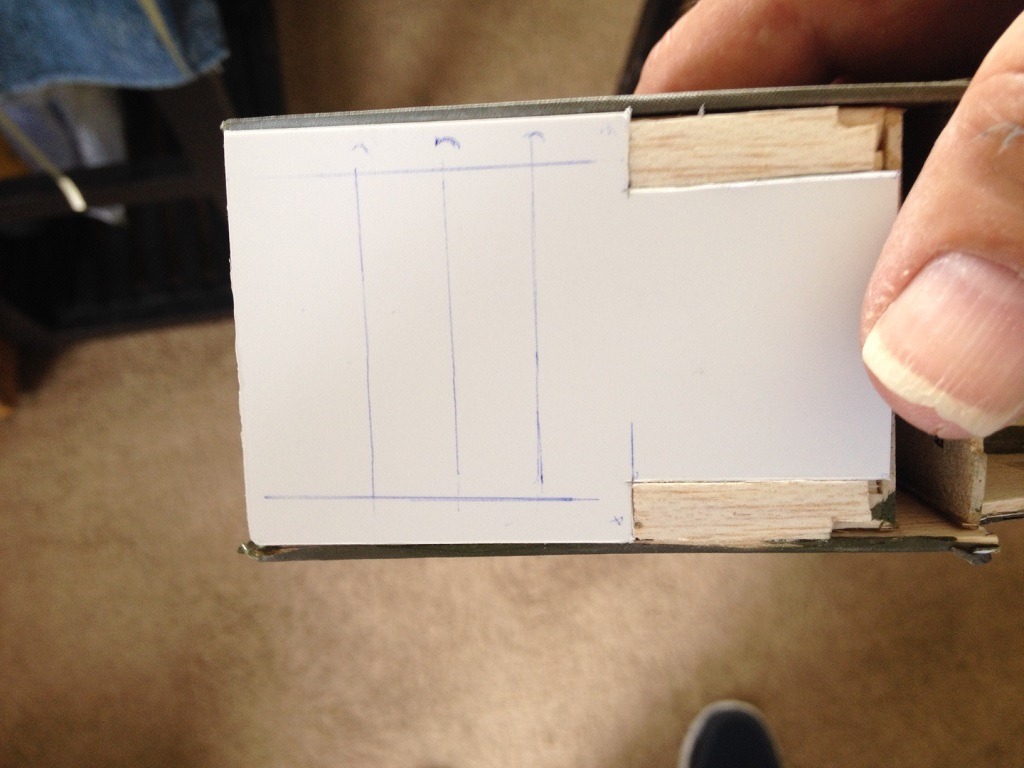
More credit cards to the rescue. |
| Skyediamonds1985, Image # 36151 | 26 May 16 14:59 |
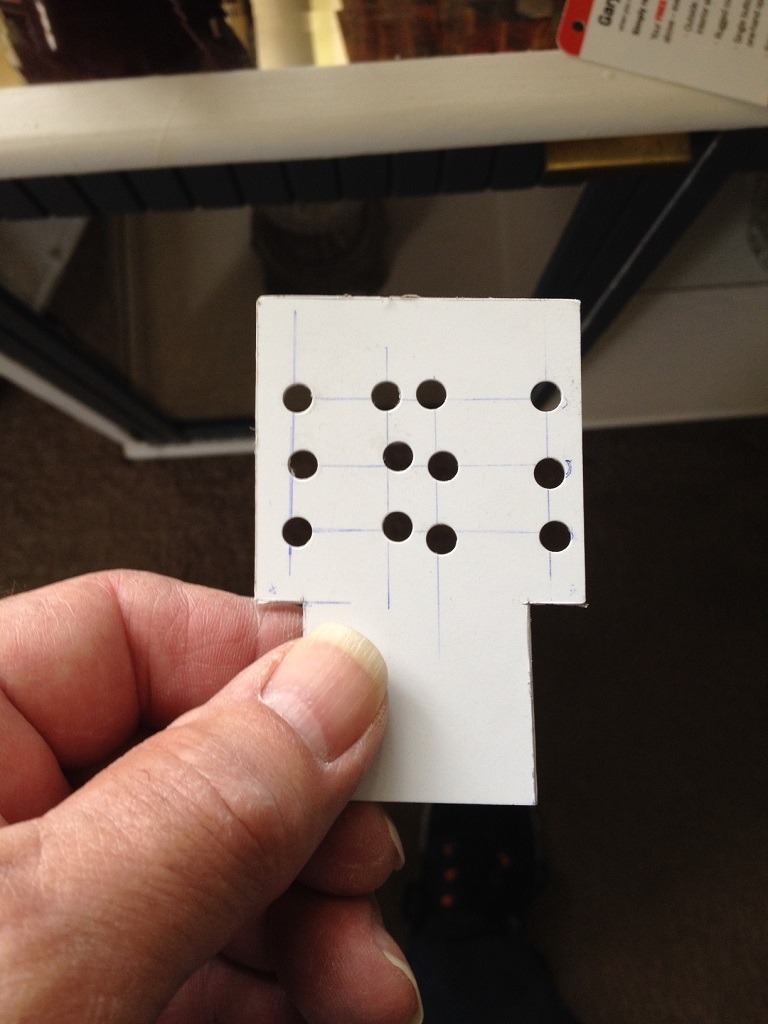
Screwed up on the first one. |
| Skyediamonds1985, Image # 36150 | 26 May 16 14:58 |
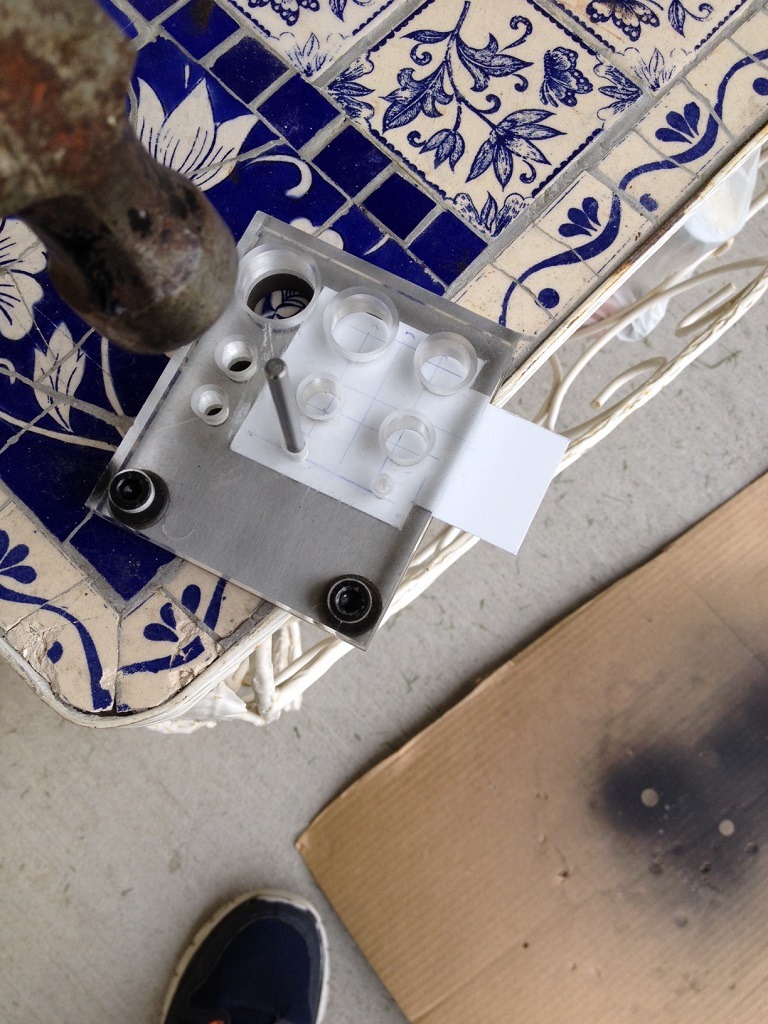
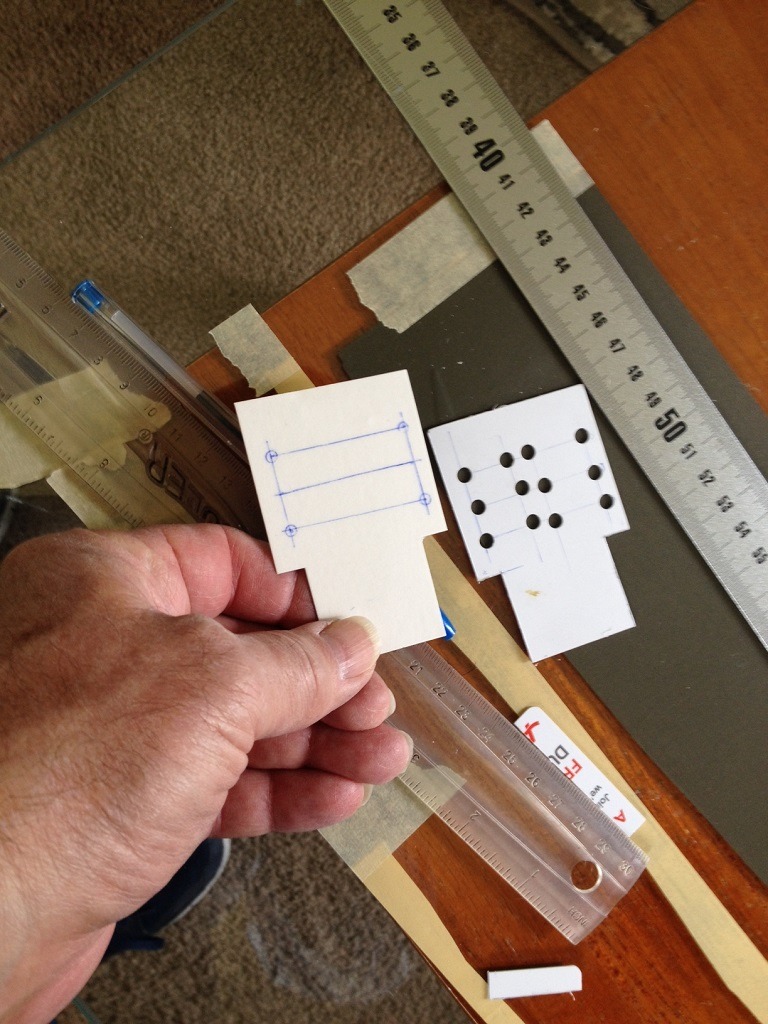
Used a small scale punch and die for the round cut outs. |
| Skyediamonds1985, Image # 36149 | 26 May 16 14:57 |
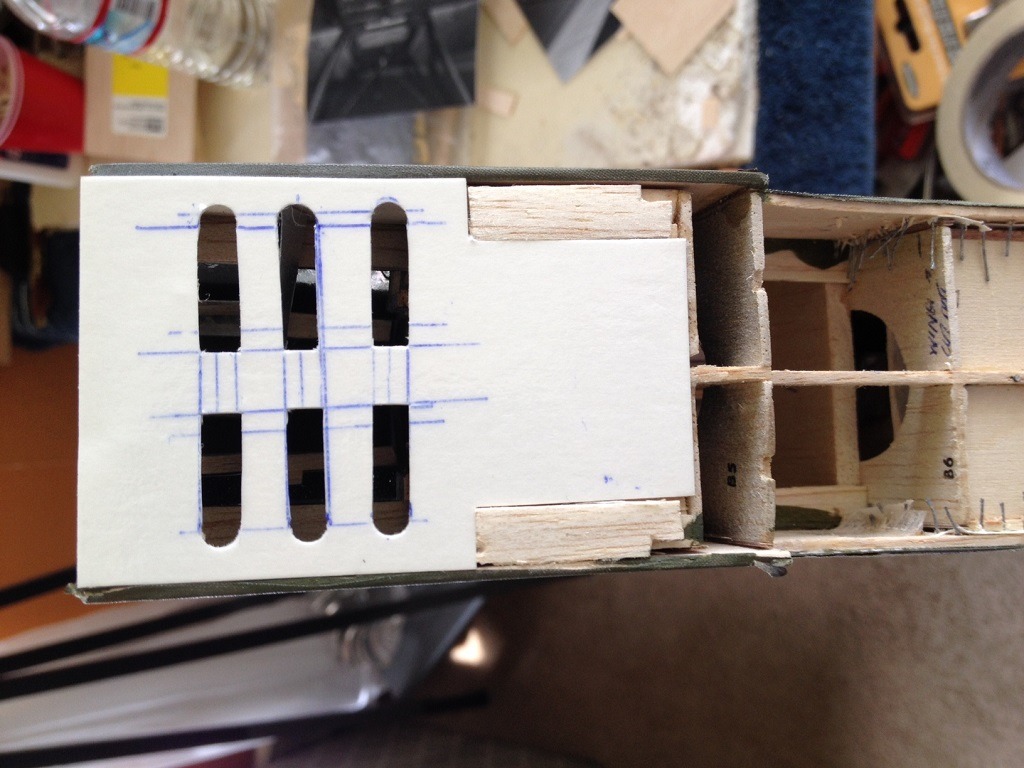
Underside at the nose area. The balsa blocks are for the forward landing gear. |
| Skyediamonds1985, Image # 36148 | 26 May 16 14:56 |
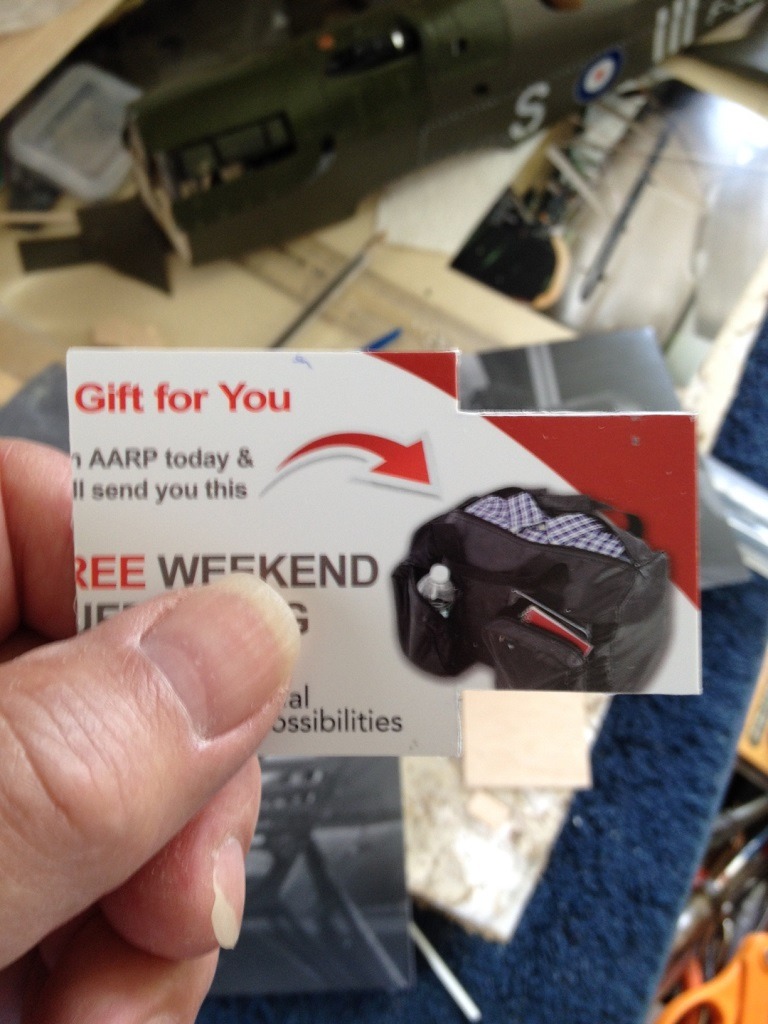
We're constantly being told to use our credit cards whether we need or want to, or not, in order to make maximum use of "Credit Card Utilization Rate." Sooo, I decided to listen to their choir and put to use some of my credit cards. |
| Skyediamonds1985, Image # 36111 | 22 May 16 17:46 |
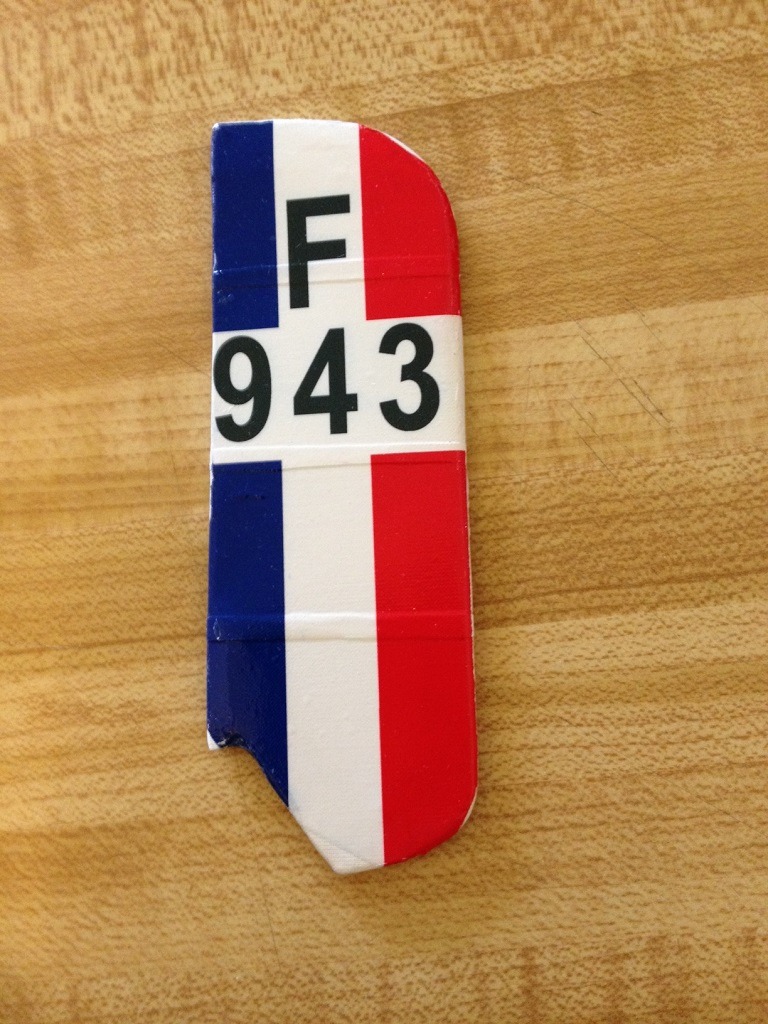
Finished results. The decals snuggled down enough to help me locate the slots for the control horns. The rough edges will be touched up with pain. I was lucky. The paint matched up very good with the tones of the reds and blues. |
| Skyediamonds1985, Image # 36110 | 22 May 16 17:43 |
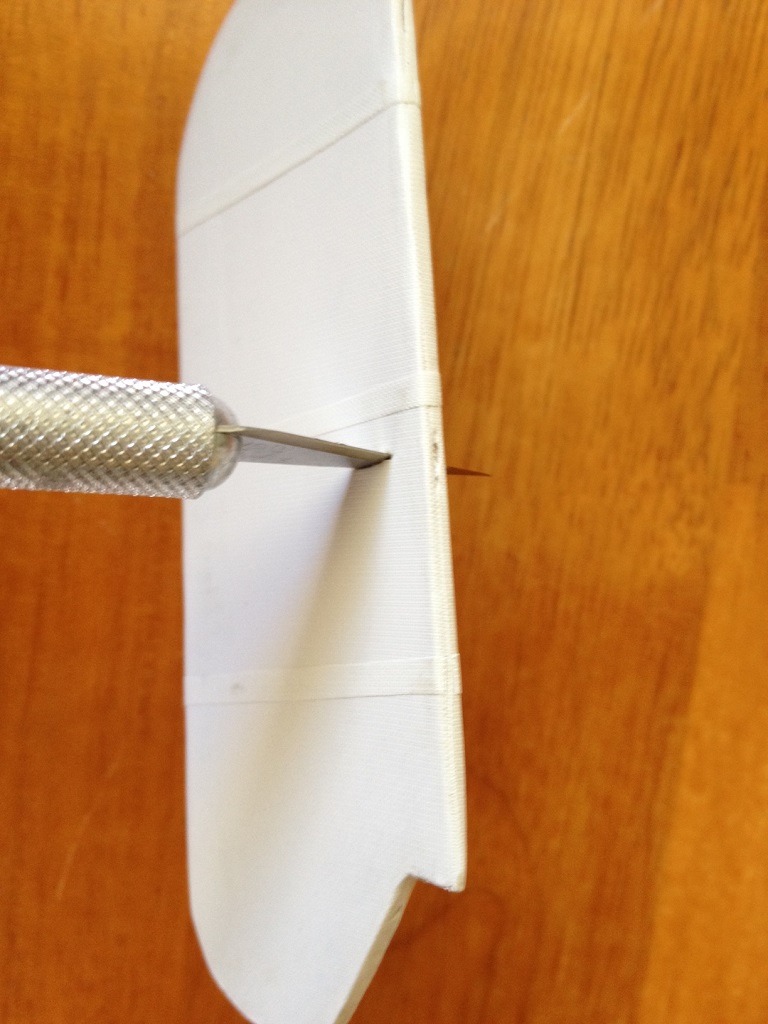
Used X-Acto blade to cut through the covering prior to adding the decals. If you zoom up, you can also see the slots for the vertical hinges. |
| Build Thread, Page :
<< 14 15 16 17 18 [ 19 ] 20 21 22 23 24 >> (851 posts, 20 posts per page, 43 pages in total)
|
[ < Prev ] [ Next > ] |
