| Build Thread, Page :
1 [ 2 ] 3 4 5 6 7 8 9 10 11 >> (851 posts, 20 posts per page, 43 pages in total)
|
[ < Prev ] [ Next > ] |
| Skyediamonds1985, Comment for image # 37691 | 03 Jan 17 20:15 |
| jgood, thank you. You must've seen some pretty good works of art and modeling over the years and your appraisal really helps. |
| jgood, Comment for image # 37691 | 03 Jan 17 17:49 |
| That is incredible work. |
| Skyediamonds1985, Comment for image # 37691 | 02 Jan 17 22:00 |
| Thank you very much for your appraisal and help Lastwood. Really means a lot. |
| LASTWOODSMAN, Comment for image # 37691 | 02 Jan 17 20:29 |
| WOW!! Skye - that is one incredible feat - thanks for sharing every detailed step with great pics and explanations. Got any baby pics of the whole plane from different angles? What a super model! I see you now have your Hangar in order. |
| Skyediamonds1985, Comment for image # 37707 | 02 Jan 17 19:22 |
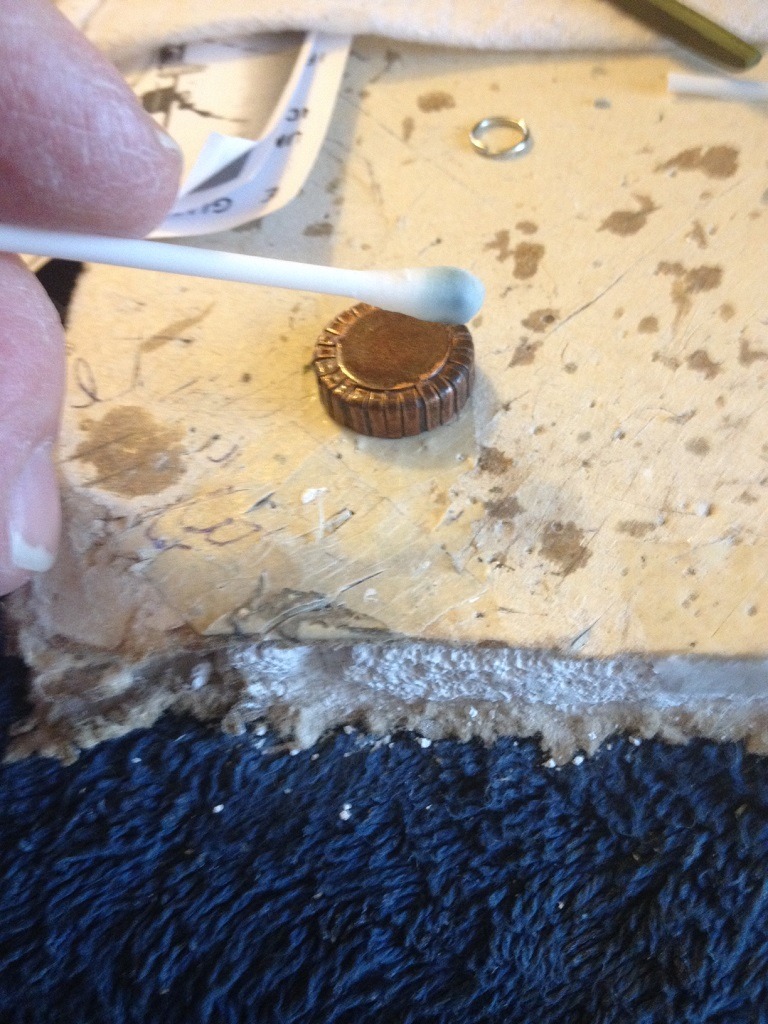
| You can see that the dark colors are deep within the crevices with the Q-tip wiping away the excess. The clear paint helps with the capillary action of the flow of wash into the small cracks. |
| Skyediamonds1985, Comment for image # 37706 | 02 Jan 17 19:20 |
| In this case, I also applied this "wash" to the hand crank to be mounted on the side fuselage. The important note of using clear paint, will help facilitate the capillary action of the wash of water and dark paint. In this case, I used a bit of red to simulate rust. |
| Skyediamonds1985, Image # 37712 | 02 Jan 17 19:18 |
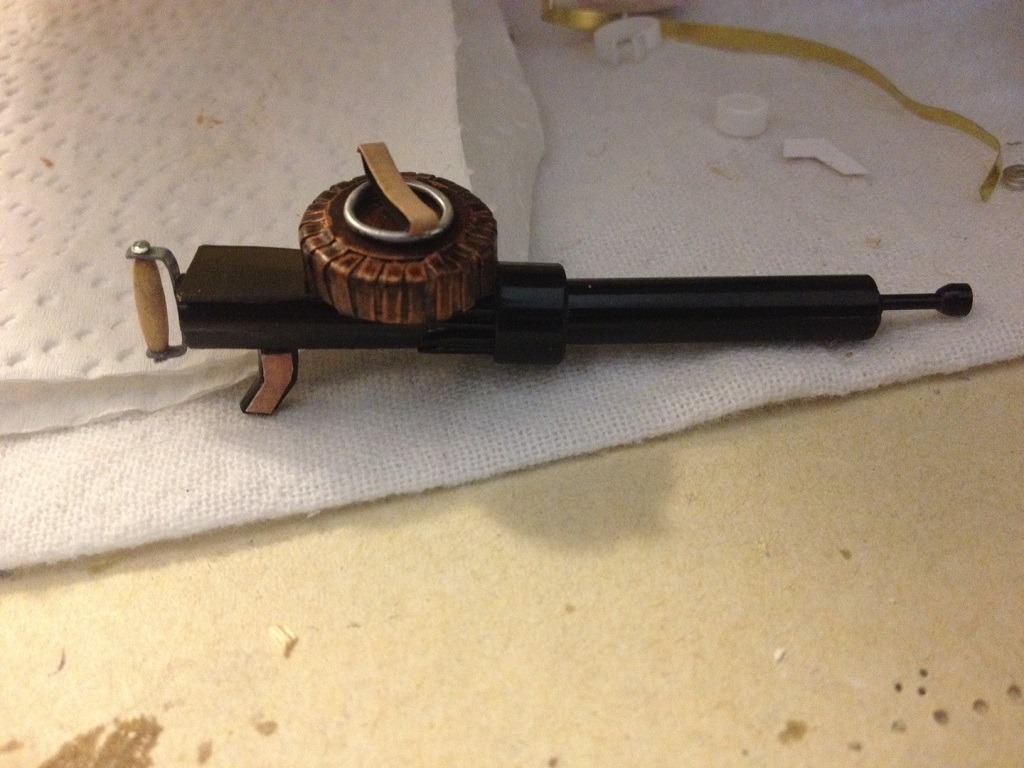
Add the finished cartridge to the top of the gun, and with the wooden side grips, we've got one cool machine gun sitting on the top wing for all to see. |
| Skyediamonds1985, Image # 37711 | 02 Jan 17 19:16 |
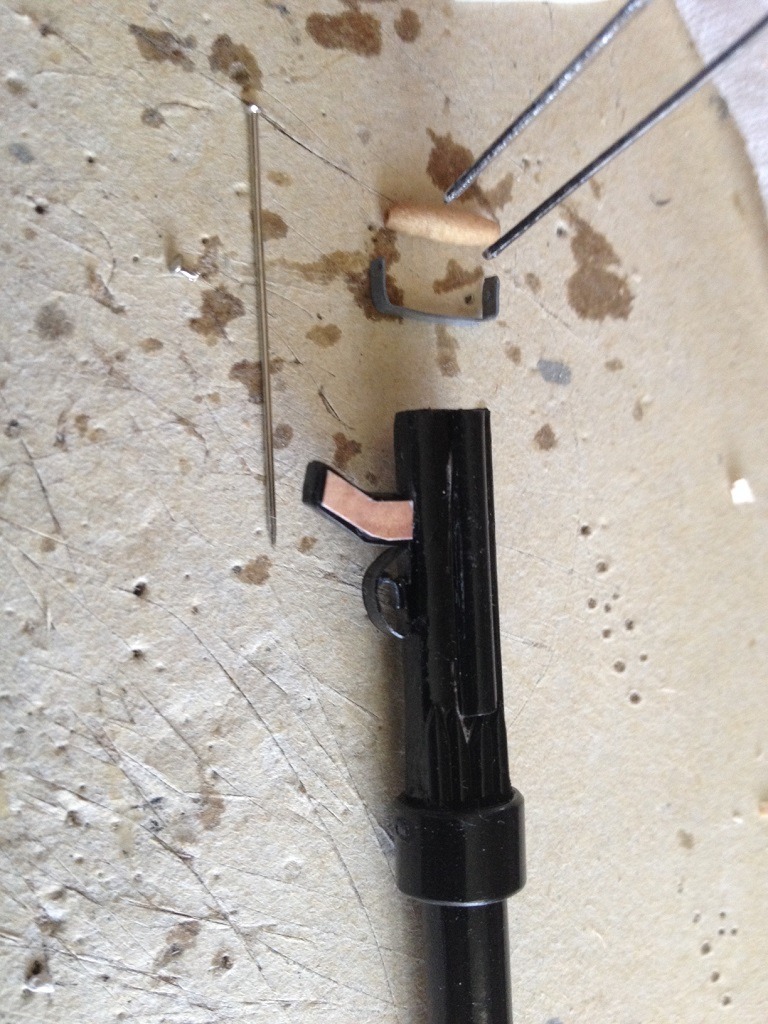
For the rear grip. Just use a small round dowel and sand the ends to a slight taper. I used a thin plastic strip painted gray for the simulated metal bracket |
| Skyediamonds1985, Image # 37710 | 02 Jan 17 19:14 |
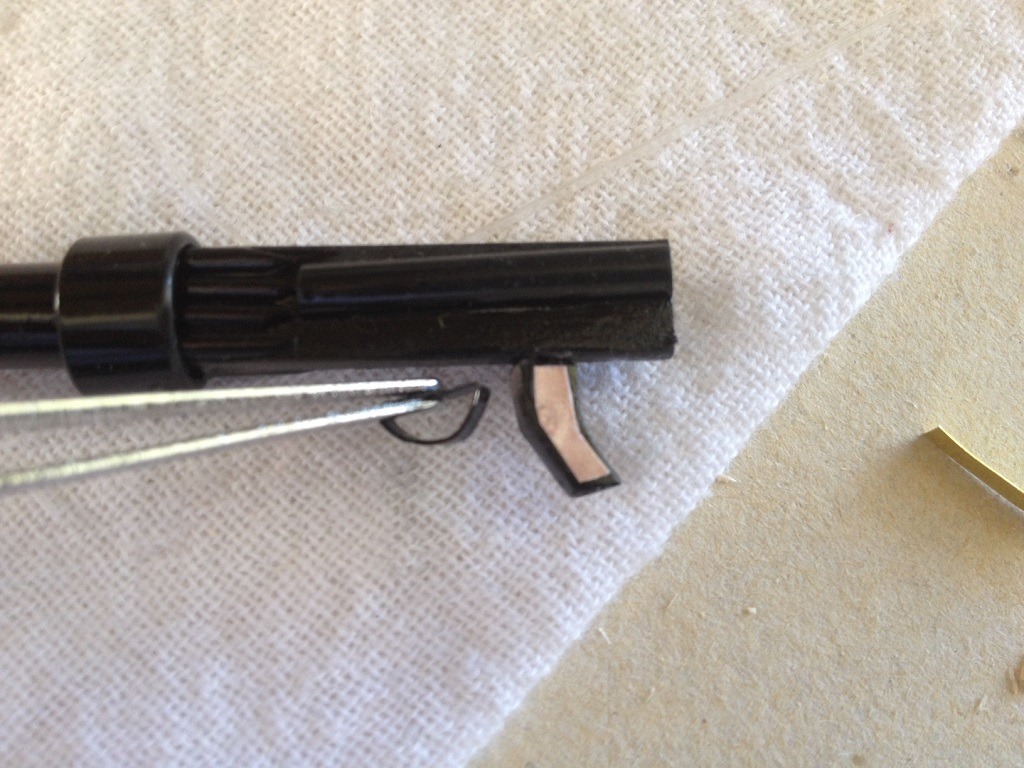
Cut the paper to fit the grip handle and add a small trigger guard by simply wrapping a strip of plastic around itself |
| Skyediamonds1985, Image # 37709 | 02 Jan 17 19:13 |
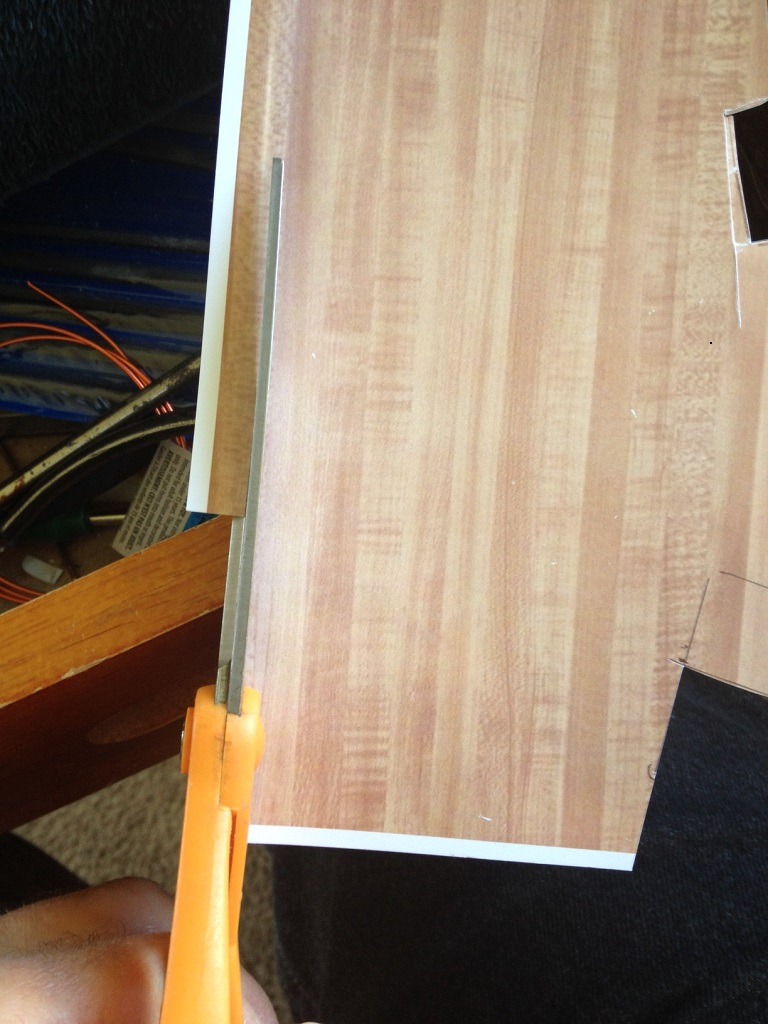
To give the top wing mounted Lewis machine gun a little bit more "bling" I wanted to add some wood to the grip handle. I took a picture of my butcher block counter top in the kitchen. Uploaded to my printer. Made a print of the wood grain pattern. You could dry paint wood grain patterns if you choose to do so. |
| Skyediamonds1985, Image # 37708 | 02 Jan 17 19:10 |
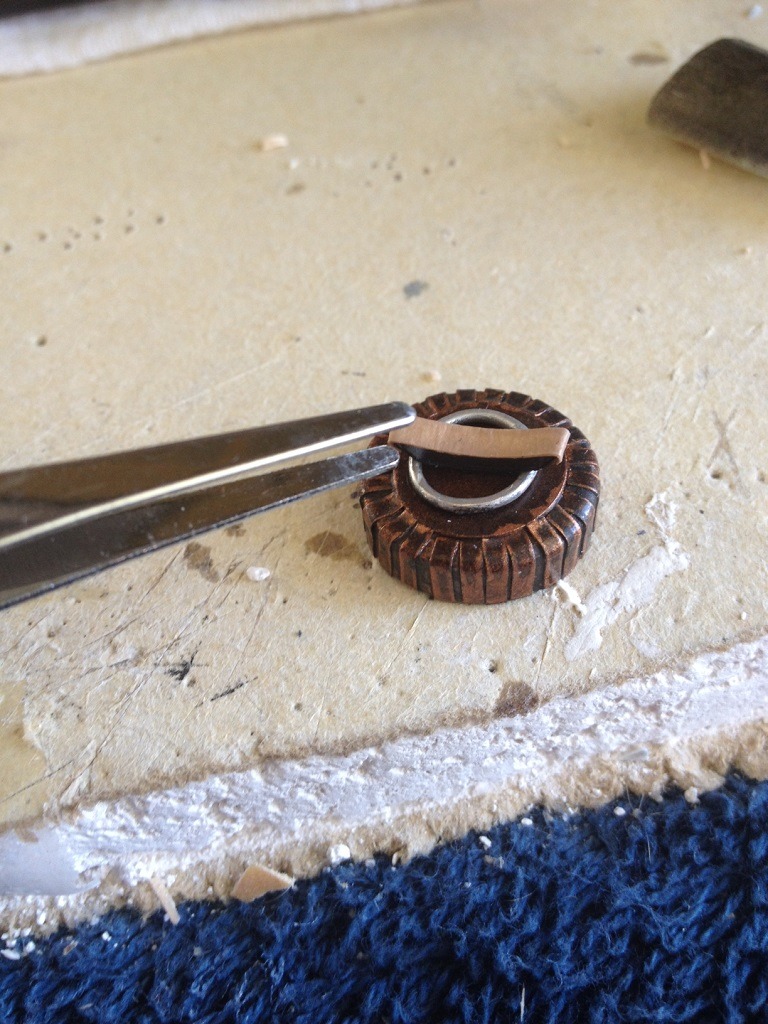
A small ring from a local bead shop and masking tape painted a light tan color to bring out the contrast and pop out the "leather strap." |
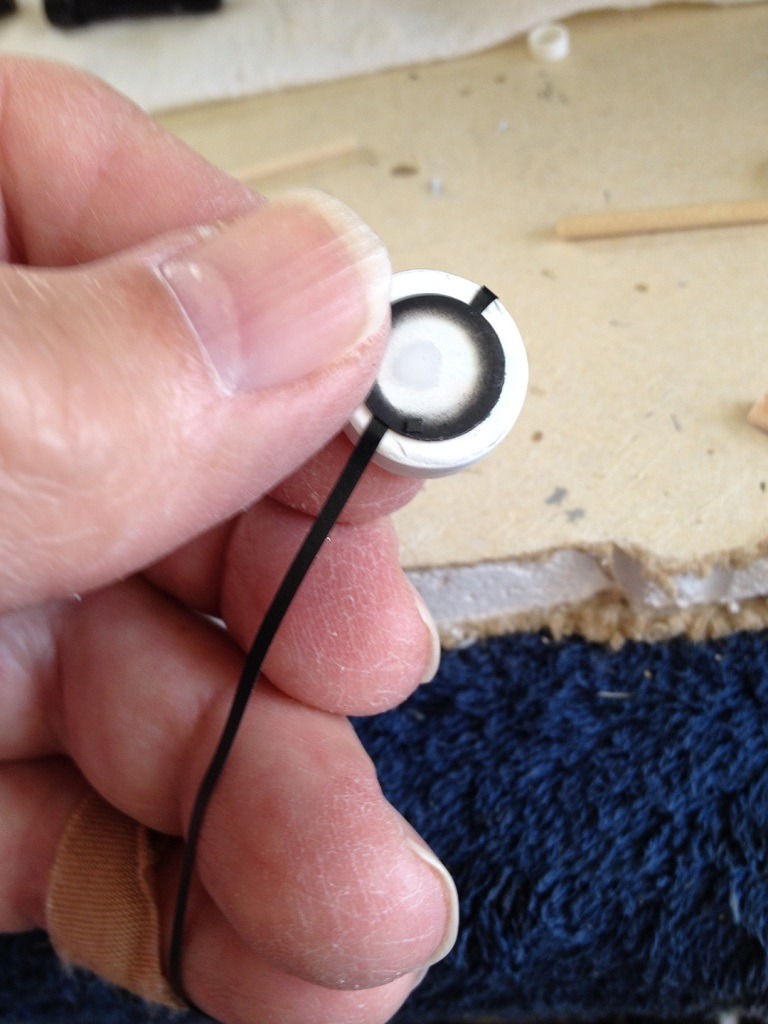
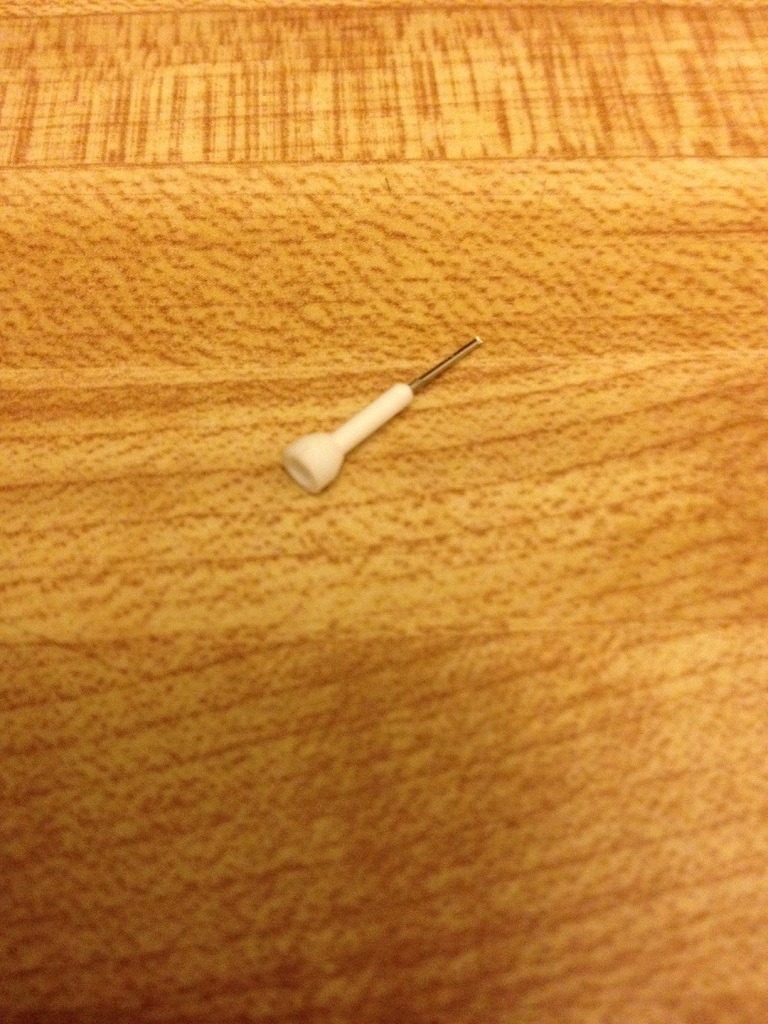
| Skyediamonds1985, Image # 37707 | 02 Jan 17 19:09 |
I used water colors instead of artist's oils or other paints to avoid any reaction with the copper paint. When the wash mixture is dried, I used a damp Q-tip to wipe off the excess, leaving the dark mixture of black and brown deep within the small crevices and cracks to help give the cartridge some depth |
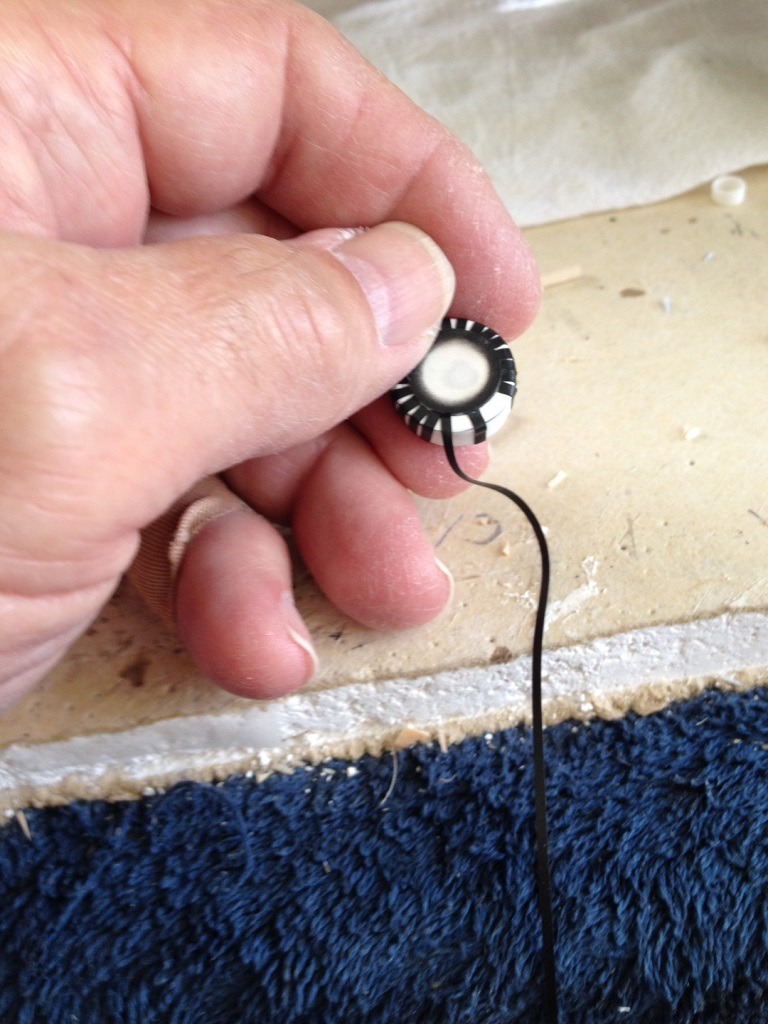
| Skyediamonds1985, Image # 37706 | 02 Jan 17 19:06 |
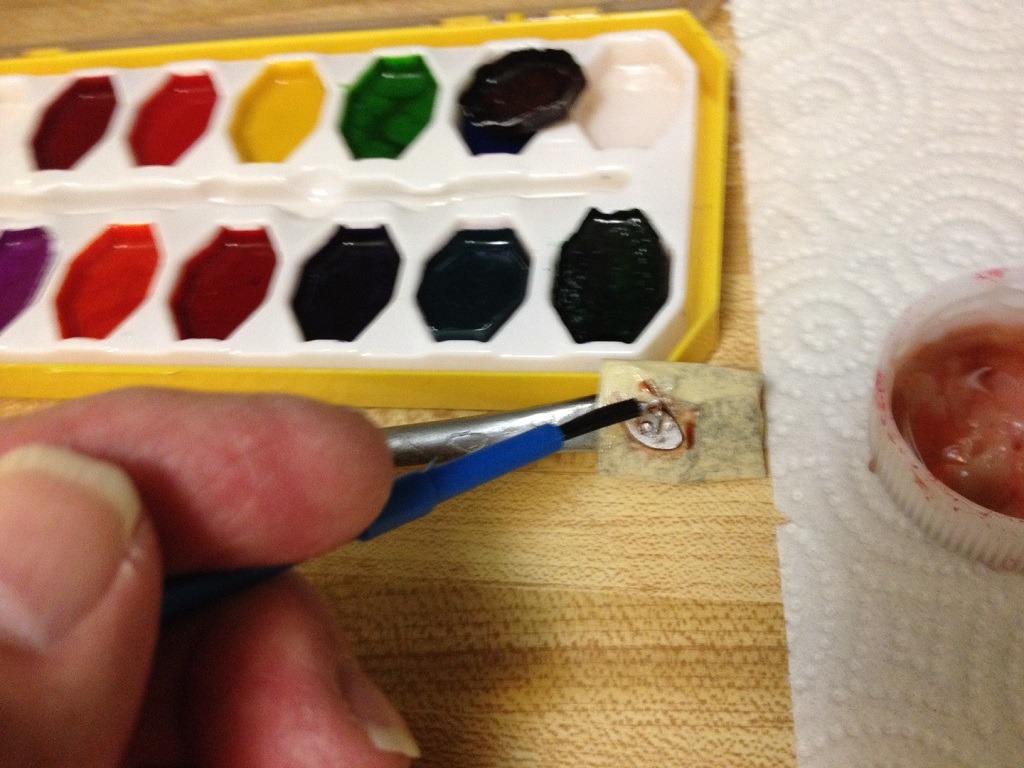
used water colors heavily diluted with water to about 10-1. This will form what is called a "wash." I applied this wash over the whole cartridge allowing the thinned water/paint mixture to flow through all of the crevices and cracks via capillary action |
| Skyediamonds1985, Comment for image # 37705 | 02 Jan 17 19:03 |
| I should also add that its very important after the copper paint dries to give it a good coating of clear paint. The clear paint will seal in all of the pores of the wood and gives the surface an overall smooth finish for the next step. |
| Skyediamonds1985, Image # 37705 | 02 Jan 17 19:01 |
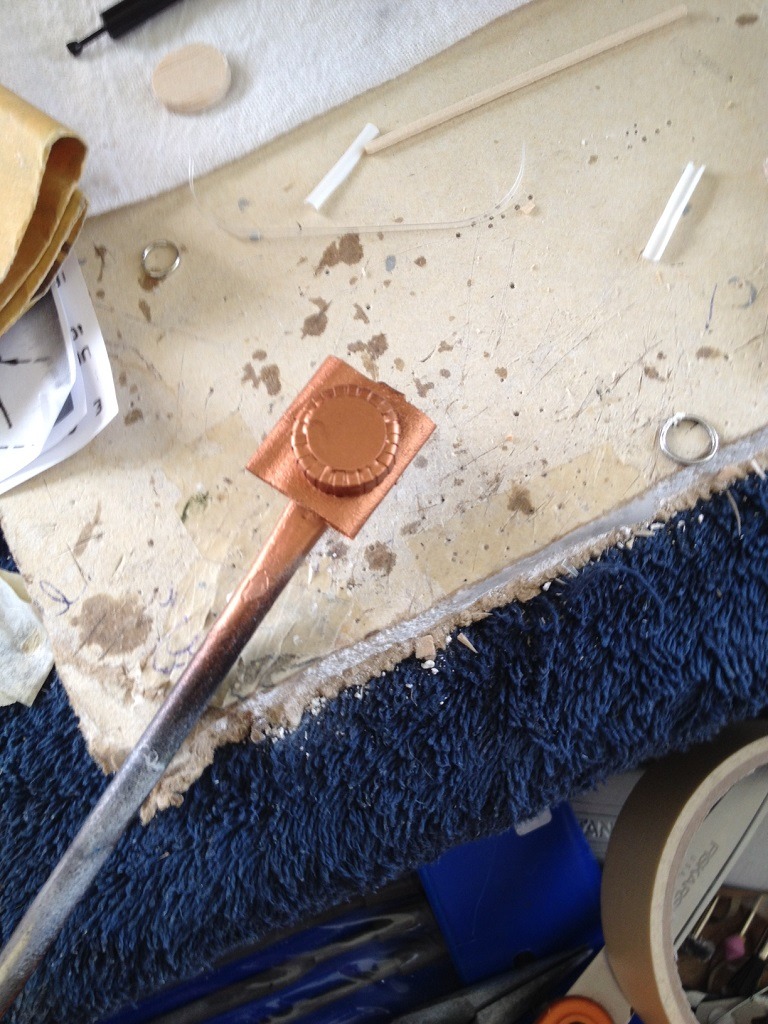
The "cartridge" was then sprayed from a rattle can of copper |
| Skyediamonds1985, Image # 37704 | 02 Jan 17 19:00 |
Almost finished |
| Skyediamonds1985, Image # 37703 | 02 Jan 17 18:59 |
I added a small circular piece of plastic on top. Then cut very thin strips from black electrical tape. This tape is very flexible. I added each thin strip to the opposite sides to help get a balanced look |
| Skyediamonds1985, Image # 37702 | 02 Jan 17 18:57 |
Just like with the body of the machine gun, I used thin plastic. In this case, its wrapped around the balsa. This will save me lots of sanding, filling, priming and more sanding. |
| Skyediamonds1985, Image # 37701 | 02 Jan 17 18:55 |
The plastic wrapped "breech" of body and tubing are now glued together. Note the round balsa piece to be used as a cartridge |
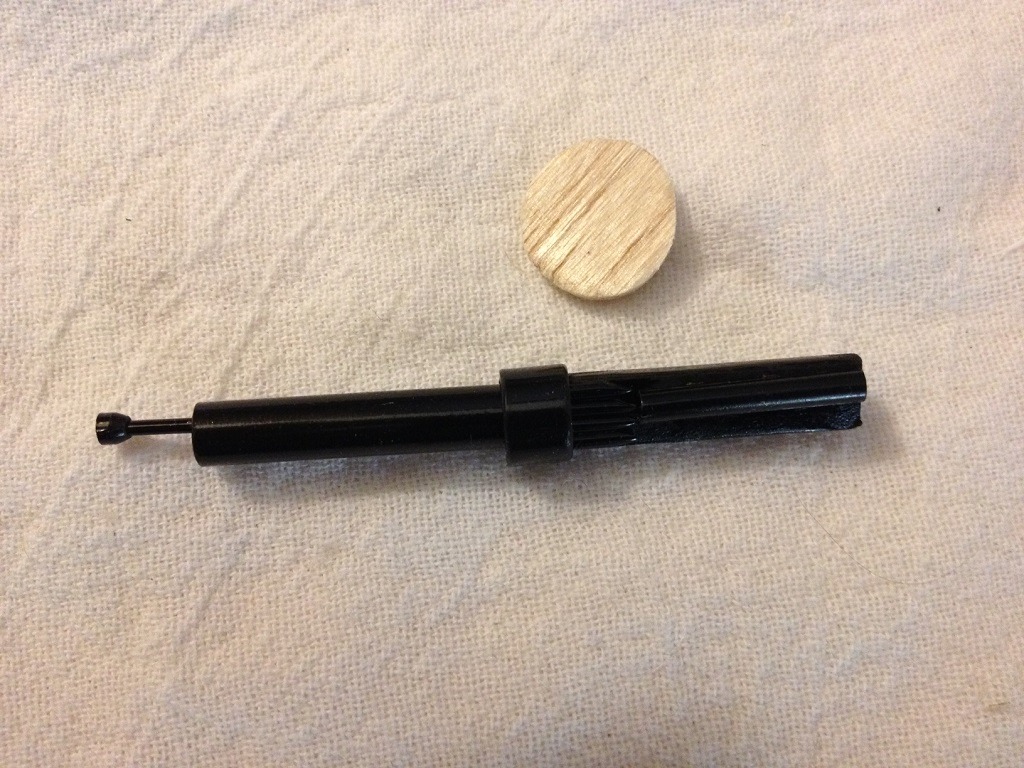
| Skyediamonds1985, Image # 37700 | 02 Jan 17 18:53 |
small tubing used for the front portion of the gun. Notice the pin to be used to help hold the small barrel in place |
| Build Thread, Page :
1 [ 2 ] 3 4 5 6 7 8 9 10 11 >> (851 posts, 20 posts per page, 43 pages in total)
|
[ < Prev ] [ Next > ] |
