| Build Thread, Page :
1 2 3 [ 4 ] 5 6 7 8 9 (168 posts, 20 posts per page, 9 pages in total)
|
[ < Prev ] [ Next > ] |
| cdwheatley, Comment for image # 5017 | 12 Nov 07 13:33 |
| Hey thanks John. Do you mean the fuselage mounted Vickers? I realise it should be there, but as it's a tissue only finish I decided I wouldn't have been able to create a neat enough channel for my liking, so decided to omit it. As for the Lewis gun atop the upper wing, I have some ideas but will think more about it as the build progresses. A litre of petrol over here has just gone over the £1 mark for the first time. People are not happy, and there are rumours of more fuel blockades again, as there were in 2000. Barnstormer, thank you :-) This is neither silkspan nor the kit supplied tissue (which was white), but Japanese tissue I purchased separately from SAMS Models. |
| John M Oshust, Comment for image # 5017 | 11 Nov 07 14:46 |
| CD, super craftsmanship. Have you thought about the M Gun? What is the cost of 4 liters of petrol on the other side of the pond? |
| Barnstormer, Comment for image # 5017 | 11 Nov 07 14:36 |
| Flawless covering job, are you using the wet method with silkspan or is this the tissue supplied with the kit? |
| cdwheatley, Image # 5017 | 11 Nov 07 14:08 |
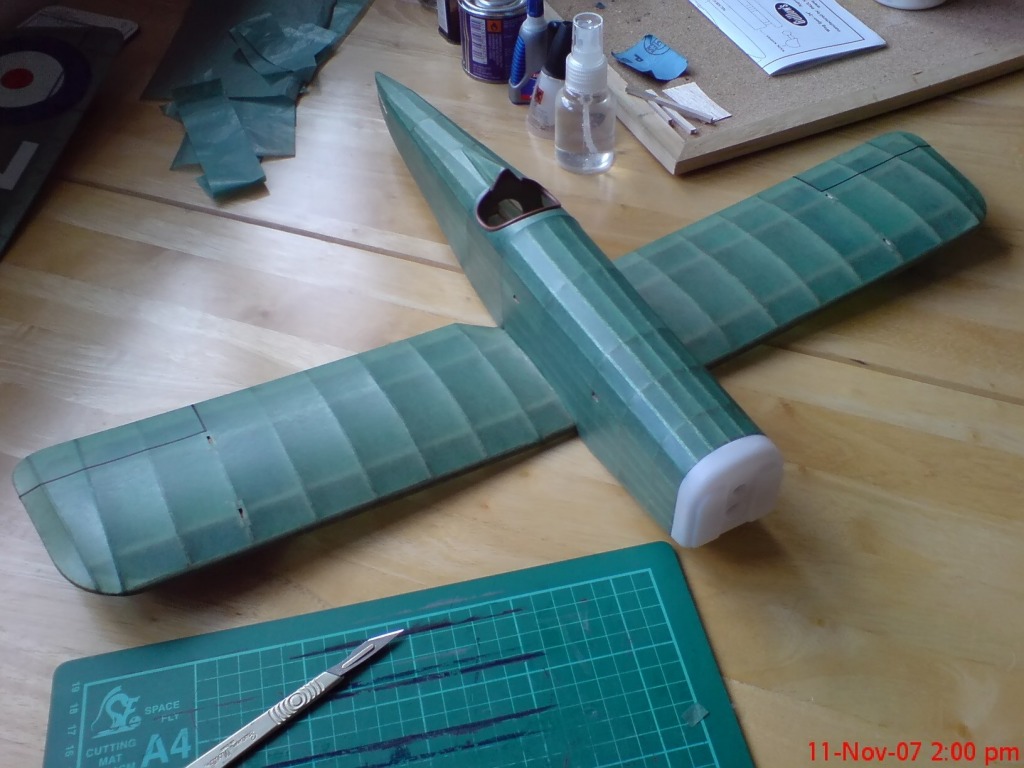
Next task is to fit the upper wing - should be fun! |
| cdwheatley, Image # 5016 | 11 Nov 07 14:08 |
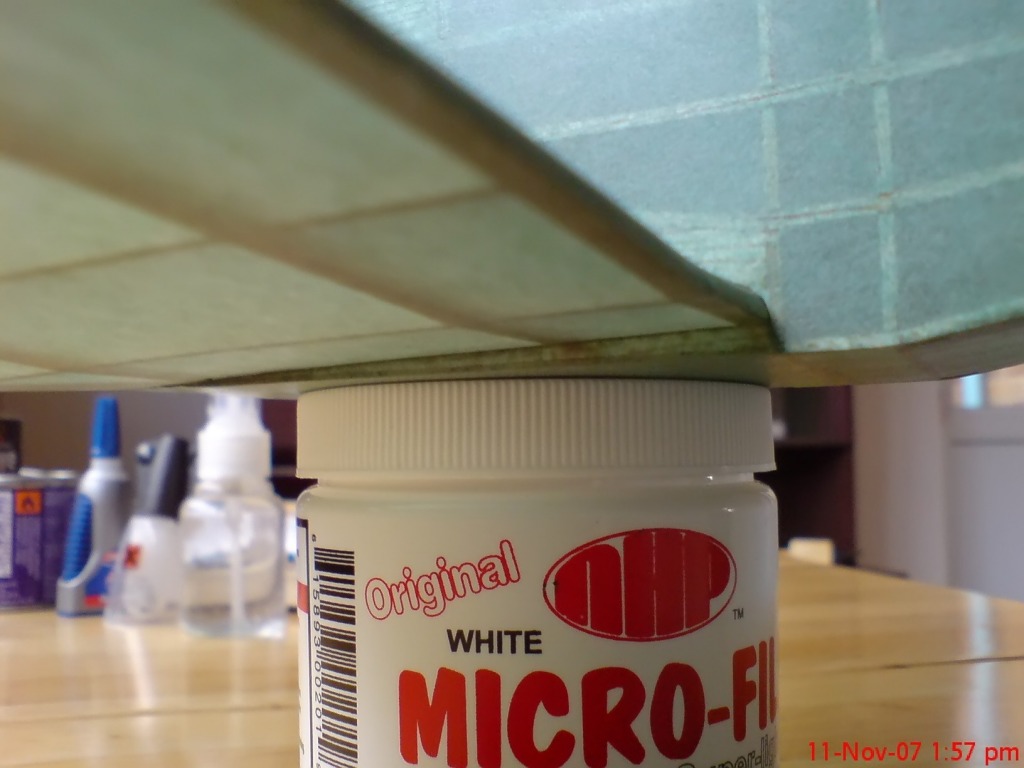
Turned out ok I think. |
| cdwheatley, Image # 5015 | 11 Nov 07 14:07 |
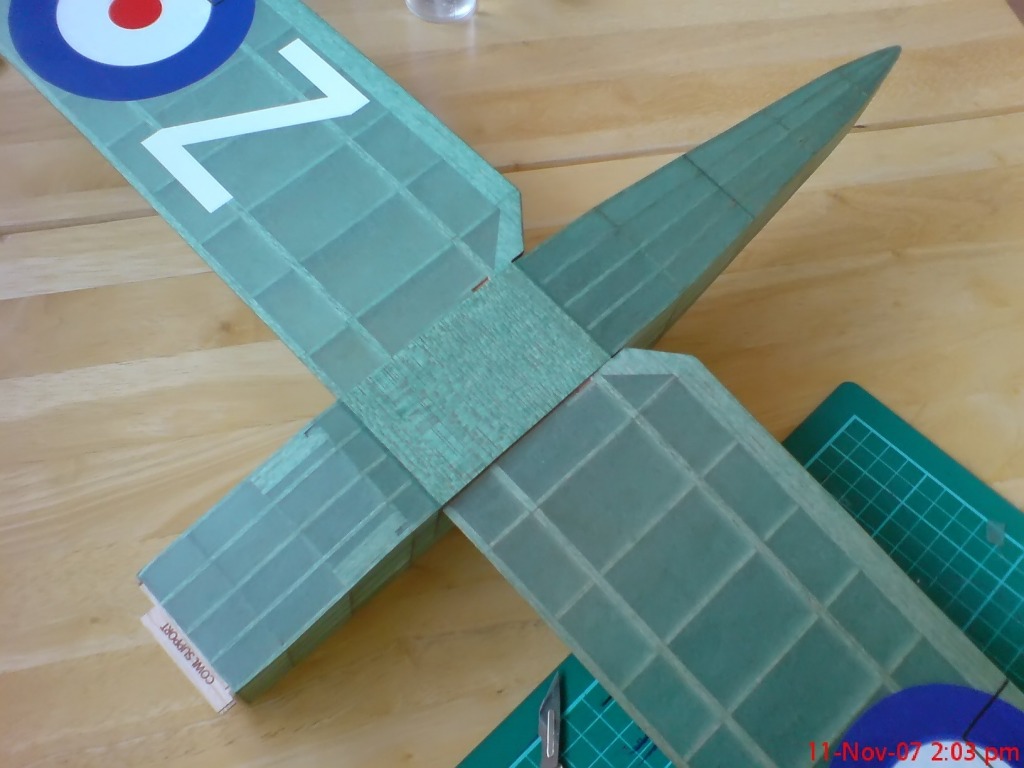
All done at last. |
| cdwheatley, Image # 5014 | 11 Nov 07 14:06 |
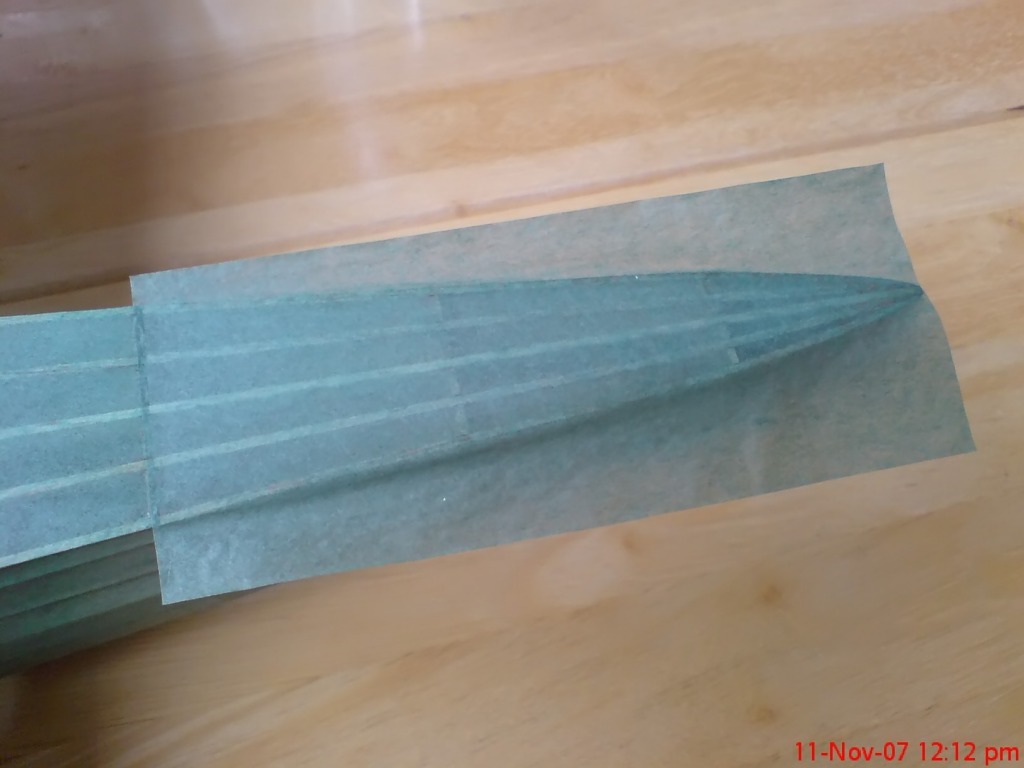
The final piece of tissue in place and ready to be trimmed. |
| poppy, Comment for image # 4967 | 08 Nov 07 20:18 |
| Caution, genius at work. |
| moostang51, Comment for image # 4968 | 08 Nov 07 17:59 |
| Looks already like a beautiful fit. Final covering s/b amazing. |
| cdwheatley, Comment for image # 4968 | 08 Nov 07 16:25 |
| Thank you for the vote of confidence David :-) I have just this evening fixed it in place, sanded and sealed etc, so it's now ready for covering. I will post more photos when that's done. |
| David Duckett, Comment for image # 4968 | 08 Nov 07 13:42 |
| Mask the tissue coverd wing, sand away. Not to worry, Chris can do it. |
| SteveM, Comment for image # 4968 | 08 Nov 07 13:37 |
| You have to sand it in place, next to all of that tissue? |
| JohnG., Comment for image # 4967 | 08 Nov 07 13:36 |
| Clever......... |
| cdwheatley, Comment for image # 4968 | 08 Nov 07 12:10 |
| Once it is fixed in place, blended in with the fuselage fore and aft, then sanded and sealed, I can finish off by covering the whole of the underside. |
| cdwheatley, Image # 4968 | 08 Nov 07 12:09 |

Another view. |
| cdwheatley, Image # 4967 | 08 Nov 07 12:08 |
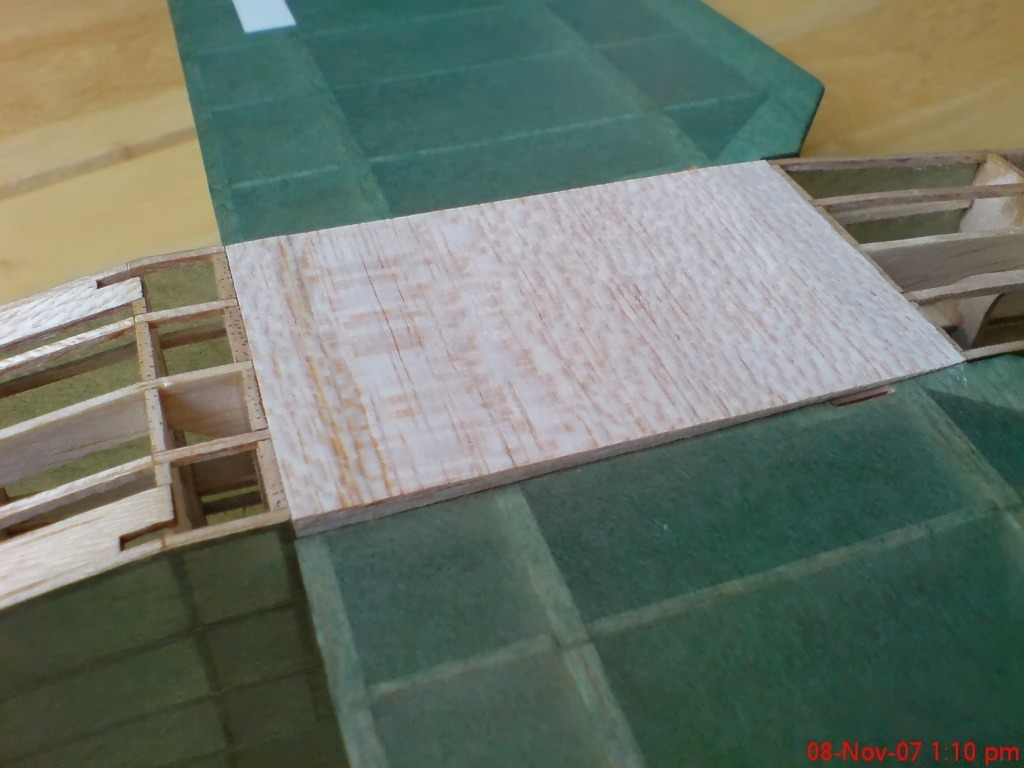
Here it is just resting in place. |
| cdwheatley, Comment for image # 4966 | 08 Nov 07 12:07 |
| It is just three pieces of 1/32 inch balsa sheet carefully cut and sanded to shape. The plan says to "fill in with stringers and cover with tissue". I figured this would be much simpler to do! |
| cdwheatley, Image # 4966 | 08 Nov 07 12:05 |
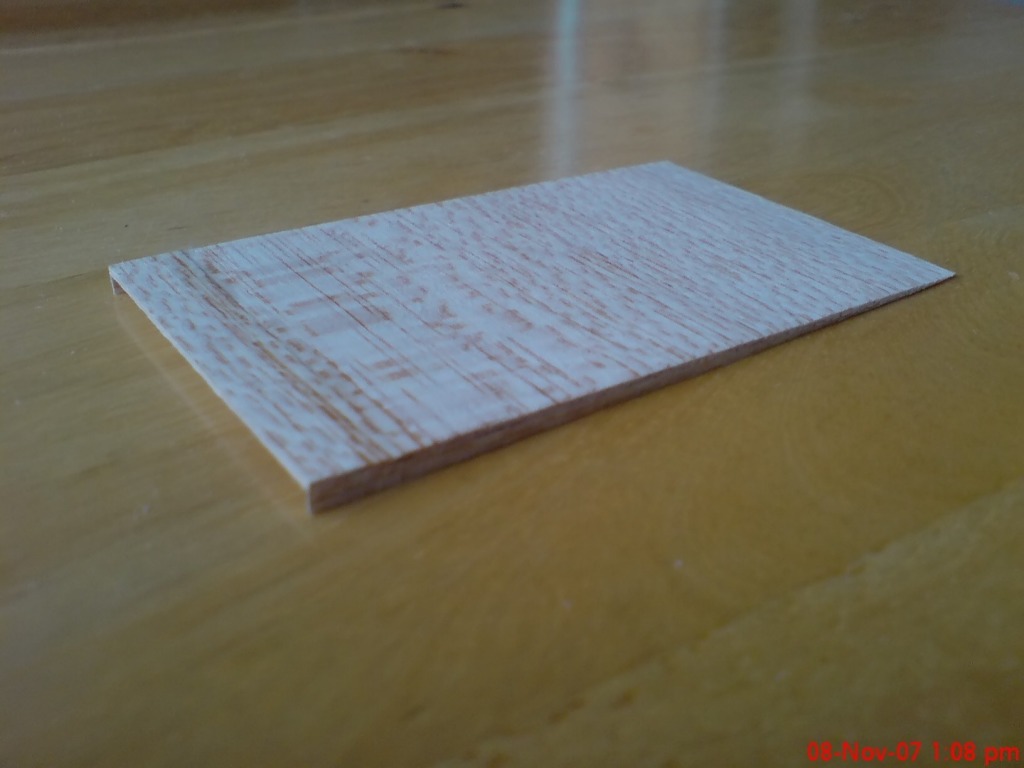
This is what I devised to fill in the gap under the centre of the lower wing. |
| moostang51, Comment for image # 4956 | 06 Nov 07 18:45 |
| As always Chris, beautiful work. Great idea for the cowl reattachment. |
| Barnstormer, Comment for image # 4956 | 06 Nov 07 18:22 |
| I agree, excellent covering job. |
| Build Thread, Page :
1 2 3 [ 4 ] 5 6 7 8 9 (168 posts, 20 posts per page, 9 pages in total)
|
[ < Prev ] [ Next > ] |
