| Build Thread, Page :
<< 8 9 10 11 12 [ 13 ] 14 15 16 17 18 >> (393 posts, 20 posts per page, 20 pages in total)
|
[ < Prev ] [ Next > ] |
| David Duckett, Image # 31110 | 12 Mar 14 05:45 |
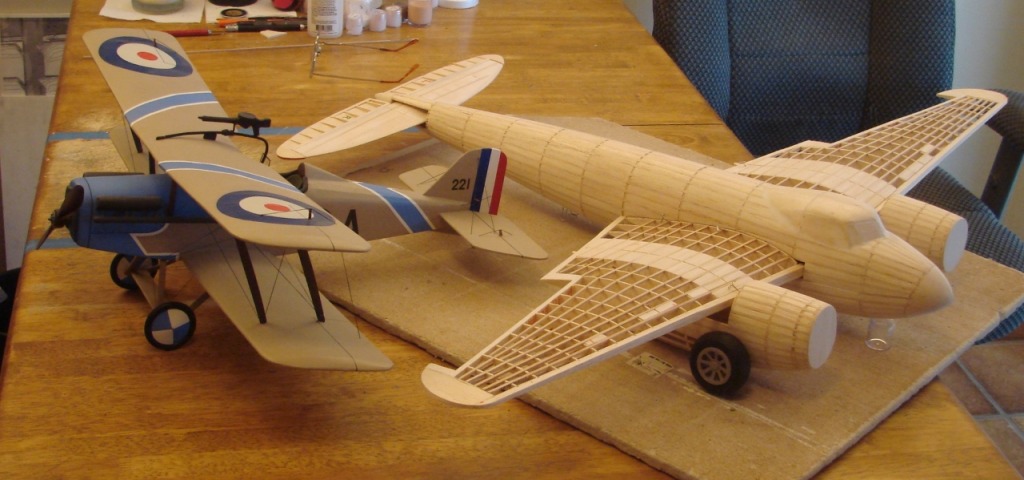
Another size reference |
| David Duckett, Image # 31109 | 12 Mar 14 05:44 |
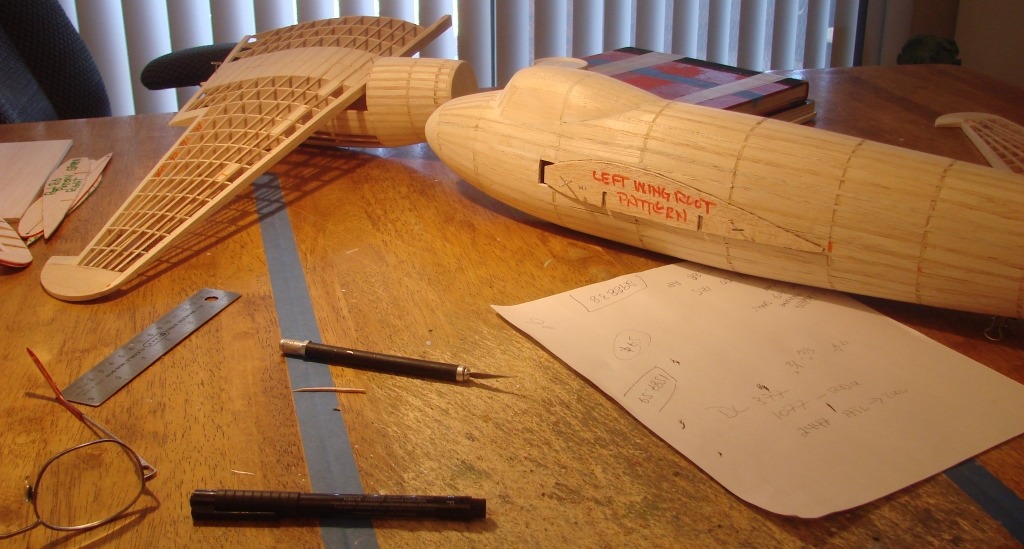
W1 was not used in the construction of the wing so I used it as a pattern to determine where the holes for the spars will be cut. |
| David Duckett, Comment for image # 31108 | 12 Mar 14 05:20 |
| :-) |
| eagraber, Comment for image # 31108 | 11 Mar 14 21:37 |
| Thanks! Very similar to my approach but I use 1/16" thick balsa. The thicker balsa should help - but require more sanding, I guess. And thanks for the info regarding the sawdust filler for gaps. Very helpful!! |
| David Duckett, Comment for image # 31108 | 11 Mar 14 21:10 |
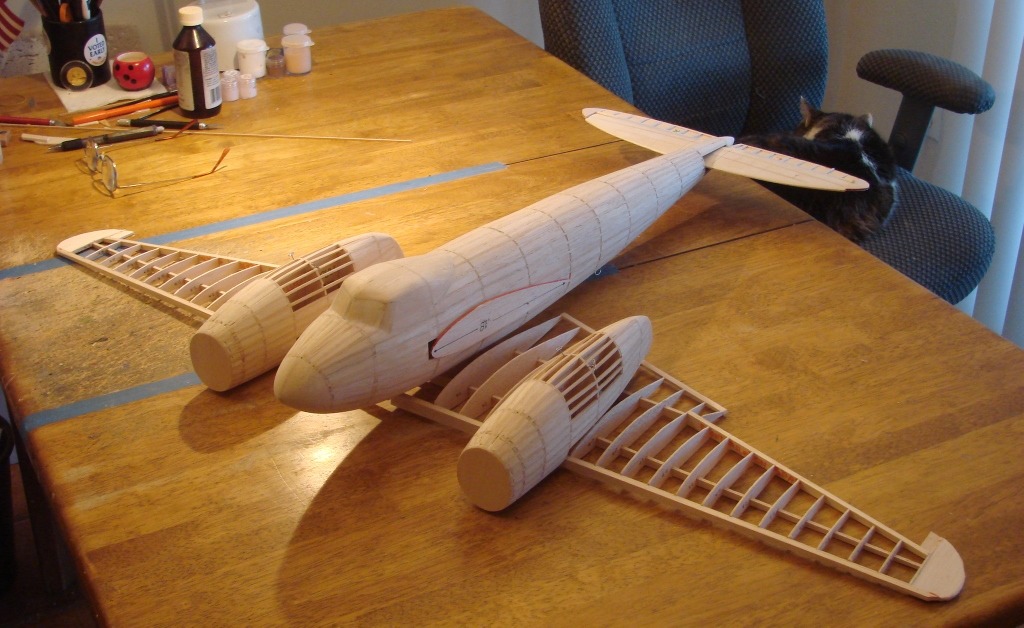
| To answer eagraber's question...after way too much of helter skelter, I've decided the best way to infill is between each rib/former at a time. I measure the distance between them in metric units, millimeters usually, and then cut a piece of wood from stock about 1 mm more than the longest distance measured. The distance between ribs here is about 23 so I cut 24 and a hair. To fit place the wood against a stringer and mark the wood with a soft pencil where it meets the opposite stringer. Once you make the cut you have only the distance between the formers to do and that requires one cut. In a perfect world those would be enough but until then...you'll find making very small cuts and light sanding is all you need to get the piece to fit. I do not cut each piece to an exact fit but rather enough for the piece to fit in the space without falling through. Once all the infill is complete I fill any small holes with Testors cement , wipe it off, and sand. The sawdust is glued in the hole and the hole is filled. That's what you see here. The object is to fill any small holes that would allow the filler coming next to fall through. I used 3/16" wood for most of the infill here and will use 1/8" stock for the outer panels. I used 1/4" stock on parts of the fuselage to give me more room to carve as there are several compound curves. And finally, I have done most of the wing with medium CA by putting a very small amount on each edge, much of it from the bottom. Questions? |
| David Duckett, Image # 31108 | 11 Mar 14 20:51 |

Stringers and the first two sections of infill |
| David Duckett, Comment for image # 31088 | 11 Mar 14 19:44 |
| Sort of...but it's supper time so I'll answer a bit later.:-) |
| eagraber, Comment for image # 31088 | 11 Mar 14 19:17 |
| Dave, have you developed a method to fit balsa sheet between formers and stringers other than sanding and fitting each piece? Is there a "short cut" method? |
| Dfell, Comment for image # 31088 | 11 Mar 14 10:27 |
| So crisp - clean - and neat |
| David Duckett, Comment for image # 31089 | 11 Mar 14 08:31 |
| I paid $104 but in retrospect I should have just got the plans which are $28.00. |
| BriandKilby, Comment for image # 31089 | 11 Mar 14 08:15 |
| so you replaced the wood with new balsa, dd? I got the guillows model off ebay, may I ask was the Cleveland model cost more? |
| David Duckett, Image # 31089 | 11 Mar 14 06:37 |

It's a good sized model. :-) |
| David Duckett, Image # 31088 | 11 Mar 14 06:35 |
The shape slowly emerges. |
| David Duckett, Image # 31087 | 11 Mar 14 06:32 |
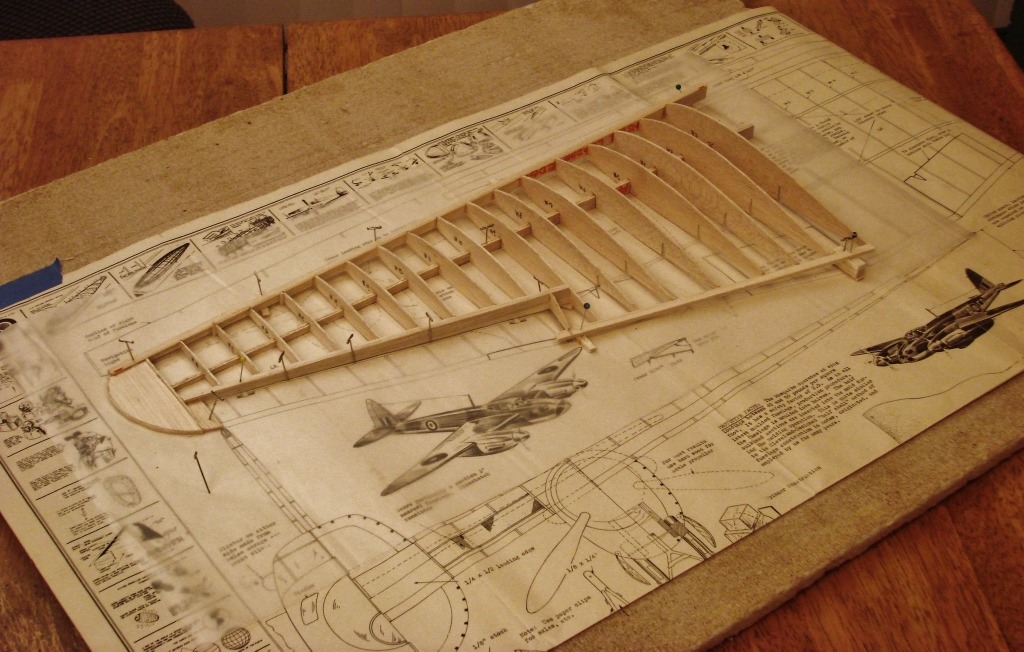
As usual, the solid wing tip...Those little boxes around the edge, called plaques, contain building instructions and info about flying, weather, dynamic forces and the like. |
| David Duckett, Image # 31086 | 11 Mar 14 06:29 |

This scale airfoil is one of the things that make a Cleveland plan and kit different. On Guillows kits only the 800 series and larger have the correct air foil. The 400 series all have flat bottom air foils and that makes the scale look just wrong. You can see why it has to be blocked up and why the rear spar either needs to be blocked up or added later. I chose later. |
| David Duckett, Comment for image # 31072 | 11 Mar 14 06:20 |
| Thank you, James. The kit is designed for tissue covering. The plans say to sheet the first half inch back from the leading edge for a display model. The plans do show the infill method which is their design. |
| David Duckett, Comment for image # 31070 | 11 Mar 14 06:16 |
| Thanks, Ted. When I was growing up all the kids in the neighborhood carried pocket knives everywhere, even to school, but it was no big deal. I learned to whittle early so when my first model kit had printwood all I did was switch to a single edge razor blade. The xacto, and the CA, are the only difference between then and now. Many kits contain only printwood and many modelers consider the cutting of parts as enjoyable as the rest of the build. The joinery just comes from having done it so often. |
| jgood, Comment for image # 31072 | 11 Mar 14 02:09 |
| Strange that there are no stringers on top at all. Does the plan call for skinning with wood? Or just tissue covering? Lovely work, by the way. |
| David Duckett, Image # 31085 | 10 Mar 14 16:47 |
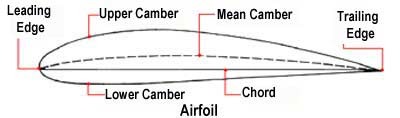
http://en.wikipedia.org/wiki/Airfoil |
| frwyflyer, Comment for image # 31070 | 10 Mar 14 06:58 |
| I really admire your woodworking skills. Cutting the parts and fitting them together with beautiful joinery. |
| Build Thread, Page :
<< 8 9 10 11 12 [ 13 ] 14 15 16 17 18 >> (393 posts, 20 posts per page, 20 pages in total)
|
[ < Prev ] [ Next > ] |
