| Build Thread, Page :
<< 7 8 9 10 11 [ 12 ] 13 (254 posts, 20 posts per page, 13 pages in total)
|
[ < Prev ] [ Next > ] |
| heywooood, Comment for image # 38401 | 25 Apr 17 20:13 |
| turns out I may only have to shave a 1/16" off the cylinders and push rods. that means I do not have to remove the simulated upper or lower fittings on the rods. yay |
| heywooood, Comment for image # 38424 | 25 Apr 17 20:02 |
| This one has lots of little tricky areas to consider. the wheel fairings where they join to the struts. The vertical fin to the rear fuselage. The small wing root fairings. This cockpit opening arrangement. The air vent intakes on each side of the upper wing. A small plane - but not a small or straightforward build.. |
| heywooood, Comment for image # 38424 | 25 Apr 17 19:55 |
| those are air inlets..the original Solution nearly gassed its pilot to death with exhaust fumes. If you look at the top wing in another view you see two tubular inlets on the leading edge, either side of the fuselage - those are connected to these two silver 'periscope knobs' lol. Remember - in 1932 they didn't care about where they were going as much as how fast they were going. So if dude flew into a building at 250 kts they would say "wow! 250 kts" |
| biplane guy, Comment for image # 38424 | 25 Apr 17 19:41 |
| Please tell me those silver knobs on the instrument panel are actually eyepieces for a periscope. How can you see forward in this thing? |
| David Duckett, Comment for image # 38424 | 25 Apr 17 19:14 |
| Where angels fear to tread..... |
| heywooood, Image # 38424 | 25 Apr 17 17:58 |
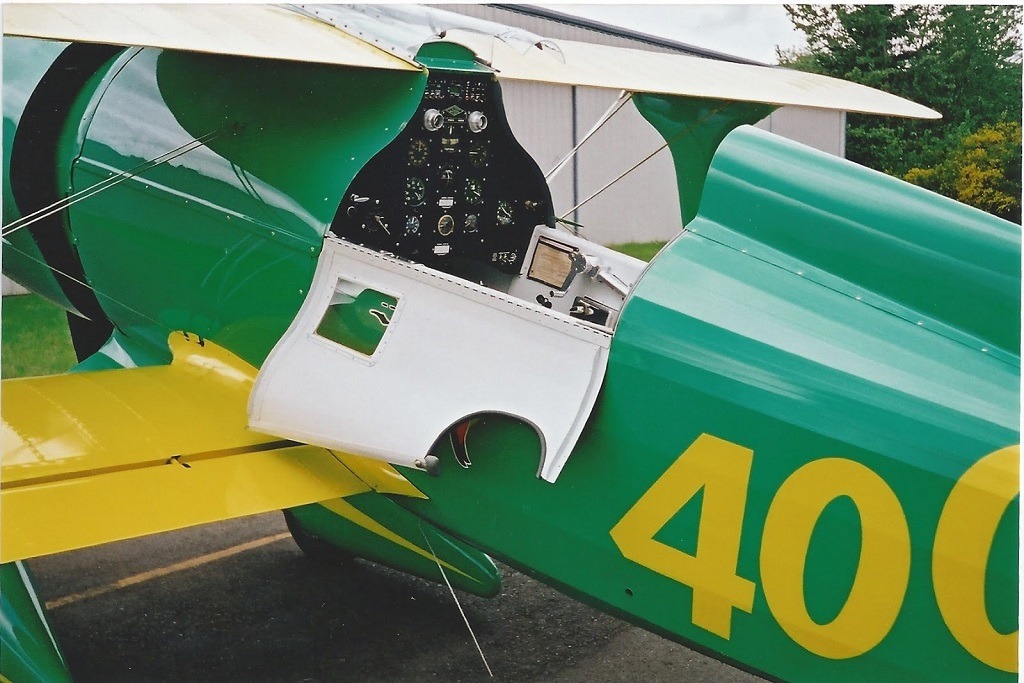
ok - might have to see about making the doors and canopy functional / sliding etc..and do a proper cockpit |
| LASTWOODSMAN, Comment for image # 38417 | 25 Apr 17 16:47 |
| Well there you go Heywood - you're off to the races - thanks for the pics of the kit and plan - I see the blue canopy ... |
| heywooood, Comment for image # 38417 | 25 Apr 17 16:08 |
| I'm pumped up for this. |
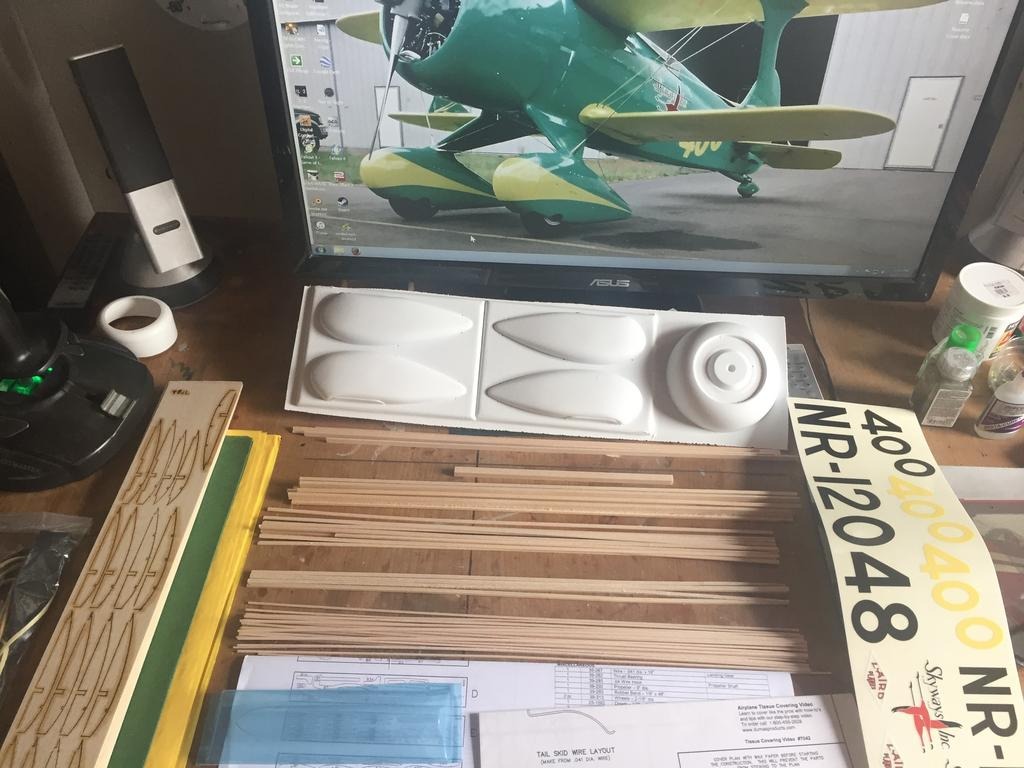
| heywooood, Image # 38423 | 25 Apr 17 16:04 |
|
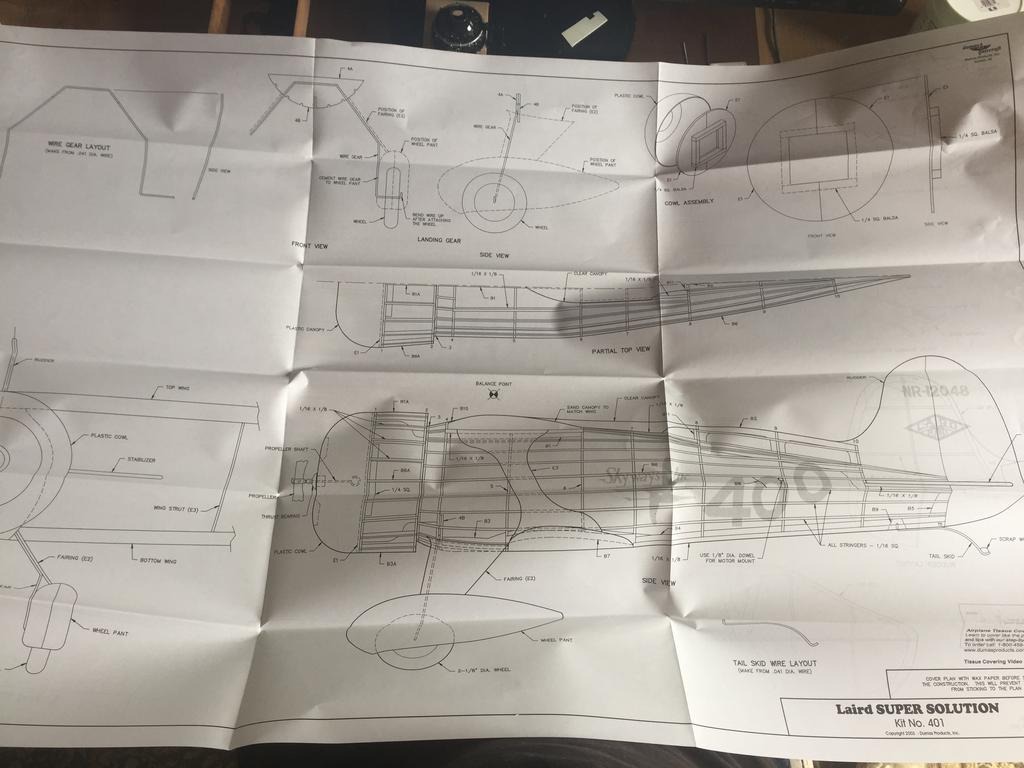
| heywooood, Image # 38422 | 25 Apr 17 16:03 |
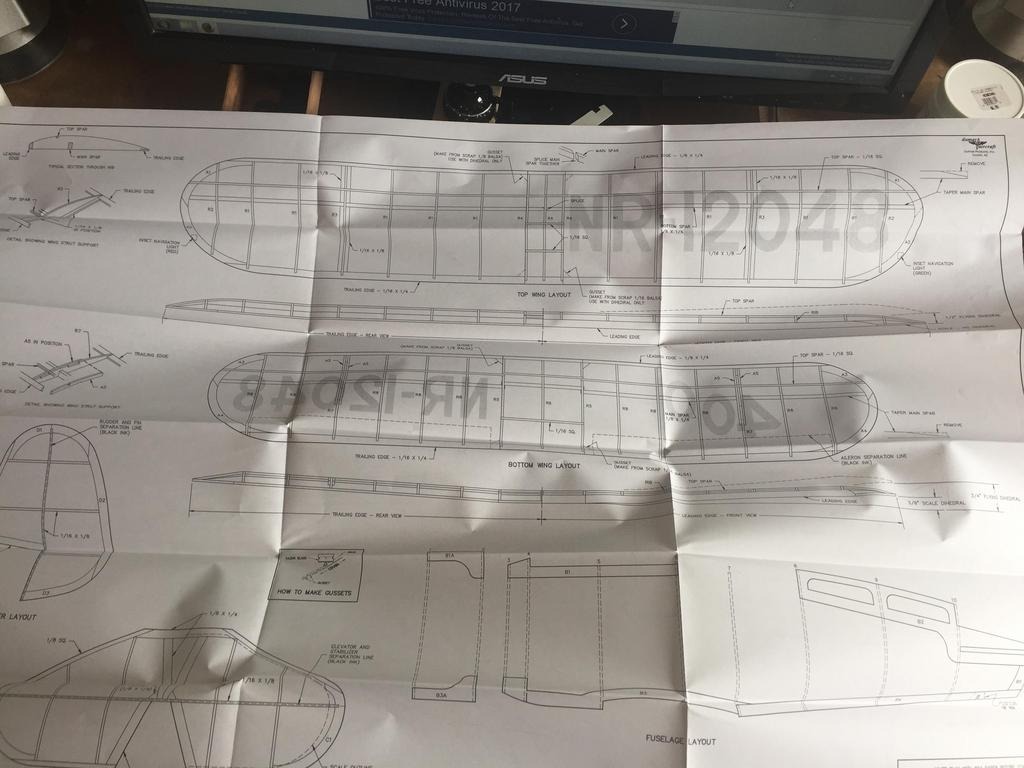
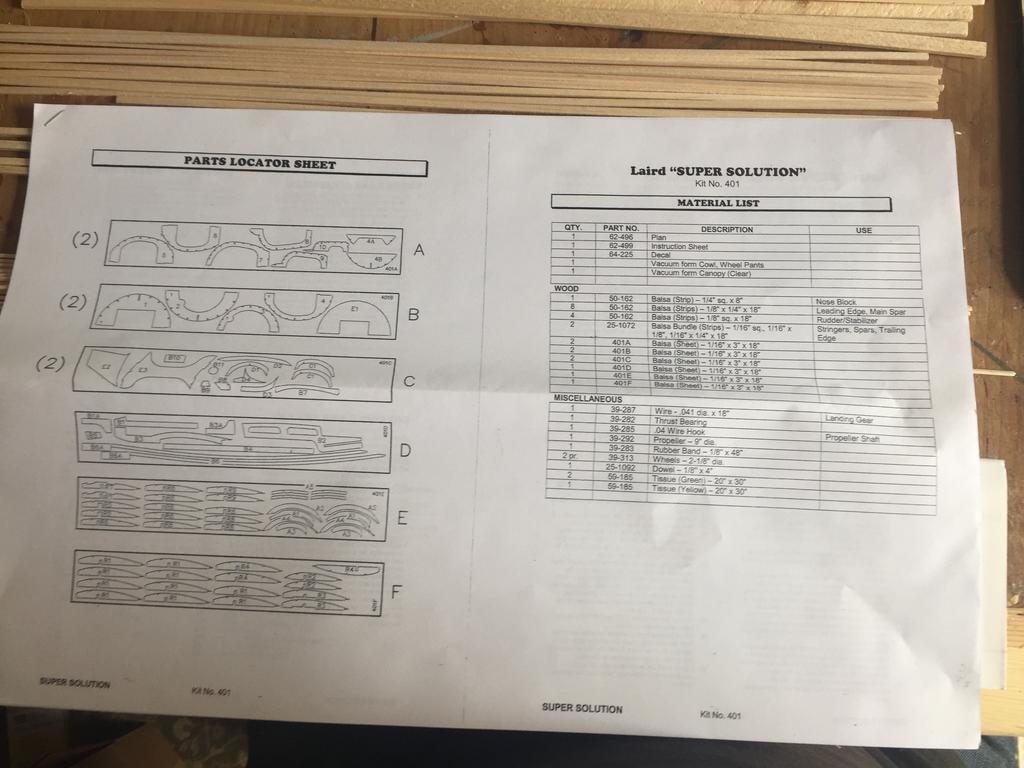
one plan sheet - 2 sided - fuselage and gear layout on one side, wings and tail parts on the other side no ISO or 3 view drawings however.. |
| heywooood, Image # 38421 | 25 Apr 17 16:01 |
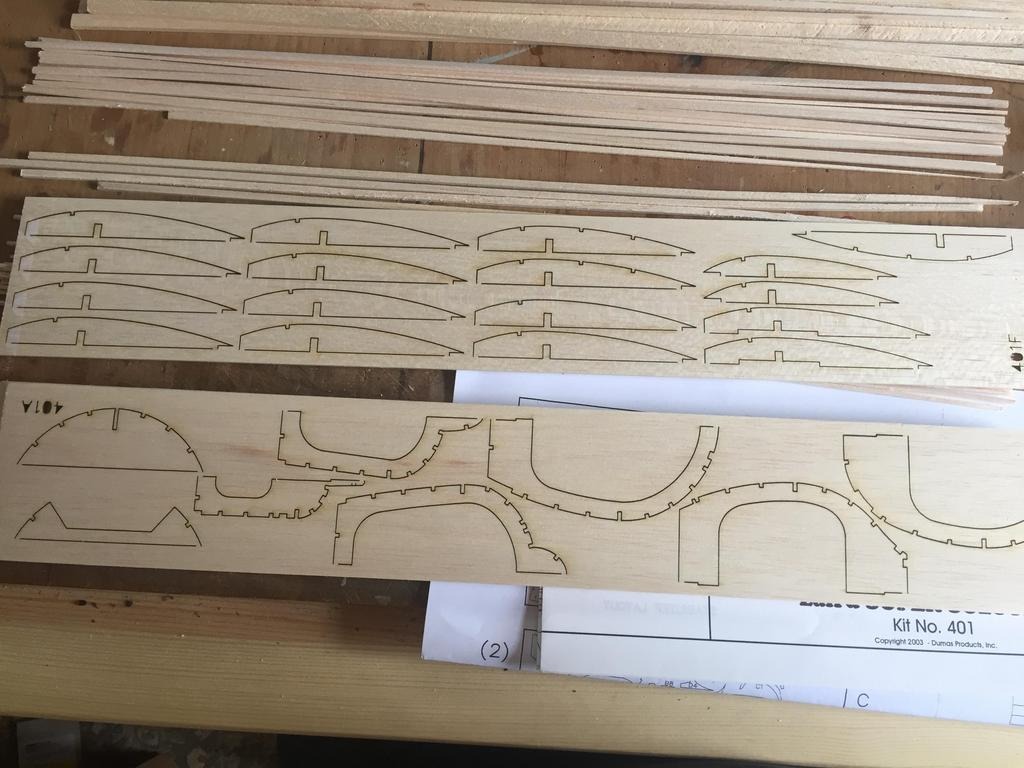
excellent laser cut parts - same as the GeeBee Z kit - just absolute precision |
| heywooood, Image # 38420 | 25 Apr 17 16:00 |
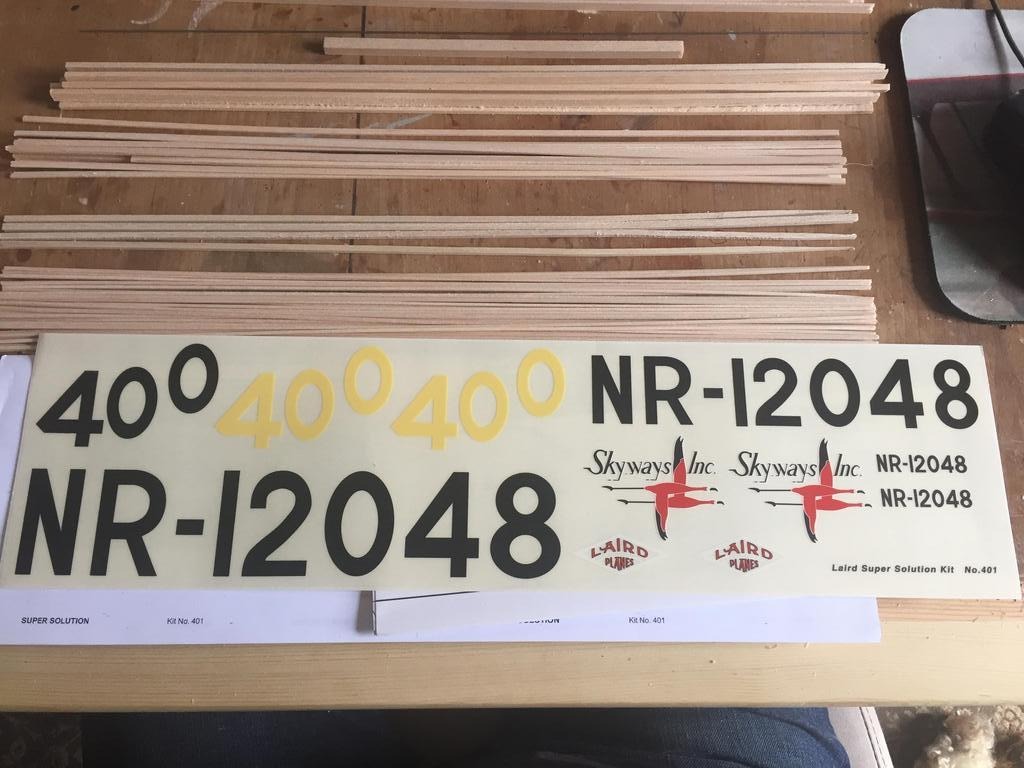
decals..errm - sticker sheet - beautiful marks and registration, terrific colors - 100% accurate to the original aircraft - well done, Dumas |
| heywooood, Image # 38419 | 25 Apr 17 15:58 |
said parts list and building instructions - sometimes adhered to... |
| heywooood, Image # 38418 | 25 Apr 17 15:57 |
kit contents - 100% correct to the parts list - thank you Dumas |
| heywooood, Image # 38417 | 25 Apr 17 15:56 |
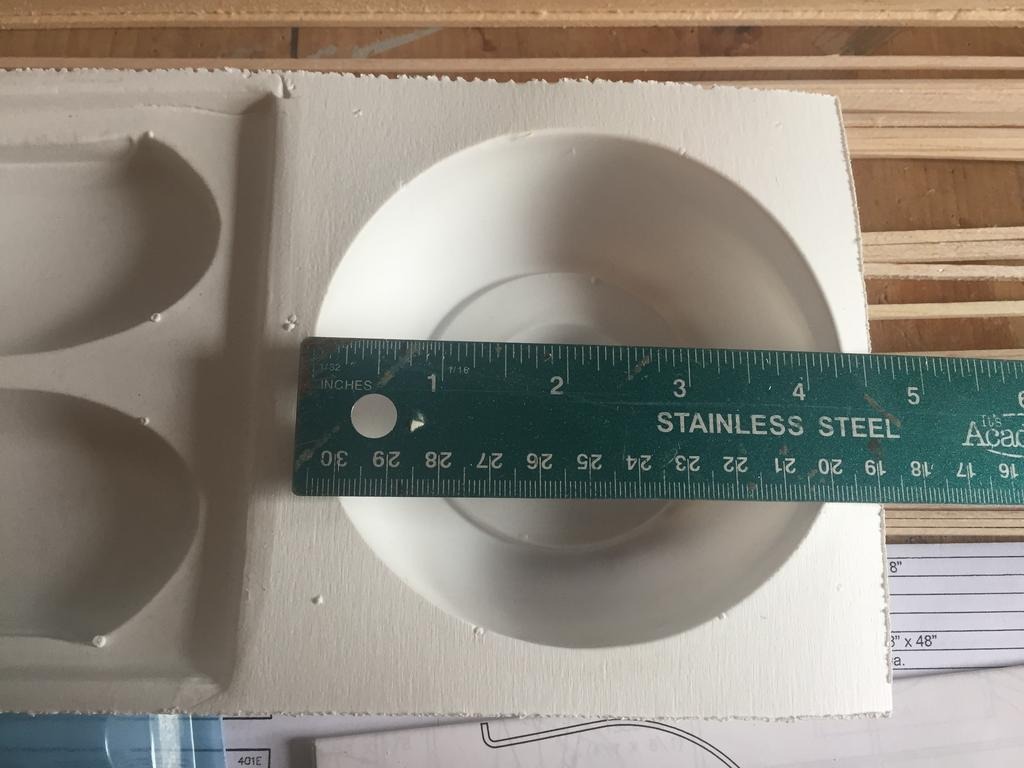
kit arrived - and good news - the cowl is 4-1/4" dia. I can shave just a 1/16" off each cylinder and it will go in nicely |
| heywooood, Comment for image # 38379 | 25 Apr 17 00:09 |
| Dammit!! |
| heywooood, Comment for image # 38379 | 25 Apr 17 00:07 |
| I appreciate your words, Don - I hope I do not disappoint. I really want this model to look right. This airplane just exudes that feeling for the new frontiers of speed, elegance and style of design and the certain panache of that period perfectly. Just look at it - dammit! That right there is a flying MACHINE lol |
| heywooood, Comment for image # 38389 | 24 Apr 17 23:32 |
| see the wiring harness alignment to the cylinder base flanges in this image.. |
| heywooood, Comment for image # 38402 | 24 Apr 17 23:30 |
| the intent is to have the 'pins' (where the plug wires are attached) line up with the center bolt on the cylinder flange.
I takes a bit of patience and test fitting - like most of our crazy hobby lol - endless patience and test fitting and trimming and sanding and swearing... |
| heywooood, Image # 38402 | 24 Apr 17 23:27 |
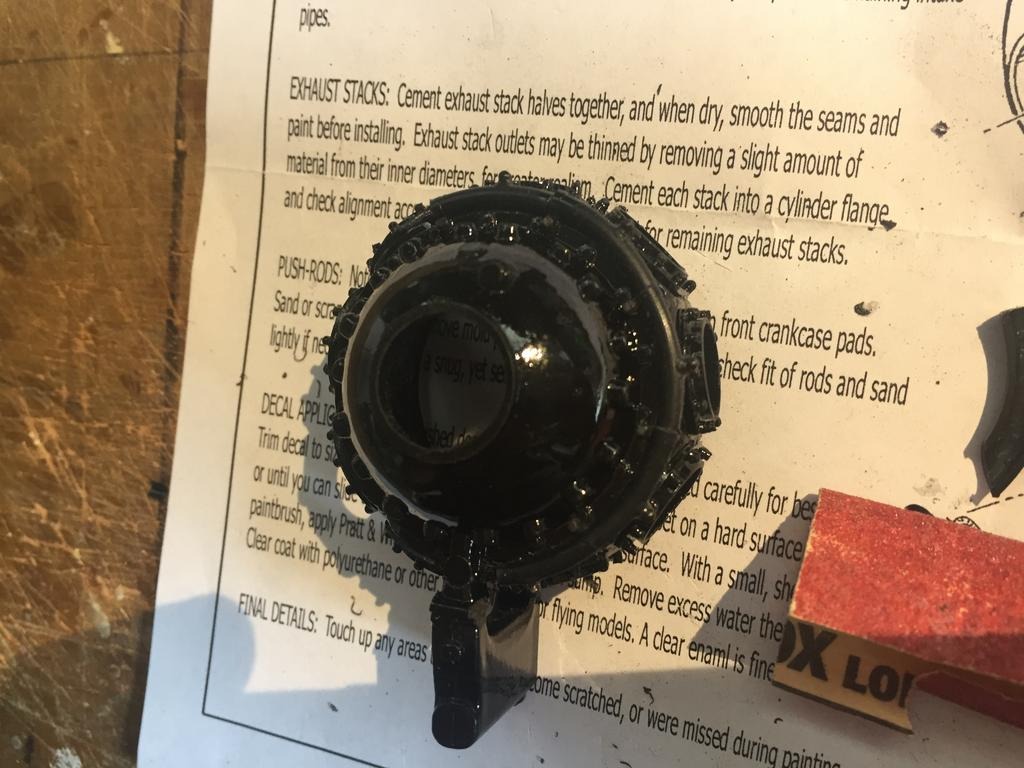
here it is without the chrome - you can see it goes on in sections that must be cut to fit.. |
| Build Thread, Page :
<< 7 8 9 10 11 [ 12 ] 13 (254 posts, 20 posts per page, 13 pages in total)
|
[ < Prev ] [ Next > ] |
