| Build Thread, Page :
<< 4 5 6 7 8 [ 9 ] 10 11 12 13 (254 posts, 20 posts per page, 13 pages in total)
|
[ < Prev ] [ Next > ] |
| heywooood, Comment for image # 38520 | 10 May 17 15:44 |
| I know it isn't as pretty as piano hinge but it works and it is more durable.. I will fair in the ends with balsa and paste to make it a little cleaner |
| heywooood, Image # 38523 | 10 May 17 15:42 |
yes - it works ! |
| heywooood, Image # 38522 | 10 May 17 15:41 |
|
| heywooood, Image # 38521 | 10 May 17 15:41 |
|
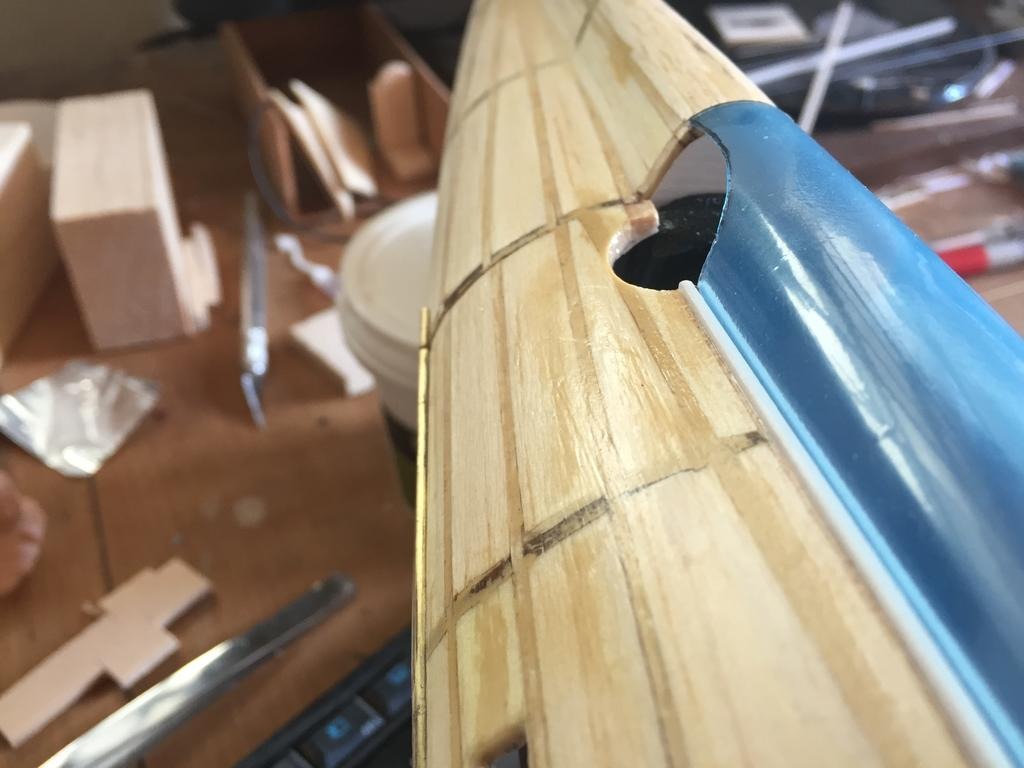
| heywooood, Image # 38520 | 10 May 17 15:41 |
clamshell |
| Don C, Comment for image # 38515 | 10 May 17 09:55 |
| First Solution that is. Not yours. |
| Don C, Comment for image # 38515 | 10 May 17 09:54 |
|
| Don C, Comment for image # 38515 | 10 May 17 09:54 |
| Very nice. Lots of changes and improvements from the first one. |
| rayl, Comment for image # 38515 | 10 May 17 08:14 |
| Sweet! |
| LASTWOODSMAN, Comment for image # 38514 | 10 May 17 00:06 |
| Keep up those "Pilots Notes" Heywood - makes the build all that much more interesting! |
| heywooood, Comment for image # 38514 | 09 May 17 21:17 |
| Pilots Note: apparently the wheel spats were so large they created a problem - too much vertical 'fin' area. So Dolittle claimed these big shoes would override rudder input to the point that he needed massive almost full rudder deflection to get any yaw movement at all. Coordinated turns were impossible because the rudder was ineffective until it was fully deflected and then the yaw was erratic. They had to increase the size of the fin and rudder AND reduce the size of the wheel fairings...Imagine that! these things were bigger than this on the original Super.. |
| heywooood, Comment for image # 38514 | 09 May 17 21:11 |
| I need to pay a visit to the LHS for some more filler - used up almost the whole jar on that GeeBee's wing fairings lol.
I haven't even laid up the wings and tail surfaces yet..I want to get the cockpit squared away and mount those doors first
|
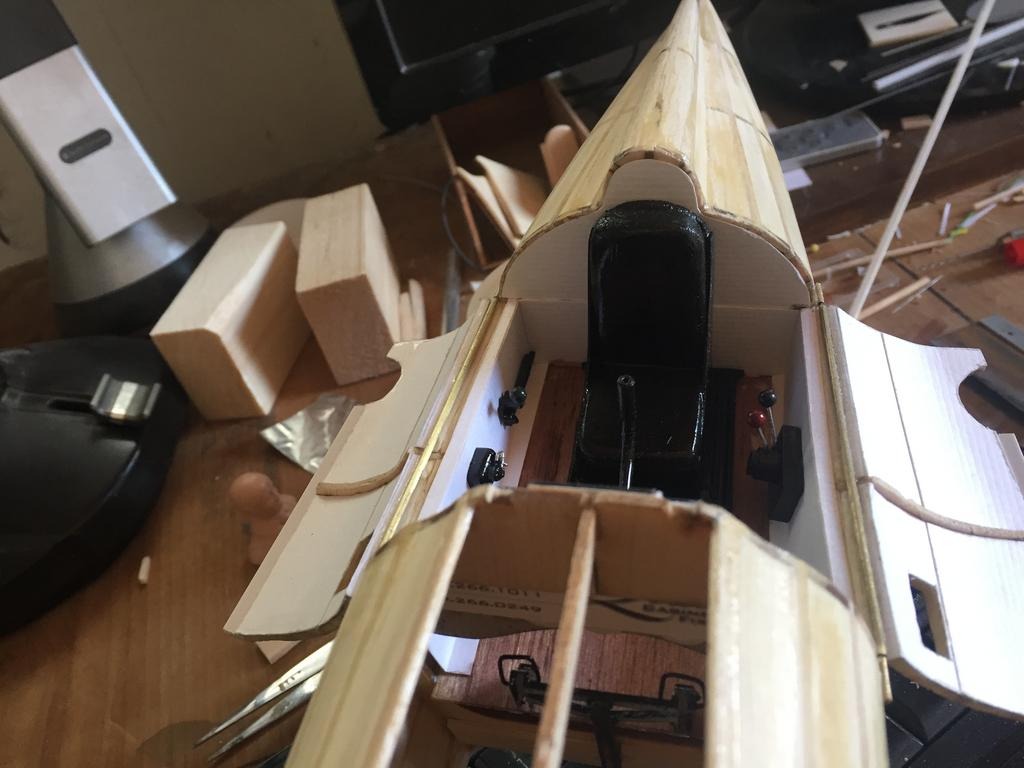
| heywooood, Comment for image # 38515 | 09 May 17 21:08 |
| you can see the elevator trim lever to the right of the pilot seat - also the throttle and mixture levers are in..this one had a ground adjustable prop - so no pitch or RPM lever. You can see the mag switch on the panel lower left and the twin air vents at the top |
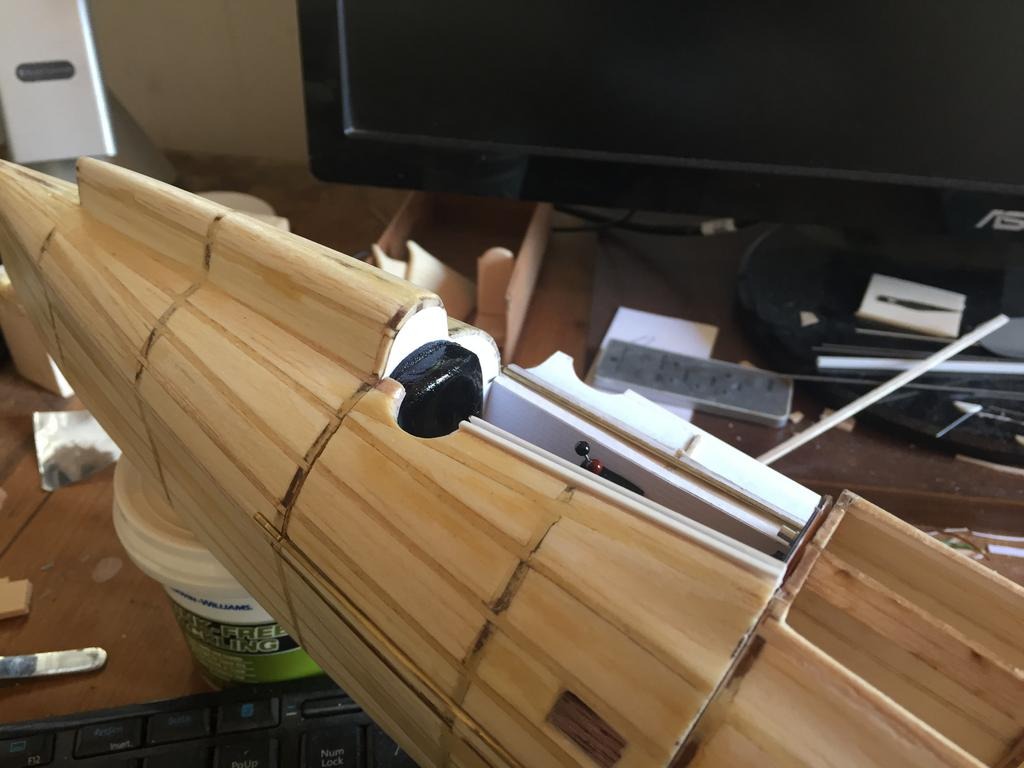
| heywooood, Image # 38515 | 09 May 17 21:06 |
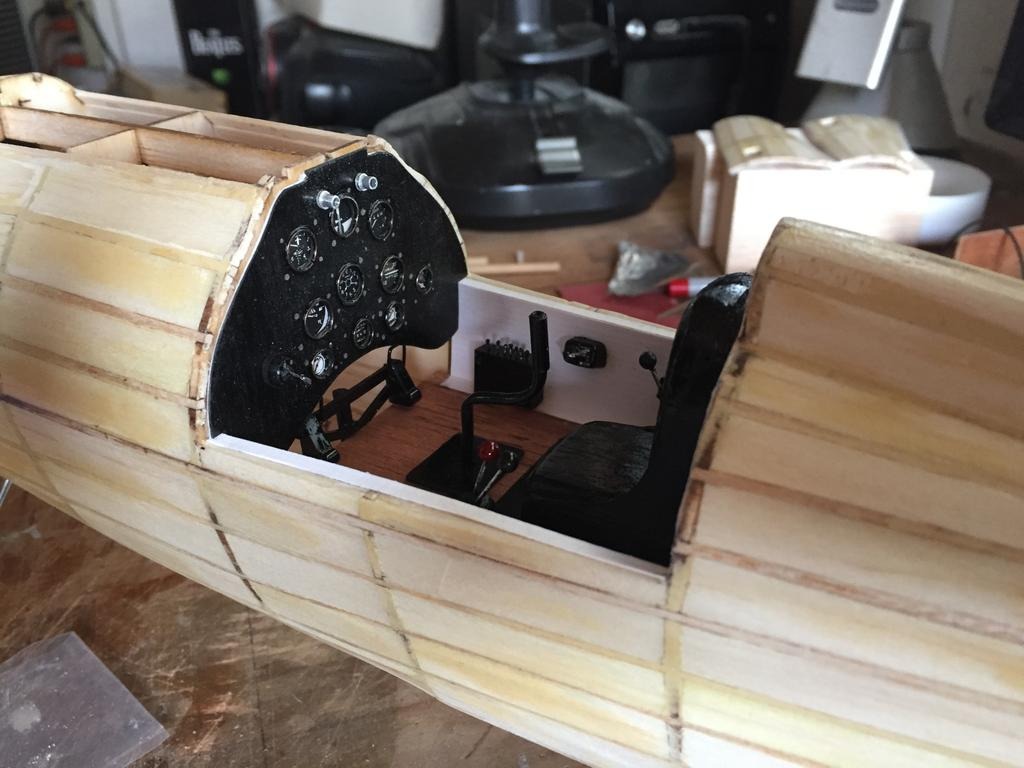
circuit breakers and light switches, master battery and generator on/off, control stick, rudder pedals and the seat are installed |
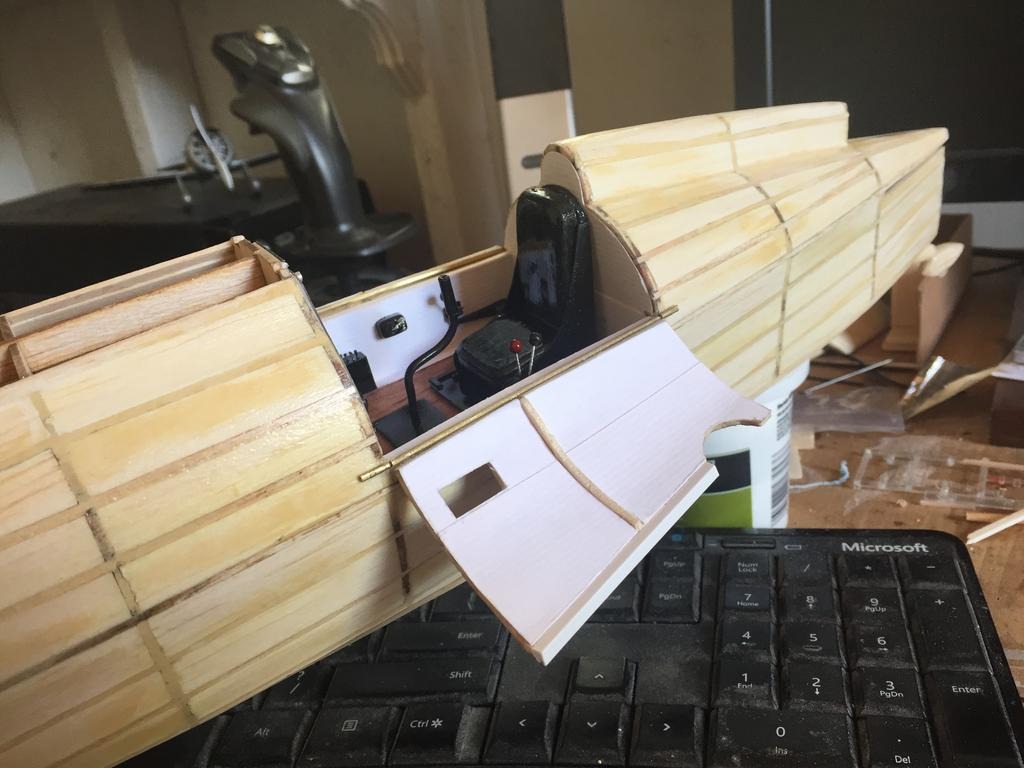
| heywooood, Image # 38514 | 09 May 17 21:04 |
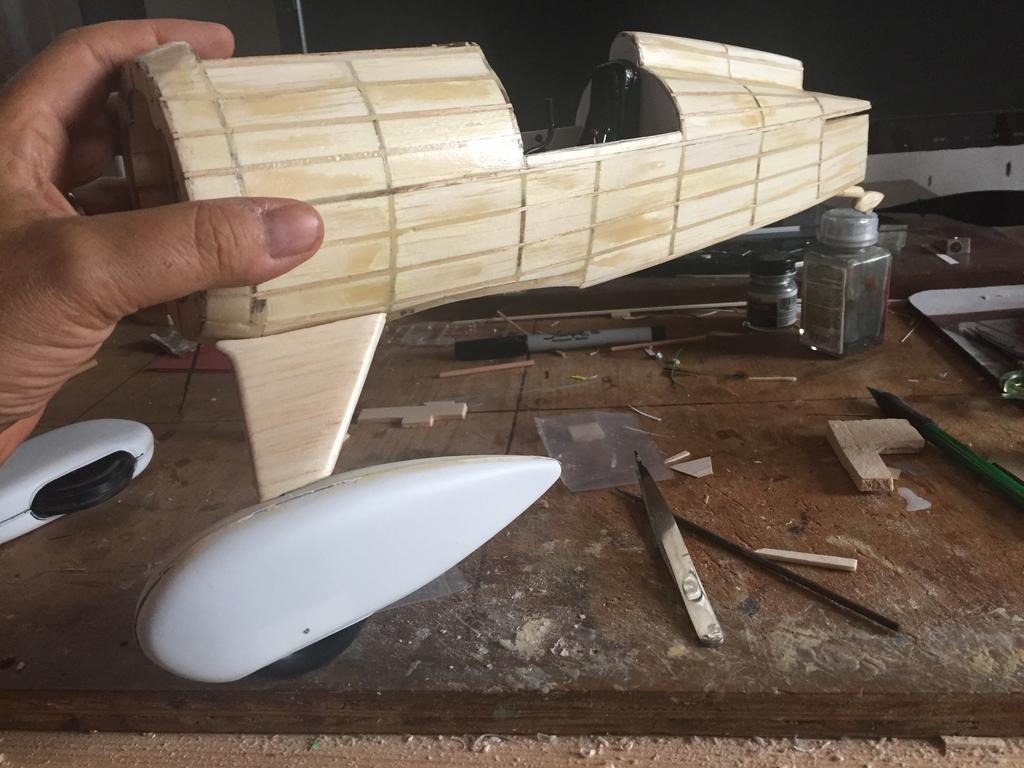
just checking the fit - and wanting to feel like progress is being made.. |
| LASTWOODSMAN, Comment for image # 38504 | 09 May 17 17:32 |
| Me too ... |
| heywooood, Comment for image # 38504 | 09 May 17 12:46 |
| I fall asleep (if I am lucky) wondering how to do it...
|
| Don C, Comment for image # 38504 | 09 May 17 10:31 |
| It really looks good. This is fun to watch because I'm not the one wondering how to do it. |
| biplane guy, Comment for image # 38504 | 09 May 17 07:56 |
| That's a lot of fine work there. |
| heywooood, Comment for image # 38495 | 08 May 17 12:37 |
| lots of apprehension about all this surgery on an otherwise healthy airplane model - but as the Buddha once said "f'k it - lets keep going" |
| Build Thread, Page :
<< 4 5 6 7 8 [ 9 ] 10 11 12 13 (254 posts, 20 posts per page, 13 pages in total)
|
[ < Prev ] [ Next > ] |
