| Build Thread, Page :
1 2 3 4 [ 5 ] 6 7 8 9 10 (185 posts, 20 posts per page, 10 pages in total)
|
[ < Prev ] [ Next > ] |
| jgood, Image # 3673 | 22 Jul 07 22:35 |
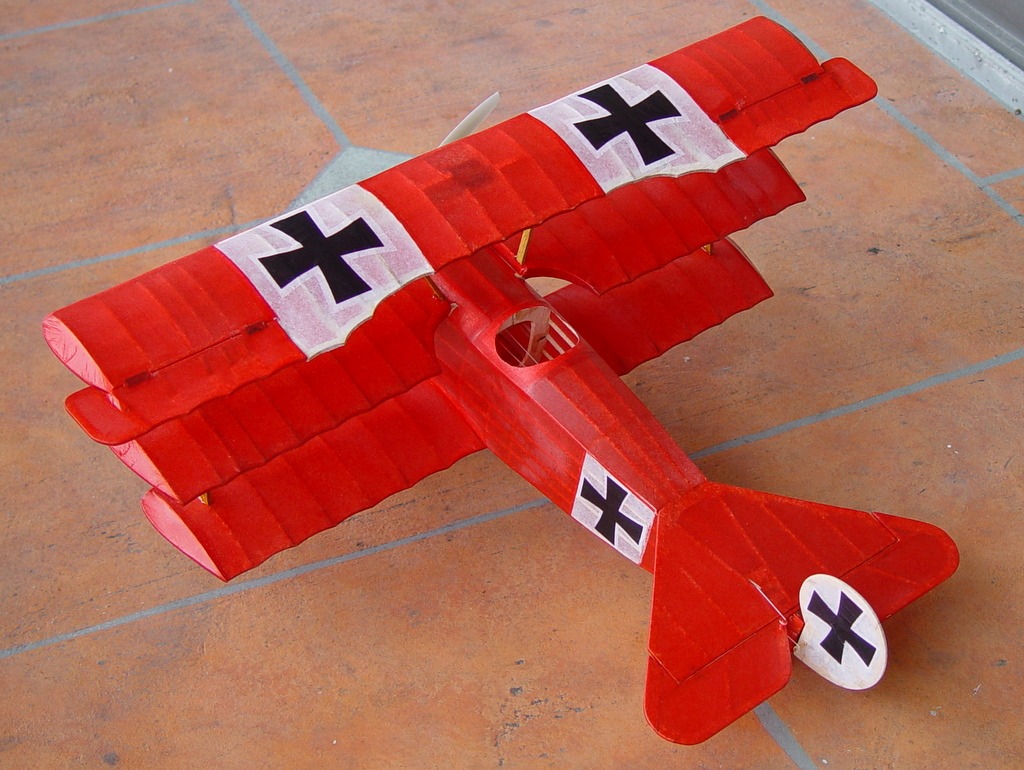
The finished product! For the moment, at least. I intend to see if she flys before doing any detailing... |
| jgood, Image # 3672 | 22 Jul 07 22:34 |
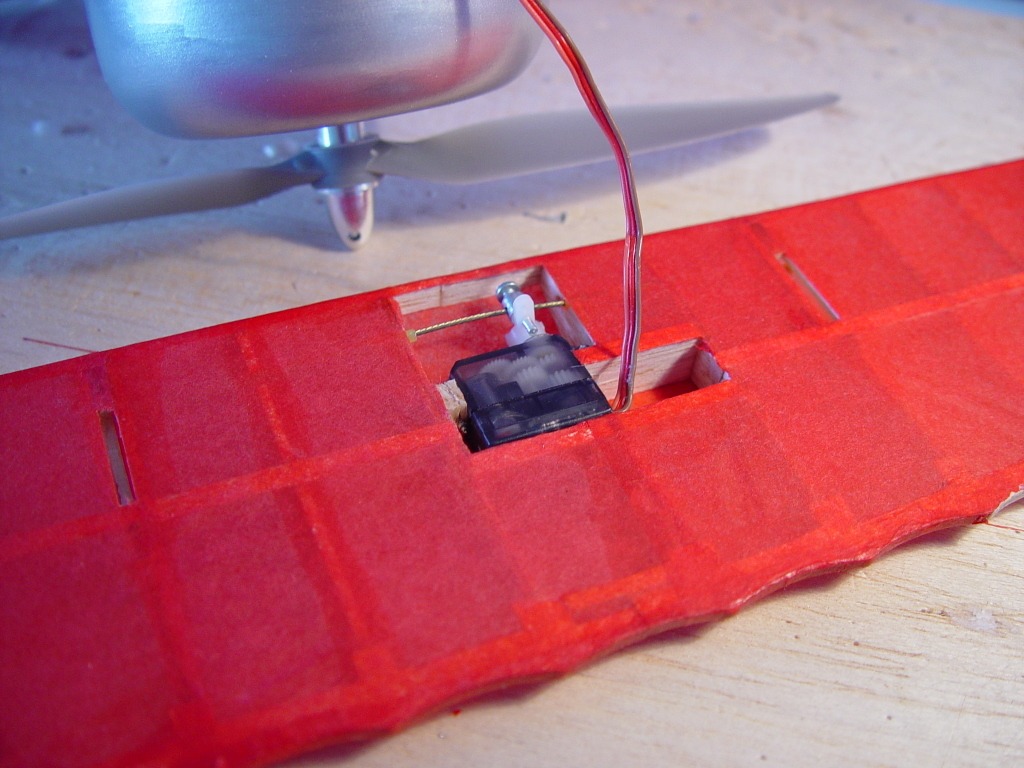
Top wing servo installation. This is left uncovered. |
| jgood, Image # 3671 | 22 Jul 07 22:33 |
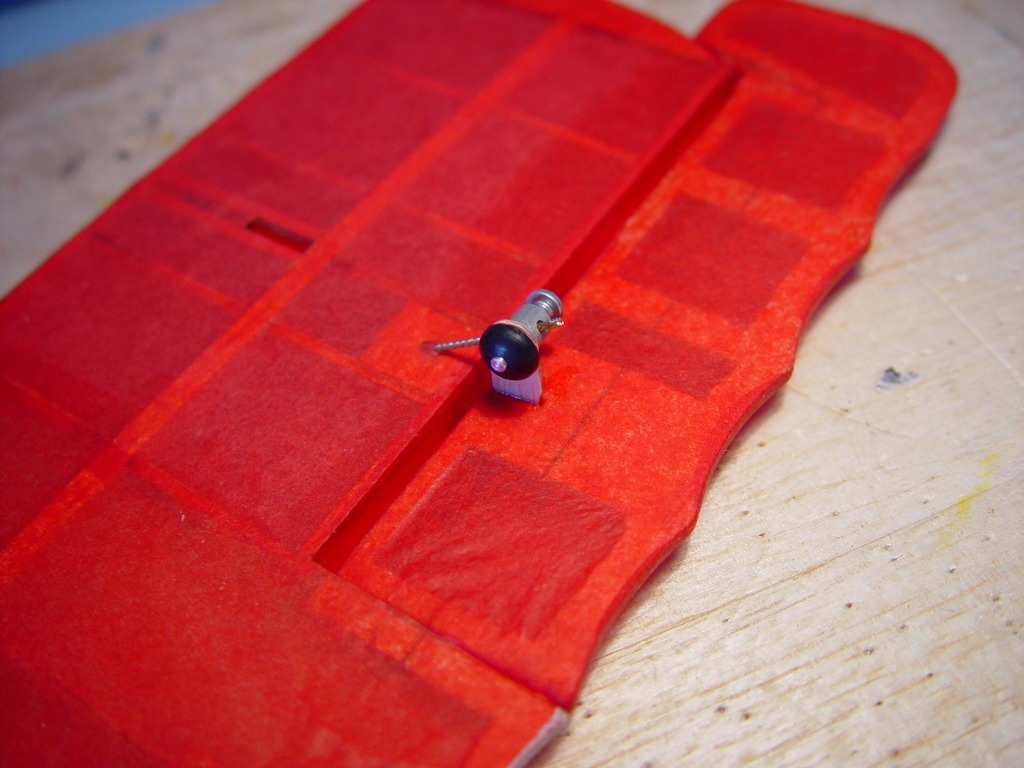
Underside of the top wing, showing the Dubro micro connector used for the aileron connection. |
| David Duckett, Comment for image # 3662 | 22 Jul 07 18:16 |
| No, it would probably be obscene. I guess it's a cat thing, his Mother did it, too. |
| jgood, Comment for image # 3662 | 22 Jul 07 17:53 |
| Thank you guys! Moostang, that was about 1/3 throttle to lift the tail off, I think. I think I have > 1:1 power to weight ratio, so I'm not worried about it being underpowered. Controllable, that's the thing I'm worrying about! David, very funny about patches. Is he on YouTube as well?! |
| David Duckett, Comment for image # 3662 | 22 Jul 07 17:47 |
| That's a great video! My cat Patches lifts his ass just like that when power (scratching) is applied. What a joy to see! The plane. |
| moostang51, Comment for image # 3662 | 22 Jul 07 17:39 |
| Great video. How much throttle was it to lift it's butt? It's going to be a beautiful bird in the air. |
| poppy, Comment for image # 3662 | 22 Jul 07 16:53 |
| That's fantastic!! I just gotta try one. I've only used glow engines in past. Noisey and messy. Those ailerons have plenty of throw. Should be a blur rolling and looping. Again, great job. |
| jgood, Comment for image # 3662 | 22 Jul 07 15:59 |
| Thanks Poppy! Here's a video of my run-up tests today. |
| poppy, Comment for image # 3662 | 22 Jul 07 14:40 |
| Great engineering!! Looks good on ground, can't wait to see in the air. |
| jgood, Image # 3663 | 22 Jul 07 09:51 |

A runway by the ocean! |
| jgood, Image # 3662 | 22 Jul 07 09:51 |
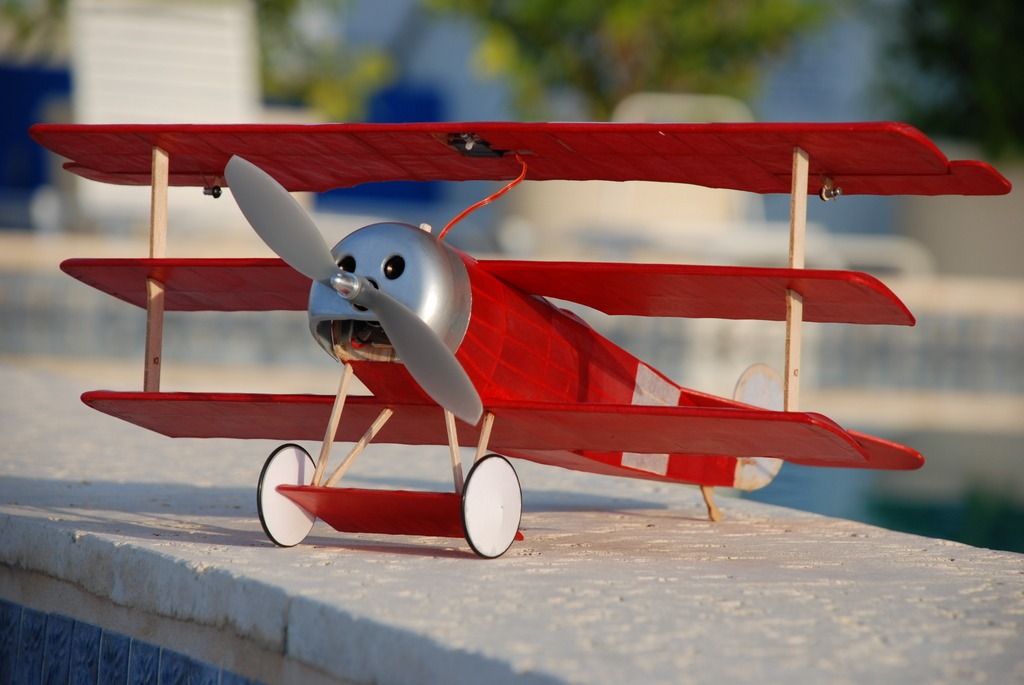
You can see the servo underneath the wing. The servo wire should somewhat blend in with the to-be-installed struts and support wires. |
| jgood, Image # 3661 | 22 Jul 07 09:49 |
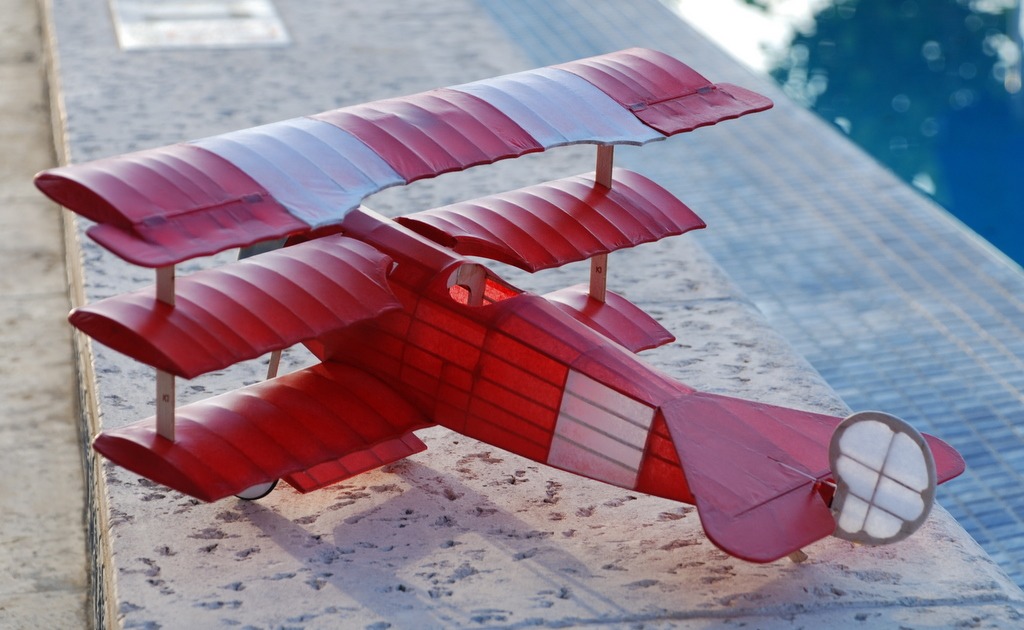
Top wing now covered that ailerons are installed. |
| jgood, Image # 3660 | 22 Jul 07 09:48 |
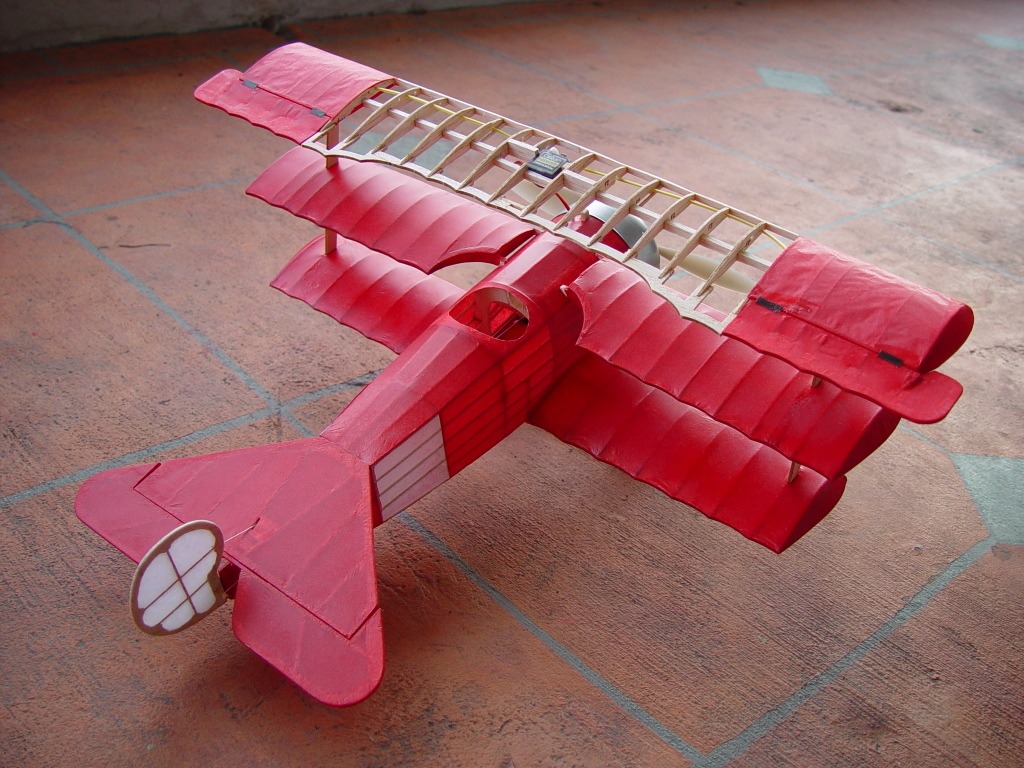
And I now present - working ailerons! They are hinged with small bits of floppy disk material CA'd to the top of the wing and aileron. |
| jgood, Image # 3659 | 22 Jul 07 09:44 |
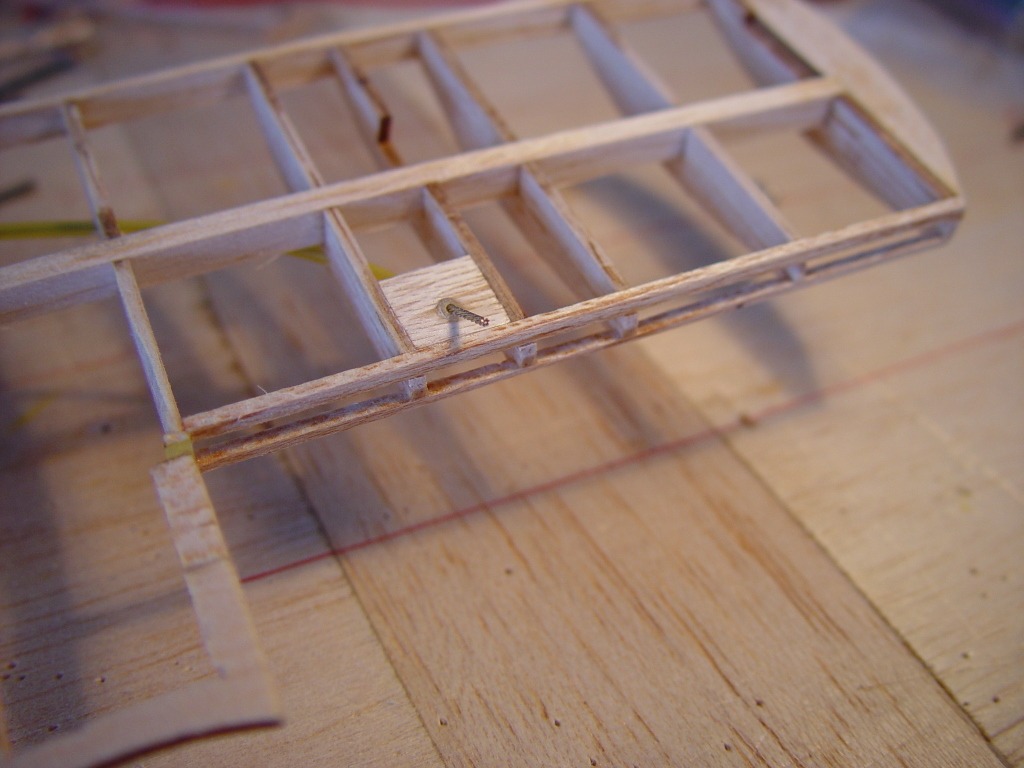
Another reference shot of the aileron setup. |
| jgood, Image # 3658 | 22 Jul 07 09:44 |
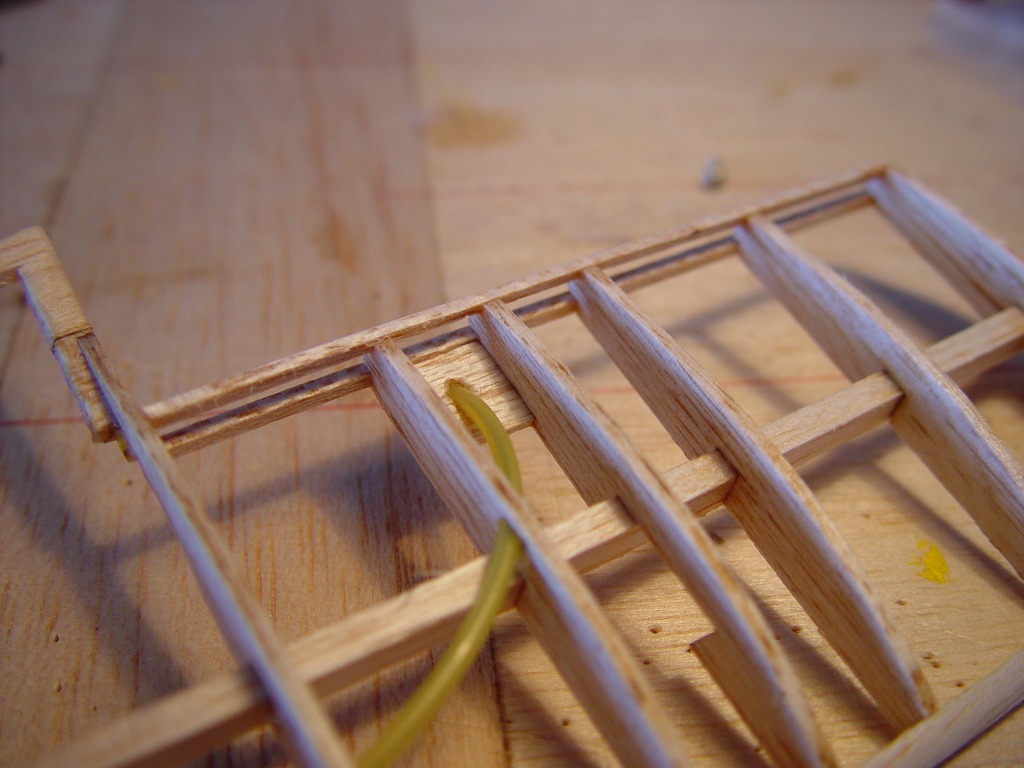
Top view of the aileron installation. This setup gave much better results than the previous, it's a much more direct action, more positive response. |
| jgood, Image # 3657 | 22 Jul 07 09:42 |
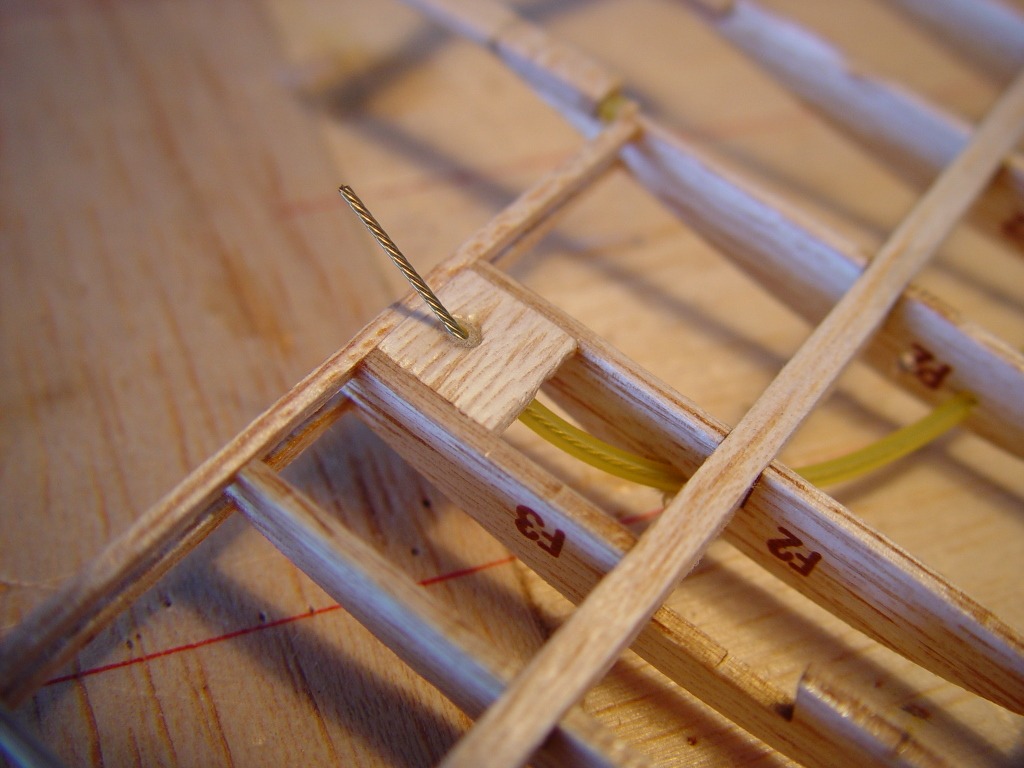
Exit point for the aileron actuator cable. |
| jgood, Image # 3656 | 22 Jul 07 09:42 |
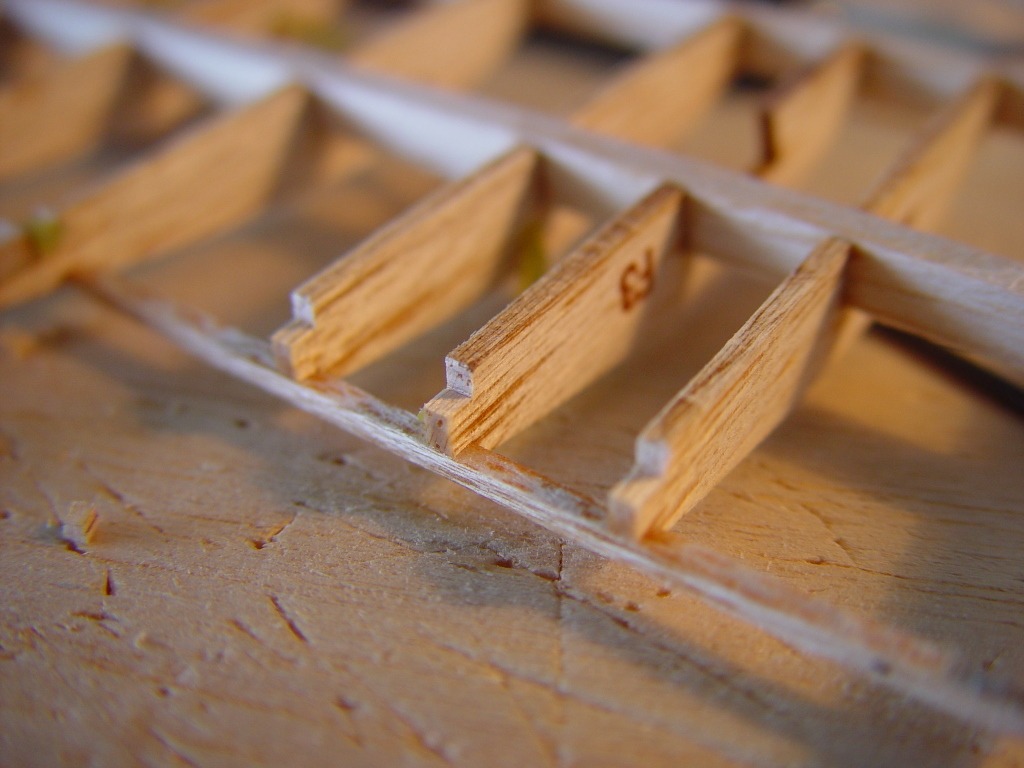
Notching the bottoms of the ribs for the new cross stringer for the aileron opening. |
| jgood, Image # 3655 | 21 Jul 07 16:18 |
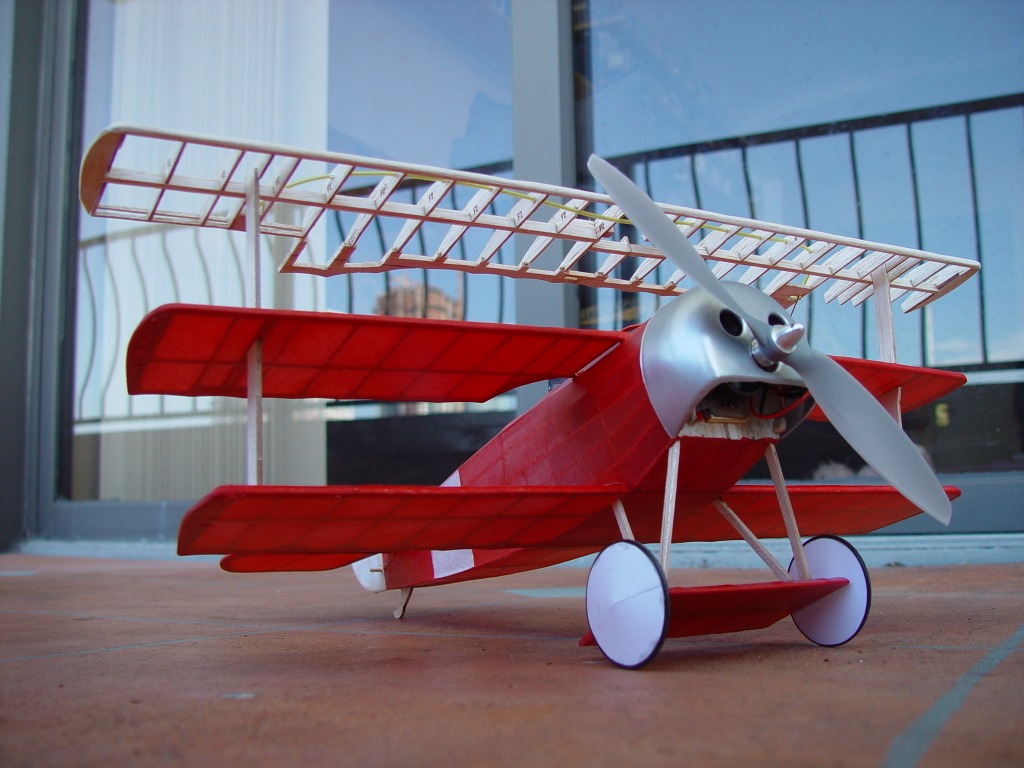
Time to finish up the ailerons and cover and install the top wing. |
| jgood, Image # 3654 | 21 Jul 07 16:17 |
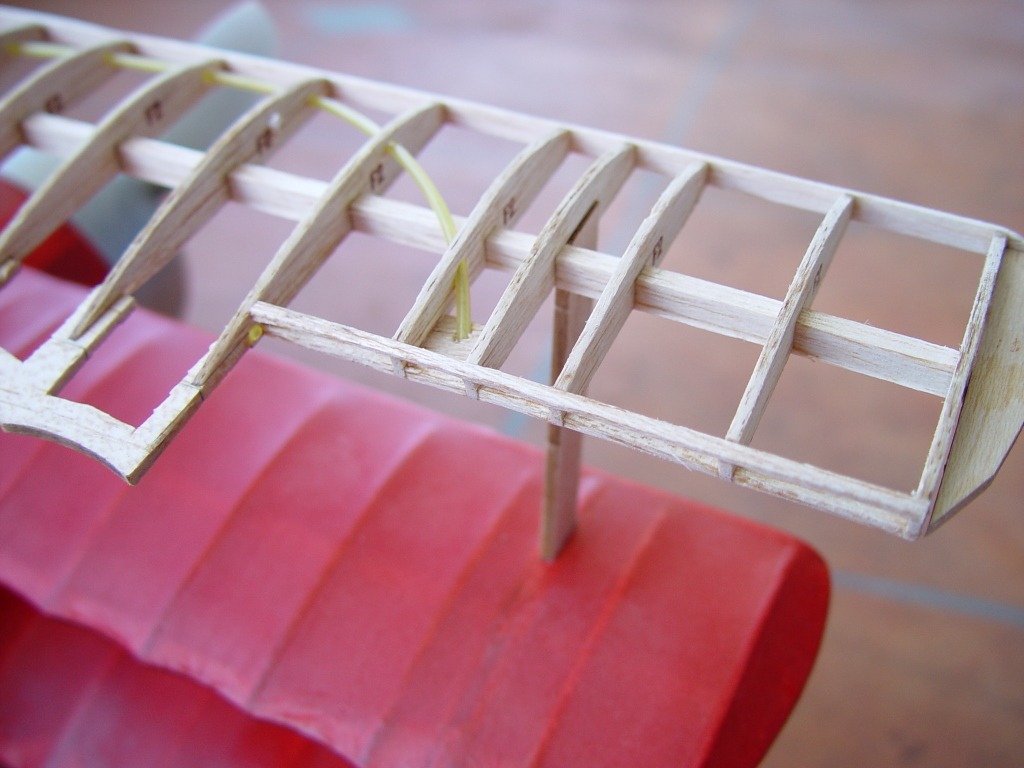
New aileron setup - wing cutouts and actuation cable now installed. |
| Build Thread, Page :
1 2 3 4 [ 5 ] 6 7 8 9 10 (185 posts, 20 posts per page, 10 pages in total)
|
[ < Prev ] [ Next > ] |

