| Build Thread, Page :
<< 6 7 8 9 10 [ 11 ] 12 13 14 15 16 >> (348 posts, 20 posts per page, 18 pages in total)
|
[ < Prev ] [ Next > ] |
| biplane guy, Comment for image # 36192 | 03 Jun 16 19:32 |
| Oh John, that's WHEELY bad! But I love it. |
| biplane guy, Comment for image # 36190 | 03 Jun 16 19:30 |
| Yes they are, nominally, due to the short throw of the stick to the ailerons and the limited cable movement to the rudder. But it's pretty cool to move the various control surfaces by hand and watch as the stick and rudder pedals in the rear cockpit move in response. |
| jgood, Comment for image # 36190 | 03 Jun 16 13:45 |
| Amazing. All 3 axis controls are working? |
| biplane guy, Comment for image # 36190 | 03 Jun 16 08:24 |
| Thank you, you are very kind not to point out that I screwed up yet again. I extended the rods to the throttle quadrant in the rear cockpit back towards the tail where they control nothing at all (except how I spend my free time fixing stuff). |
| John M Oshust, Comment for image # 36192 | 02 Jun 16 16:10 |
| Wheelly, wheely, nice work. Delectable! |
| Don C, Comment for image # 36190 | 02 Jun 16 12:18 |
| Yes, indeed. |
| biplane guy, Image # 36192 | 02 Jun 16 11:36 |
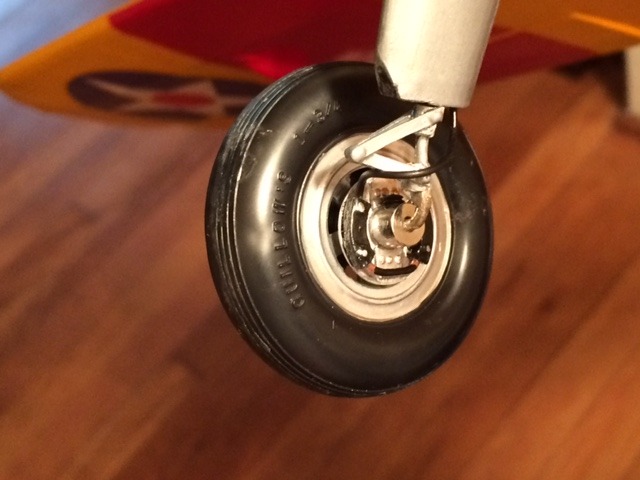
Wheel assembly |
| biplane guy, Image # 36191 | 02 Jun 16 11:34 |
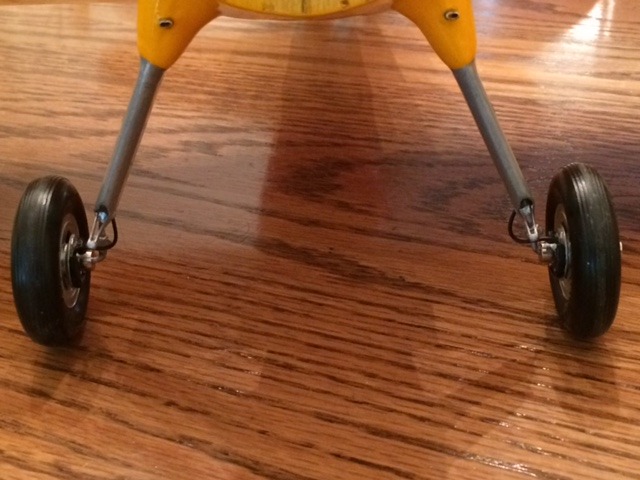
Brakes and shocks |
| John M Oshust, Comment for image # 36190 | 02 Jun 16 10:50 |
| Very nice, yummy! |
| biplane guy, Comment for image # 36190 | 02 Jun 16 09:12 |
| Ready to connect the rudder cables under the front cockpit (before gluing it it place) and to install the rudder pedals in front. That will complete the working controls. |
| biplane guy, Image # 36190 | 02 Jun 16 09:07 |
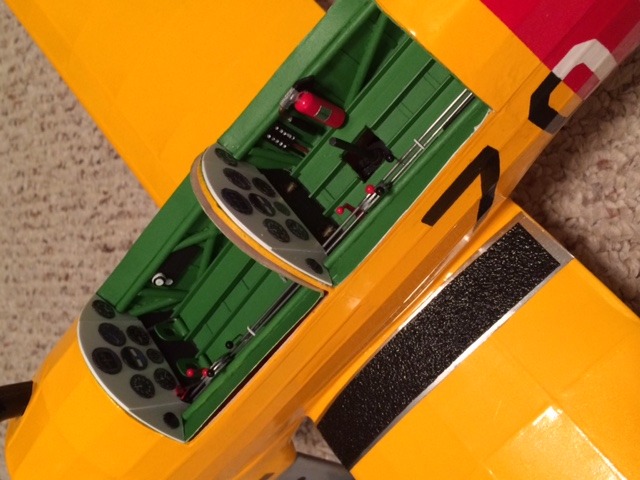
Front and rear |
| biplane guy, Comment for image # 36189 | 02 Jun 16 09:04 |
| I decided to build a 3D version of the cardboard cockpit right on the cardboard itself. I took pics of the originals from Guillows and then cut the tubes from a 1/8" dia. wooden dowel. The other pieces were made from styrene. I airbrushed the green and then added the other colored pieces while everything was laid out flat (much easier) using the pics as a guide. Then just folded it up and slid it in place. |
| biplane guy, Image # 36189 | 02 Jun 16 08:46 |
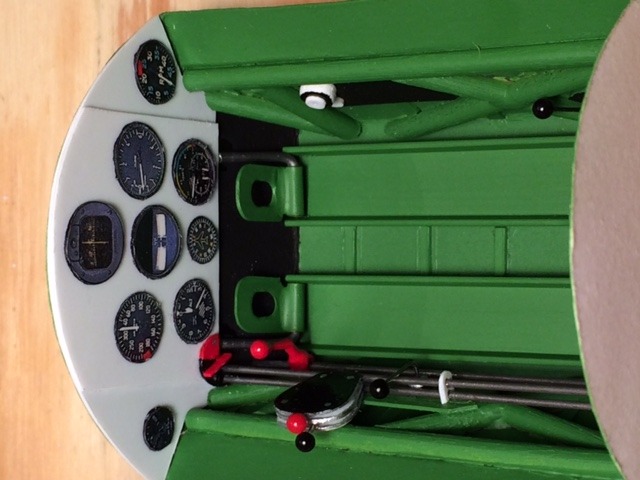
Front cockpit |
| biplane guy, Comment for image # 36098 | 22 May 16 21:43 |
| Thanks Sky. I hurts my neck to look at these pics sideways. Am I doing something wrong when I upload them? Everyone else seems to upload upright. |
| Skyediamonds1985, Comment for image # 36098 | 22 May 16 17:38 |
| Beautiful job Biplane. You make it look so easy. Really like the way you blended in the rear fuselage outlets for the push rods. And you've got the controls hooked up to the cockpit controls too? Amazing. |
| biplane guy, Comment for image # 36098 | 20 May 16 17:15 |
| The elevator pushrod is connected to the stick. |
| biplane guy, Comment for image # 36097 | 20 May 16 17:08 |
| I know, the control horn should face front but I needed the room for the cable to move. See the next picture of the elevator and rudder controls. It's not authentic but it does work from the rudder pedals.: ) |
| biplane guy, Image # 36098 | 20 May 16 17:03 |
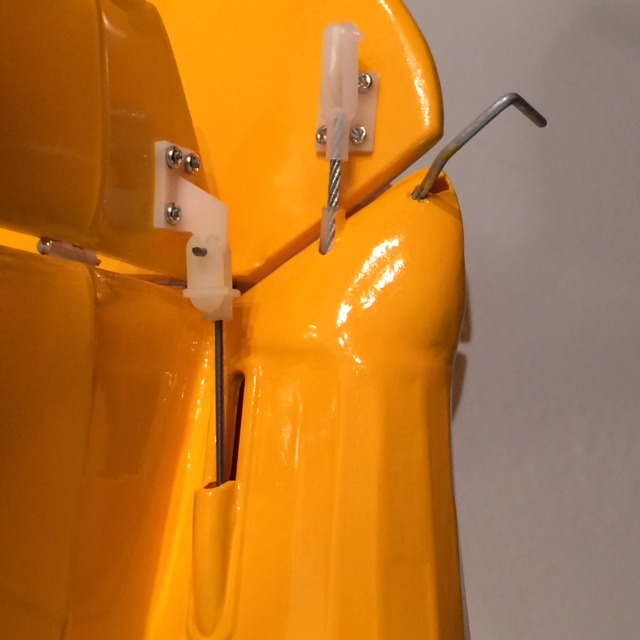
elevator and rudder controls |
| biplane guy, Image # 36097 | 20 May 16 17:02 |
rudder linkage |
| Skyediamonds1985, Comment for image # 36018 | 17 May 16 19:58 |
| Don C, and Biplane Guy, wanna bet no one else is OCD?? I keep clicking my heels saying: "There's no place like modeling. There's no place like modeling.... Ohhh, I left off a detail. Oh Nooo, I must include this very important (impotent?) part or else the plane doesn't look right." Ahhh, its so nice to have OCD company. I'm not alone. I'm not alone..... |
| Build Thread, Page :
<< 6 7 8 9 10 [ 11 ] 12 13 14 15 16 >> (348 posts, 20 posts per page, 18 pages in total)
|
[ < Prev ] [ Next > ] |
