| Build Thread, Page :
<< 3 4 5 6 7 [ 8 ] 9 10 11 (200 posts, 20 posts per page, 11 pages in total)
|
[ < Prev ] [ Next > ] |
| Creosotewind, Comment for image # 8956 | 21 Jul 08 14:41 |
| He's 19 and doesn't play with them anymore. The parts are soft plastic, they cut and glue nicely together. |
| Creosotewind, Comment for image # 8955 | 21 Jul 08 14:40 |
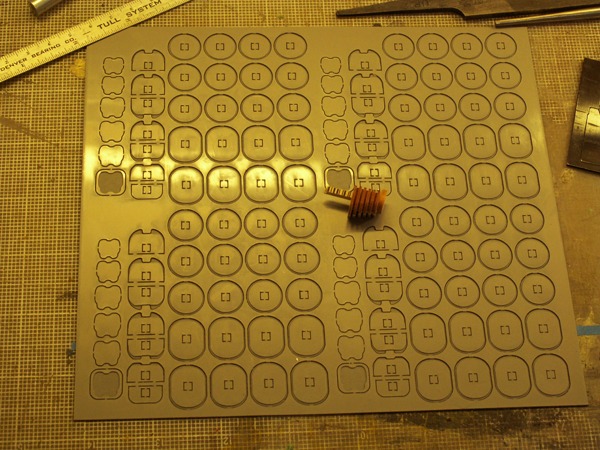
| The center of each piece has a square so I could align all the parts on square brass tube. Each piece has the edges etched, so when assembled, the cooling fins are prominent. The drawings are things I gathered from the Internets. |
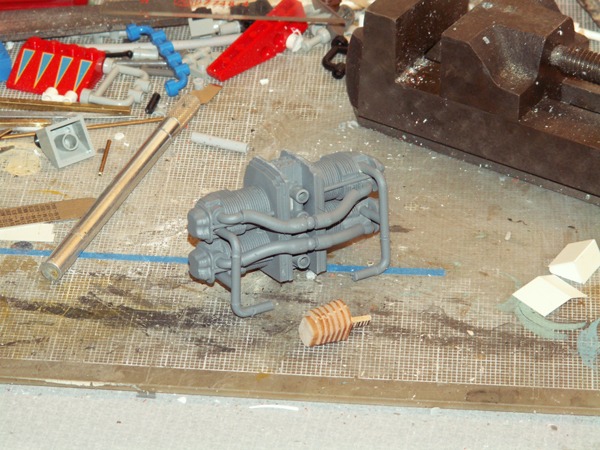
| Creosotewind, Comment for image # 8954 | 21 Jul 08 14:38 |
| The engine block. Stacks of plastic. Most of this will be hidden so I just drew up the basic shape. |
| Creosotewind, Comment for image # 8953 | 21 Jul 08 14:37 |
| The wood piece is from the original kit. I drew up these parts and had a friend that owns a sign shop laser etch and cut the parts. Fortunately, the Piper is only a four cylinder. I may do this for my Douglas A-20 later. Lots more cylinders there. |
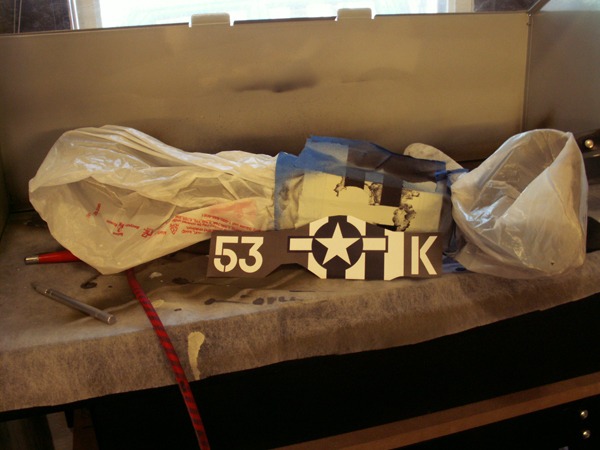
| Creosotewind, Comment for image # 8952 | 21 Jul 08 14:36 |
| Paint is stripped. The black stripes were model acrylics. The white was Liquitex. The Liquitex came right off with the ammonia-based Windex. I decided to fix the tail; some wrinkles I didn't like. This is ordinary spackle that will get sanded and primed. |
| Creosotewind, Comment for image # 8951 | 21 Jul 08 14:33 |
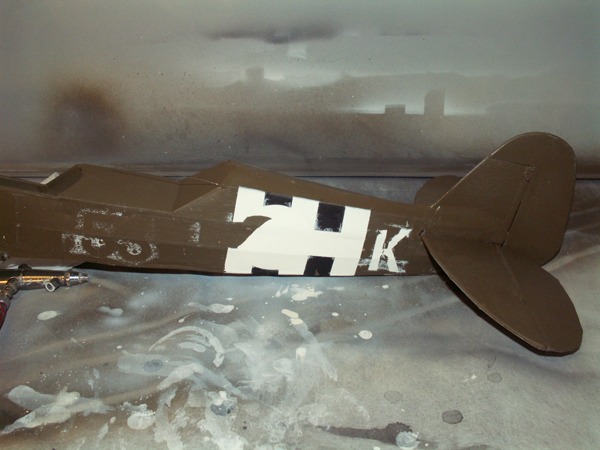
| Not one of my finer moments. I decided to start fresh. Stripped the acrylic paint with Windex. |
| Creosotewind, Comment for image # 8950 | 21 Jul 08 14:33 |
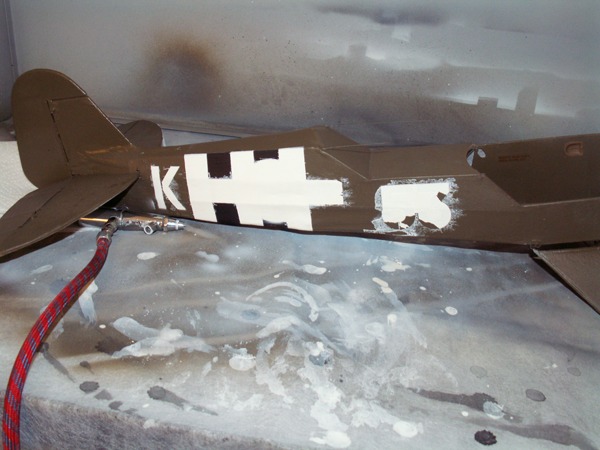
| I had vinyl masks made and used acrylic paint through an airbrush. I think the water based paint would pull away from the edge of the masks because of surface tension. So I would add more paint. The paint also did not stick well to the olive drab. When I removed the masks, I removed a lot of the graphics as well. Plus, a lot of bleed under. |
| Creosotewind, Image # 8959 | 21 Jul 08 14:30 |
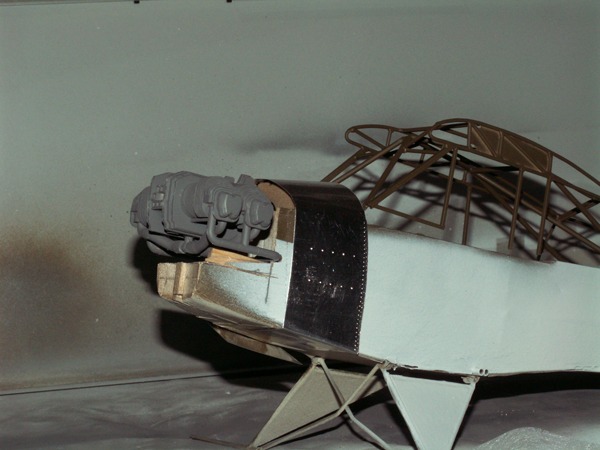
Engine in place, for now. |
| Creosotewind, Image # 8958 | 21 Jul 08 14:29 |

Engine in place. New tactic for paint. |
| Creosotewind, Image # 8957 | 21 Jul 08 14:29 |
Primer coat. |
| Creosotewind, Image # 8956 | 21 Jul 08 14:28 |
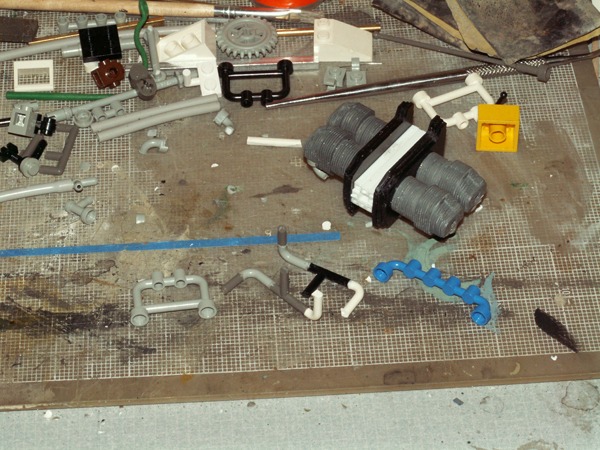
Raided my son's Lego set. |
| Creosotewind, Image # 8955 | 21 Jul 08 14:27 |
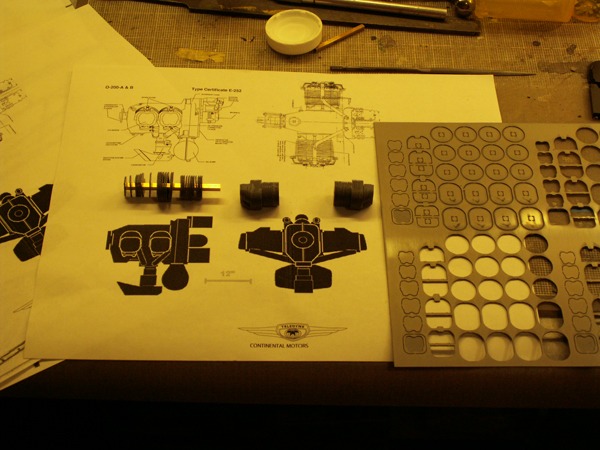
Cylinders being assembled. |
| Creosotewind, Image # 8954 | 21 Jul 08 14:27 |

Engine block |
| Creosotewind, Image # 8953 | 21 Jul 08 14:26 |
Something different. The engine. |
| Creosotewind, Image # 8952 | 21 Jul 08 14:25 |
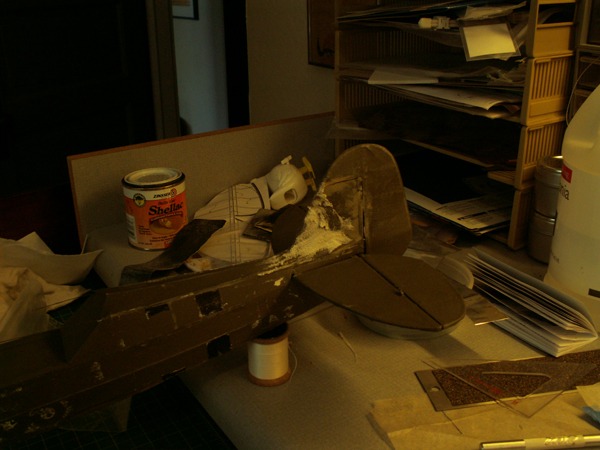
Do over. Paint stripped. |
| Creosotewind, Image # 8951 | 21 Jul 08 14:24 |
Do'h! Do'h!!! |
| Creosotewind, Image # 8950 | 21 Jul 08 14:23 |
Not what it is supposed to look like. Do'h!! |
| Creosotewind, Image # 8949 | 21 Jul 08 14:22 |
What it is supposed to look like |
| Jedi, Comment for image # 8831 | 07 Jul 08 19:41 |
| Very very nice detail!!! |
| Creosotewind, Comment for image # 8831 | 07 Jul 08 12:34 |
| The paint is spray from a can. The details, stars and bars, buzz numbers, etc, will be airbrushed. |
| Build Thread, Page :
<< 3 4 5 6 7 [ 8 ] 9 10 11 (200 posts, 20 posts per page, 11 pages in total)
|
[ < Prev ] [ Next > ] |
