| Build Thread, Page :
<< 6 7 8 9 10 [ 11 ] 12 13 14 15 16 >> (570 posts, 20 posts per page, 29 pages in total)
|
[ < Prev ] [ Next > ] |
| rayl, Comment for image # 37523 | 16 Dec 16 07:29 |
| Richard: Yes, Reynolds Wrap. Used some old Krasel foil adhesive that's been in my stash for 20(+) years. Covered just like a wing; bottom side first, trimmed then cover the top. I have found that using a piece of soft balsa is the best way to burnish down the foil. |
| rgood, Comment for image # 37524 | 15 Dec 16 23:12 |
| Love those hexagons rayl - amazing detail. |
| LASTWOODSMAN, Comment for image # 37523 | 15 Dec 16 16:49 |
| A chrome prop!! Is that Reynold's wrap kitchen tin foil? What glue did you use? Two pieces of foil for each blade - one upper and one lower? |
| jgood, Comment for image # 37523 | 15 Dec 16 12:37 |
| That's amazing! |
| Creosotewind, Comment for image # 37523 | 15 Dec 16 12:27 |
| Yowza!
|
| Don C, Comment for image # 37524 | 15 Dec 16 10:56 |
| Did you mold the hub? The blades look like factory. |
| rayl, Image # 37524 | 15 Dec 16 10:19 |
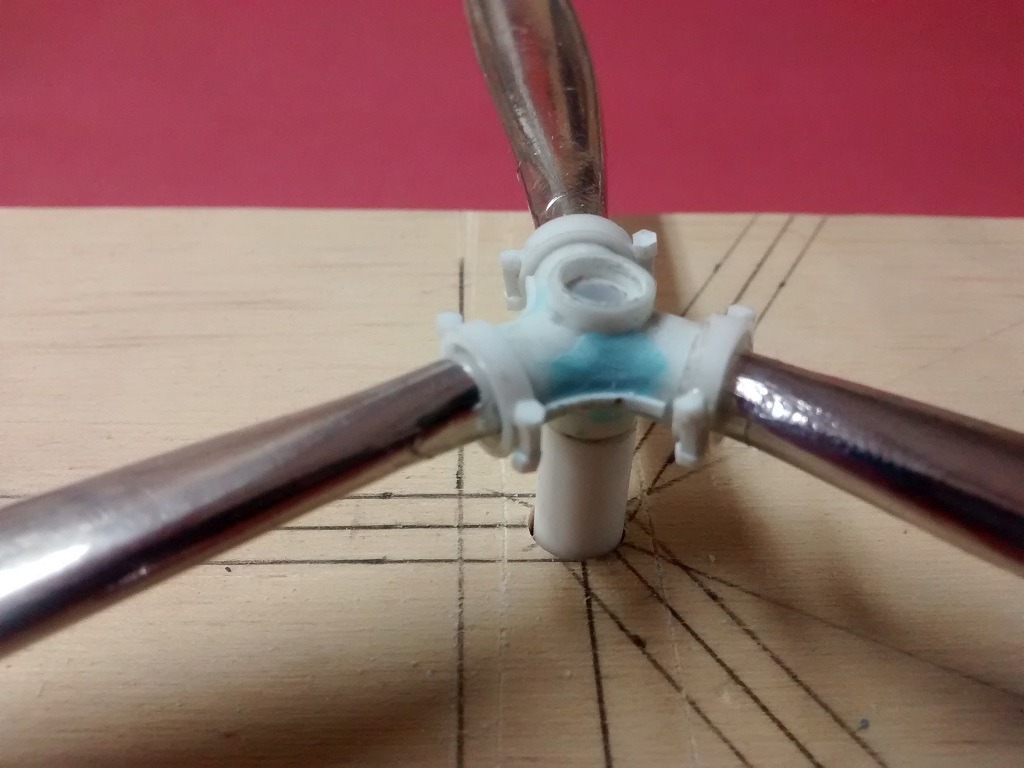
WIP: the prop hub. |
| rayl, Image # 37523 | 15 Dec 16 10:18 |
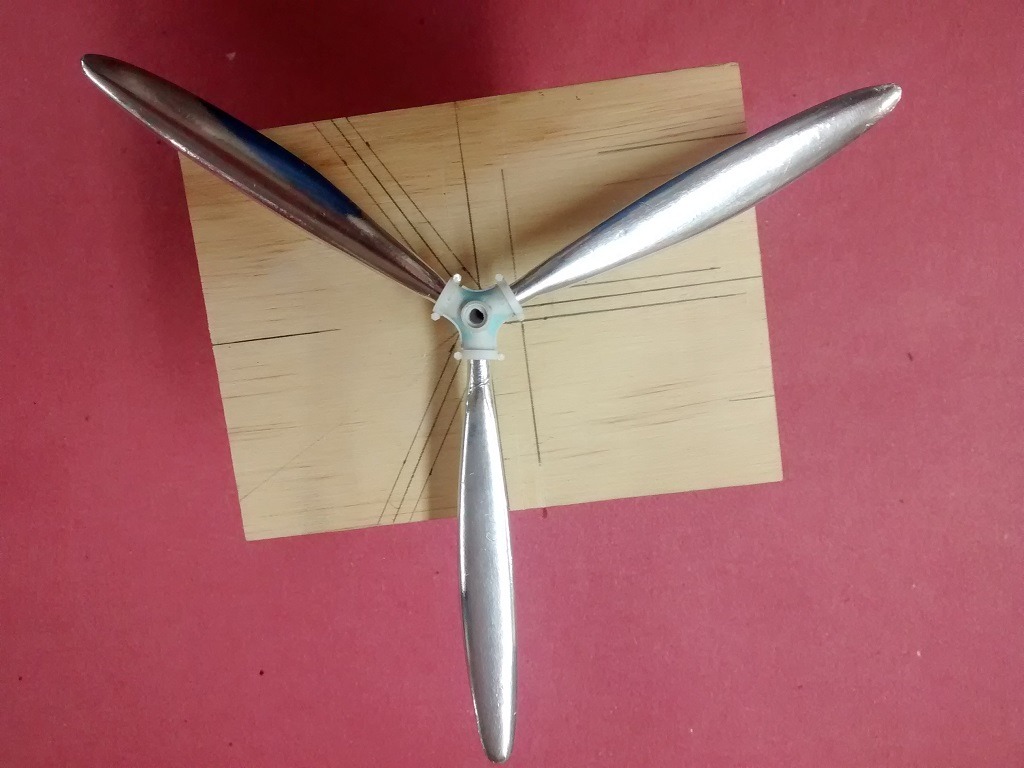
Basswood blades covered with Reynolds foil. [Four coats of dope followed by numerous coats of rattle-can sandable primer. Sanded them down with 600 grit beteween coats to get the smooth surface that the foil demands.] |
| rayl, Image # 37522 | 15 Dec 16 10:16 |
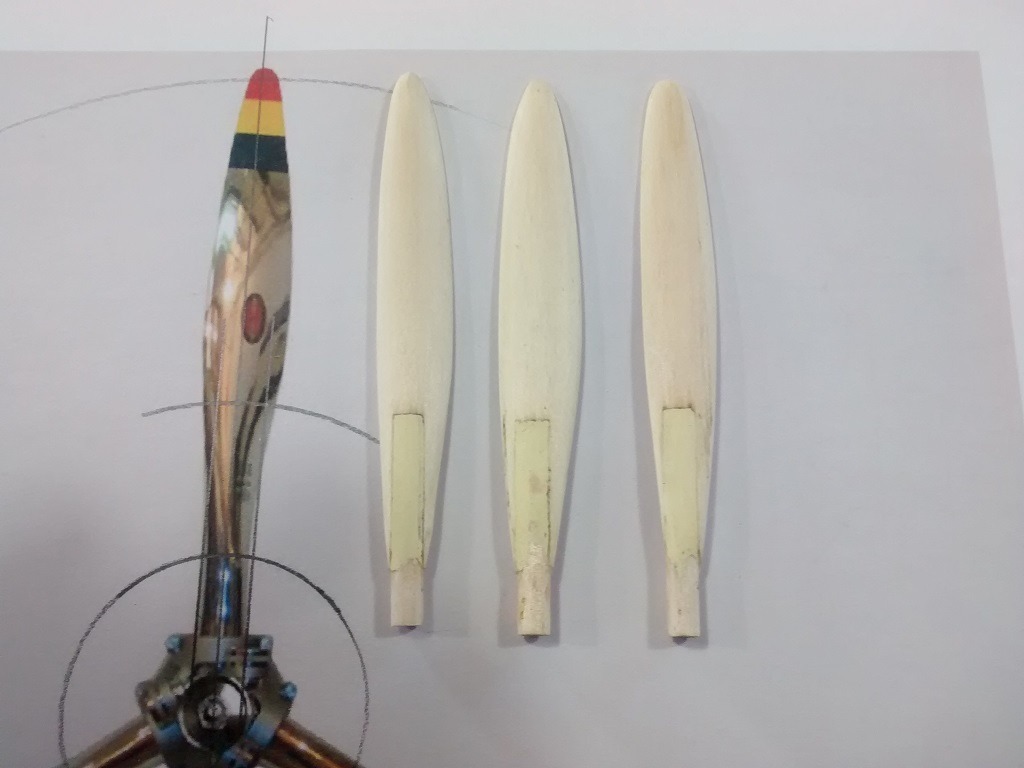
I resized a picture of the Hamilton Standard prop and used copies to make templates for the blades. |
| David Duckett, Comment for image # 37520 | 15 Dec 16 08:00 |
| Jesus! That will not happen:-) |
| rayl, Image # 37520 | 15 Dec 16 07:58 |

DD: "that thing" illustrated. |
| Don C, Comment for image # 37458 | 09 Dec 16 10:39 |
| You know, it could just be your eyes telling you something and not the camera. That's nice. |
| David Duckett, Comment for image # 37416 | 09 Dec 16 01:26 |
| Great artists practices. |
| Skyediamonds1985, Comment for image # 37416 | 08 Dec 16 19:23 |
| Have to agree with Creo. We're all a bit on the daft side. How else can we be great artist? |
| Skyediamonds1985, Comment for image # 37459 | 08 Dec 16 19:18 |
| Rayl, I've been following your build and gotta say you're knocking everything out of the ballpark. Your attention to detail is extraordinary! Very, very good. I can only imagine the final results with all that rib stitching on the wings. You're amazing. |
| rayl, Image # 37459 | 08 Dec 16 19:15 |
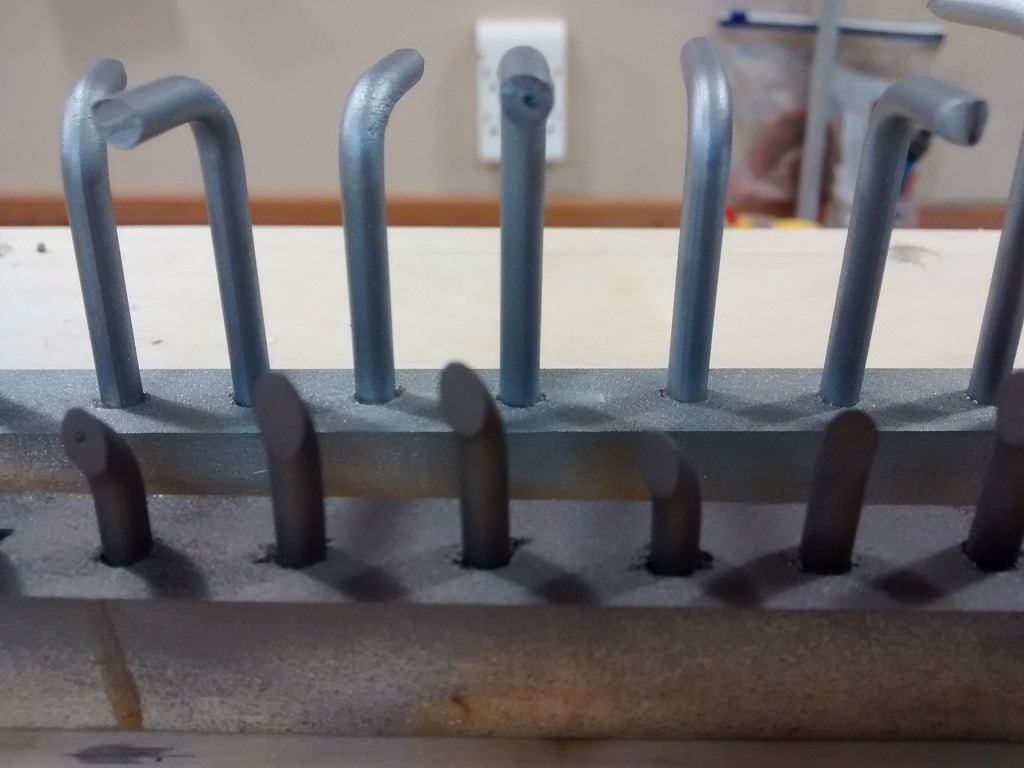
You know those annoying little flags that the lawn care people stick in yard for you mow down? I knew that they would come in handy some day: Intake tubes and exhaust stacks here finished in Metalizer paint. |
| rayl, Image # 37458 | 08 Dec 16 19:12 |
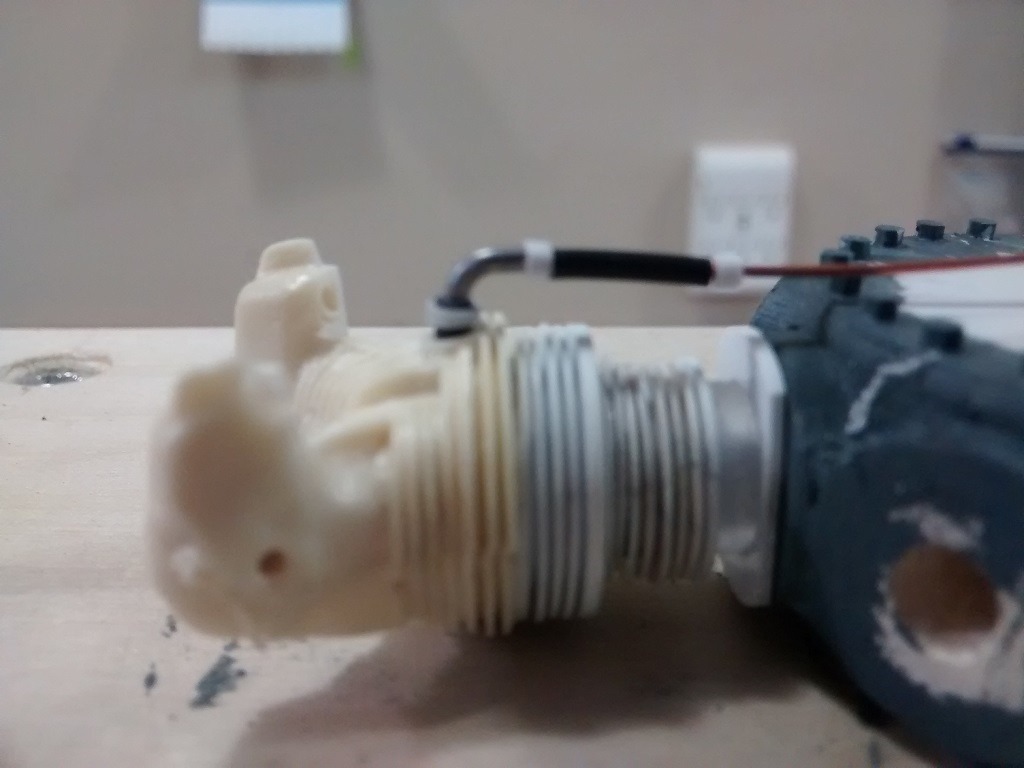
Excuse the focus here, but I think that this is going to be the Ignition harness wiring style. Copper wire, Solder, Heat-shrink tubing and various sizes of tubing and Hex shapes. |
| poppy, Comment for image # 37416 | 08 Dec 16 09:37 |
| WOW!! JFB!! |
| Creosotewind, Comment for image # 37416 | 08 Dec 16 09:25 |
| Ingenious method you have there. The proof is in the work you achieved. I'll have to try that for some of the radials I'll need. And as for being a bit daft, we probably all fit that designation at some point. I wouldn't want it any other way. |
| rayl, Comment for image # 37416 | 07 Dec 16 19:22 |
| You will chuckle how I did the Cylinder heads: I sanded down almost every surface of a spare 1/12 Williams Bros. cylinder to reduce the overall dimensions to about 80% of the original dimension, re-scribed the details then made a master RTV mold and cast the (9) new heads, touching them up here and there. I wouldn't recommend this method except to someone who is already a little bit daft:-) |
| Build Thread, Page :
<< 6 7 8 9 10 [ 11 ] 12 13 14 15 16 >> (570 posts, 20 posts per page, 29 pages in total)
|
[ < Prev ] [ Next > ] |
